Do you want your house to be warmer in winter and less expensive to heat? There’s an under-used insulation upgrade technique you should know about. I got to see it in action back in January 2013, in the home you see here. It’s one of the only ways to improve the energy performance of millions of homes plagued with insufficient insulation in hollow wood frame walls.
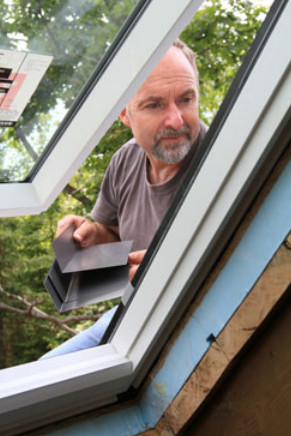
The job I was part of happened in a home in Petrolia, Ontario, and it involved a do-it-yourself spray foam injection kit from a Canadian company called Tiger Foam. They offer one of the only options for the kind of slow-rise foam that hollow wall upgrades require and the process is simple but surprisingly effective. I know because I monitored the results as they were happening during installation.

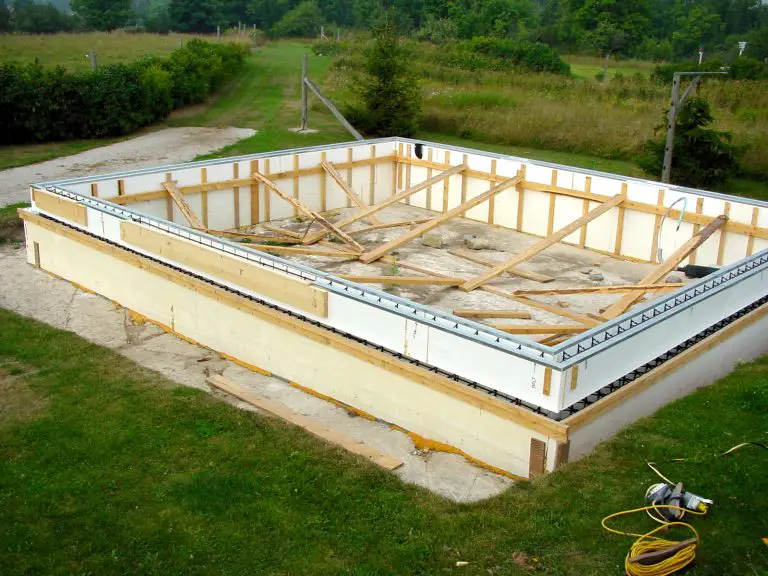
Millions of older homes were built in cold climates with wood frame walls that never got filled with insulation because energy was so cheap at the time. Fast-forward 70 or 80 years and the world of energy economics is entirely different. The modern home I worked on didn’t have insulation in the garage walls, and that’s what we were fixing.
The media has aired stories lately about the safety of spray foam, but none of the information offered is anything new. Yes, spray foam needs to be applied correctly, but that’s easy to do. Contrary to sensationalist media impressions, spray foam is safe and effective. I used it in my own projects and my own home with no concerns.
Installation of this stuff is pretty cool to see. Drill holes every so often in the wall (either interior or exterior surfaces), insert the nozzle of a slow rise spray foam kit, then fill the space. The foam climbs as it expands, then hardens. You go from a hollow wall with hardly any insulation to a well insulated wall that meets 21st century standards.

Since the foam gives off a little heat as it cures, it’s possible to use an infrared heat gun to “see” that foam is getting to all nooks and crannies inside a wall. The light areas of the infrared image above shows wall cavities partly filled, with the foam installer standing to one side, giving off plenty of heat himself. That’s what you can see to the right. The lighter areas are warmer, and show up on the infrared camera I took to the job. Besides looking interesting, the pattern of light and darker areas alerts you to any places inside the wall the were missed. If there are any, just bore more holes in the wall and inject foam where wires or nails or wood blocking may have prevented the foam from flowing and expanding where it should have gone the first time.
Click below to watch and see the process yourself.


I hope you found this content useful!
Your generous support helps me produce more practical, hands-on content that I hope you’ll find useful.
Steve Maxwell