If you’re interested in reducing the cost of owning a vehicle, then learning to do basic paint repairs and autobody work in your driveway can help you keep your wheels looking respectable at minimal cost. I’ve found that well-engineered vehicles average only about $100 per month in repairs over the long haul, as I’ve learned keeping track of costs over the years for our family fleet, including my 1990 F-150, 2003 Toyota Echo, and 2004 Toyota Sienna and 2009 ES350 Lexus. There are three little-known tricks I find essential for getting professional-quality repairs in your driveway. There’s more to the job than what I have room for here, but these tricks are essential and often overlooked. Be sure to watch the video below to see the process in action.
- Reading Time = 3 1/2 minutes
- Video Watch Time = 22 1/2 minutes
Sandable Primer is Key

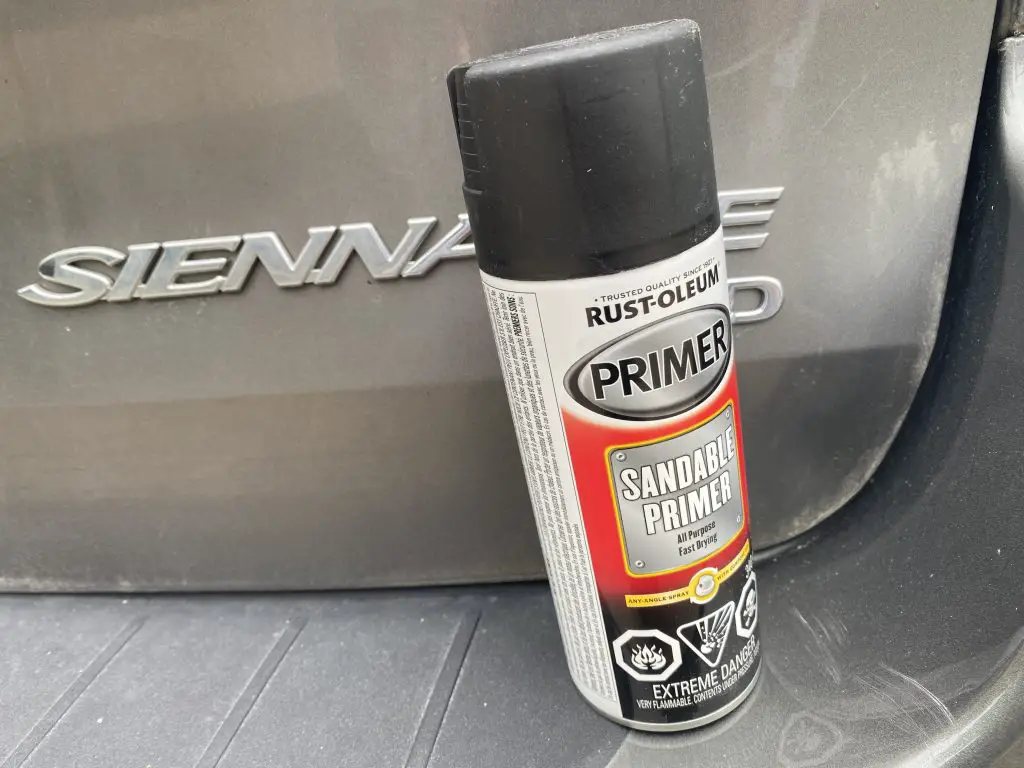
Primer of some kind is essential for getting new paint to stick to areas that have been repaired and sanded, but not all automotive primer is the same. I find it vital to use something called “sandable” primer. The one above from Rust-Oleum works well.
Sandable primer comes in a spray can and is thicker than regular metal primer, and made to be smoothed with wet/dry sandpaper lubricated with water. Sandable primer is made to fill tiny flaws and builds on the surface. It functions like very thin auto body compound and usually requires multiple cycles: spray on primer and let it dry completely; wet-sand the area with 400-grit paper and water; let the surface dry completely, then repeat the spraying and sanding process. You know you’re done when the repaired and primed areas feel no different than the surrounding area when your finger runs over the surface.
Choosing Colour-Matched Paint

Every vehicle has a paint colour code on a sticker somewhere, and in most cases this is found on the driver’s side door opening. This code is essential for getting the right colour of spray paint to match your vehicle, but not all auto paint brands are created equal.
I’ve tried different brands over the years, but the best so far is Dupli-Colour. I buy mine from a retailer where I live called Canadian Tire. The colour match is better than other brands I’ve tried, and most importantly the colour remains consistent over time.
Sand and Buff the Top Coat

Modern vehicles have a two-part paint layer. There’s the paint itself, but there’s also a clear coat applied on top in a separate step for protection and gloss. You can do everything else right, but if you simply apply a clear coat and leave it at that, your repair won’t be A+. To blend the repair flawlessly with the surrounding paint, you need to do two things.
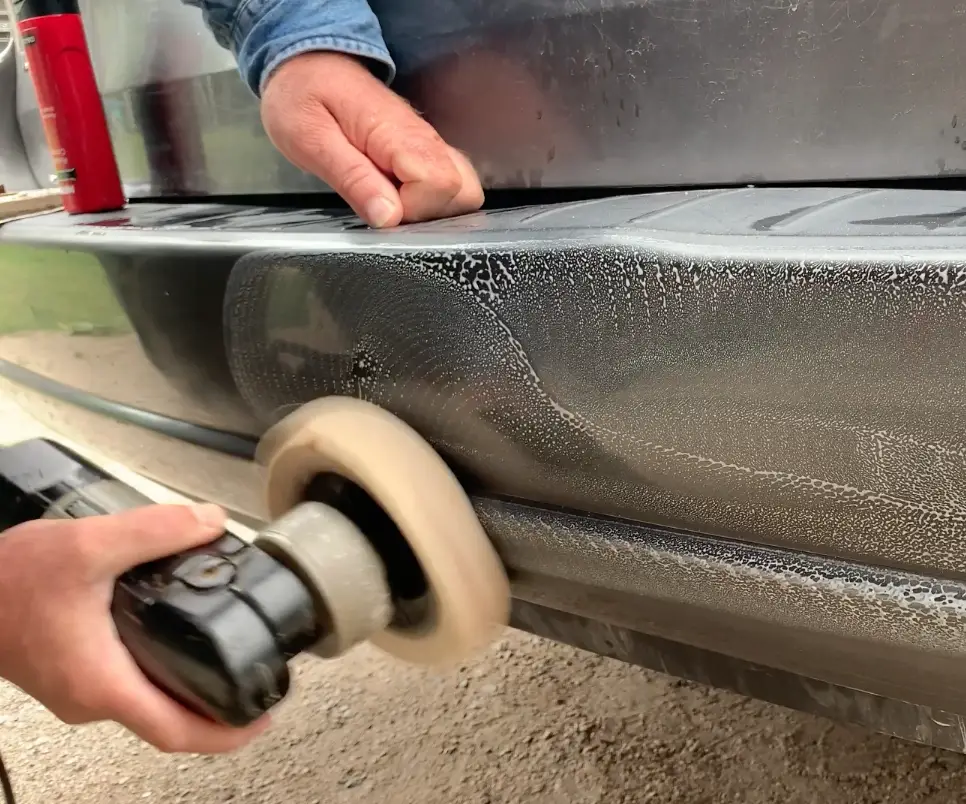
The same wet sanding process you used to prepare the primer is also an essential step when optimizing the clear coat, but with progressively finer sandpaper. Start gently with 400-grit wet/dry paper and water, then switch to 800-, 1000-, then 2000-grit. This will result in a white slurry on the surface, and you’ll get best results with lots of water. When you’re done, the surface will feel very smooth, but when it dries it will be dull. That’s where the final step comes in.
Power buffing is the only way to create a new-car look on your repair, and for this I use my favourite random orbit wood sander fitted with a sponge pad. That’s it above. Wet the surface, then squirt autobody rubbing compound on the pad. Place the pad on the vehicle, switch ON, then slowly move the pad over and around the repair zone. Don’t worry about venturing onto the surrounding unprepared area. Buff like this for five minutes or so, wash the compound off, then let it dry. Is the area the same shininess as the rest of the vehicle? If so, you’re done. But if the repair remains duller than it should, do more buffing, perhaps with a finer grade of rubbing compound.
You can see the process in the video below.
 Did you find this article and video useful? I hope so. Please consider helping me cover the cost of creating and publishing content like this. Click the “buy me a coffee” button below for a fast, safe and simple way to make a contribution. Thank you very much!
– Steve Maxwell


