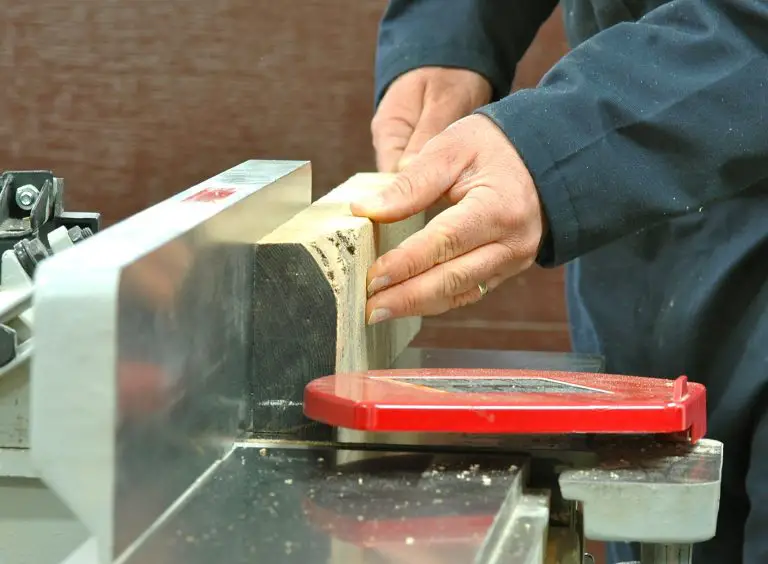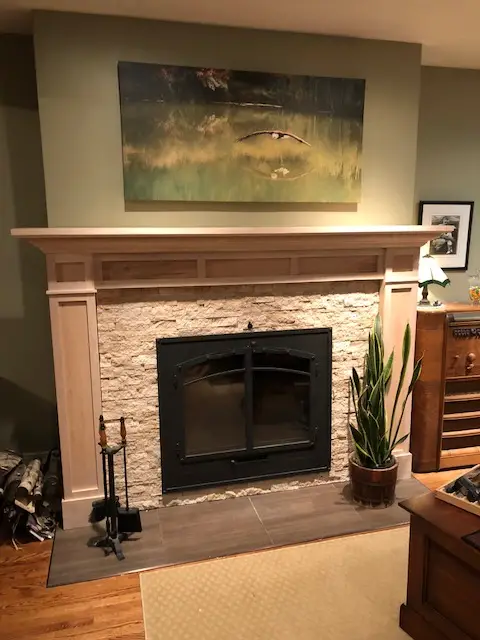
My friend and subscriber, Terry B., asked this question about the fireplace mantel he was building. That’s it above when completed:
Question: How can I get rid of residue left behind by wood filler? I’ve built a fireplace mantle out of maple and maple veneered plywood, and I was always planning to paint it. However, having put it in place and listened to my wife (often a good idea) I am now considering stain. My concern is around the wood filler.
I’ve made sure to get all areas very smooth (and ready for paint), but there are areas where the wood filler appears to have absorbed into the grain of the wood a bit. I’ve tested a few trial pieces in which I’ve made and filled small holes and am getting blotches where this has happened. Is there a way to draw this filler out of the wood or any other possible solution? More sanding with 220 grit seems to help but I’m not confident it will solve the problem completely.
Answer: Wood filler can be tricky stuff for precisely the reasons you’re seeing. Excess filler affects the way wood absorbs stain, and this leads to very obvious differences in staining results. More sanding will remove the partial sealing of the wood grain, but it takes quite a bit of sanding to do the job. It’s surprising how much, and hand sanding usually doesn’t do the trick. You need some sort of machine sanding to get deep enough. And if all this sanding is happening on factory-veneered plywood, then you really don’t have much wood to work with. Factory veneers are usually thinner than 1/32” so it’s easy to sand right through to the ugly, underlying layers. This would be a huge disaster on a project like this one, so close to being finished, too.
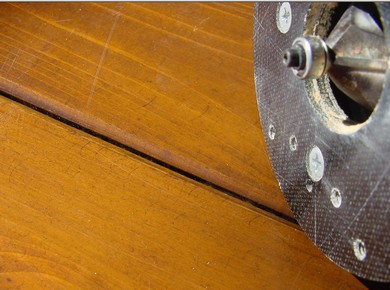
So, what can you do? I’d try to remove the filler residue by scraping not sanding. A cabinet scraper is a piece of rectangular tool steel that has a sharp, square edge. You use this edge to shave off very thin curls of wood, like you see below.
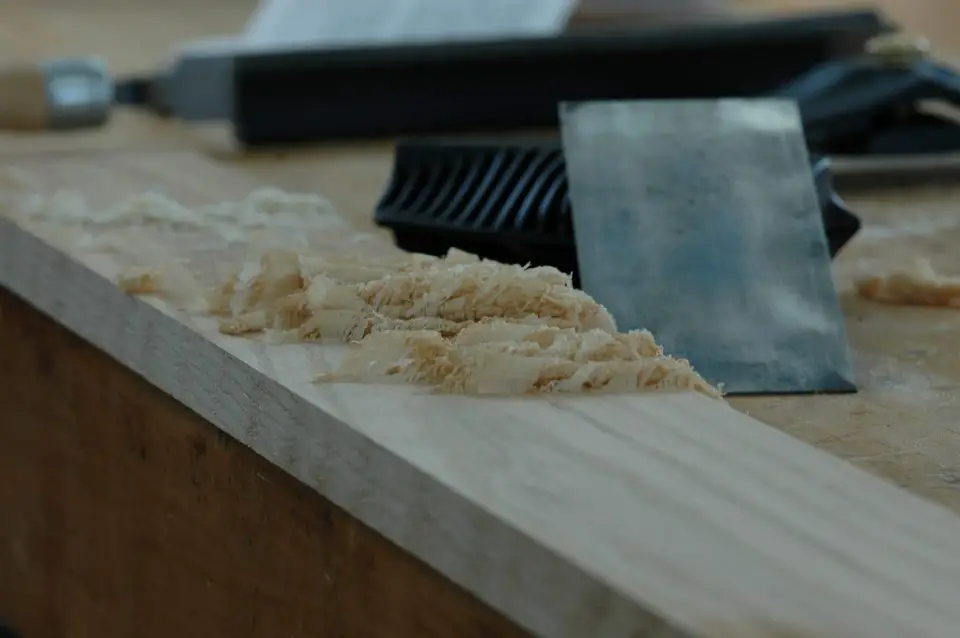
This sounds aggressive, but it’s actually more controllable than machine sanding and more effective for removing filler residue. Hold the edge of the scraper on the wood, with the body tilted about 10º or 20º away from vertical, then push the tool away from you across the surface. Do some scraping, test the area with a bit of stain to see if the residue is gone, then scrape more if there’s still a colour difference. Cabinet scrapers usually require sharpening, but Lee Valley does sell a scraper that’s ready to use. Click here to see it. If you’re careful, scraping should work better than sanding. If you can’t get things to look good enough to your eye, then you can always paint as you’d originally planned.
On a related note, if you’ve sanded your mantle with a random orbit sander at any stage of construction, then there’s a very good chance that swirl marks will show up all over the wood after stain goes on. Try a little stain somewhere to see. The antidote to swirl marks is good, old-fashioned hand sanding in the direction of the wood grain only. 180-grit is a good choice for sandpaper. Sand everything, including scraped areas for an even look. Don’t rush at this stage. You’re at a make-or-break part of the project.


I hope you found this content useful!
Your generous support helps me produce more practical, hands-on content that I hope you’ll find useful.
Steve Maxwell