There’s one product that I can remember happily using over the last 50 years of hands-on work, and it’s a paint made especially for exterior steel. I first used it when I was 10 years old, to paint a little wooden submarine I’d made. A lot of us can remember half-used cans of Tremclad in the garage or shed where we grew up, and I’m happy to report that good old Tremclad has not been dummed-down to the point of diminishing performance, as so many other coatings have. It still works fabulously well and is still the best paint I’ve seen at preventing steel from rusting outdoors.
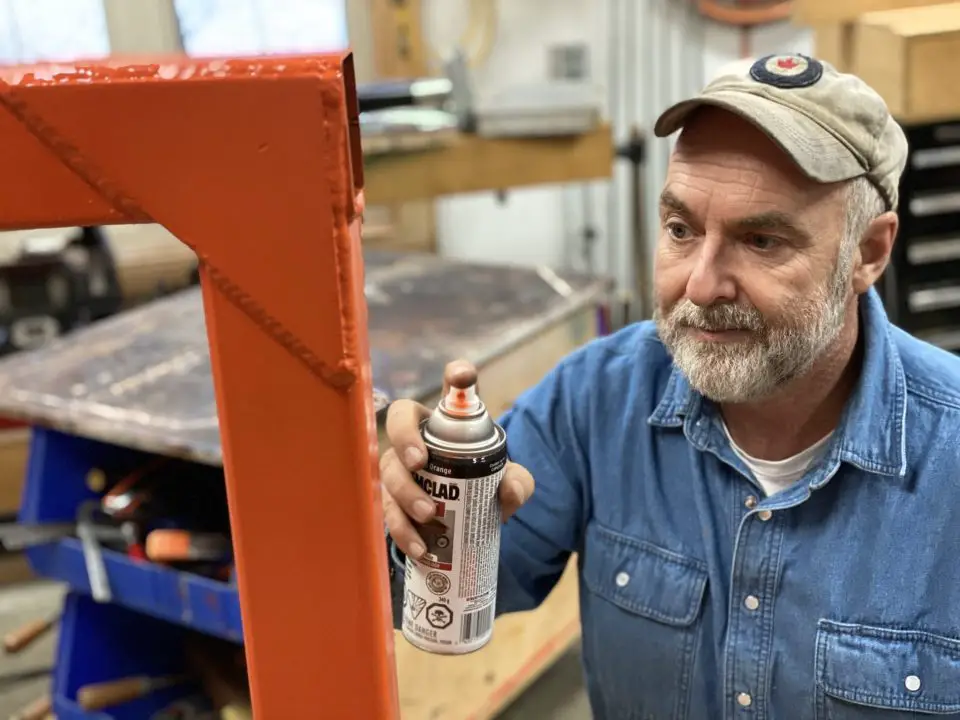
First developed in 1921 by sea captain Robert Fergusson to protect ships from corrosion, I was reminded of my history with Tremclad as I was spraying a coat of “Real Orange” paint on a steel towing tongue I welded up for a wood splitter recently. I modified the tongue to allow the splitter to be towed by machine instead of just pushed by hand. If you’ve got outdoor steel surfaces that you want to protect from rust, there are steps you need to follow for great results. Here’s the “Tremclad Routine” I follow whenever I’m using this stuff. It’s never let me down.
Step#1: Roughen the Surface
Tremclad does not need a primer if you’re applying it directly over mild steel, but that doesn’t mean that it’s wise to forgo all surface preparation. In the case of that wood splitter tongue, part it is existing painted metal, while most of the new tongue is made with a fresh piece of bare tubular steel 2”x3”. A quick sanding with an 80- or 100-grit paper is ideal for roughening painted surfaces that will be coated again, but a light sanding also does a great job refining bare steel. No need to sand all the way down through to bright steel, just go over the surface briefly and you’ll be fine. I use my 6” random orbit woodworking sander spinning an 80-grit abrasive for this work.
Step#2: Deep-Clean the Surface
Oil or grease residue is the biggest danger to your paint job, and the risk is that it might peel. Wiping down metal surfaces with rubbing alcohol on a clean rag removes contaminants easily and quickly, while also evaporating in a few seconds. Don’t use Varsol or mineral spirits for this cleaning process since these take too long to dry.
Step#3: Support Your Workpiece
This could mean balancing the workpiece on its end on the floor (that’s what I did with the wood splitter tongue), or hang it from the ceiling of my shop with a cord. Either way, you want as much of the surface exposed as possible. The danger with spray painting is that you’ll apply too much paint in one place, causing a run to form.
Step#4: Spray Light Coats
There’s no downside to applying light coats of spray paint, and this is especially true with Tremclad. It’s a thick-bodied, oil-based paint and it dries slowly enough that the liquid has a chance to flow out on surfaces to create a nice, smooth result. Slower drying times make a ton of sense, but the one downside is that runs tend to happen more easily. Better to apply three light coats rather than two heavy ones. In fact, if you apply too much Tremclad in one place, the surface of the wet area will dry faster than the underlying liquid paint, causing wrinkling.
Step#5: Repeat in 10 Years
A quick sanding of the surface by hand to clean it, then you’re ready for another long-lasting coat. I have lots of rust-prone outdoor metal in my life that’s completely rust-free after 30 years of exposure, thanks to a few coats of good old Tremclad.


