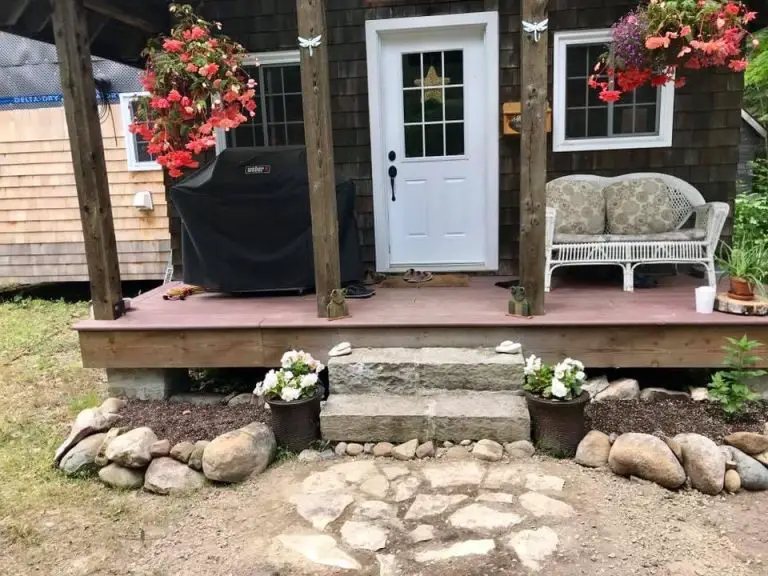
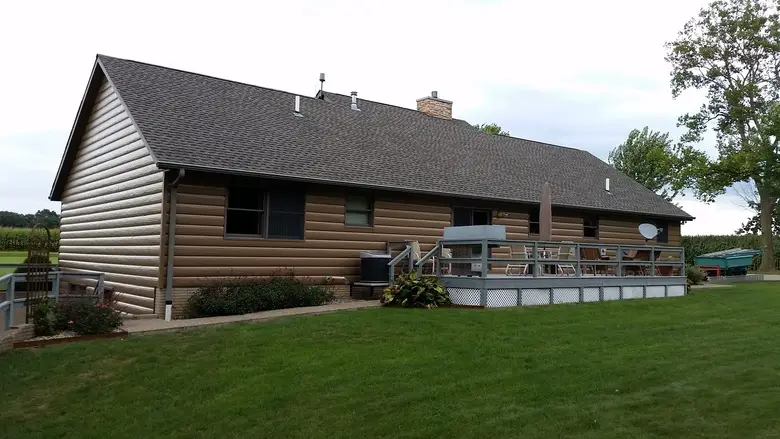
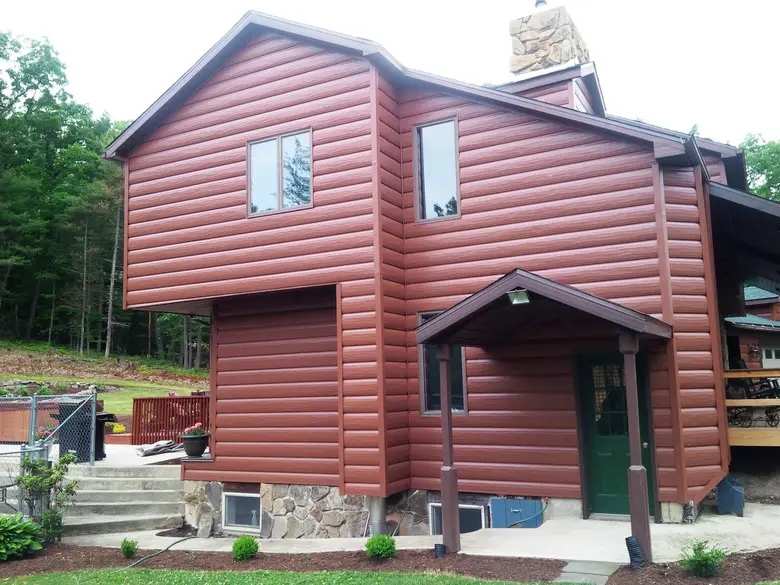
 When it comes to exterior siding for homes and cottages in rural locations, it’s not easy to find a durable option that works visually. For some of us at least, choices such as vinyl or aluminum siding simply look too modern right next to trees and water and rocks. Bricks and stone are pretty good on rural building sites, but they’re expensive and labour-intensive to build with. One of my favourite and long-lasting rustic siding options is cedar shingles. They look great, but they aren’t cheap. They’re also not fireproof nor insect proof. All these drawbacks are the reasons something called TruLog steel siding caught my eye. That’s it on the buildings you see here. TruLog is the only product I’ve seen so far that looks like real log cabin siding while also being fire resistant and maintenance free. I haven’t had a chance to work with this product personally yet, but here’s what I’ve discovered as I’ve researched how it goes on and whether it’s worth a try. I wrote the installation instructions below for everyone who wants a technical understanding of how things go together.

TruLog Installation Step#1: Install Starter Strips
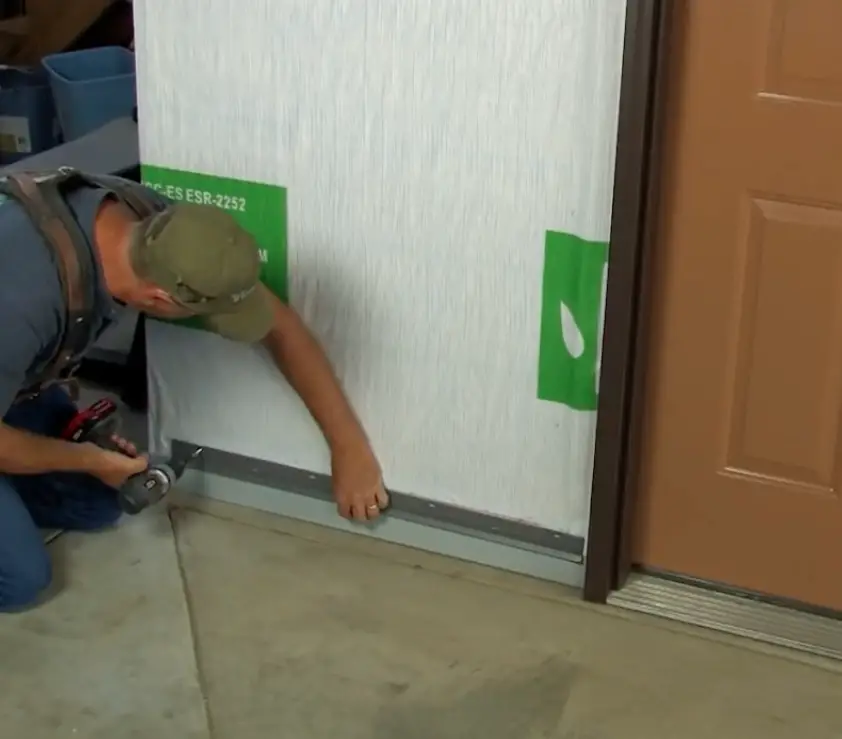 Installation begins by marking a horizontal line along the wall 1/2” to 1” below the top of your foundation wall. You want to extend the weatherproof protection of the siding below the point where water could sneak in along the top of the foundation. Install this starter strip all around the perimeter of your building. Don’t extend the starter strip tight to door frames since you need to leave room for pieces called J-channel that come later. You’ll find 1 1/2” screws work well for securing the starter strip if they’re driven into solid wood. This is the beginning of the installation and provides a solid base for the rest of the project.
TruLog Installation Step#2: Install Corner Bases
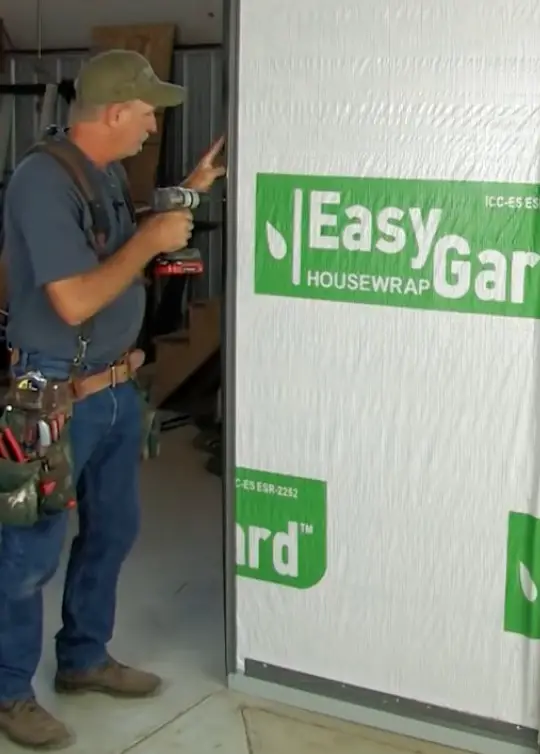 The corner bases are designed to hold the corner caps that cover the ends of the siding on outside corners after it goes on. Continue work by measuring the height of the wall as measured from your soffit down to the bottom edge of your corner base. The soffit is that horizontal part of the overhang of your roof. Cut your corner bases, then use more 1 1/2” screws to secure them, one base on each outside corner.
TruLog Installation Step#3: Install J-Channel
Now’s the time to install something called J-channel along the edges of doors and windows. J-channel caps the ends of each piece of siding, conceals the cuts and creates a finished overall look for the installation. Start with a door. Measure from the bottom of the starter strip and cut the J-channel so it’s 1/2” taller than the top of the door. This extra extension allows the side piece to interlock with the J-channel that’ll extend across the top of the door later. Notch the end of the J-channel so the side that touches the door frame is flush with the top of the door frame. The front face of the J-channel remains 1/2” higher than the top of the door. Install J-channel along the sides only of the door now.
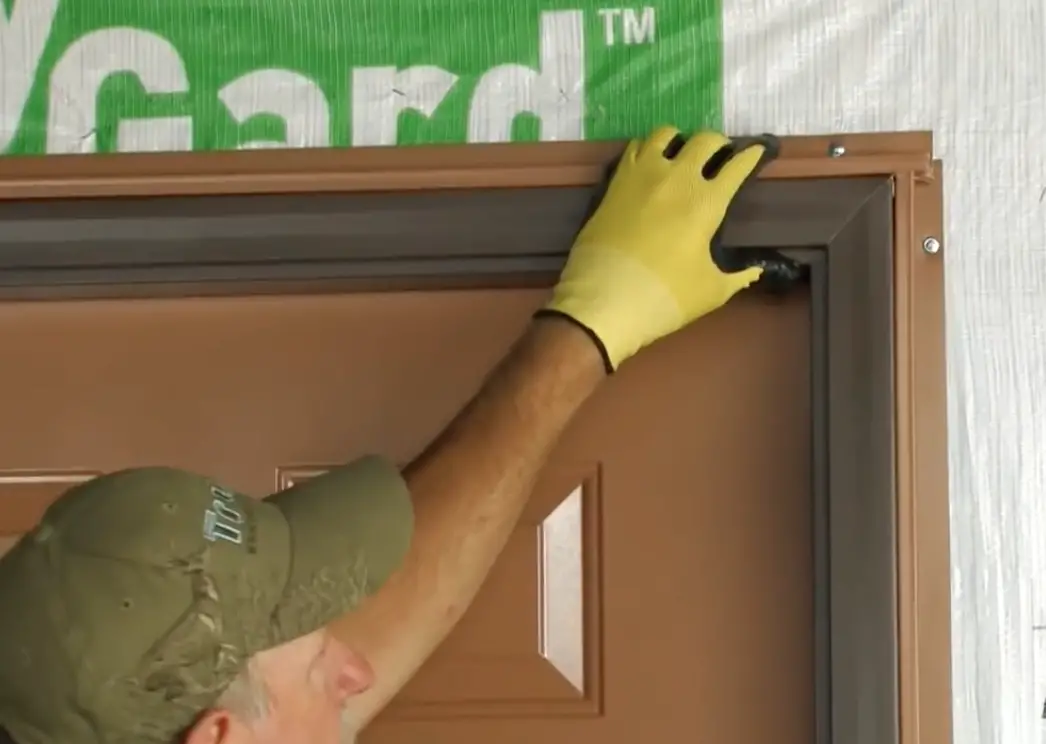 The top of door frames is also capped with J-channel, bent to interlock with the side channels. Cut your piece of top J-channel 2” longer than the overall width of the door frame, then use tin snips to make 1”-long cuts along the corners of the J-channel. This creates a flap of metal on each end that you can bend down over the J-channel already installed on the sides. As before, the front of the channel remains longer than the width of the door frame. You’ll need to do windows in a similar way, except start with the J-channel that goes along the bottom of the window. Next, add the J-channel that goes up the sides, followed by the J-channel that caps the top of the window.
TruLog Step#4: Install Blocks for Outlets
An outlet block is simply a piece of hardware that lets the log siding easily go around your outdoor faucets, outlets, and even the light fixtures you have on the outside of the home. Outlet blocks are basically systems that consist of a cap and base to help you install the siding around these fixtures. Simply place the piece over your outlet or faucet, put a screw into the wall to hold it in place and use your level to make sure it is straight. Then go ahead and secure the piece the rest of the way before moving on.
TruLog Installation Step#5: Install the Siding
 This is where you start to install the actual siding itself. All of the other phases have been in preparation for this main event. TruLog siding comes in boxes that are 12 feet long and weigh about 90 pounds, so you might need help moving the boxes around. Each box covers roughly 100-square-feet of your walls so it’s important to be sure you have enough on-hand to finish the job.
Remove the foam on the back of each piece of siding as you take it out of the box, then look along the bottom edge. There’s a locking profile there that engages with the starter strip you installed earlier. Set the first piece of siding in place, making sure to slide it up into the starter strip. If you’re working next to a door, make sure the siding is fully interlocked with the J-channel. With the siding fully in place, anchor it with one screw in the middle and another screw at one end. Tilt the siding forward, slip the pieces of insulating foam in place behind it, then drive a screw or nail into the siding wherever a wall stud exits. Add the second piece of siding in the same way, overlapping the first piece by 1/2”. Continue by adding the second course of siding, staggering the joints for best appearance and strength.
When you get to an electrical outlet or light fixture, it’s important to measure around the area to get a precise fit. Put the piece of siding up against the outlet box you used and measure how deep it needs to be cut to fit snugly up against the outlet. Once you have marked it, use your steel snips to make this precise cut. Pop the piece in as you did the others and it should fit your outlet smoothly.
TruLog Installation Step#6: Install Siding Around Windows
As your siding rises to the level of windows, you’re going to need to measure and mark for cuts to accommodate the sides and bottom edge of the window. Make these cuts so the piece of siding you’re working on slips behind the J-channel where it exists around the window.
TruLog Installation Step#7: Install the Last Piece of Siding
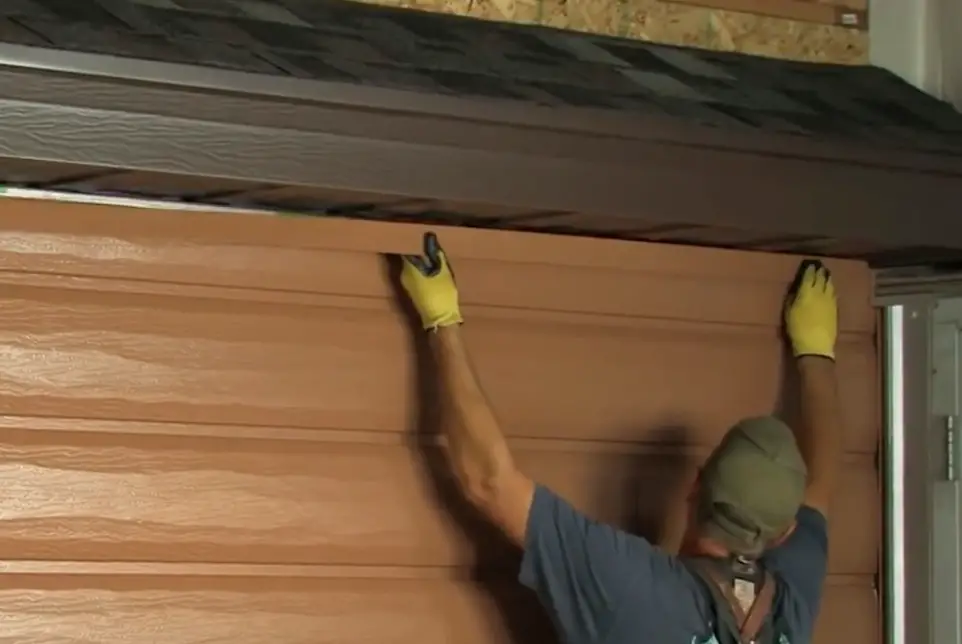
For the last piece of siding you need to measure the height of the space to be covered. Measure up from the top of the current piece of siding to the soffit and then subtract about 1/4” to make sure there’s enough clearance so it slips in properly. There’ll be a small space between the top of the siding and the soffit but that’s okay. It’ll be covered later by the frieze board. Cut the foam, lock it in place with a nail or two, then pop the last piece of siding piece into position. Drive a nail every 3 feet of so to hold the siding to the wall.
TruLog Installation Step#6: Install the Frieze Board and Corner Cap
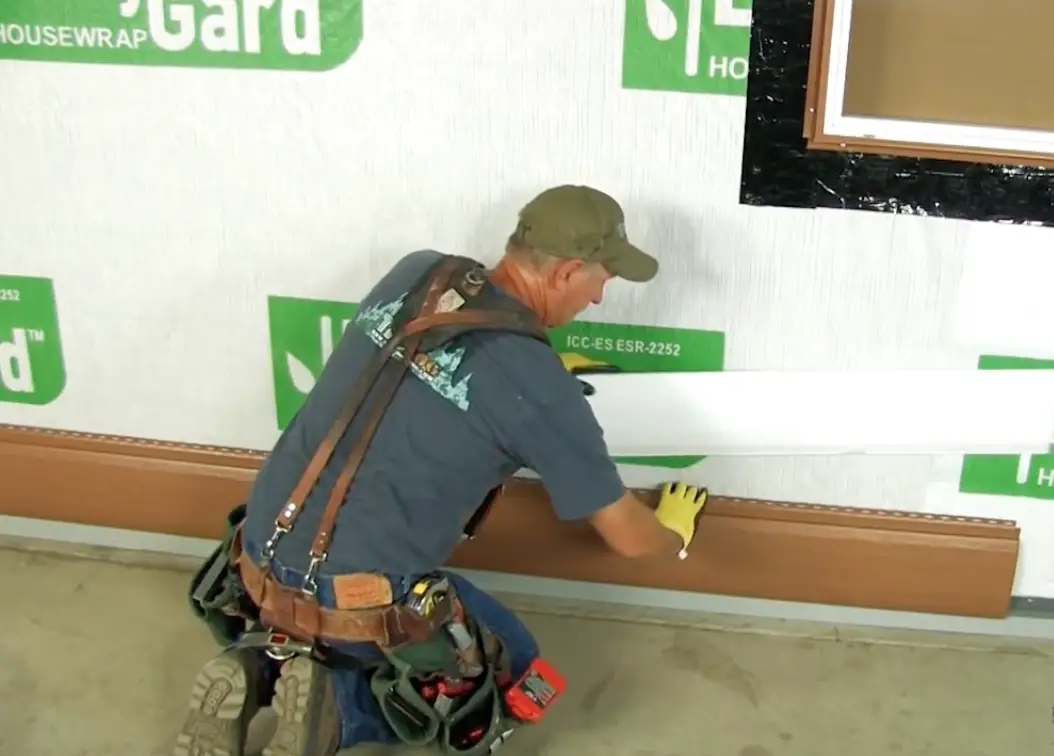
 The frieze board is a kind of crown that caps the top of the siding where it meets the soffit. It simply snaps in place above the siding. Corner caps are the last step, one on each outside corner of the installation. Cut them to length, snap them into place over the corner base and the ends of the siding, then drive a deck screw in the bottom end to stop the corner cap from sliding down.
Installing TruLog siding is quite a bit like installing vinyl or aluminum siding, except the results look much better in situations where you need a rustic appearance and don’t want to be a slave to finishing and refinishing exterior wood.


I hope you found this content useful!
Your generous support helps me produce more practical, hands-on content that I hope you’ll find useful.
Steve Maxwell