There’s nothing like a new coat of interior paint to make you feel good about your home and life. But there’s also nothing like bad wall preparation and ineffective masking to make you feel crummy about the time and money you wasted getting bad painting results. Helping you avoid this trouble is why I created my video course Patching Walls Like a Pro. It covers everything you need to make bad walls good again.
Click here to try my Patching Walls Like a Pro video course risk-free
Paint applied to unprepped walls is simply a waste. But even if you hire a professional painter, they’ll charge less if walls are in good shape before they arrive. Sometimes much less. Wall prep and masking skills also let you fix up little dents and dings as they happen between paint jobs, staving off household shabbiness in a way that extends time between full-blown repainting campaigns.
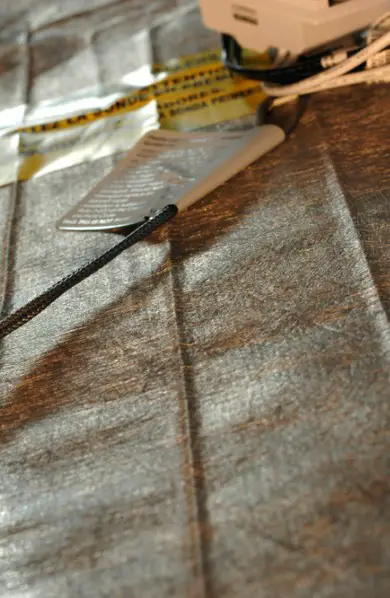
Fixing drywall damage is all about filling holes and making repaired areas blend seamlessly with surrounding surfaces, and you’ll need four things for success:
- a utility knife to trim away loose areas of damage
- a tub of spackling compound to fill the dents and dings
- a spatula-like tool called a drywall knife to spread the compound
- a sanding sponge to smooth the hardened compound so it’s level with the wall.
The process of using these items is not unlike what dentists do to repair cavities, and like any good dentist you need to make sure all the bad stuff is gone before filling begins. Failure to remove all loose bits of paper and drywall before filling is the most common mistake I see beginners make. The trick is to get rid of everything – and I mean everything – that’s loose or extends above the surface of the wall before filling. Frazzled paper, loose chunks of drywall and flaky paint, it all has to go. Fear of making the damaged zone larger is what causes beginners to be timid at this stage, but don’t worry. Filling is easy, no matter how much larger the damaged zone has become.

When it finally comes time to fill the cleaned and enlarged cavity, remember two things. First, swipe enough spackling compound into the cavity with your drywall knife so it rises slightly above the surrounding wall surfaces. And second, when you do sand the damaged area after it’s dry, it’s vital that the edge of the patched zone taper smoothly and flawlessly with the surrounding wall. Allow any step-shaped zone between these two surfaces to remain and it will become painfully obvious after paint goes on.
Normally, patched areas need to be primed to prevent new paint from peeling, but that’s just beginning to change. The only spackling compound I know of so far that accepts new paint properly without priming is 3M Patch Plus Primer. Its quick drying too, so it makes the prep process easier. It also maintains a consistent paint sheen in the patched zone after sanding – something that other spackling compounds I’ve used often fail to do.

With your wall prepped, it’s time to think of masking areas where you want fresh paint to stop around trim, baseboards or areas of other colour. As strange as it sounds, run-of-the-mill masking tape doesn’t really do a good job masking surfaces for painting. It actually takes a special tape to mask paint properly. I’ve had the most experience with ScotchBlue Painter’s Tape, and it works well, but only if you apply extra pressure along the edges to seal the zone between tape and wall. That’s key.
A crinkle-free texture and well-behaved adhesives are the reasons painter’s tape works so well, but even still, it needs to be applied correctly to create crisp lines. The key is to seal the edges of the tape before paint goes down. Rubbing the edge of the tape with a credit card is one way to do this. A little pressure along the edge of the tape makes all the difference.
These are the basics of wall prep, but it’s one of those jobs where theory can only take you so far. You need to see how wall patching happens, then practice and make mistakes until you get it right.
Click here to try my Patching Walls Like a Pro video course risk-free


I hope you found this content useful!
Your generous support helps me produce more practical, hands-on content that I hope you’ll find useful.
Steve Maxwell