If you’re like most people, the domestic hot water in your home is heated inside a tank that looks nice on the outside, but is probably disgusting on the inside. Unless your water heater is brand new, the bright, white exterior probably encloses a steel tank that’s black, ugly and likely filled with sediment. This article explains the simple maintenance job of getting rid of this sediment so your water heater lasts longer and works better.
Two Reasons to Flush Your Hot Water Tank
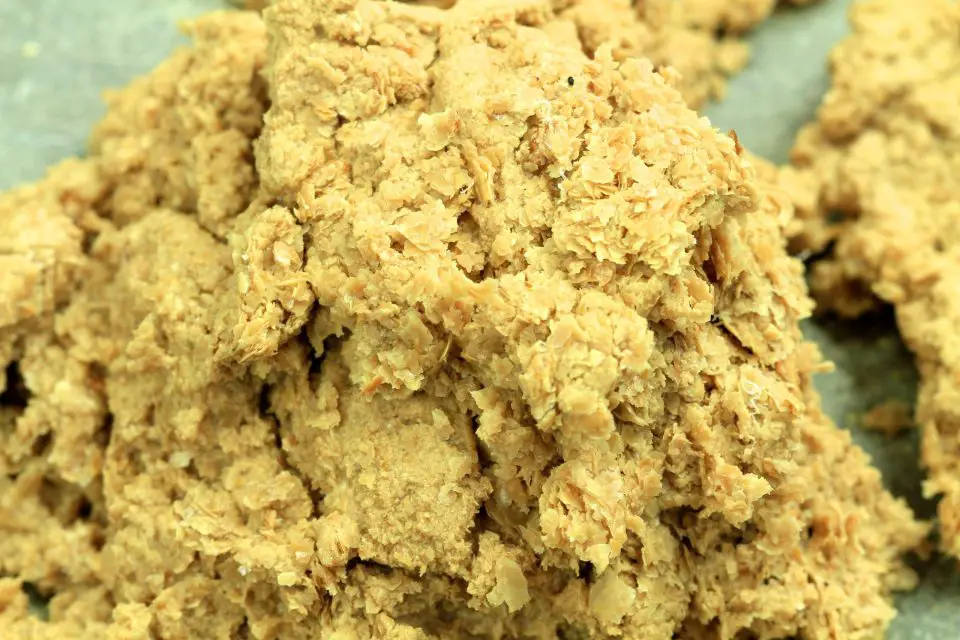
The whole situation with water heaters is often the quintessential definition of the white-washed tomb. Even super-diligent people I know don’t seem to realize where their water travels on its way to the shower or kitchen sink. The gunk you see above is one of two reasons every homeowner should know about flushing their water heater.
In the video below I explain the hot water tank flushing process. Click to watch, then read on for more details.
- Video#1 Watch Time = 6 minutes
Even the safest tap water contains minerals that accumulate in the bottom of every hot water tank. It’s easy to see why. Constant temperature fluctuations in the tank plus long periods of stagnation, create the perfect conditions for minerals and impurities to precipitate out of the water and settle onto the bottom of the hot water tank. Getting rid of mineral deposits is why annual water heater flushing is the first and most important maintenance step to get the corruption out of your plumbing world.
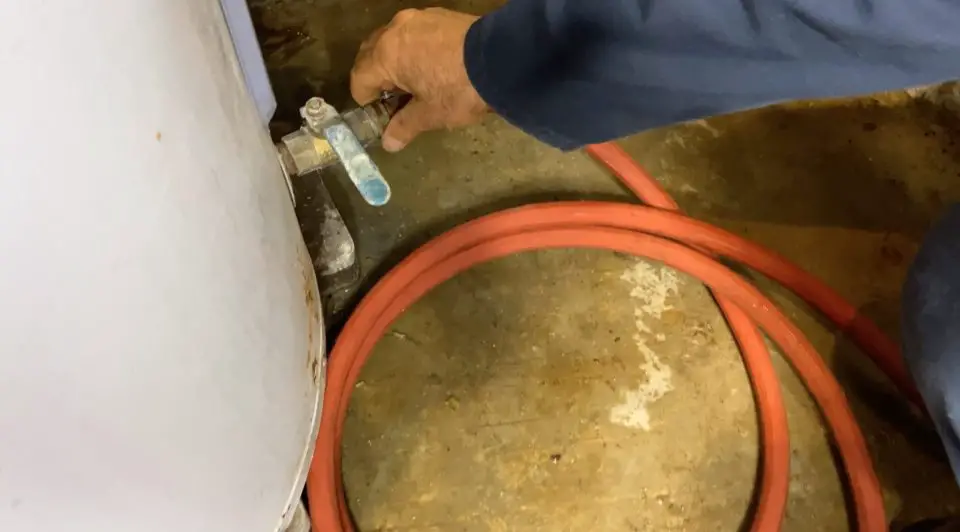
At the bottom of every tank-style hot water heater there’s a drain valve (that’s what you see above), and this is the only place where crud can leave the tank. The process of flushing is simple: shut off the electricity or gas supply to the water heater; shut off the water valve supplying the tank; connect a garden hose to the bottom valve; place the end of the hose in the closest drain; then turn on the water valve supplying the tank. As new water is added to the tank from above, it leaves through the open drain valve at the bottom, carrying a surprising amount of ugly stuff with it out the garden hose. This is the basic flushing process, and it should happen once every year or two. If your water heater has been neglected for years, expect a lot of gunk to come out. It’s not unusual for 5 to 10 lbs. of minerals to flush out from high mileage heaters in hard water areas.
To conserve energy and make the flushing process safer, I always shut the electricity off to our heater a day or so before flushing, allowing the hot water to be used up, rather than dumping it down the drain.
Water heater sediment is ugly, but appearance isn’t the only reason flushing makes sense. Reduced energy costs and boosting the hot water capacity of your tank is the most important practical reason for flushing. The more minerals in the bottom of your tank, the less effective your water heater will be. Flushing is an effective way to remove most of the sediment, but it won’t get it all. So if you’d like to do better, consider the vinegar tea kettle treatment.
Vinegar is a safe, effective and inexpensive acid that dissolves waterborne mineral deposits quickly and easily. It’s very effective for cleaning kettles, and it works just as well on water heaters, too. The only hitch is getting the vinegar into the tank after the initial flushing, and this involves becoming familiar with something called a sacrificial anode rod.
Water Heater Anode
Corrosion is an ever-present danger for the steel tank of your water heater, but corrosion is a funny thing. It always attacks the easiest metal to corrode first, leaving the more inert metals alone until there’s nothing else around. That’s why every tank-style water heater has a replaceable rod inside the tank. This is called a “sacrificial anode”, and it usually threads in through the top. As long as enough corrodible metal remains on the rod, your tank is safe from rusting because all the corrosion is happening on the rod.

The new anode (left) is what the used one on the right used to look like. The anode is a rod of solid zinc and it slowly decreases in size as it takes the brunt of corrosion so the tank itself won’t.
Part of water heater diligence involves removing the anode to see how it’s doing, replacing it after it’s about half gone. A 1 1/16” socket is standard for removing all water heater anodes, though the job often requires a lot of muscle. Shut off the water to the tank, then let all the pressure drain out the open drain valve. A helper with a piece of pipe or 2×2 lumber placed between the outgoing water pipes from the tank is a good way to stop the tank from spinning as you wrench out the old anode. Most brands of tank-style water heaters are very similar, and I needed to pry off a white plastic collar around the anode hex head on the top of the heater to get my socket wrench down onto mine. You’ll probably need to do the same.
Anode removal is a little beyond normal DIY work, but whether you do the job yourself or hire a pro, anode inspection and replacement is still a necessary part of optimizing water heater life. Whenever you declare it to be “anode day” at your house, it’s also a good time to have two or three gallons of vinegar on hand to dump into the tank down the anode hole for deep cleaning results.
Before you do any of this anode stuff, flush the system as best you can, as I explained before. Next, shut off the drain valve, but leave the hose hooked up for now. After the anode comes out, dump vinegar into the tank with a funnel in the hole left by the absent anode, then leave it there for 3 or 4 hours. As long as the remaining sediments that didn’t flush out are soluble minerals (and they almost always are), the vinegar will dissolve them. Of course you won’t have hot water while all this is happening, so pick your time of day.
Final Flushing
Finish up by flushing the vinegar out as you did before. Remove the garden hose and close the valve, replace the anode rod (either the old one if it’s still good, or a new one), turn the water to the tank back on. Open hot water taps somewhere in the house until air stops coming out and water flows freely. When you’re sure the tank is completely filled with water (and only then), turn the electricity or gas back on. You’re now very much in the minority. You’ve got a squeaky-clean water heater that’ll work as efficiently as it’s designed to for the next year or so.
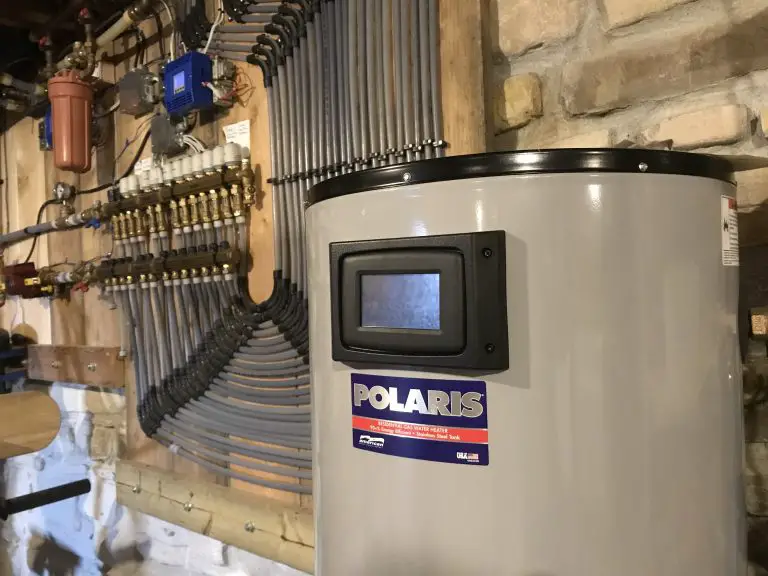
Water heaters can be used for more than just heating domestic water. Some heaters are capable of being the source of warmth for powering hot water space heating, too. Watch the video below to see for yourself.
- Video#2 Watch Time = 12 1/2 minutes


I hope you found this content useful!
Your generous support helps me produce more practical, hands-on content that I hope you’ll find useful.
Steve Maxwell