Mold: A Common Problem in Canadian Homes
My niece moved into a basement apartment early last year, but she had to move out six months later because the place smelled so strongly of mold and mildew that it was making her sick. Like many musty Canadian basements, there were no visible signs of decay. The trouble originated from under floors and behind walls, and the problem sprang from bad decisions made years earlier when the space was originally finished. Averting this kind of trouble can only happen at the earliest stages of basement renovations, and success involves often overlooked construction details.
The Causes of Basement Mold
 Basements typically involve physical conditions that don’t exist anywhere else. Cool and potentially damp masonry walls and floors are nothing like the dry, wood-frame walls you see above ground on most Canadian homes. Problems arise when conventional, above-ground construction practices are applied to subterranean spaces.
Most important of all, you need to start by being realistic about just how dry your basement is. Realistic and skeptical. Gravity is always striving to bring liquid water into any basement, and water is the key ingredient that spawns mold, mildew and harmful basement air quality. This is why perennially dry conditions are so important. If your basement leaks visible water, even occasionally, forget finishing until you get that fixed. And even if your basement seems dry for several years in a row, there are two essentials I recommend before finishing.
Basement Finishing Tip#1: Do the Vapour Barrier Test
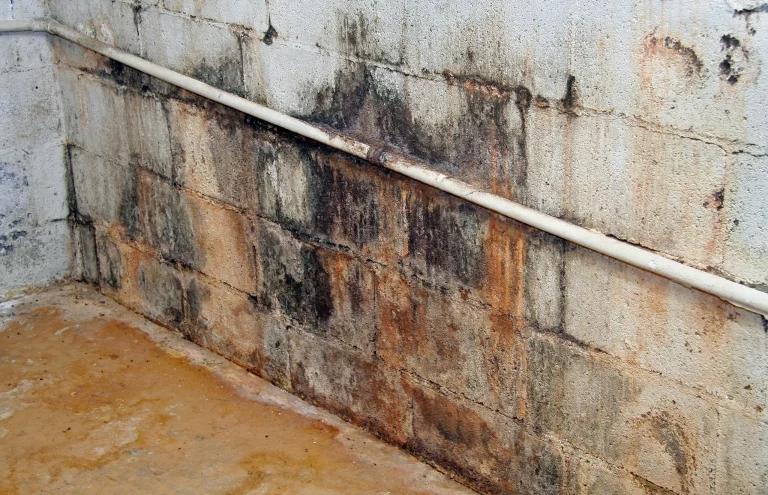
First, tape three or four pieces of 60cm x 60cm clear plastic vapour barrier on walls and floor and watch for moisture. Water that sneaks into your basement in the form of vapour is every bit as mold-encouraging as an actual flood, and these pieces of test plastic will let you see if this is happening before surfaces get sealed behind wood. Besides moisture behind the plastic, white and fluffy mineral efflorescence on bare masonry walls also indicates an inward migration of moisture. It happens most often where walls meet floors.
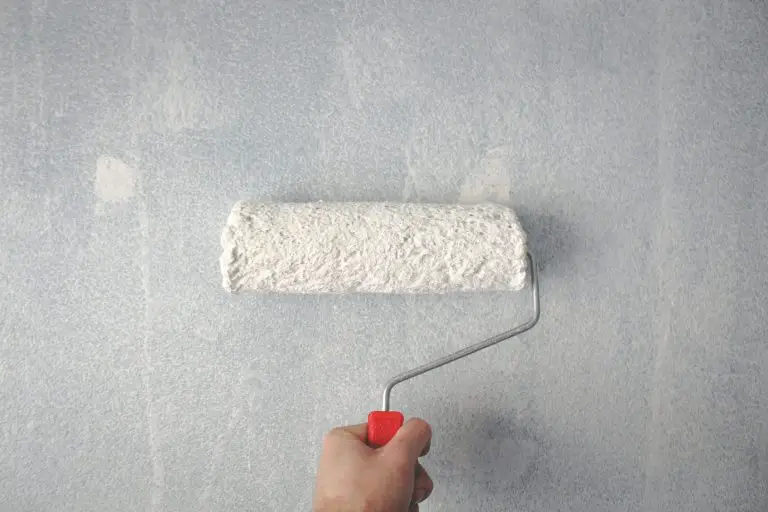
Basement Finishing Tip #2: Apply a Good Waterproof Coating
The right kind of waterproof coating can stop both liquid moisture and the invisible moisture movement that causes efflorescence. According to independent lab tests I’ve seen, the best product I know of is Drylok. Although it’s carried by major retailers, store clerks don’t often know about it. I’ve compiled a list of suppliers and stock numbers.
Even if your basement appears dry, a waterproof coating applied to the inside surface is wise insurance before you start putting up finished walls and floors. The only drawback is that Drylok needs to be applied over bare, clean masonry only. It won’t work properly over old paint.
A reliably waterproof basement is the starting point, but water creeping into your basement from the soil is only part of the mold hazard. Condensed moisture from the air during hot, humid times of the year can also kickstart hidden mold growth and harmful air quality if you don’t take measures to stop it. The trick is making sure this air doesn’t come in contact with cool basement wall and floor surfaces, and this is where a couple of strategies are crucial.
Basement Finishing Tip #3: Avoid Direct Contact between Carpeting and Basement Floors
Preventing condensation is the main reason you must never install carpet directly on a basement floor. Even with an underpad, the potential for air infiltrating the carpet and condensing against the floor is too great. In fact, you’re much more likely to have condensation occur within a carpet than directly on concrete surfaces because the carpet keeps the surface cooler. This is where basement subfloor panels offer so much value. They keep basement air from ever contacting cool surfaces that often trigger condensation.
Check out a detailed plan outlining the full range of options for best basement finishing.


I hope you found this content useful!
Your generous support helps me produce more practical, hands-on content that I hope you’ll find useful.
Steve Maxwell