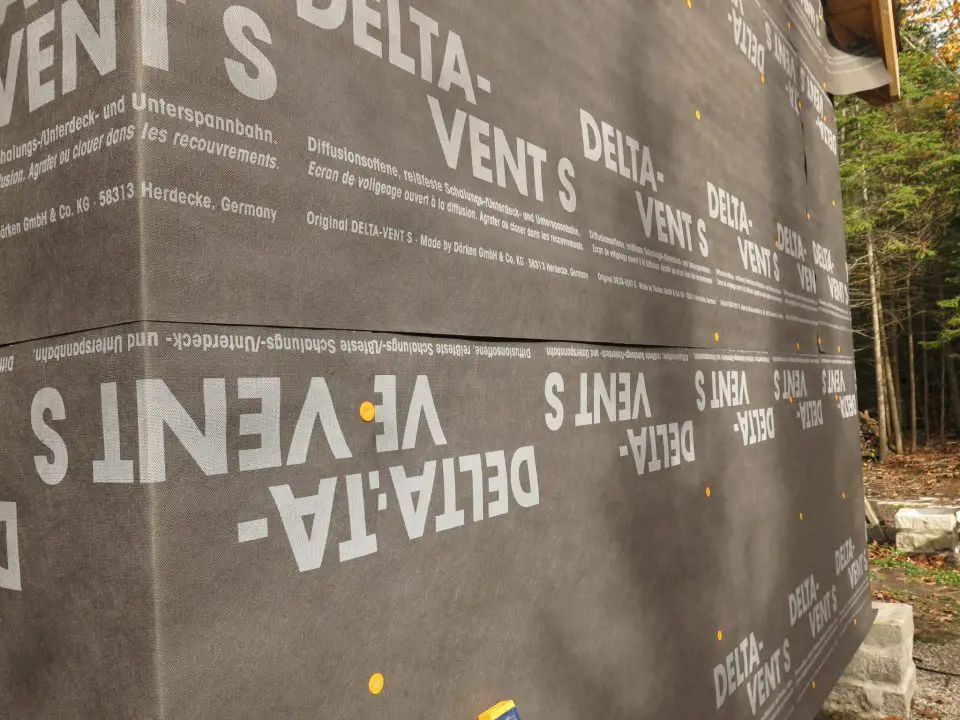
The idea was straightforward: wrap the house in a thick blanket of rigid foam and watch the energy bills drop. No drafts, no cold spots, no regrets. That’s how it looked on paper.
But a few days into the project—tools scattered, foam sheets flexing in the wind, fasteners missing their mark—I realized I’d underestimated the details. Exterior insulation seems like a smart upgrade (and it is), but doing it right takes more than a trip to the hardware store and a weekend of free time. There are small missteps that lead to big inefficiencies later on. The kind you don’t see until the siding’s up and the weather moves in.
If I could rewind and do it again, I’d approach the whole process differently.
Lesson 1: Choosing the Right Material Is Only Step One
Rigid foam seemed like the obvious pick. It’s lightweight, easy to cut, and delivers solid thermal performance without the bulk of batt insulation. I was sold on the idea before I even opened the first bundle. What I didn’t realize is how quickly the material choice fades into the background once the actual install begins.
It’s one thing to pick a high-R-value board. It’s another to ensure that the board performs as intended—tight to the sheathing, sealed at the seams, and supported properly from the outside. Every uneven surface, every bowed stud, every slight misalignment creates gaps that siphon heat and pull moisture in. I spent more time than expected adjusting foam panels, fussing with adhesive, and second-guessing my layout.
There’s also the issue of what comes next. You can’t just stick foam to a wall and call it good. Cladding requires a suitable substrate to adhere to, and not every furring solution is compatible with thick exterior insulation. I learned that too late.
If I’d looked beyond just which foam to use and thought more carefully about the entire system, I would have saved myself a lot of rework. Planning the full scope of a rigid foam board installation—from material to attachment to finish—is what makes the difference between a solid job and a headache.
Lesson 2: Attaching Cladding Over Foam Can Be a Challenge
Once the insulation was in place, the real challenge revealed itself—getting the cladding to sit straight, stay in position, and withstand the test of time. Standard furring strips weren’t cutting it. The screws sank too deep, compressing the foam and throwing everything out of alignment. Some strips warped. Others slipped just enough to throw off the reveal, leaving me spending more time shimming and correcting than actually building.
Initially, I thought it was simply user error. But the issue wasn’t my technique—it was the setup. Foam by itself doesn’t provide the structure that siding relies on. Without a precise connection to the framing, furring can slip out of alignment, putting the entire cladding system at risk of movement or premature failure.
What I wish I’d known from the start is that there’s a bracket made for exactly this kind of setup. The X-Bracket System is designed to hold furring over foam without crushing it, keeping the insulation layer intact while providing a solid, level base for siding. Instead of improvising with makeshift solutions, I could have used a product built specifically for attaching cladding over foam, which would have been cleaner, faster, and a lot less frustrating.
Lesson 3: Moisture Management and Air Sealing Are Crucial
When you’re focused on insulation, it’s easy to treat water as an afterthought. I figured the foam would act as a barrier on its own. I sealed the joints and filled the gaps, assuming that was enough. It wasn’t.
Once insulation is applied to the outside of a wall, everything changes. What used to dry inward now needs to dry outward—or not at all. Even small missteps, such as missing tape over a seam or skipping flashing above a window, can lead to trapped moisture that quietly erodes the sheathing and framing behind the scenes.
That was a blind spot in my planning. I thought I understood insulation, but I hadn’t factored in how it affects air movement and moisture flow. A lot of homeowners don’t. The U.S. Department of Energy’s insulation guide clearly lays out the basics, including how insulation must work in tandem with air sealing and vapor control to deliver long-term efficiency.
What I wish I’d done is map out the moisture strategy before picking up a single sheet of foam. Every cut, every fastener, every transition needed to be part of that plan. Because keeping heat in only matters if you’re keeping water out too.
Lesson 4: Fasteners, Furring, and Frustration—Simplifying the Build
There’s nothing quite like holding a drill in one hand, a level in the other, and realizing your furring strip has disappeared into three inches of foam. I spent more time than I care to admit pulling screws, adjusting the alignment, and trying to locate the framing through layers of insulation and house wrap. Even with careful planning, lining up every fastener through foam is harder than it looks.
Additionally, the pressure from the screws often compressed the foam enough to throw everything off. Some strips bowed. Others shifted just enough to ripple the cladding later. It felt like every step forward meant two steps of correction.
What would have made all the difference is a system that removed the guesswork—something designed to create a secure, spaced-out, fastening layer that holds its shape. That’s where the X-Bracket comes in. It locks into the foam and provides a rigid, consistent base for furring strips. No guessing, no compression, no drifting lines. Just a clean, solid structure to build on.
If I had started with that in place, everything that followed—cladding, trim, corners—would’ve gone faster and come out cleaner.
Wrap-Up: What I’d Do Differently Next Time
Looking back, the insulation itself wasn’t the challenge. It was everything around it—fastening, sealing, planning for water, and making sure the wall system actually worked as a whole. I entered the project focused on R-value and foam thickness, but overlooked the structural and environmental details that truly determine long-term performance.
If I were to do it again, I’d start by thinking through the entire assembly: How will the wall shed water? Where will the cladding fasten? What needs to stay airtight? Those aren’t finishing touches—they’re the foundation of a well-built exterior wall.Insulation is worth doing. Just make sure it’s done with the full picture in mind. That means thinking beyond R-value and examining moisture flow, air sealing, and long-term durability closely. If anything surprised me during this project, it was how many of my early assumptions didn’t hold up under real conditions. Anyone planning exterior upgrades would benefit from clarifying misconceptions about insulation performance before starting a project.


