Got a deck building project in mind for your house? Most people who build decks or have a deck built by a professional don’t realize how much a router can do to boost the beauty and elegance of the final result. And the thing is, using a router as part of deck building is easy to do, and adds almost no time to the construction process. This article is about three ways a router and specific bits can boost the beauty of your new deck. Watch the video below to see how different bits are used to enhance all kinds of outdoor projects.
- Video Watch Time = 2 1/4 minutes
Deck Design Router Bit#1: The 3/4″ Radius Roundover
If you can afford only one bit to supercharge your deck building efforts, the 3/4″ radius roundover is it. Versatility is the reason why. Two passes of this bit – one along one face of standard 1 1/2 inch thick decking, and a second pass along the other – creates a true semicircular bullnose profile. This is ideal where full-sized lumber overhangs the edges of decks and stair treads. A semi-circular profile looks much nicer than square-edged lumber, and wears more durably, too. You’ll also find this same 3/4″ radius roundover useful for all kinds of outdoor woodworking projects as well as larger pieces of furniture and built-ins. It’s amazing how much beauty something like this adds to a deck. To get best results, use a random orbit sander to smooth and refine the profile produced by the two passes from the bit. It takes just a few minutes but that 2×6 or 2×8 deck board won’t look like ordinary construction lumber any more.
Deck Design Router Bit#2: The 2 1/2″ Diameter 45º Chamfer

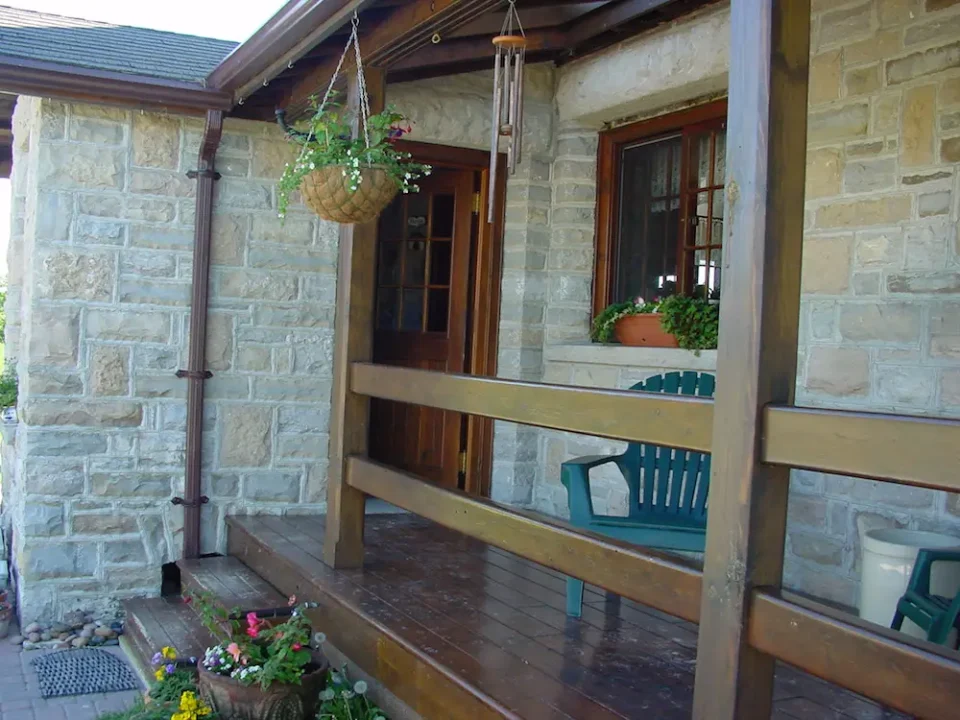
This bit does wonders for deck posts and beams. It’s big, but perfectly proportioned for the large dimensions of deck construction. It lets you create classy, angled edges on all kinds of vertical supports, railing structures and veranda posts. Just don’t be misled by the bit’s size. Even though it’s big, it works perfectly in all large and mid-sized routers, even down to 2 1/4 horsepower. You’ll achieve best results if you start and stop your chamfers several inches from the ends of the parts you’re routing. The timber work you see here is part of the clothesline support I built at my place, including chamfered edges.
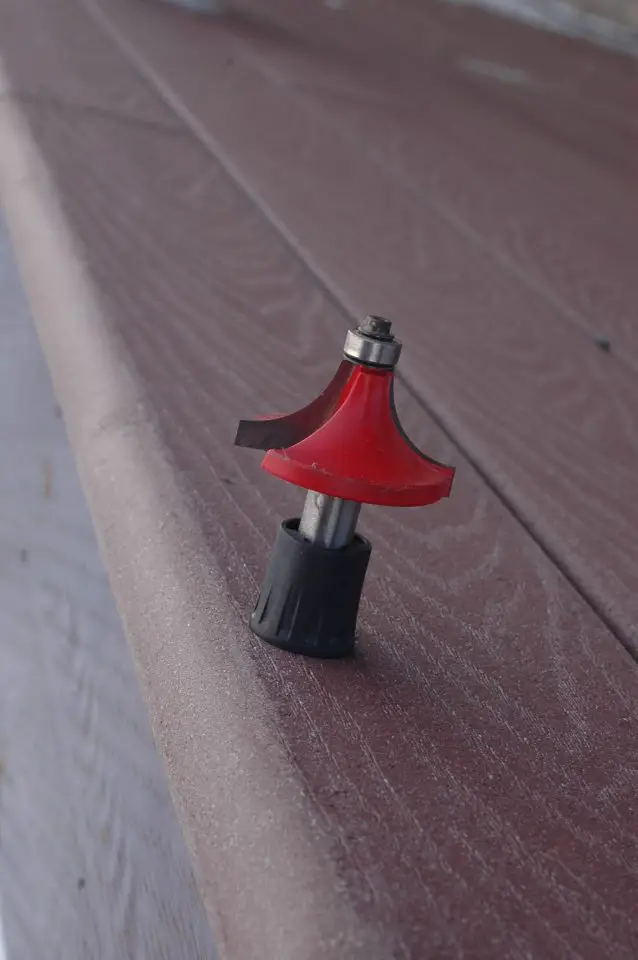
Deck Design Router Bit#3: The Large Flush-Trim
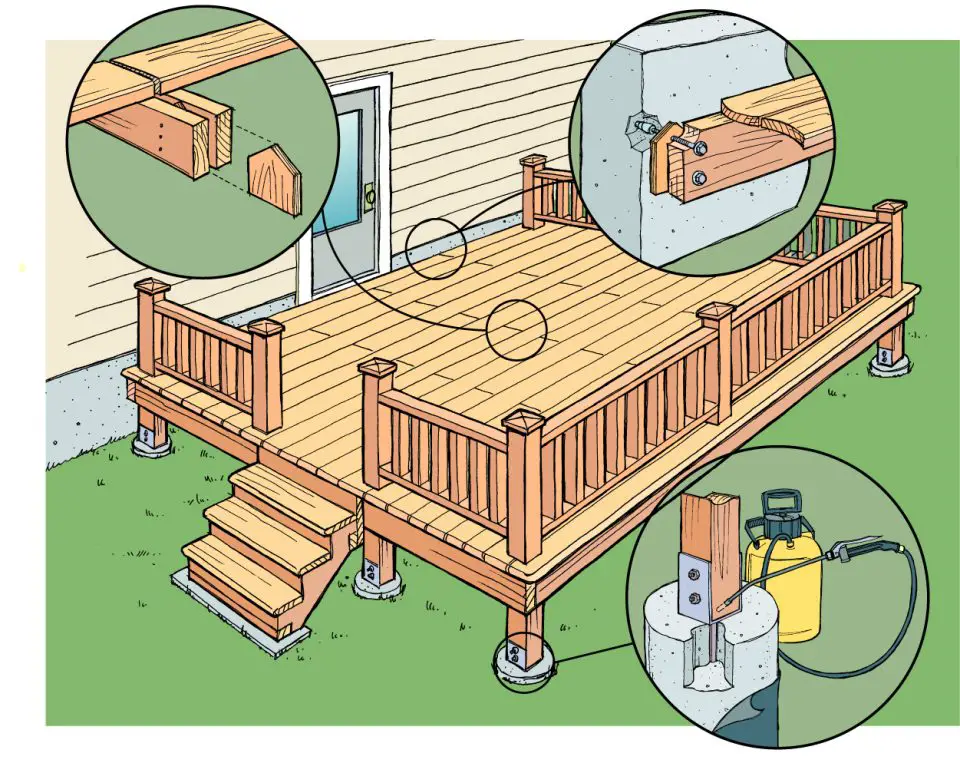
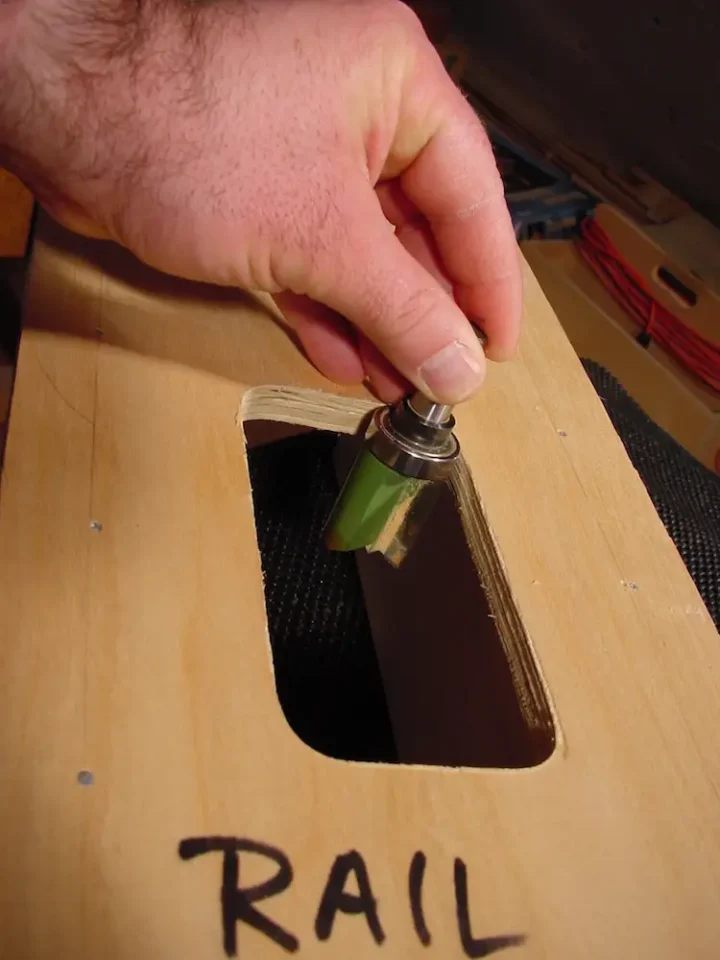
One place where typical deck designs usually flop is where horizontal railings meet vertical posts. Metal connections or toenailed joints look bad enough to taint an otherwise outstanding deck, but a large flush trimming bit offers one way around this challenge. Models with a bearing on the shaft make it easy to quickly create large, deep mortises to accept the ends of rails. Create a plywood template of the mortise size you want, clamp it to your post, then plunge the spinning router bit into the wood and let the bearing follow the inside edge of your template. That’s the pattern and bit you see below.
Not many deck builders have discovered the value of routed details, and rarity is one reason why these enhancements are so valuable. Another is good looks. You simply can’t beat the stunning appearance of a deck that’s discernibly richer thanks to its classy, routed details.


I hope you found this content useful!
Your generous support helps me produce more practical, hands-on content that I hope you’ll find useful.
Steve Maxwell