Are you interested in learning to work with wood? You’ve come to the right place. The best way to make that happen is to practice doing things the right way, and that’s what you’ll begin to learn here, with the simple footstool you see below. That project is part of my online course called Woodworking for Beginners. Sign up and use the coupon code BONUS$30 for a $30 discount. This footstool is a great project to practice fundamental woodworking skills and I’ve used this design to help hundreds of people take their first steps working with wood. But before that happens, I always remind people to start with some fundamental woodworking philosophy.

What Woodworking is All About
The essential nature of woodworking is cutting lumber into pieces and then joining those pieces together in different ways. The footstool design is made to exercise these essential skills and it has four parts: two uprights, one crosspiece and one top. The exact dimensions of these parts is not crucial, it’s the steps involved in making the stool that matter. Click below to download a copy of the plans.

Footstool Step#1: Buy Your Wood
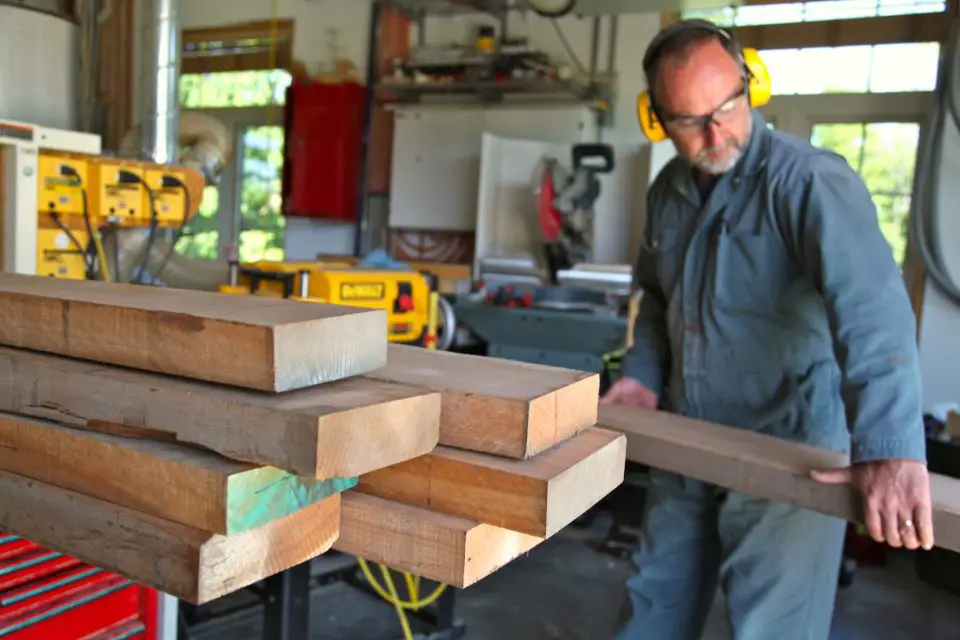
There’s more to buying wood than heading to the nearest building centre and grabbing the first board you find. For this footstool project you’ll need at least an 8-foot-long 2×10 (plus ten screws for assembly). This footstool could be made from any kind of wood, but I recommend that you use 1½-inch thick, construction-grade softwood lumber. This is the stuff used to build houses and is widely available, strong, easy to work with and as economical as lumber gets.
Step#2: Saw Footstool Parts to Size
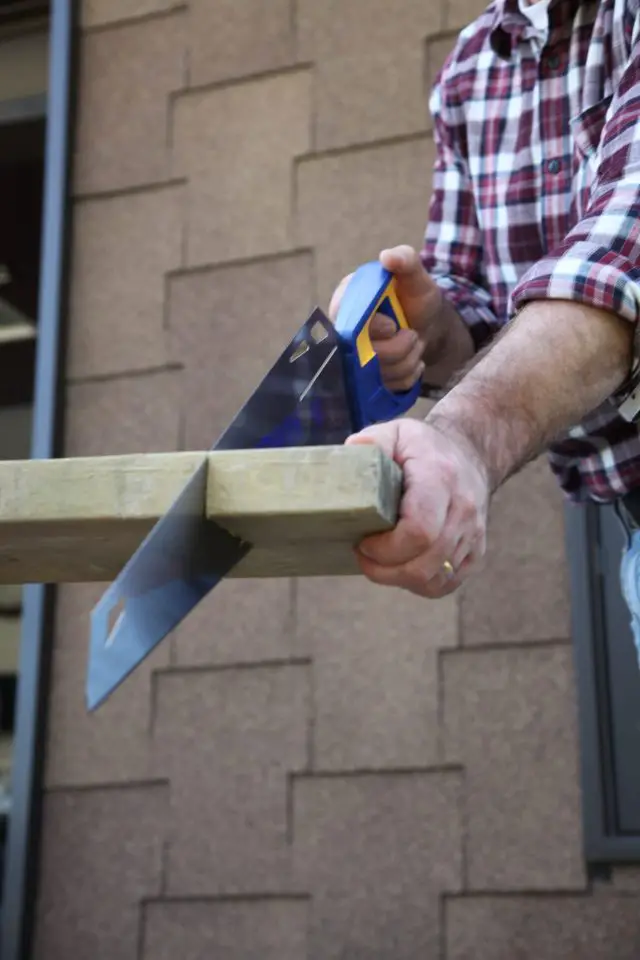
Although many people cut wood with electric saws, I recommend that you begin your woodworking training with a good handsaw.Even high quality handsaws can be surprisingly cheap so you can try woodworking without spending much money. Even if you decide you don’t enjoy it, you’ve spent only about $30 USD for the Irwin 20″ handsaw I recommend in the course. Handsaws are safer than power saws, they’re quiet, portable, “cordless” and create no airborne dust. Handsaws build hand-eye coordination, they’re safe and they can be surprisingly accurate. All saws create some dust, but sawdust created by a handsaw is coarse and simply falls to the ground. Handsaws don’t kick up fine clouds of airborne dust. A good handsaw is easy to get along with (both for you and others nearby), portable and surprisingly efficient. You’ll always use a handsaw too, even if just for pruning tree branches.
Step#3: Assemble the Legs of Your Footstool

Once you’ve cut the parts, bring them together for a test fit, without using screws and glue. This is more important with more complicated projects, but it’s always good to get into the habit of test fitting parts often as you build. By putting two parts in their final position, you can easily see if you’ve made a cutting error before it’s too late to fix. Applying glue, installing screws, hardware, and drilling pilot holes – these are difficult steps to undo, so you want to be sure the parts fit before making a commitment. When you get into more complicated joinery, test fitting is essential because you’ll often have to adjust the fit of certain joints by sanding or planing to make everything come together perfectly. In complex projects, test fitting can also give you advance warning of unseen pitfalls you may encounter later.
Place the top upside down on your bench, set the legs on it, along with the crosspiece that will bridge the two legs. How does everything look? If you measured and marked carefully, and you made reasonably square cuts, your stool will come together well, sit flat and may even be wobble-free after final assembly.
Begin assembly by joining the crosspiece to the two legs, with the crosspiece centered on the legs side-to-side. The top ends of the crosspiece and legs must be even with each other, at what will eventually be the top end of the footstool. The plans above show how screws connect the legs to the crosspiece, but don’t install them just yet. Be sure to watch the video at the end of this article first. It includes some small but key tips for this first stage of assembly. This video is one of dozens that are part of my Woodworking for Beginners online course.
Step#4: Fasten the Footstool Top
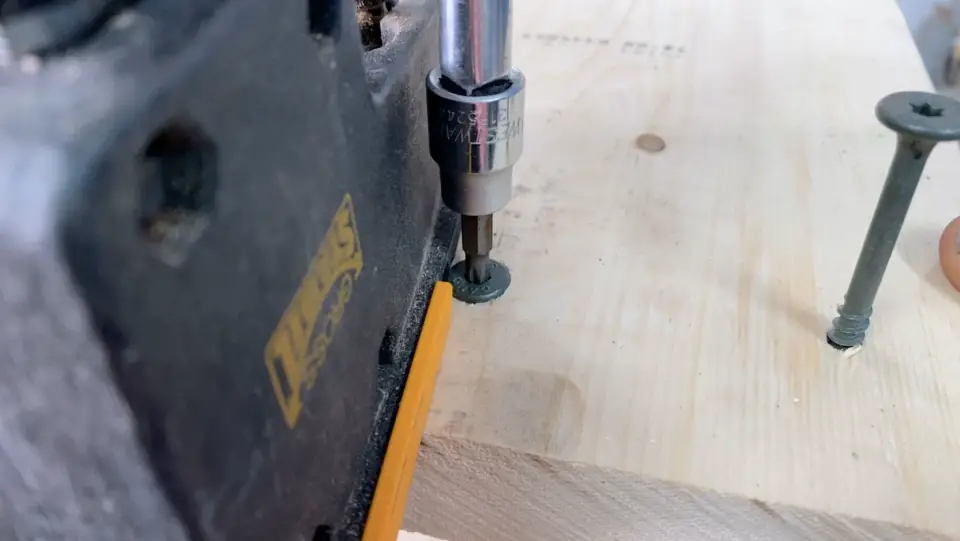
At this stage you should have two legs connected with a crosspiece in an H shape. The top side of this assembly will have edges in the same plane, with the bottom ends of the legs resting on your workbench. The trick with the top is two-fold. First, it needs to be centered on the leg assembly. Second, the screws you drive to secure the top to the legs and crosspiece need to land in the center of the edges of these pieces, driven straight down and in an even and balanced pattern. That’s what you see happening above.
Step#5: Examine the Results
Look closely at your footstool when it’s assembled for two reasons. For one, you can assess how you’ve done using a checklist. This is not to find fault, but to understand how you can improve your results in the future. Here’s the checklist:
- Are cuts square and even?
- Do the joints come together tightly along their whole length?
- Does your footstool sit flat and solidly?
- Are the screws driven evenly and cleanly?
The other reason to examine your results is to consider how this project could have been designed differently. In every woodworking project, you have many, many design options. In the video below l help you assess your footstool and show you how to solve a common problem–a stool that wobbles instead of sitting solidly on the floor.
Learn Woodworking With Me
If you know nothing about woodworking but have an interest in learning more, my online woodworking course is for you. I’ve put together resources to help you learn the basics, choose some essential tools, and succeed with an actual project. Click below to learn more, and don’t forget to use the coupon code BONUS$30 for a $30 discount.


I hope you found this content useful!
Your generous support helps me produce more practical, hands-on content that I hope you’ll find useful.
Steve Maxwell