One great thing about woodworking is that you can work smart and create a great deal of beauty. However, even with all the right tools and materials at your disposal, there are some things you can do to increase your efficiency and make it easier to complete your projects. Here are five tips to help you work better and get more done in less time.
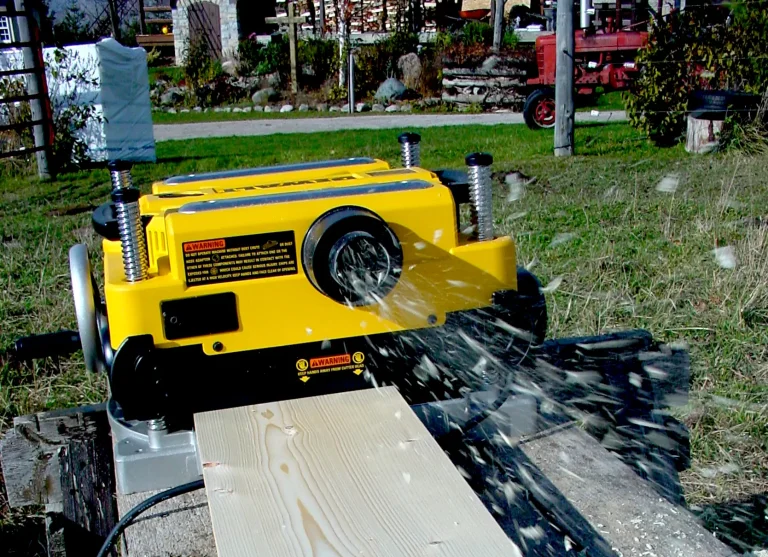
Work With Sharp Blades
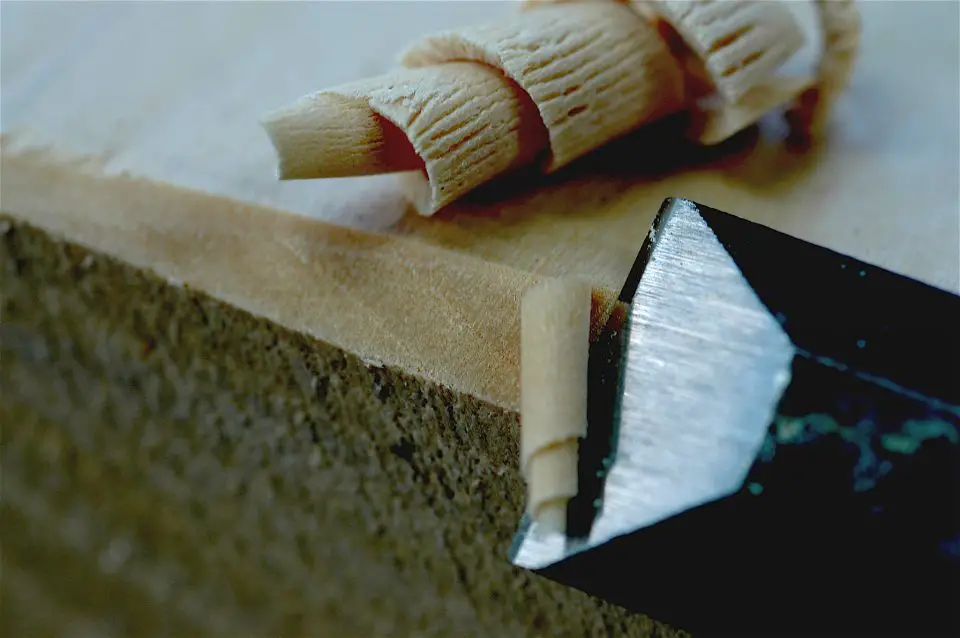
One of the top tips for cutting wood with ease is to keep your tools sharp. This goes without saying, but it’s surprising how few modern woodworkers have ever experienced truly sharp tools. Using dull tools, such as scrapers, chisels, and gouges, won’t give you a clean cut. Instead, they tear the wood fibers, causing an uneven, fuzzy, and unprofessional appearance. If you’re working with any chipped or nicked tools, consider grinding them using a wet grinder, belt sander, or bench grinder. Avoid allowing your tool to get too hot when sharpening with a belt sander or bench grinder. A couple of seconds of contact with the abrasive is all you can safely do before cooling the tool in water.
Once you are done grinding, go ahead and hone your blade. You can polish them using a stropping wheel or fine wet stone, but I much prefer an approach that uses and electric buffing wheel. With sharper blades, your woodworking will be easier, safer, and more efficient. Truly sharp tools are amazing.
Got an oscillating tool you need to keep working well? Sometimes called a “multi-tool”, these hand-held machines work best with great blades. You can see a particularly interesting carbide oscillating tool blades from WonderBlade here.
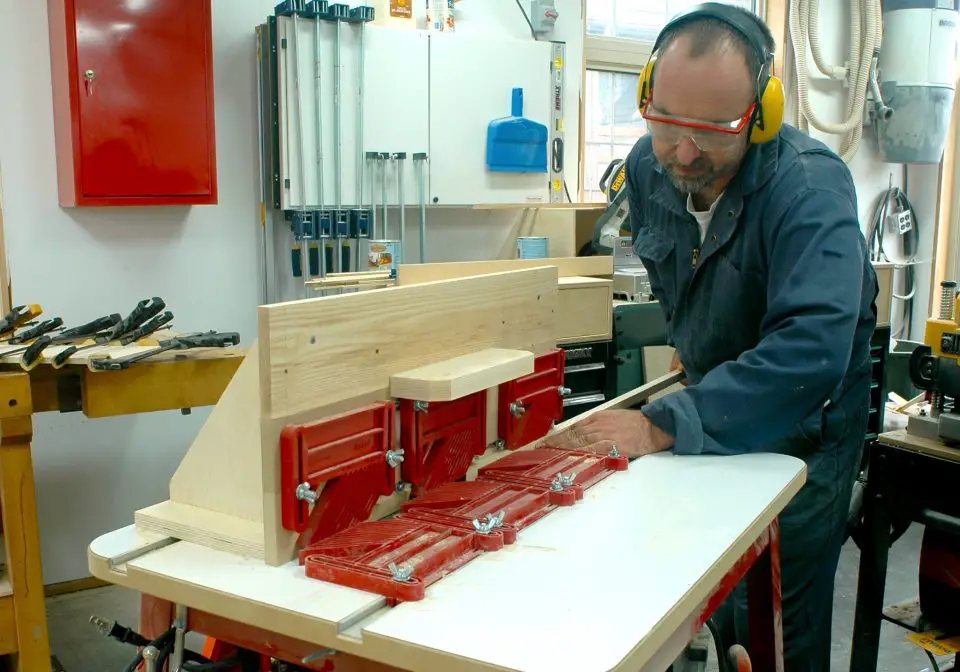
Keep Your Workspace Clean and Orderly

A cluttered workspace can be a major hindrance to good woodworking and many other tasks. Having everything organized and clean frees your mind to focus on the task at hand, helping you be more efficient. It also makes it easier for you to track all your tools and materials. As a result, you get to stay organized and save the time you could spend searching for the necessary tools. Consider storing all tools you need in a small toolbox and only retrieving those you need to use.
Determine Your Wood’s Moisture Content
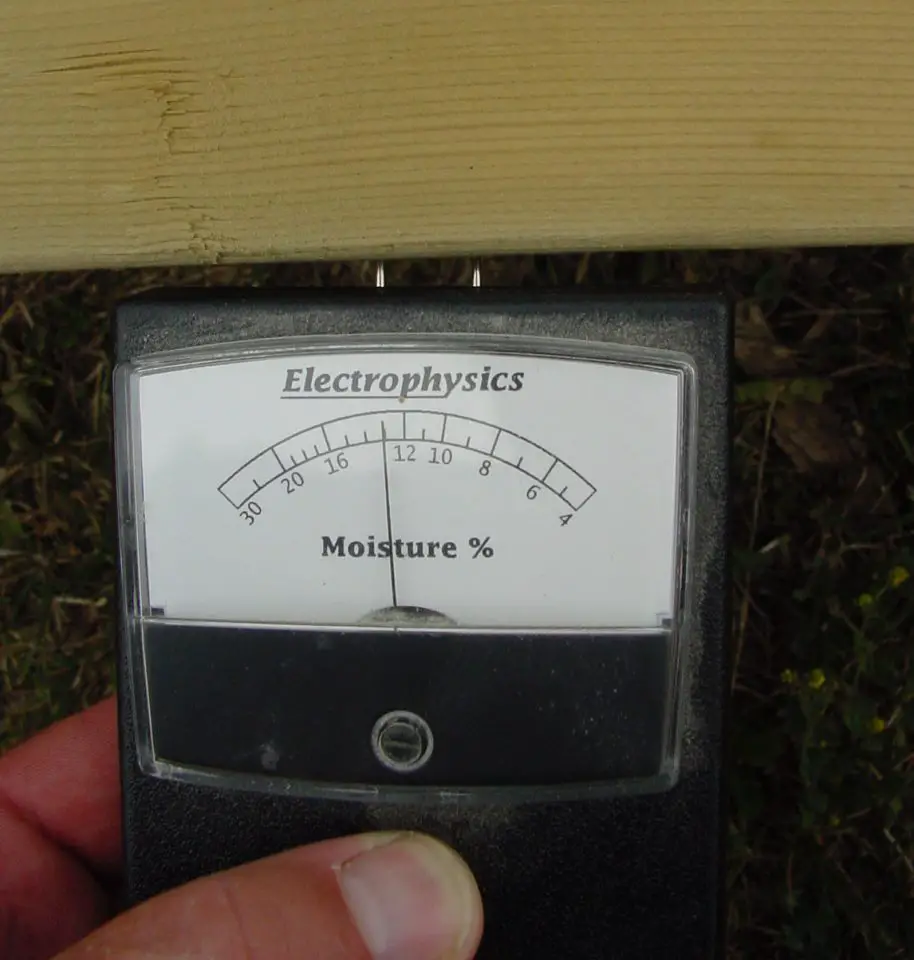
Incorrect wood moisture is the leading cause of nearly all woodworking problems. Knowing the moisture content of every piece of wood you use is helpful as it dictates the quality of your finished product. If your wood is too moist, your end product may warp or shrink. To be safer and avoid ruining your project, use a professional-grade moisture meter to test your wood before using it. Free moisture mobile apps can also help you calculate equilibrium moisture content (EMC) and troubleshoot some wood moisture problems.
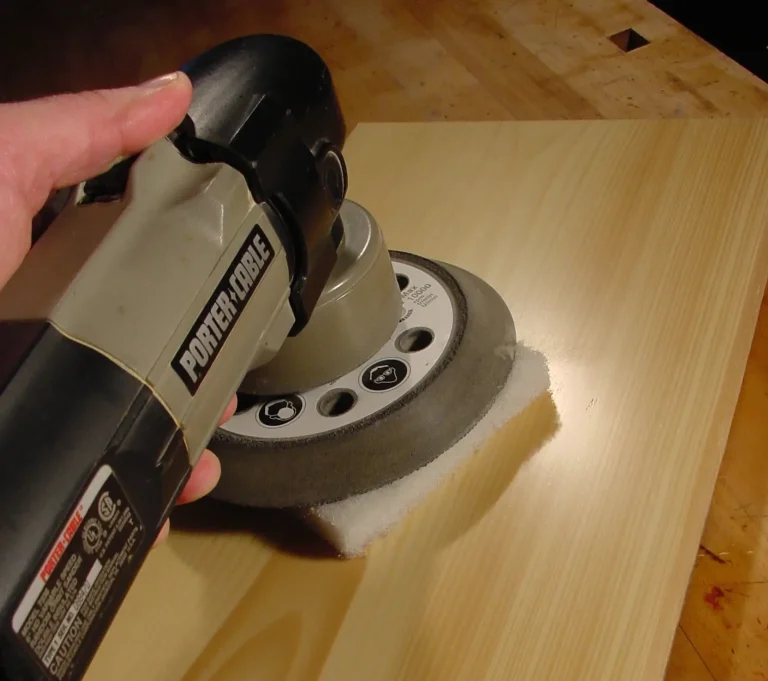
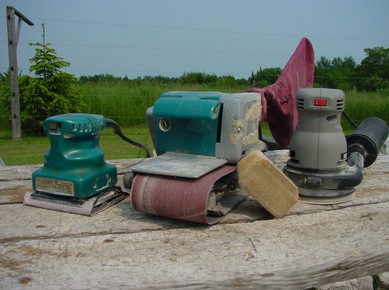
Make Sanding Easier With the Right Tools
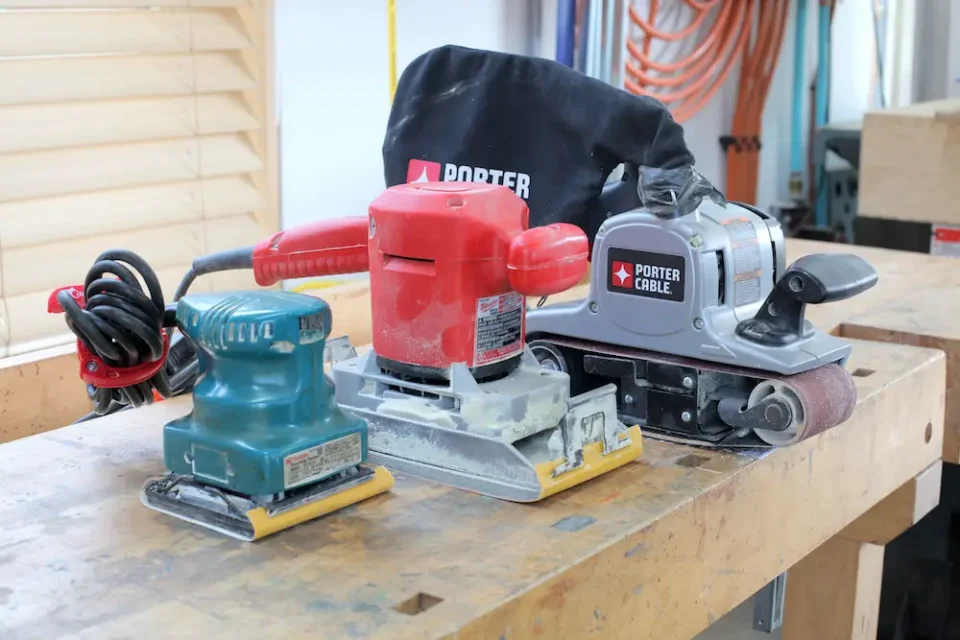
It can be tedious and time-consuming to sand your wood by hand. But with the right tools and premium quality sandpaper, you can drive the much-needed results faster. For more efficient and faster results when sanding by hand, consider using a sanding block. It does a better job than a piece of folded sandpaper, as it evenly distributes sanding pressure to maintain a flatter surface. If you are sanding a painted surface, use clog-resistant sandpaper.
Avoid Glue Stains
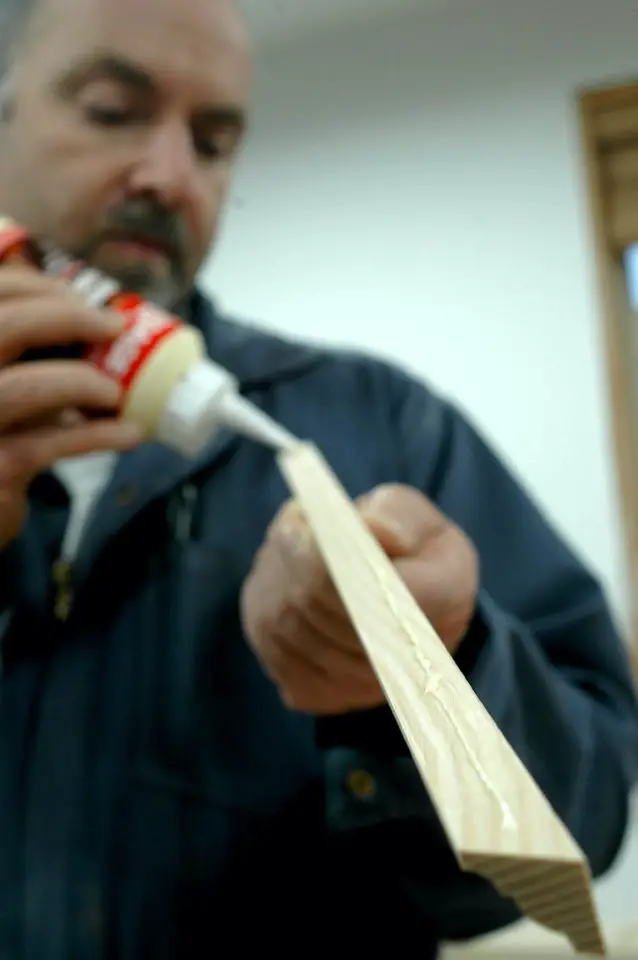
Always clamp your wood pieces together without adding glue first to make sure parts fit together beforehand. After joining your pieces without glue, add some masking tape at the junction and use a utility knife to cut and divide the pieces. You can then rejoin the pieces with the glue and remove the tape before it dries. This will help ensure that the adhesive doesn’t leak on the wood but instead oozes onto the tape.
Being efficient not only helps improve productivity in your woodwork but also enables you to complete your project faster. Follow the tips above as you continue improving your woodworking skill set and knowledge of tools.


I hope you found this content useful!
Your generous support helps me produce more practical, hands-on content that I hope you’ll find useful.
Steve Maxwell