- Video Watch Time = 4 minutes
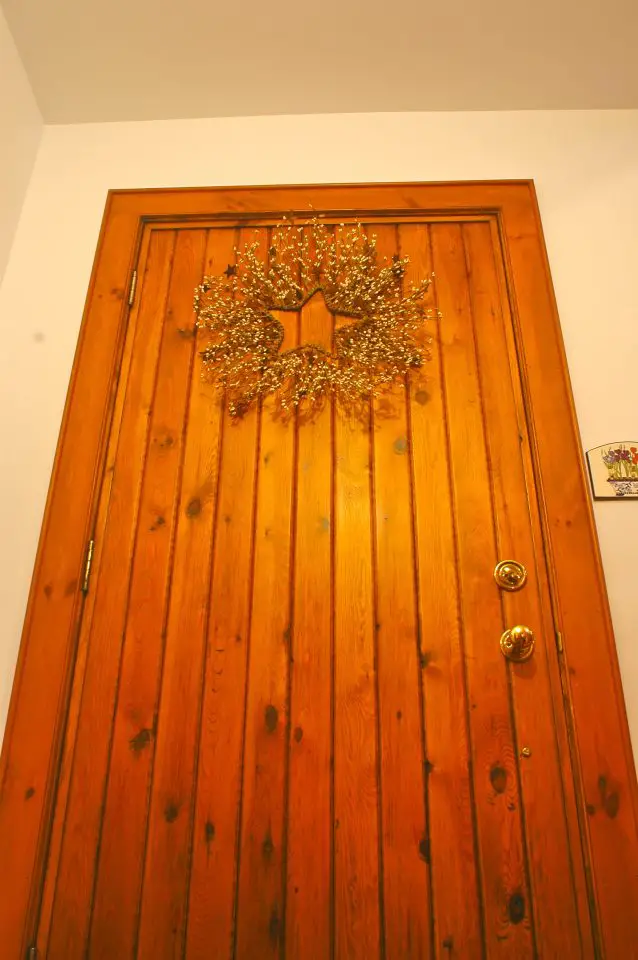
Faster, neater trim and moulding installation with joints that never open up. These are some of the advantages of what I call “trim frames”. You can see one example above, surrounding a door at my place.
Instead of custom-cutting pieces of trim individually before nailing them to the wall one piece by one piece, trim frames are cut and assembled ahead of time into three or four-sided frames, then mounted as one unit on the wall. This demands a completely different way of working, but the advantages are worth it in many situations. There’s no beating trim frames for stain-grade work or any kind of composite trim designs with multiple moulding elements.
Three Problems Avoided
- The process is inefficient because you’re always running back and forth between the chopsaw and wall. It’s unnecessarily tiring.
- The deck is also stacked against tight trim joints because door and window casings typically aren’t flat.
- And even when you do manage to get tight trim joints, there’s no guarantee they’ll stay tight because unconnected wood joints move seasonally.
Trim frames solve all these problems while offering a special advantage for stain-grade work. When you can’t hide your mistakes under a layer of latex caulk, you’ve got no choice but to be good.
How to Begin
Trim frame construction starts with a tape measure. Carefully measure the size of each door and window jamb you’re trimming, note the results, then add an allowance for a reveal along the inside edge of the jamb before making the frames to fit.
In most cases the trim frame approach is only possible because of biscuit or pocket screw joinery. Biscuits are ovals of compressed, manufactured hardwood that fit into slots cut with a hand-held power tool. The result is an ultra-strong and hidden joint, but the way you use biscuit joints for trim frames depends on the kind of trim you’re working with. I use #20 biscuits for most trim frames, though the smaller #10 size is also useful. Pocket joints are held together with special screws driven into angled holes created with a simple jig. Either way – biscuits or pocket screws – the idea is to build a complete frame first, then apply this frame to the wall as a unit.
Choosing Trim Design
The easiest trim for making frames is flat, wide casings that have no profile. This is the basis for traditional, extra-wide trim and moulding designs, with smaller trim and molding elements added afterwards piece-by-piece to enhance the look. Flat trim is usually thick enough that it’s easy to cut biscuit slots on the ends and edges of adjoining pieces of butt-joined trim. Cut the pieces of wood to the length that you need for the top and sides, mill biscuit slots into adjoining ends and edges, then swab glue into the joints with a plumber’s flux brush before bringing parts together with biscuits and clamps. A sheet of plywood or particleboard on sawhorses makes a perfect jobsite workbench, and you only need to leave the joints clamped for 10 minutes before carefully taking the frame out, setting it aside to dry completely, then assembling another frame with the same clamps. Sand, stain and urethane your trim frames when they’re completely dry before they go on the wall. Door frames only have three sides, so temporarily fasten a brace to the back of the trim frame at the bottom. You’ll remove it just before installation on the wall.
Pre-Joining Trim Frames
Trim frame joints are held together securely at the corners, therefore you don’t need nearly as many fasteners to secure a trim frame to the wall. A few 2-inch long, 23-gauge pins every foot or so will hold the frame nicely. If you want to use even fewer fasteners, daub construction adhesive on the back of the trim frame before it goes down.
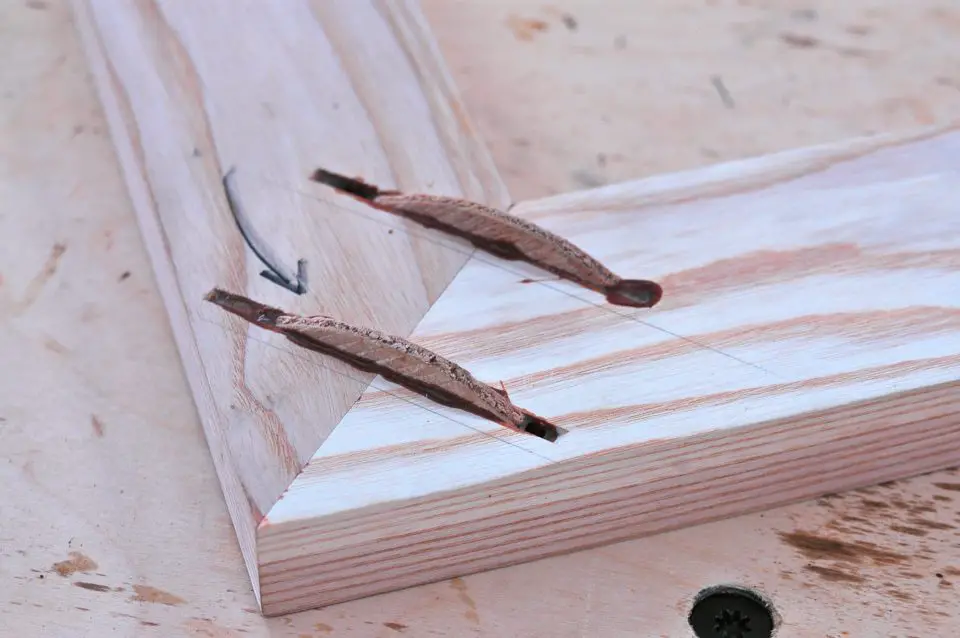
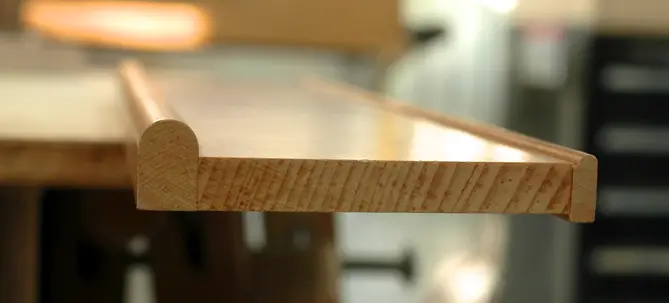
Trim with moulded profiles is more challenging to join into a frame with biscuits ahead of time because you don’t have the chance to sand exposed surfaces flat after assembly. Depending on the complexity of the profile you’re working with, and how accurately you find your biscuit joinery turns out, you may want to try plunged biscuits. Assemble the mitre joints with glue, aligning the surface profile perfectly. Let the glue dry completely, flip the trim frame over gently, then plunge biscuit slots in from behind, making sure they don’t come out the front. Swab glue in the slots, add biscuits, then trim off the excess biscuits after the glue is dry. Plunged biscuit joinery isn’t nearly as fast because you need to wait for glue to dry completely, but it is a lifesaving technique when all else fails.
The further along you progress on a project, the slower and more finicky the work gets. Trim installation proves it for sure. Putting up your own trim on DIY renovations and additions is important because it’s such a visible part of any project. Trim frames are a great way to make sure everyone’s impressed.


I hope you found this content useful!
Your generous support helps me produce more practical, hands-on content that I hope you’ll find useful.
Steve Maxwell