- Video Watch Time = 3 minutes
Brad Elkins is not a contractor, and that’s precisely why his story is worth telling. He’s living proof that an ordinary, energetic homeowner can do excellent and technically complex renovations, all without professional help. Elkins gutted and rebuilt two side-by-side bathrooms in his own home, proving that care, best-practice techniques and old fashioned sweat equity can save cash and yield beautiful, durable results.
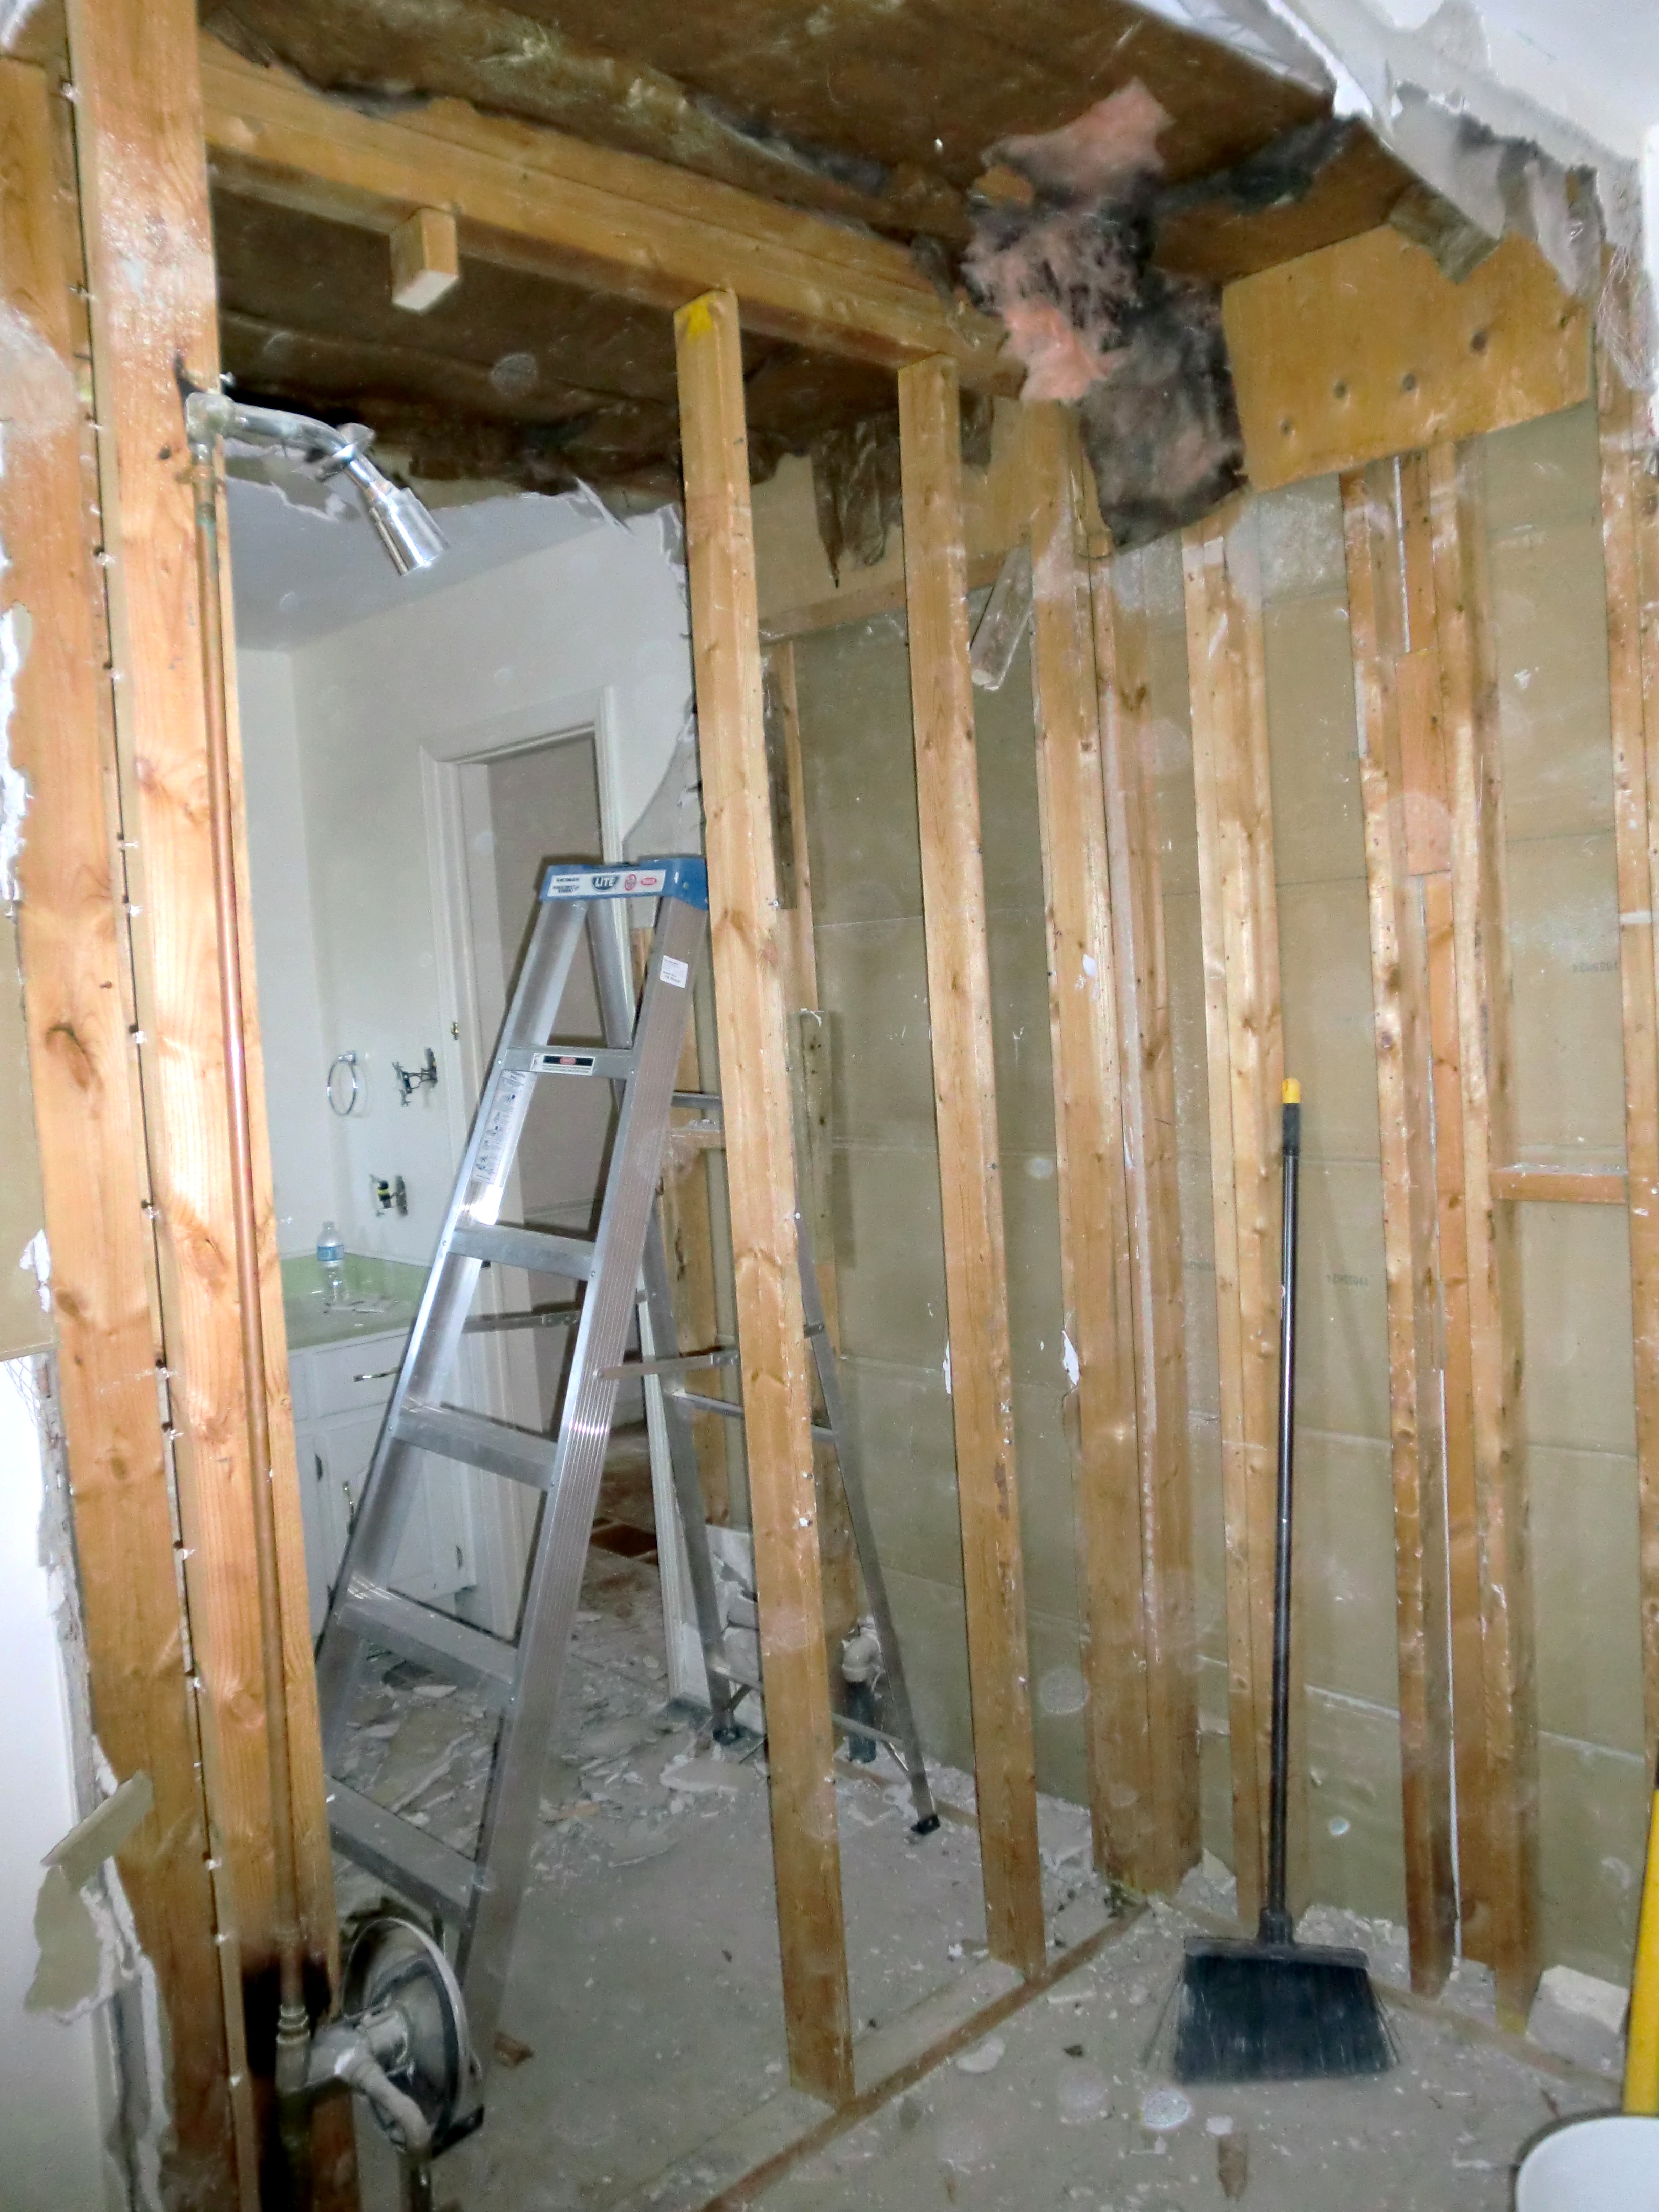
As is common in many modern homes, the two bathrooms in the Elkins residence were infected with rot and mildew. That’s why he wisely stripped the walls back to studs for a fresh start on both of them. The plastic tub surrounds had previously covered mold that developed on the drywall underneath because of leaks around the faucet and corners. Fiberglass insulation in the ceiling was also black and grungy. As it turned out, even the stud frame wall between the two bathrooms was toast, requiring the old studs to be sawn out with a reciprocating saw, removed and replaced. This is quite common with showers and tub surrounds built in the usual way, both years ago and even today. There are better ways to build a shower, and that’s what Brad did.
Shower Stall: Meeting the Moisture Challenge
Bathrooms are unique because they’re small, steamy and wet. No other area of a home combines these conditions to quite the same extent. Trouble is, typical standards for bathroom construction don’t always protect against these realities. In fact, standard modern bathroom construction methods routinely fall short of keeping water in check. The reason this is tolerated is because water damage remains hidden, at least for a while. If there’s one thing that Elkins did exceptionally well, it was to create water resistance from the inside out. This is key to any kind of first-rate bathroom installation, and to make this happen, Elkins relied on three relatively new materials that offer unique advantages.
While it’s true that water resistant drywall is the standard material for bathrooms and tub surrounds, it isn’t as sufficient as it used to be. Changing cultural practices are the reason why. Forty years ago, Canadians took short showers one to three times each week. Nowadays, despite all our talk about conservation, we take longer, hotter and more frequent showers than ever. Water resistant drywall isn’t actually waterproof, and this is why it’s not always up to 21st century bathroom realities.
Shower Stall: Mold-Proof By Design

Avoiding moisture problems from the ground up is why Elkins used a structural foam product on wall studs, instead of moisture resistant drywall. It’s part of a three-part system that’ll keep the unseen structure dry and rot-free, no matter how often showers are taken. Don’t be fooled “water resistant” drywall is not a great material for bathrooms, even though that’s what it’s sold for.
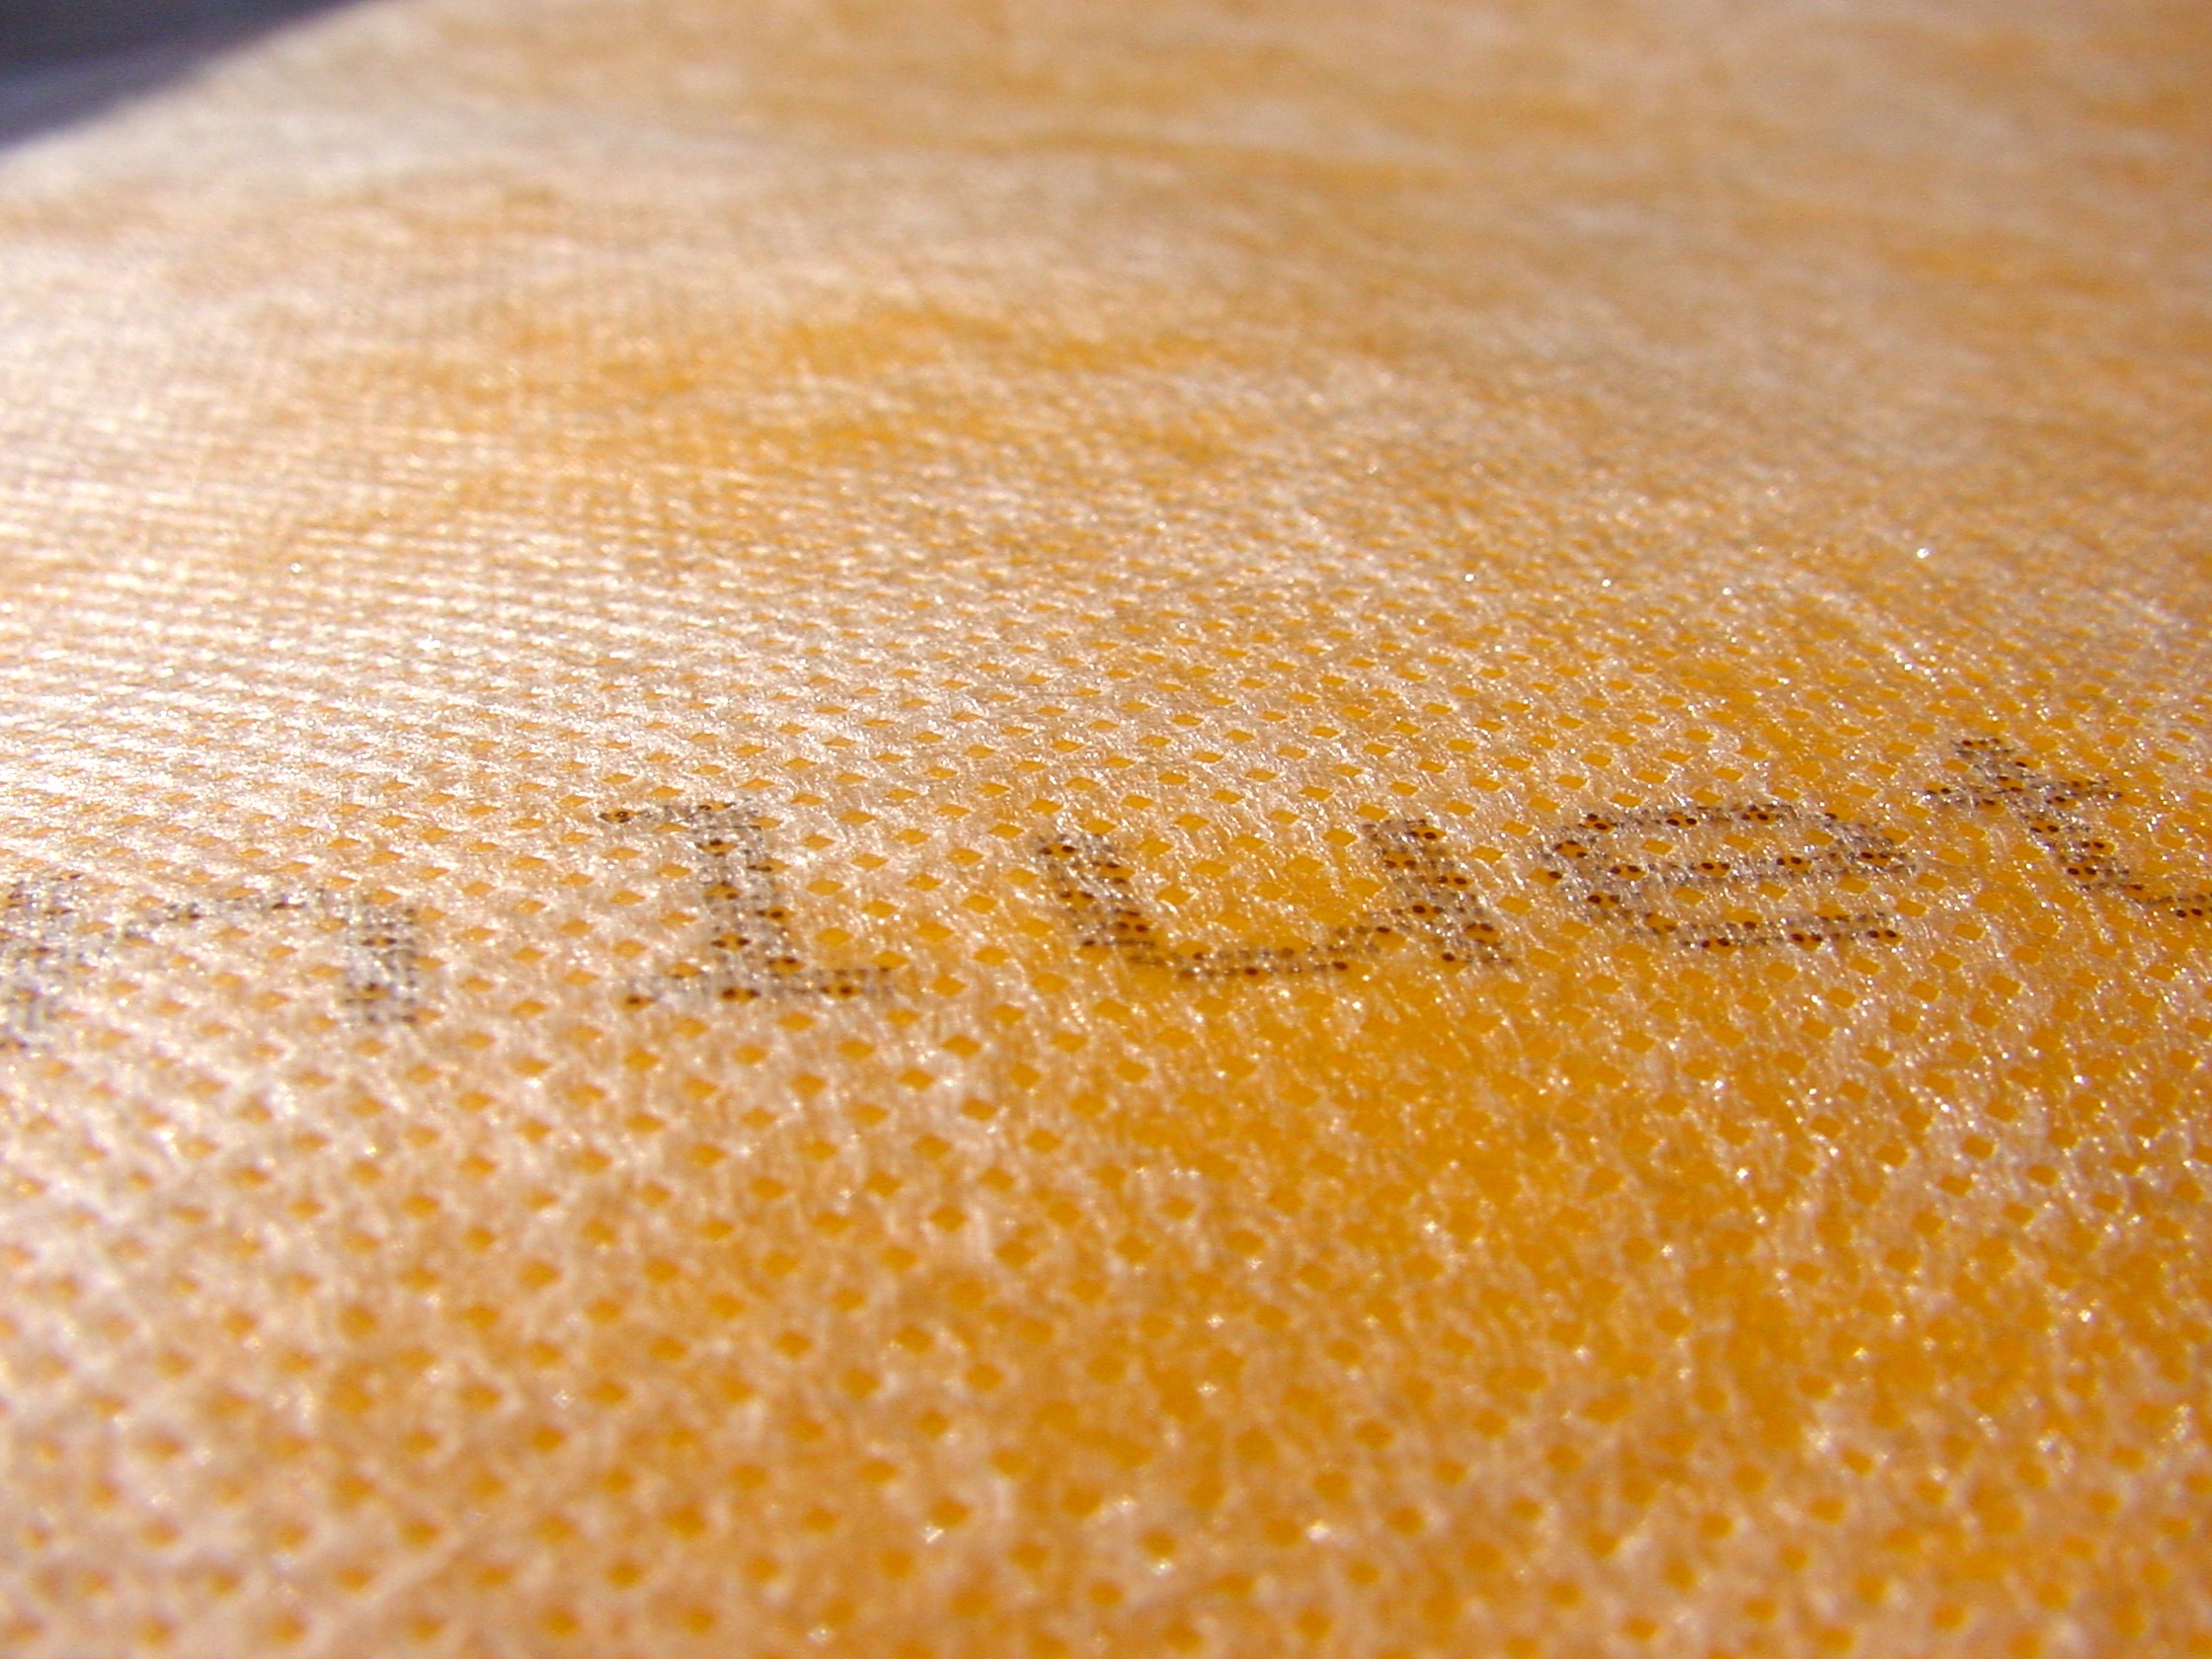
KERDI-BOARD is made by a company called Schluter especially for anchoring tiles, and Elkins used the 3/4”-thick version on wall studs. It cuts much like drywall. Slice through the skin on one side with a utility knife, snap the foam core with a sharp blow, then slice the second skin to complete the cut. KERDI-BOARD fastens with stainless steel washers and screws driven into wall and ceiling studs. The grid pattern printed on the face makes it easy to cut the material square, and to steer level courses of tiles as they go up. Thicker versions of KERDI-BOARD are even strong enough to create partition walls on their own, no studs required. A simple metal edge cap makes 2”-thick KERDI-BOARD self supporting in applications where a shower partition wall extends out into a room from a main wall. Click here to learn more about KERDI-BOARD and how it works.
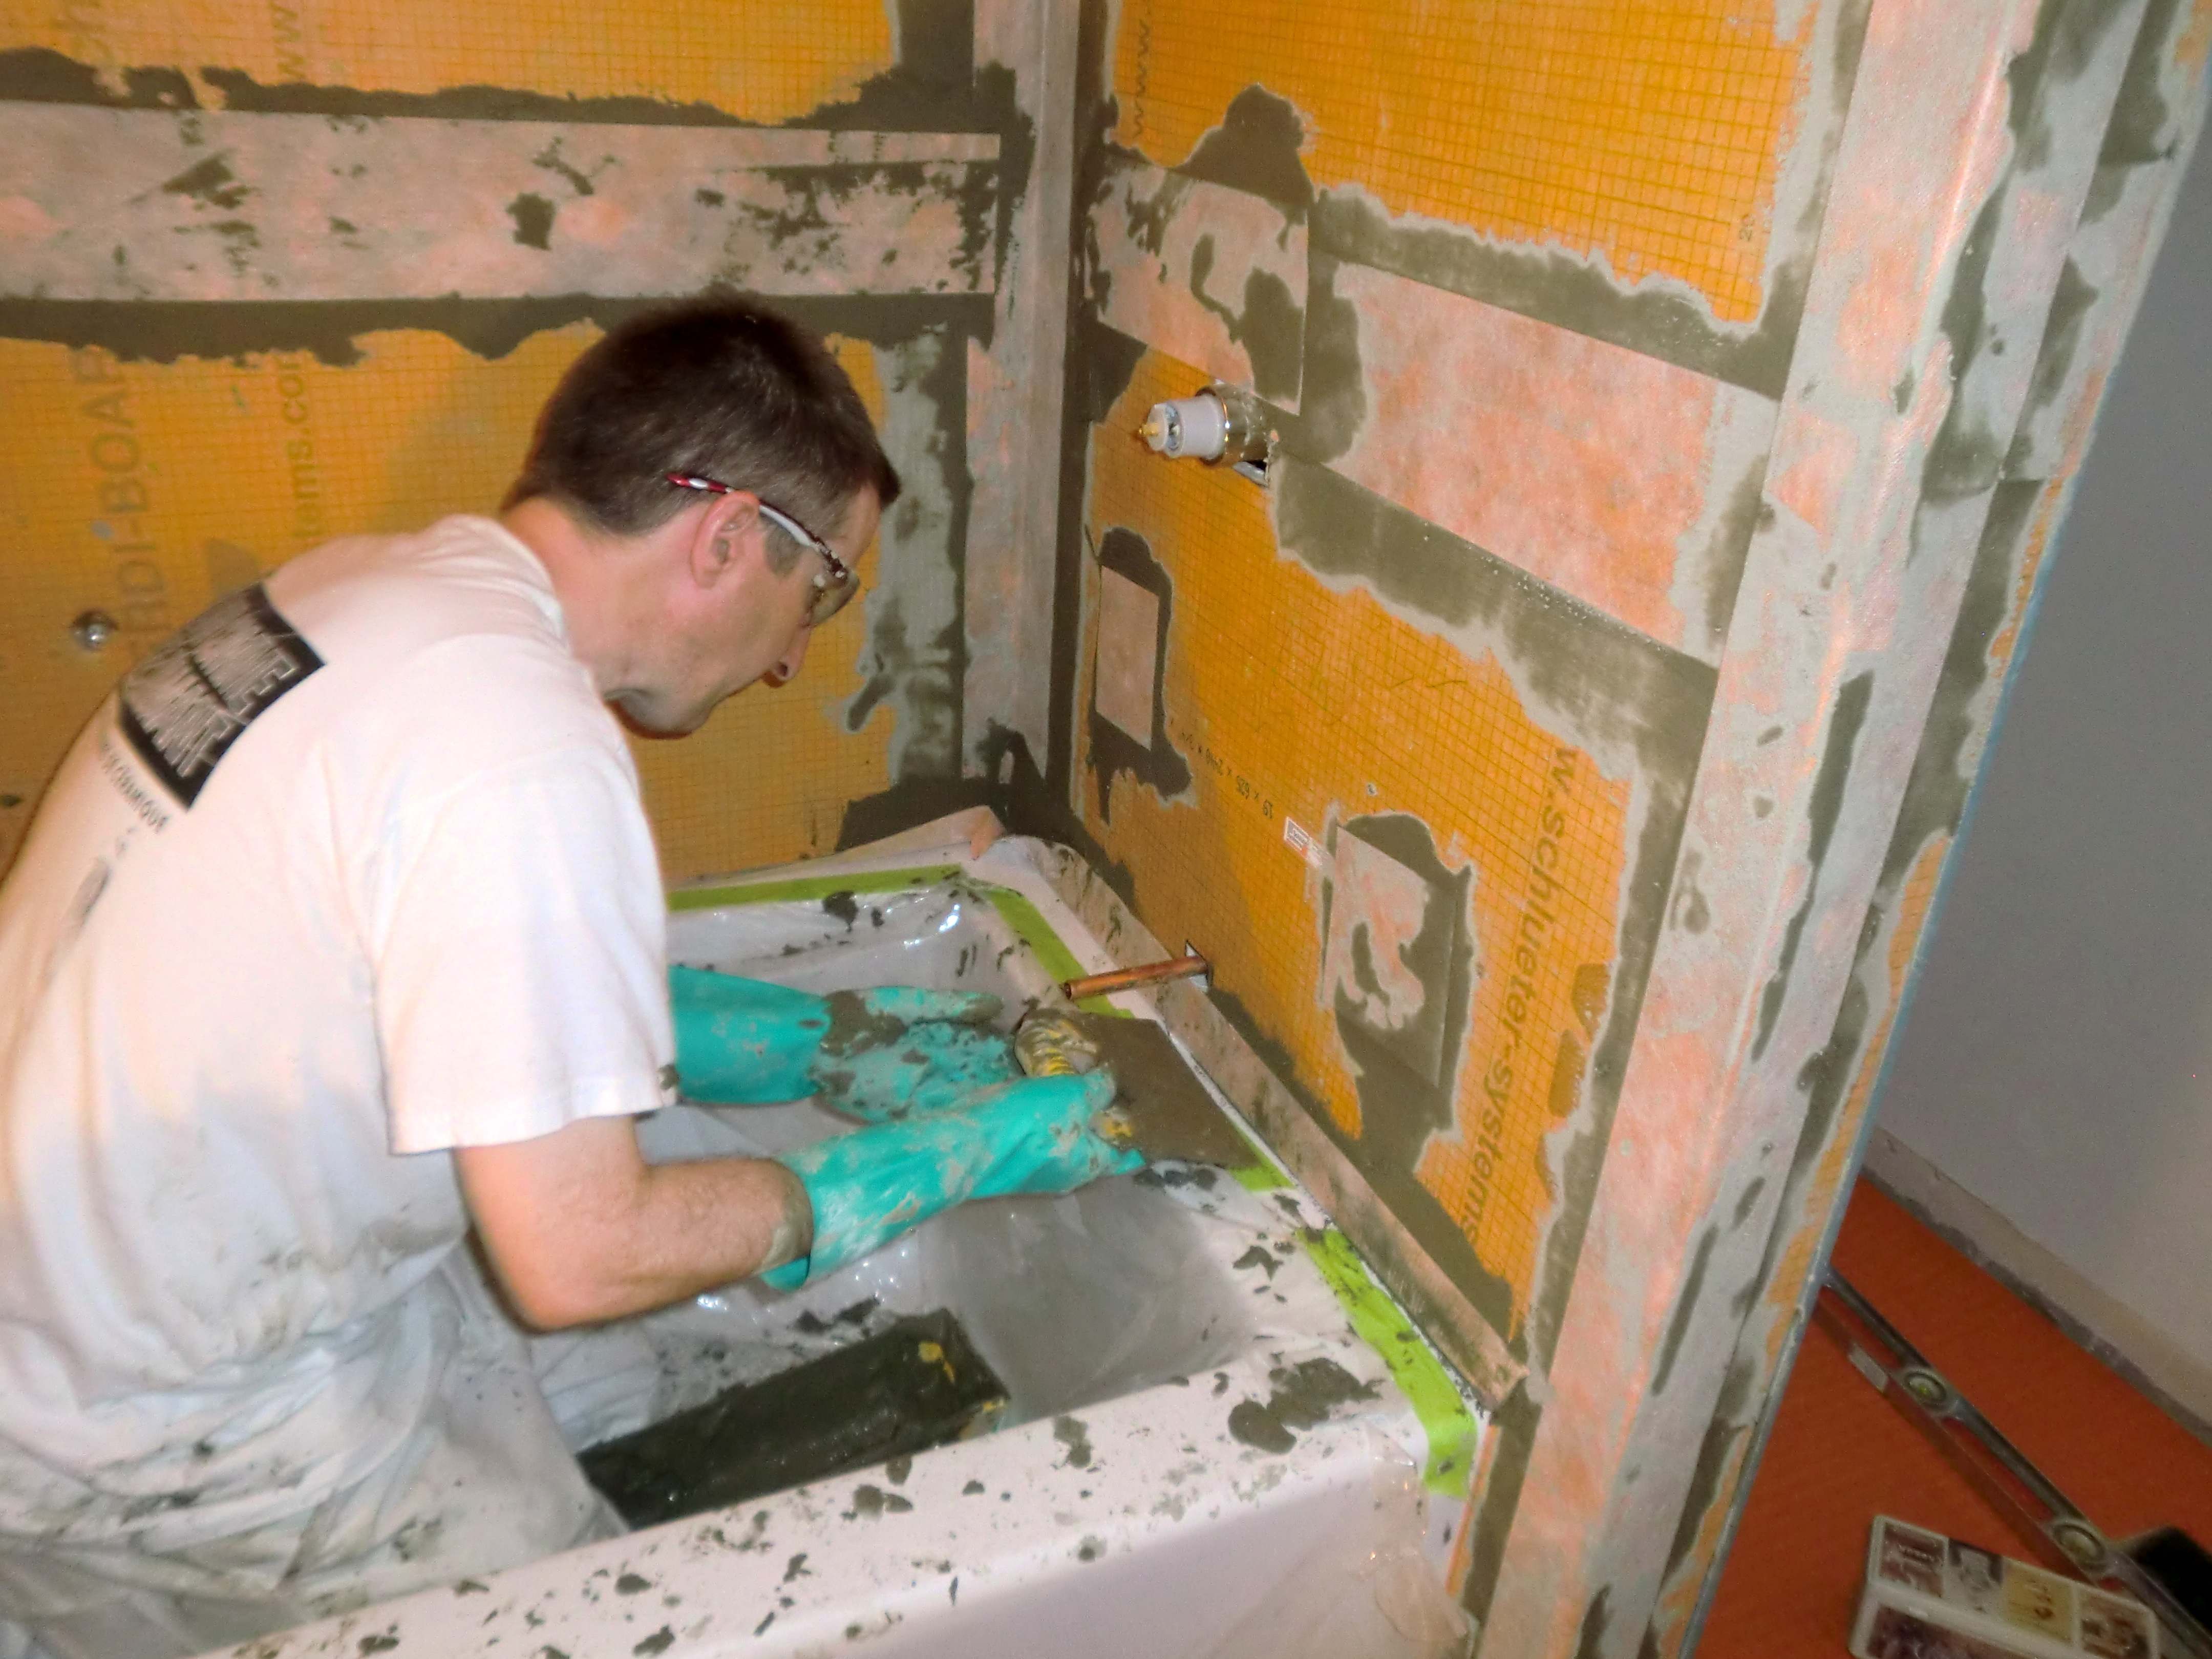
Waterproof sheet materials are one thing, but they won’t do anything to help in corners and joints. This is where a second waterproofing product is essential and it’s why Elkins used a waterproofing fabric called KERDI cloth. It’s designed to be fastened with the same kind of thinset mortar used to secure tiles, and it’s surprising stuff.
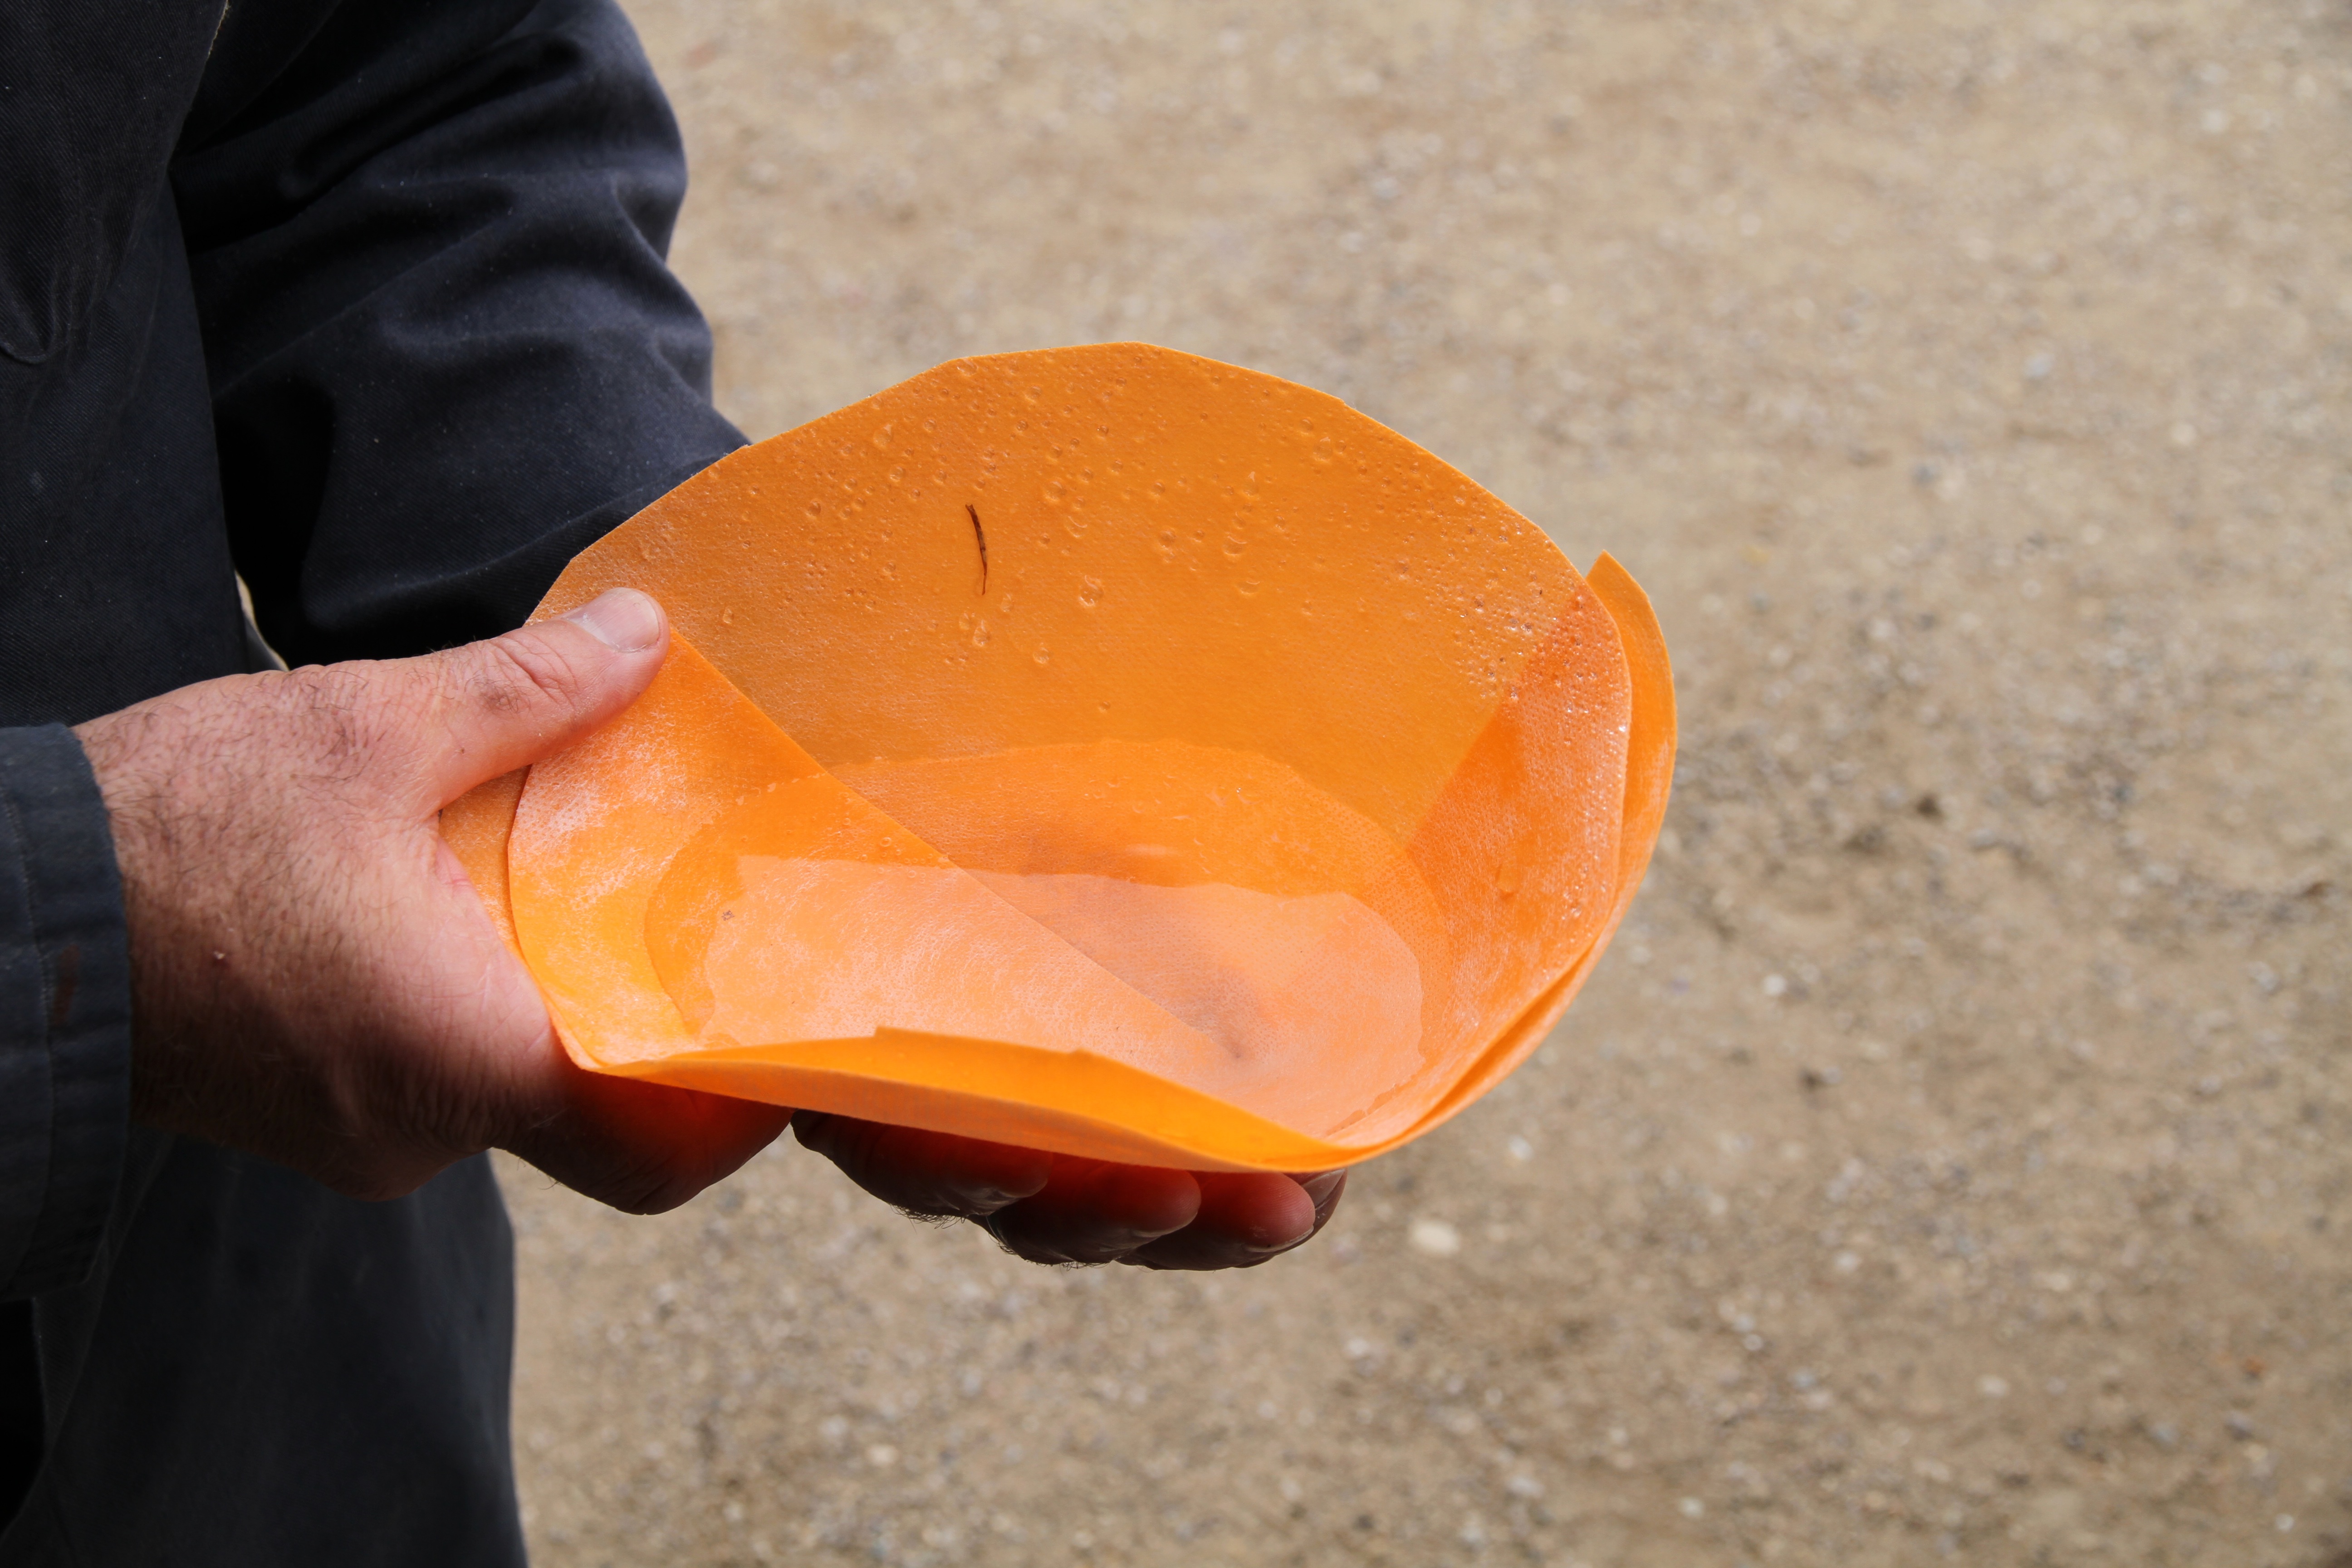
The claim to fame of this cloth is waterproofness, and it’s easy to prove. Cut a piece of KERDI cloth into a 12” diameter circle, snip a line from one edge of the circle all the way to the centre with a pair of scissors, than fold the whole thing into a cone. Even with nothing more than an overlapped seam, the cone holds water by repelling it. The same effect happens underneath tiles across joints and corners, too.
Elkins used KERDI cloth in three specific places around his two tub enclosures: inside and outside corners; seams and over top of anchoring washers and screws. Trowel on some thinset, lay the fabric over top like you would with drywall tape, then trowel the fabric into the wet mortar. That’s it. When used with rubber seals over the pipes as they enter the tub area, you could even use the shower for years without any tiles at all and moisture would never be an issue.
No matter what foundation materials you use, tiling a tub area is messy work. That’s why it’s essential that you protect your new tub with plastic sheets before any work begins. Don’t skip this step.
Durable Bathroom Tiles
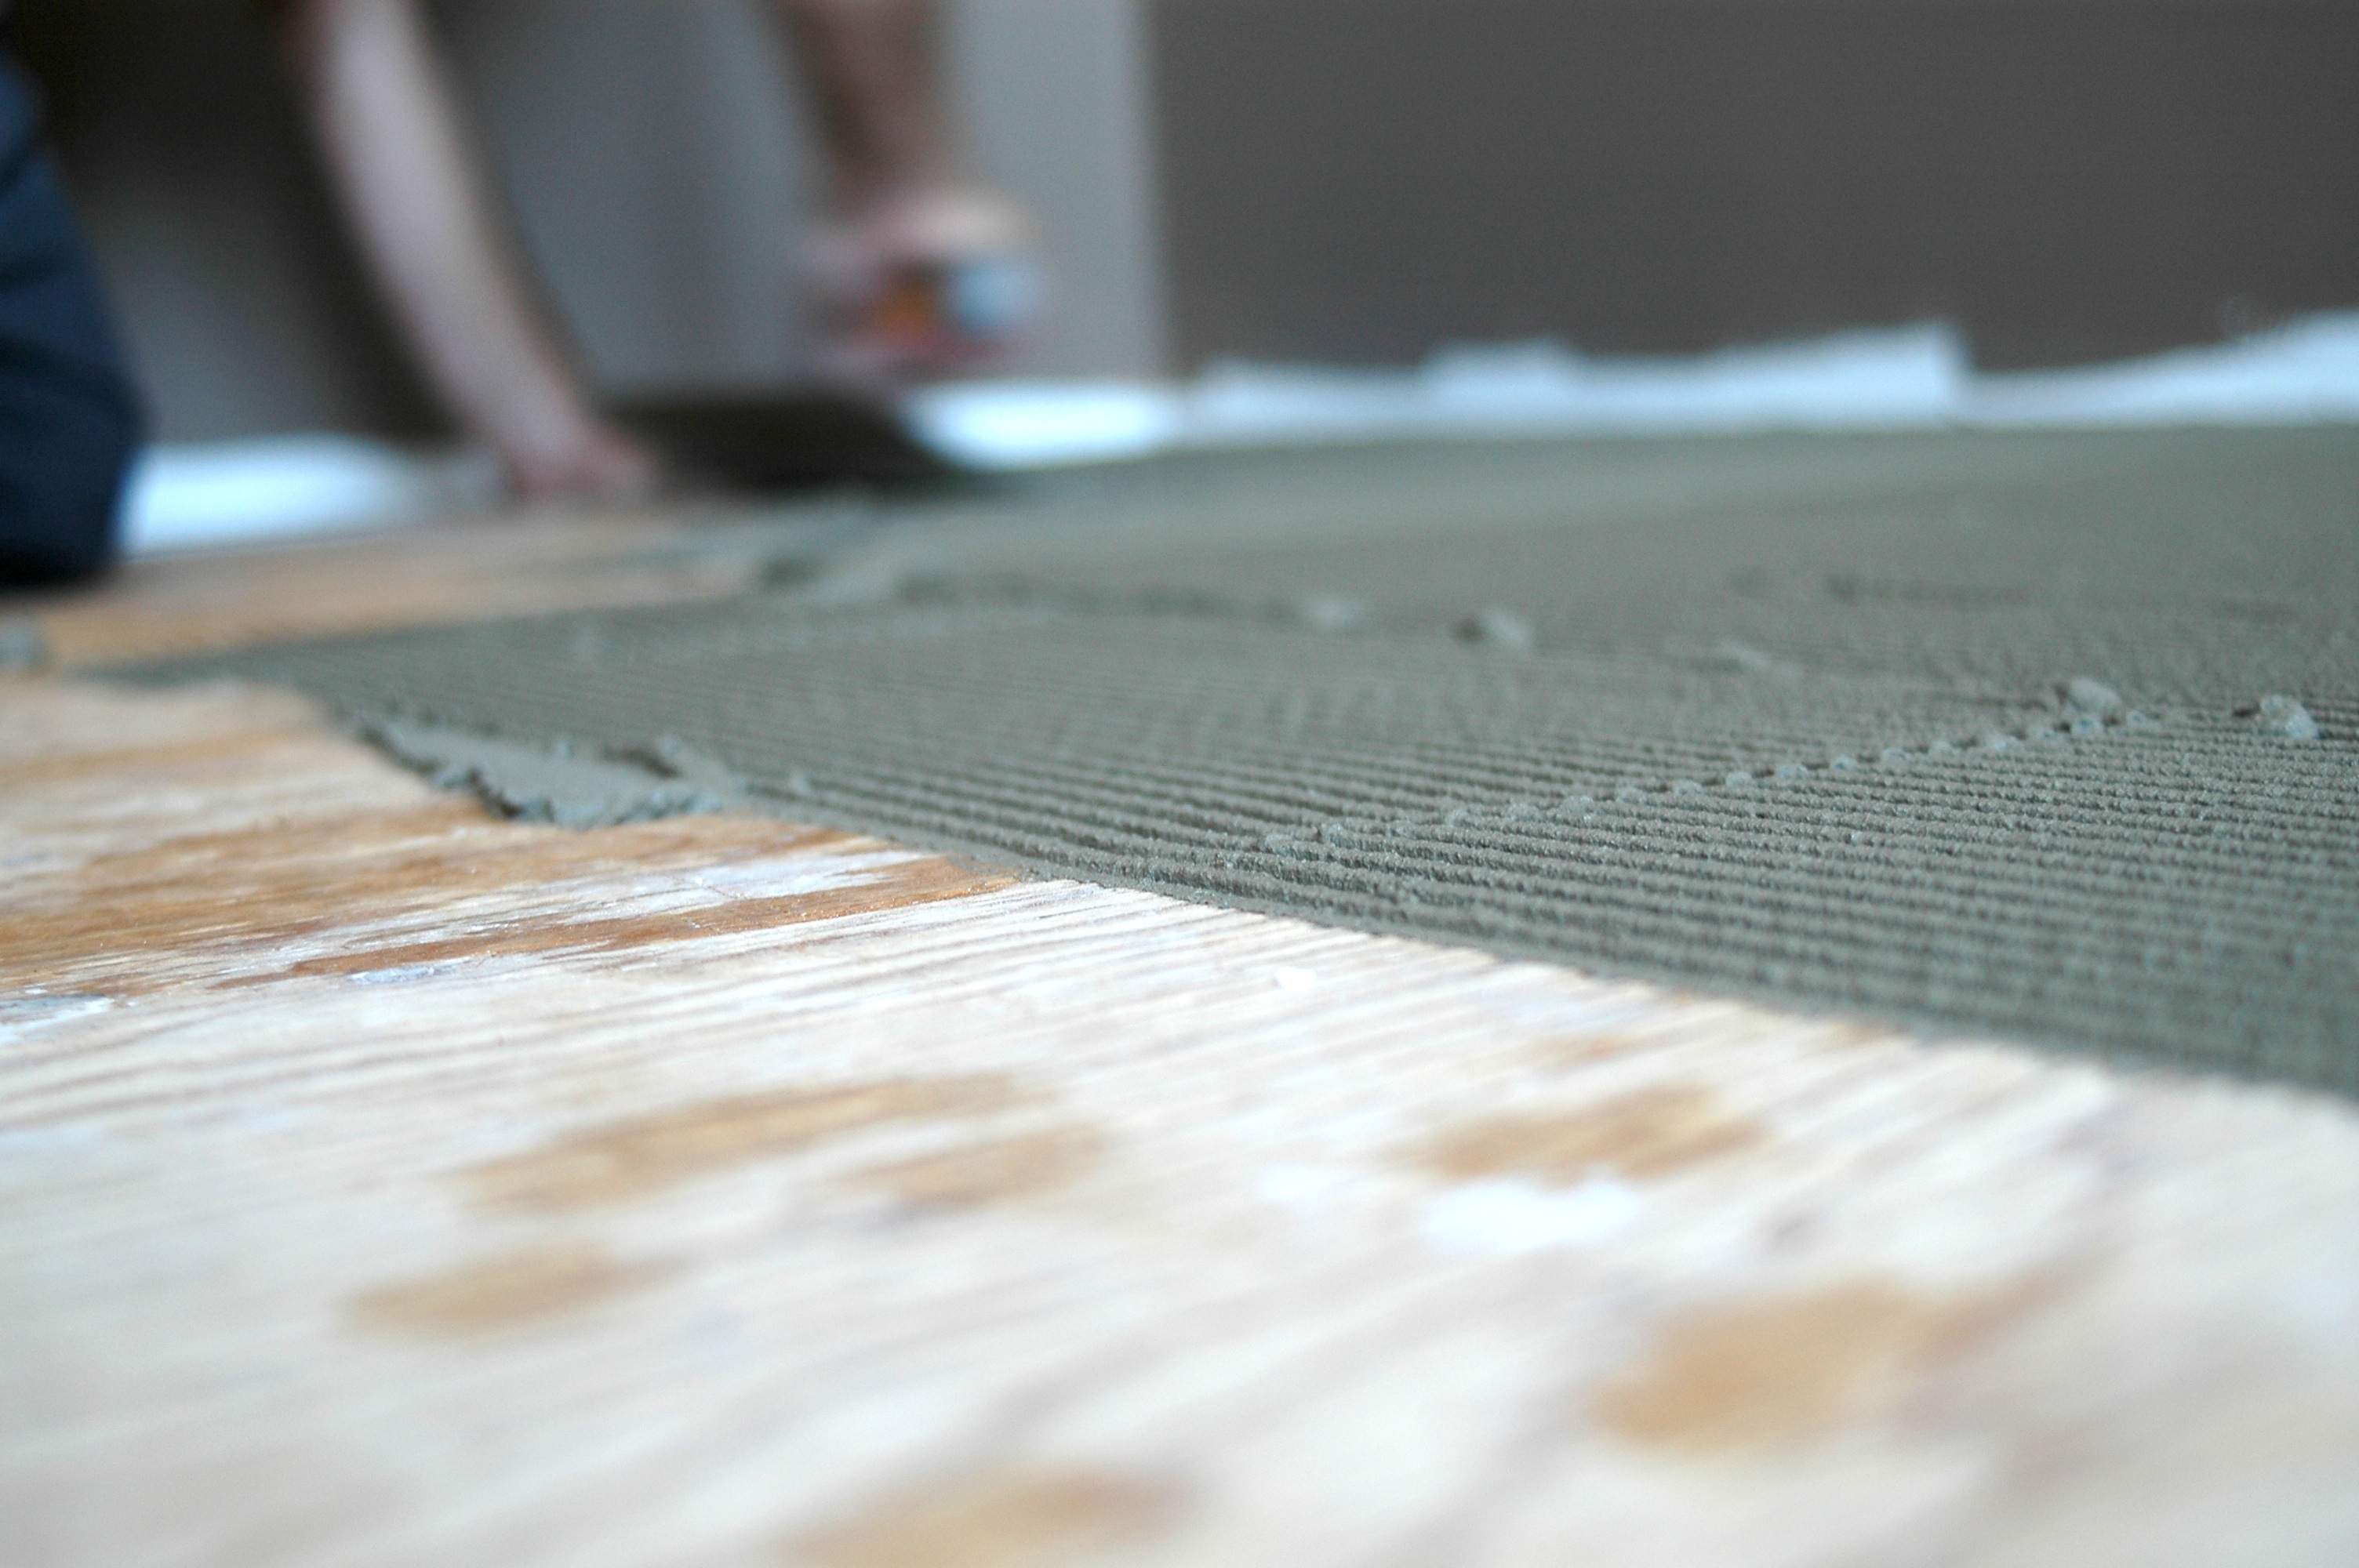
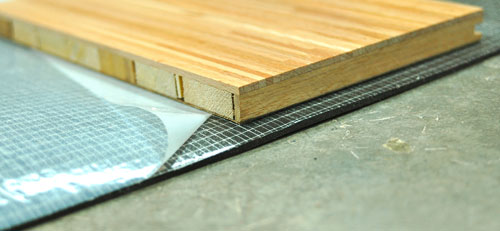
In the same way that the best tub surrounds are waterproof before the tiles go on walls and ceiling, the same standard applies to tiled floors. That’s because tiles aren’t always waterproof. And even when they are, grout never is. All this is why Elkins opted for a dimpled uncoupling membrane called DITRA applied on the wooden subfloor, before tiles went down. There are three reasons why. Click below to see DITRA in action as part of a video I shot on floor tile installation. More than 776,000 people have watched this one.
Contrary to popular belief, ceramic and porcelain tiles don’t usually fail because the floor flexes underneath them. This can certainly cause trouble, but more often than not, tile installations fail because of something called differential expansion and contraction.
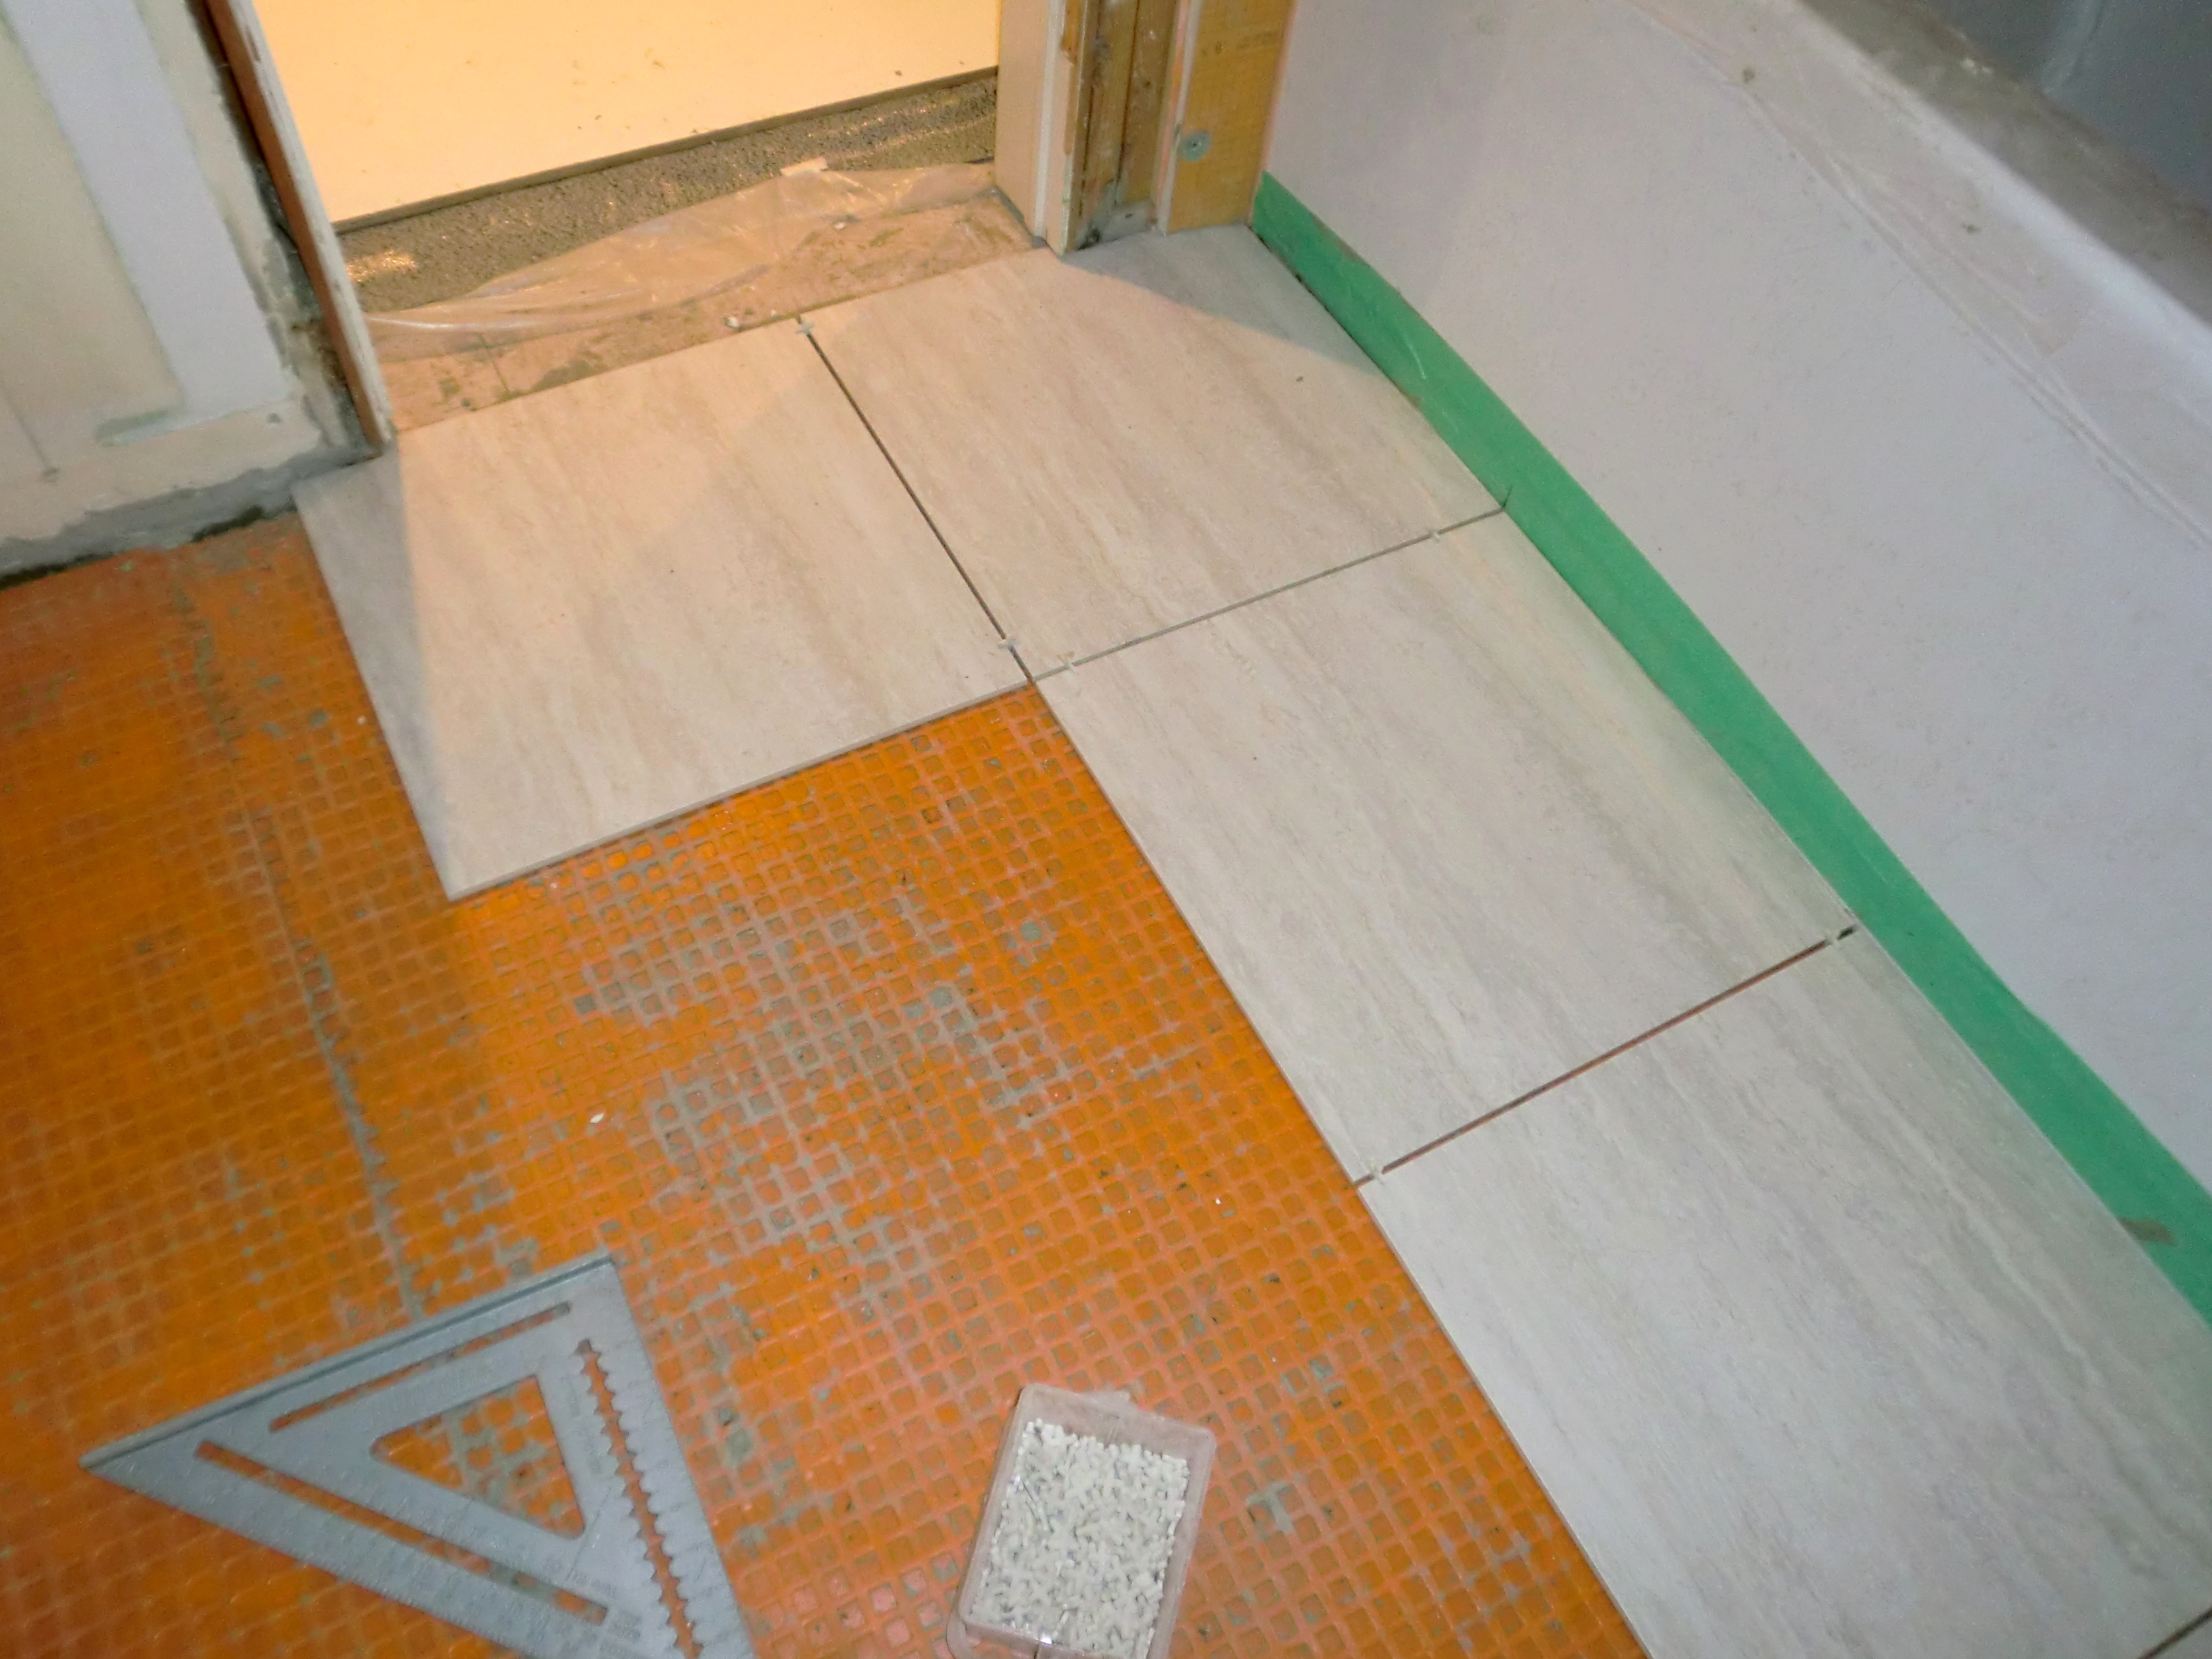
Since tiles are made of different materials than the subfloor that supports them, tensions can build up between them with changes in temperature and moisture content. Even the tiniest difference here results in huge lateral forces that work to pop tiles off their mooring and loosen grout. Uncoupling membranes allow a tiny amount of side-to-side leeway between tiles and subfloor, neutralizing pressures and boosting reliability.
Since uncoupling membranes are made of heavy plastic, they’re also waterproof. Seams and corners will still leak, of course, but they can be waterproofed with more KERDI cloth and thinset. Best practice techniques also call for the cloth to be run three or four inches up the walls, to contain leaked water if it should ever get deep.
Bathrooms should last longer than they typically do now, much longer. Longer life makes financial sense and is ecologically responsible, but optimal durability is only going to happen if we build bathrooms differently than they’re typically created now. And perhaps the best news of all is that you don’t necessarily need to hire a professional to make it right.
Bathroom Reno Return on Investment

Many home renovations only increase the value of your home marginally compared to the cost of the renovation itself, so beware of the old idea that renovations make sense if you’re planning to sell. That said, bathrooms are somewhat different. According to figures compiled each year, bathroom renovation typically boosts resale house value by almost two thirds the cost of construction. That’s not a 1:1 conversion (and certainly not a money maker), but few other renovations offer this kind of high return on investment. And this certainly makes sense when you think about it. Wasn’t the bathroom the place you looked at most closely that last time you checked out a house you were planning to buy? And how did the scungy bathrooms you saw make you feel about the rest of the place?


I hope you found this content useful!
Your generous support helps me produce more practical, hands-on content that I hope you’ll find useful.
Steve Maxwell