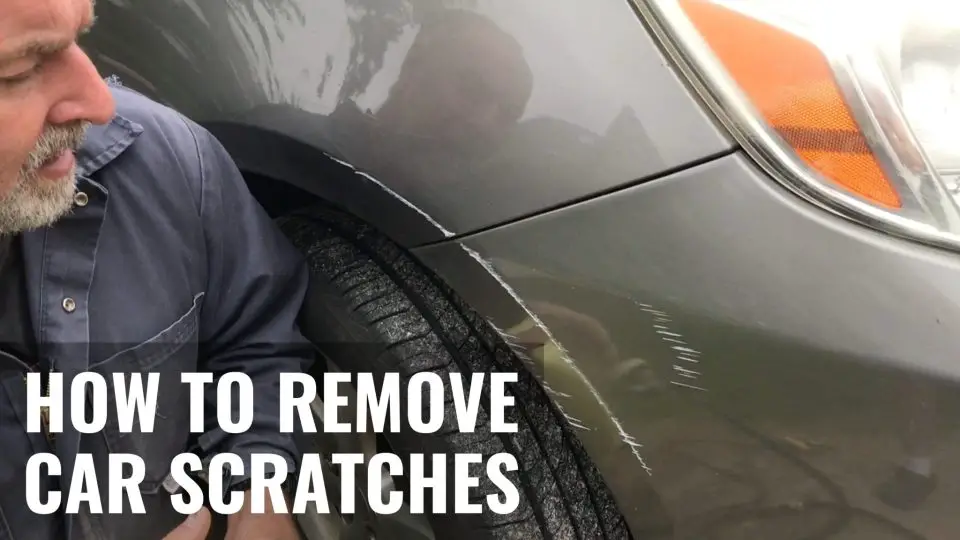
Sometimes a simple and effective solution to an annoying problem is right under your nose, but you can’t see it. This is certainly the case with scratches on your car. A few minutes work with some rubbing compound and a buffing power tool can remove superficial scratches quickly and completely. In fact, though I do this kind of thing all the time, I don’t even use an automotive buffer for the job. One of my woodworking sanders (yes, a sander) does a great job in a way you’ve probably never seen before.
Buffing is the magic bullet when it comes to making automotive finishes smooth and glossy. Buffing is also the key to making small repainting jobs blend with the surrounding paint, but it also works extremely well on scratches that don’t go all the way through the paint layer. This is a common type of auto scratch but it can be gone in less than 15 minutes.
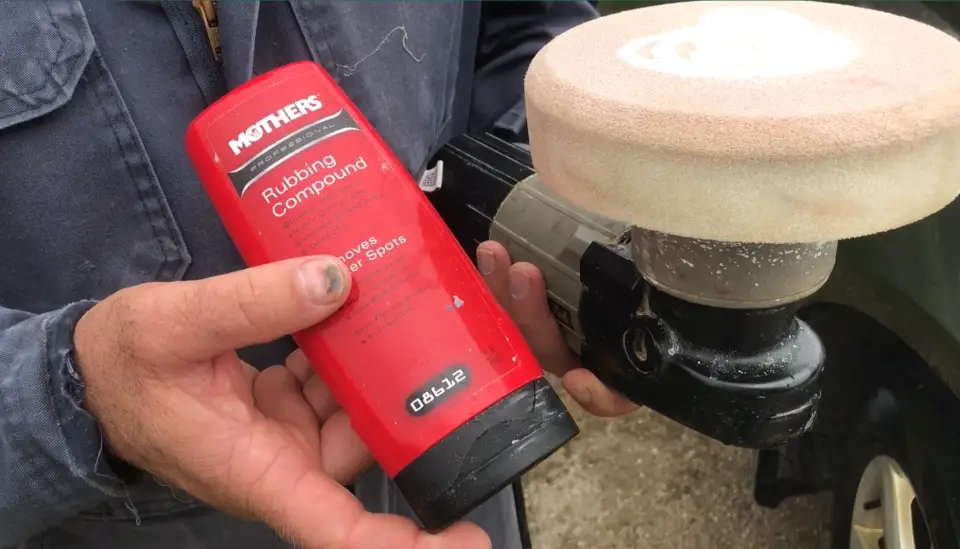
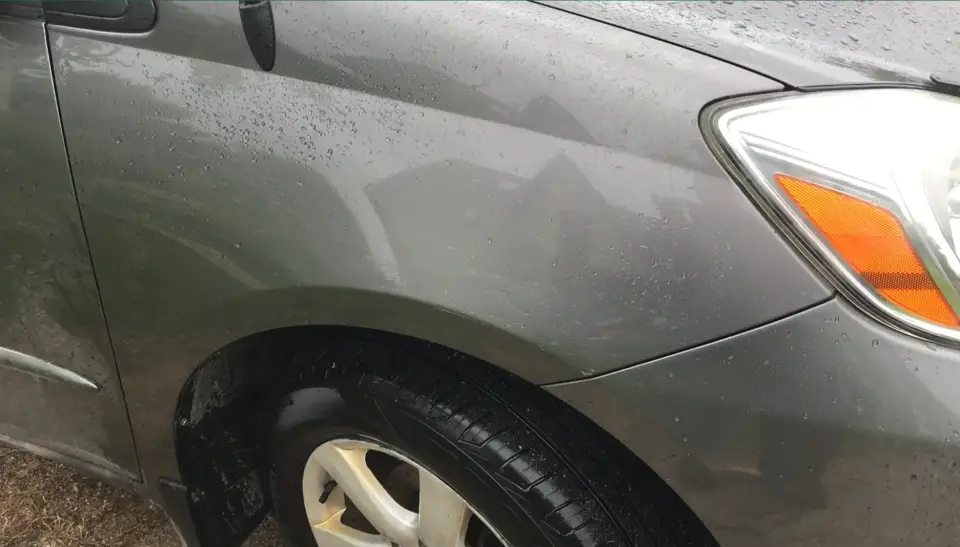
The buffing process uses a hand-held power tool to work a very fine abrasive over the paint surface. In my own work I use a 6” random orbit sander, but with the usual sanding pad removed and replaced with a foam buffing pad. Wet the area of the scratch with water, squirt some buffing compound onto the area, then put the buffer pad on the surface and switch ON. As the buffer spins, it produces a kind of watery, opaque slurry on the surface. Use moderate pressure and slowly move the buffer over the area of the scratch and around it. Keep this up for 3 minutes then stop and rinse off the area with a garden hose. Is the scratch gone? There’s a good chance it has disappeared, but if you can still see and of it, repeat with the rubbing compound and more buffing. Even if the scratch appears to be gone on the wet surface, don’t put your tools away yet. The real test is to see if it’s still gone when your car has dried.
To make all this work, you need the right kind of buffing pad and the right kind of rubbing compound. I use Mother’s brand compound in one of two grades. Their Rubbing Compound is the first stuff you should use and it may do the entire job for you. If the scratch is gone but the area looks slightly duller than the surrounding paint after the spot is dry, then repeat the process with Mother’s Finishing Polish. Both products look like hand creme and have no abrasiveness that you can feel, but they sure work well. The sander I use is the Porter Cable 7336. This has been replaced with the model 7346. It accepts the sander foam buffing pad as my older sander does (as well as sanding disks).
Got cloudy headlight lenses? When vehicles get to be more than 10 years old, the clear plastic covers over the headlights tend to get cloudy. Nothing says “clunker” quite like a case of vehicular cataracts, not to mention that the cloudiness greatly reduces the brightness of your headlights. As it turns out, the same buffing technique is very effective for making headlight lenses perfectly clear again.
Wet, buff, rinse and dry the headlight lenses the same way as you did with the scratch and you’ll be amazed. If you really want to get happy, do only one headlight, then compare it to the other. The difference will definitely put a smile on your face. Your newly-clear headlights won’t stay clear as long as they did when new, but buffing is fast and easy so there’s no problem doing the job every year or so. You’ll get a longer period of clear time if you coat the headlight lens with automotive wax after buffing. Rub it on with a rag, let it dry, then polish off with a clean cloth and you’re done.
Watch the process of buffing auto scratches, and buffing headlight lenses so they’re clear by clicking here.


