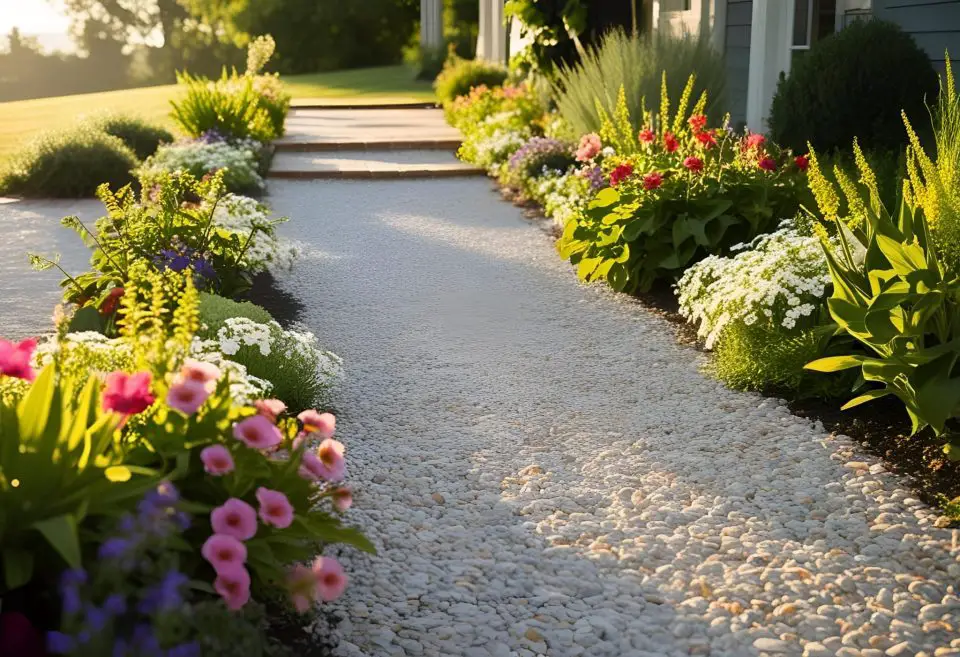
A well-designed gravel patio or walkway adds charm and functionality to any outdoor space. It creates a clean, defined area for relaxing, entertaining, or moving through your yard—all without the cost and hassle of poured concrete or pavers. Best of all, installing one is completely doable as a DIY project.
With the right materials and some effort, you can build a durable, low-maintenance gravel surface that will last for years and look great. There is no need for expensive contractors or specialized tools—just a solid plan, some hard work, and the right approach to layering and compacting the gravel properly.
A gravel patio or walkway improves drainage, prevents muddy spots, and blends naturally into the landscape. Whether you want a cozy corner for a fire pit or a sturdy path through the garden, this project is a rewarding, budget-friendly upgrade for your yard.
Planning Your Gravel Patio or Walkway
Before breaking ground, take some time to plan the layout and choose the right materials. Good preparation can make the difference between a gravel surface that shifts and spreads and one that stays level and solid for years.
Choosing the Right Location
Decide where to place your patio or walkway based on how you use your outdoor space. A patio should receive the right amount of sun or shade, while a walkway should follow natural foot traffic patterns. Avoid areas with poor drainage unless you’re prepared to add a base layer that improves water flow.
Picking the Best Type of Gravel
Not all gravel is the same. The right type depends on the look you want and how much foot traffic the surface will get:
- Pea gravel – Small, rounded stones that create a softer, casual feel. Comfortable underfoot but can shift more easily.
- Crushed stone – Angular and compactable, making it a better choice for patios and high-traffic walkways.
- Decomposed granite – A finer, sand-like gravel that compacts well for a more solid surface.
For better stability, use crushed stone as a base and top it with pea gravel or decomposed granite.
Calculating How Much Gravel You Need
Measure the area and calculate the required volume to avoid running out of materials mid-project, or overspending on too much. Gravel is typically sold by the cubic yard, and most suppliers provide calculators to help determine the right amount.
Having gravel delivered in bulk saves time and effort, ensuring you get the right amount in one go without the hassle of multiple trips. Many local suppliers offer gravel delivery, which can make the project easier and more cost-effective.
Gathering Materials & Tools
With a clear plan in place, the next step is gathering the materials and tools needed for the job. Having everything on hand before starting will make the process smoother and prevent unnecessary delays.
Essential Materials
- Gravel – Chosen for its appearance and function as the main surface layer.
- Crushed stone or quarry process – Provides a compactable base layer for stability.
- Landscape fabric – Helps prevent weeds from growing through the gravel.
- Edging material – Keeps the gravel contained and prevents spreading. Options include metal, plastic, stone, or brick.
Tools You’ll Need
- Shovel – Digs and spreads material.
- Rake – Levels the gravel evenly.
- Tamper or plate compactor – Compacts the base for a firm surface.
- Wheelbarrow – Transports materials efficiently.
- Measuring tape and stakes – Mark the area before digging.
If you’re working with a large space, consider renting a plate compactor instead of using a manual tamper. It will save time and effort, especially when compacting the base layer.
Step-by-Step Guide to Building a Gravel Patio or Walkway
With the right materials and tools ready, it’s time to start building. A well-prepared base and proper layering will keep the gravel surface stable and looking great for years.
Step 1: Mark and Prepare the Area
Use stakes and string to outline the shape of your patio or walkway. For curved edges, a garden hose works well as a flexible guide. Once marked, remove any grass, roots, or debris to create a clean foundation. Dig down about 4 to 6 inches to allow space for the base and gravel layers.
If the area is uneven, now is the time to level it. A slight slope is fine—it actually helps with drainage—but avoid deep dips where water could collect.
Step 2: Install Landscape Fabric
Laying landscape fabric helps prevent weeds from sprouting through the gravel while allowing water to drain. Cut the fabric to fit the space, overlapping seams by a few inches. Secure it with landscape pins or small rocks to keep it in place.
Some DIYers skip this step, but it’s worth including. Over time, soil and debris can mix with the gravel, leading to weeds and an uneven surface. A good-quality fabric minimizes these problems.
Step 3: Add the Base Layer
A stable base is what keeps a gravel patio or walkway from shifting and sinking. Spread about 2 to 3 inches of crushed stone or quarry process (a mix of crushed stone and stone dust) evenly across the area. This layer provides structure and improves drainage.
Use a rake to spread the material evenly, then press it down firmly with a tamper or plate compactor. Lightly misting the base with water before compacting can help it settle more effectively.
Without proper drainage, water can pool under the gravel, leading to soft spots and erosion. This guide on how to improve drainage in outdoor spaces from Oklahoma State University Extension explains key strategies to prevent these issues before they start.
Step 4: Pour and Spread the Gravel
Once the base is compacted, add the top layer of gravel—about 2 to 3 inches deep. Spread it evenly with a rake, keeping the surface level.
For a patio, aim for a depth that allows chairs and tables to sit comfortably without sinking. If using pea gravel, lightly mist it with water to help it settle. Crushed stone or decomposed granite will naturally compact more over time.
Step 5: Secure the Edges and Final Touches
Install edging along the perimeter to prevent gravel from spreading beyond the intended area. Metal or stone edging is a long-lasting solution, while flexible plastic or wood works well for curved designs.
Once the edging is in place, do a final raking to smooth out any uneven spots. Walking over the surface will help settle the gravel further, and any loose areas can be adjusted as needed.
Maintenance Tips for Long-Lasting Results
Regular maintenance will keep a gravel patio or walkway in top shape for years.
- Rake occasionally to redistribute displaced stones.
- Remove organic debris to prevent weed growth.
- Refresh the gravel every couple of years to maintain an even surface.
Regular upkeep like this keeps outdoor spaces in top shape throughout the seasons.
Conclusion
A well-planned and properly installed gravel patio or walkway is a practical, low-maintenance way to enhance any outdoor space. With the right materials and a solid base, the surface will stay level and sturdy for years, requiring only occasional upkeep.
Keeping the gravel in place, managing weeds, and refreshing the top layer as needed will ensure that the patio or path remains functional and attractive. Whether it’s a cozy seating area or a well-defined walkway, a DIY gravel project is a rewarding and cost-effective way to improve your yard.


