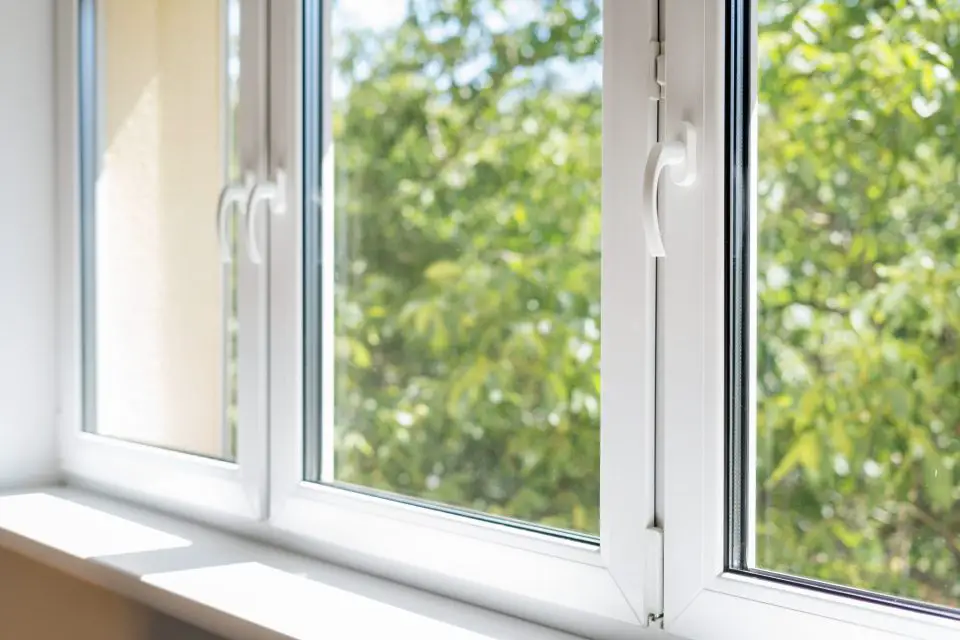
Drafty windows letting the chill seep in during winter and the scorching heat radiate in during summer? Double glazing windows can be a game-changer, boosting your home’s energy efficiency and creating a more comfortable living space. But replacing all your windows with pre-made double glazed units can be expensive.
The good news is, there’s a budget-friendly alternative: DIY double glazing. Here’s a step-by-step guide to help you achieve those cozy vibes without breaking the bank.
Gathering Your Supplies
Before you dive in, you’ll need a few things:
- Measurements: Grab a tape measure to get precise measurements of the glass panes in your windows. Millimeters matter here!
- Clear panels: Head to your local hardware store and get clear acrylic or plexiglass sheets cut to your exact window measurements. They’ll usually do this for you for a small fee.
- Magnetic strips: Self-adhesive magnetic strips are key. Get two rolls with opposing polarities (one attracts, one repels).
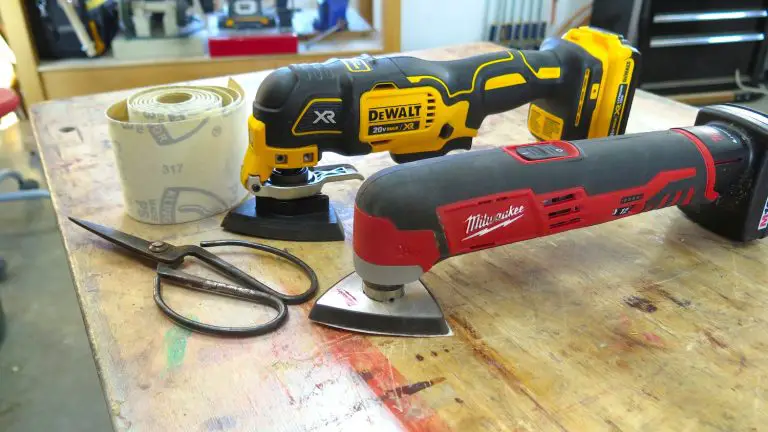
- Utility knife: A sharp utility knife will come in handy for cutting the magnetic strips and acrylic sheets, if needed.
- Soft cloths: Lint-free cloths are essential for cleaning the window frames.
- Masking tape (optional): This can help keep things neat and tidy during the process.
Safety First! Wear safety glasses and gloves when cutting the acrylic sheets and magnetic strips.
Prepping the Window Frames
Now that you have everything, it’s time to prep the window frames for your DIY double glazing windows:
- Clean Up: Give the window frames a thorough cleaning with a damp cloth to remove any dust, dirt, or debris. You want a clean surface for the magnetic strips to adhere properly to the window frame.
- Masking Magic (Optional): If you’re worried about getting sealant on the window frame, apply masking tape around the edges of the glass pane.
Attaching Magnetic Strips
The magic of DIY double glazing lies in the magnetic strips. Here’s how to attach them for your double glazing unit:
- Measure Up: Cut the magnetic strips to the exact length of each side of your window frame, leaving a small allowance for trimming later.
- Adhesive Action: Peel off the backing on one side of the magnetic strip and carefully stick it to the inside edge of the window frame, ensuring a snug fit. Repeat for all four sides.
- Magnetic Matchmaker: Now, grab the magnetic strip with the opposing polarity. Repeat step 2, attaching this strip to the side that will face the acrylic sheet.
Double-Check: Make sure the magnetic polarities are facing each other correctly for the double glazing unit. A gentle tug should confirm a good attraction.
Cutting the Acrylic
Measure twice, cut once. Double-check your measurements and carefully cut the acrylic sheets to size using the utility knife. A straight edge can help ensure clean cuts for your double glazing unit.
Installing the Acrylic Sheet!
Now comes the moment of truth: installing the acrylic sheet for your DIY double glazing unit.
- Magnetic Attraction: Gently place the acrylic sheet onto the magnetic strips on the window frame. The attraction should hold it securely in place.
- Trimming Touches: If there are any small gaps or the acrylic sheet slightly overlaps the frame, use the utility knife to carefully trim it for a snug fit in the double glazing unit.
- Masking Tape Removal (Optional): If you used masking tape, gently peel it off now.
Voila! You’ve successfully installed your first DIY double glazed window unit. Repeat the process for all your windows.
Finishing Up
Your windows are now double glazed, but there are a few final touches:
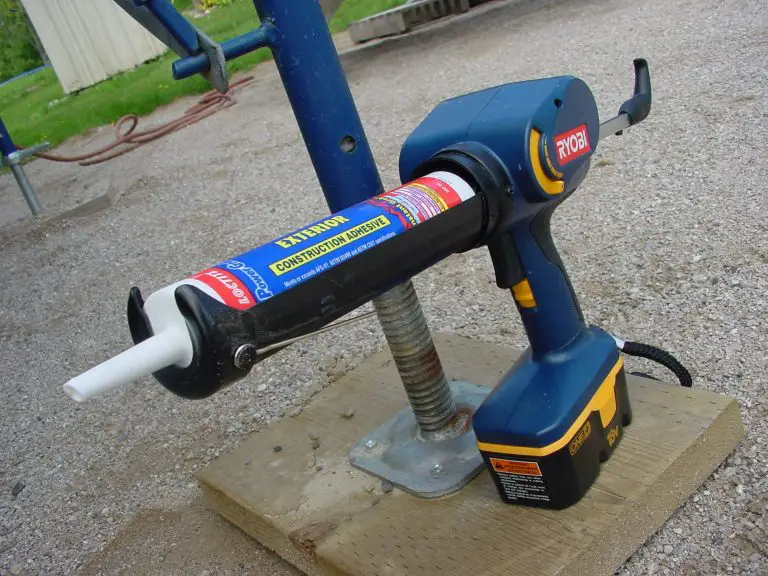
- Seal the Deal (Optional): For added security and insulation in your double glazing unit, you can apply a thin bead of clear silicone sealant around the edges of the acrylic sheet where it meets the window frame. Let the sealant cure completely according to the manufacturer’s instructions.
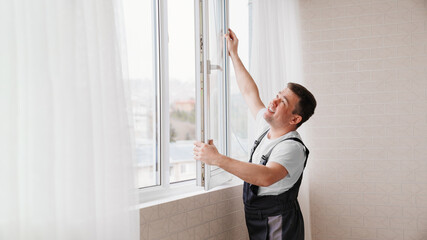
- Window Operation: If your windows open and close (like casement windows or hung windows), test them out to ensure the acrylic sheet doesn’t impede movement in your DIY double glazing unit. You might need to make slight adjustments to the magnetic strips or acrylic sheet size for a smooth operation.
Congratulations! You’ve given your windows a new lease on life with DIY double glazing. Enjoy the improved energy efficiency and a more comfortable home environment you’ve created.
Beyond DIY: Double Glazing Options
While DIY double glazing offers a budget-friendly approach, there might be other options to consider if you’re looking for superior insulation or a more polished aesthetic:
- Window Inserts: These are pre-made double glazed units that fit snugly within your existing window frame. They offer a more finished look and improved thermal insulation compared to DIY solutions. Window inserts can be a good option for different window styles like bay windows or hung windows where DIY might be trickier.
- Secondary Glazing: This involves installing a separate window frame with double glazing on the inside of your existing window. It’s a more permanent solution but can be quite expensive. Secondary glazing offers the best insulation properties but might not be the most visually appealing option for all window styles.
Final Thoughts
Drafty windows got you feeling like you’re living in a wind tunnel? Don’t wait for winter to unleash its fury! Take control of your comfort and energy bills with DIY double glazing or explore pre-made options. A cozier, quieter home is just a project (or window insert) away!


I hope you found this content useful!
Your generous support helps me produce more practical, hands-on content that I hope you’ll find useful.
Steve Maxwell