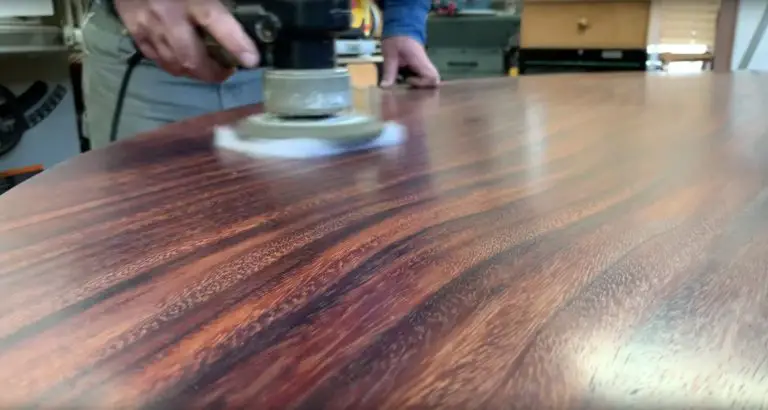
The kind of warp you see here is the sort of thing you want to get rid of while a project is being built, not after. This is why I’ve found working incrementally useful, allowing drying time to happen between cutting and planing operations.
Every so often I get an email from a distressed woodworker looking for hope and relief. The stories are all similar, involving a recently-completed woodworking project that looked good at first, but has since started to warp. The true account coming up is quite typical and my advice applies to every situation.
The Warped Wood Problem
“What caused the new tea tray I made to warp? I glued thin strips of walnut, maple and purpleheart along the edges of a piece of 3/4-inch thick oak, then sawed this wood in half on edge and glued the pieces together to make a wider, thinner board. The finished tray looked terrific with this wood as the bottom, but after a few weeks it warped and the whole tray is now twisted and wobbles. What went wrong? How can I fix it?”
Why Wood Warps
I know how disappointing things like this can be. The same things happened to me when I was starting out in woodworking in the mid-1970s. The short explanation is that your wood wasn’t dry enough. The oak is probably the culprit because it’s such a large part of your tray. The wood probably felt completely dry to the touch (it always does), but there was too much moisture there just the same.
The first thing to understand is that wood dries out or picks up moisture from the air. This is why humidity levels of the air are so important to success and avoiding warps and twists. If the air has a lower moisture content than the wood, the moisture content in the wood will go down over time. If the air has a higher moisture content than the wood it surrounds, the wood will get moister in time. Here’s how to understand this dynamic more fully, especially as it relates to warp prevention in woodworking projects. . .
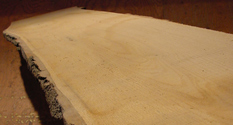
Whenever you cut wood, it exposes fresh surfaces that will dry if they’re moister than the surrounding air. Even a little bit of excess internal moisture can cause a lot of warping if the wood is thin, as yours is. Many people are surprised to learn that a piece of wood can sit in an unheated building for 100 years and still be too wet for building indoor projects like your tray. That’s because the air in an unheated building never gets dry enough to dry the wood enough to behave itself in a heated home. And by contrast, I’ve made large woodworking projects from wood that was still in the log 6 weeks before I was applying a finish to the surface of the completed project, all with no problems. The difference comes down to the moisture content of wood and how you get it down low enough to be safe in a climate where heating occurs.
Indoor Heated Storage Essential
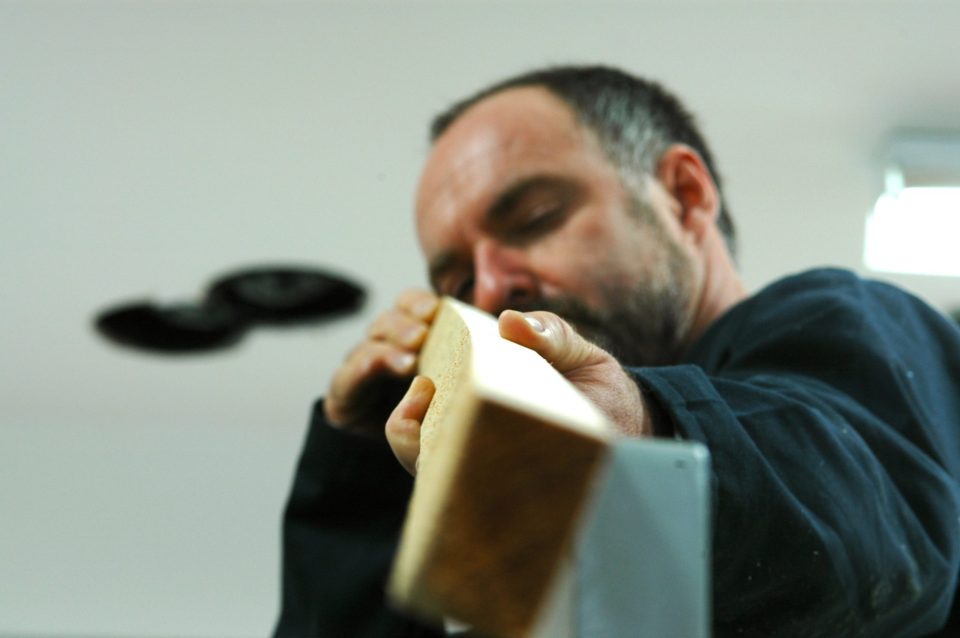
The first thing to do is to bring your wood into a heated space, at least several weeks before beginning to work with it. And when you do begin to cut the wood, allow a week or two of drying time after every major sawing or planing operation, then mill out any distortion and warping that sets in during that period. The idea is to let the wood do the worst it can in terms of warping before that wood is part of a completed project, then mill those warps and twists out as the project comes together.
Of course, all this means starting with sufficient wood thickness for planing and jointing right from the beginning. You would have been very lucky indeed to cut wood as thin and wide as you did without encountering warping. I wish there was some trick I could tell you to fix your warped tray by steaming, clamping or bending, but I’ve never seen such a thing work long-term in all cases. It’s worth clamping the tray with an intentional opposite warp for a while. Sometimes this works, or at least it helps. Another approach might be to modify your design so it includes additional wood strips along the bottom that would pull out the warp while also looking right.
Drying Wood Properly
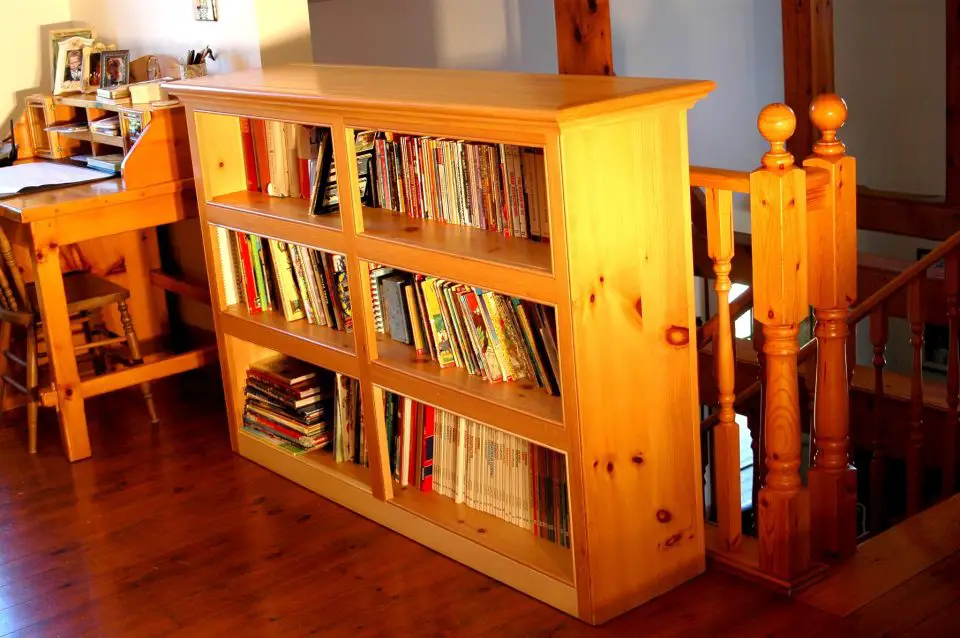
There’s more to drying wood properly at home for woodworking projects than I have room to cover here, but check out this article for details on how it works. This is the same technique I used to go from that pine log to a completed pine bookcase in 6 weeks, with no warping problems, no kiln drying and a beautiful piece of furniture that’s been stable for 25+ years now. That’s my “six weeks from the log” book shelf below.


I hope you found this content useful!
Your generous support helps me produce more practical, hands-on content that I hope you’ll find useful.
Steve Maxwell