- Video watch time = 2 1/2 minutes
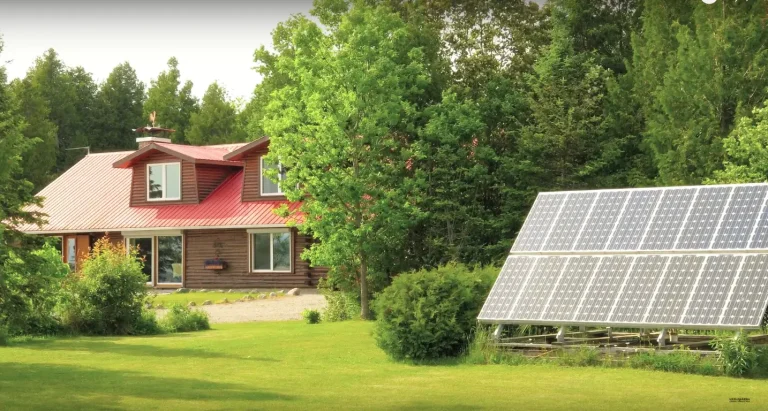
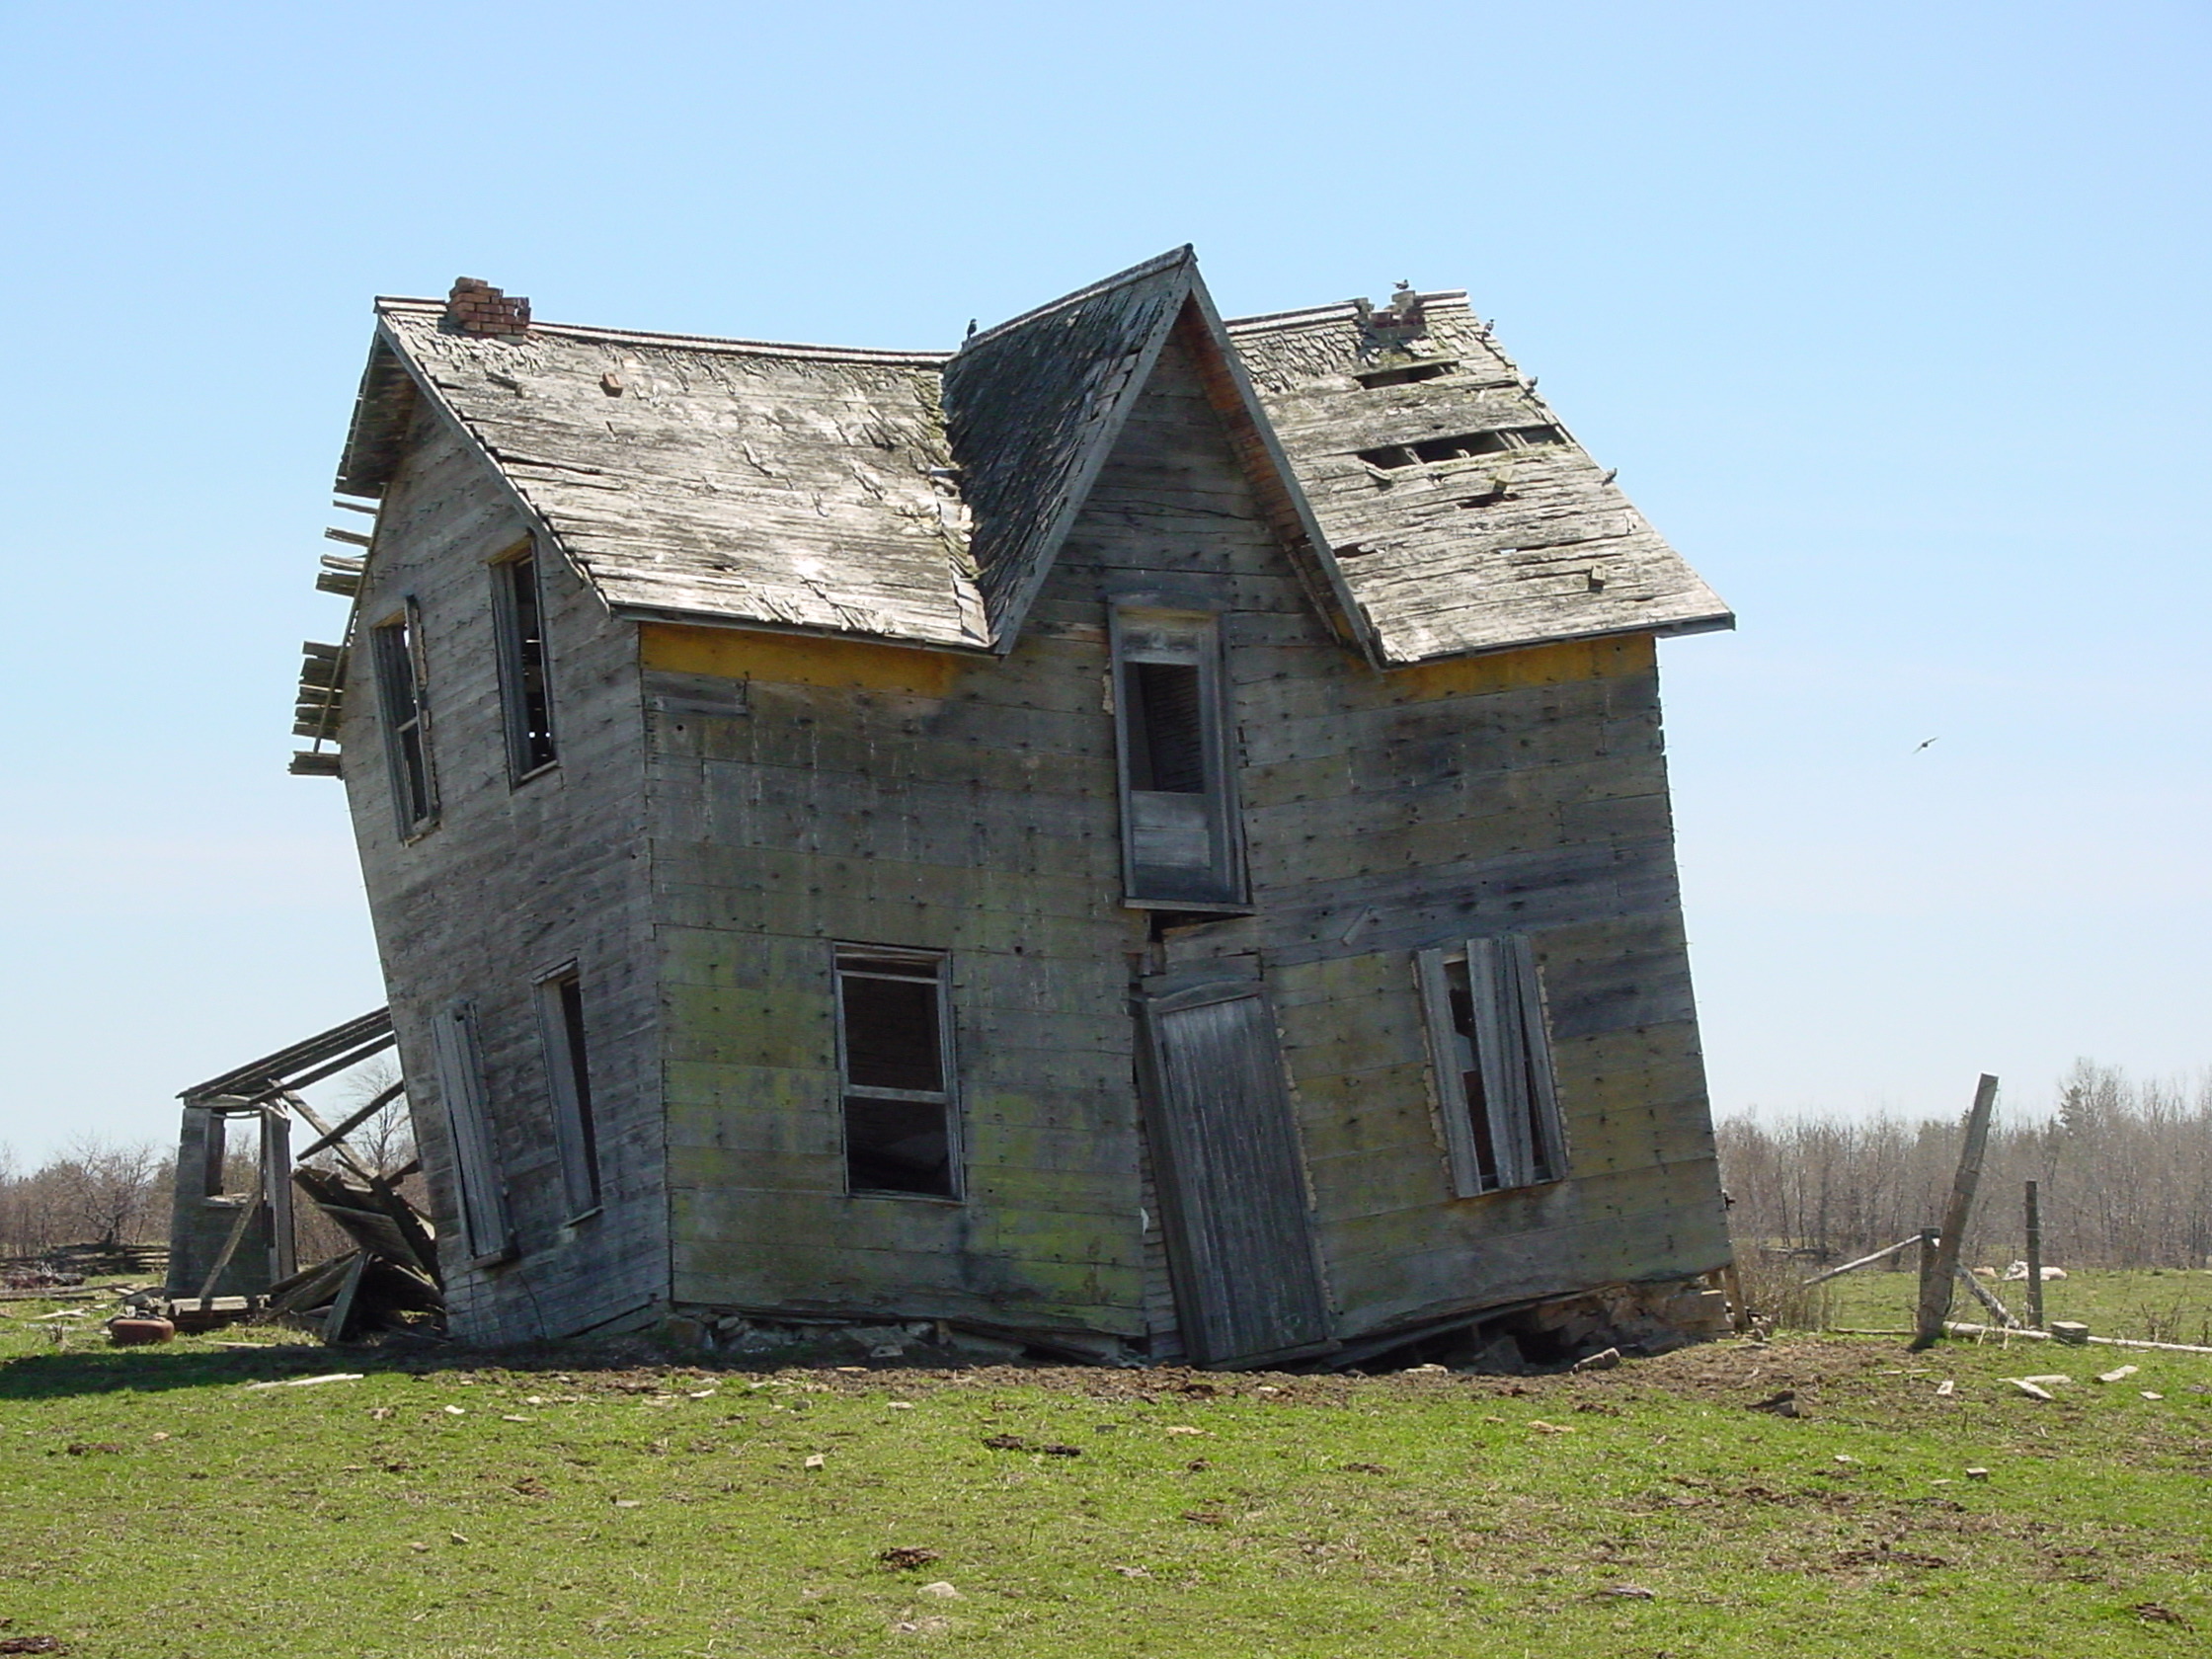
There’s an old farm house on the island where I live that’s famous for all the wrong reasons. That’s it above. It sits about 200 yards from the edge of a country road, but even at that distance it always attracted comments from my kids as we drove by. “Why is that house so crooked, Dad?”
Design & Time
The problem is a fundamentally bad foundation coupled with time. Sure, lots is wrong with this old house, but the worst thing of all is the foundation. That’s why nothing else is worth fixing. I’m building a foundation for a 42 x 80-foot storage building at my place right now (more about that to come), so I’m currently using all the tricks you’ll read about below.
Obviously the house above was not built out of whack. It’s just settled that way over the years because it was build on soft (and probably wet) soil. But still, the situation highlights an important fact about quality. Buildings are supposed to be straight, true and level. And starting out that way – with proper layout procedures for the foundation – is a key part of any builder’s responsibility. The trick is doing it efficiently and with confidence. What you’ll learn here in this article applies to everything from garden sheds to mansions.
The act of laying out a building is really the job of imposing unnaturally straight, square and level shapes upon the undulations of the natural world. And accuracy is key to the kind of new building or major renovation that won’t attract the taunts and frowns of kids and grown-ups after it’s up. You can do the best trim work anywhere, but if walls and floors are wonky because of shortcuts taken early on, quality remains second-rate. This applies to houses and smaller buildings.
Building Layout: Broad Stroke Beginnings
Every building starts with some kind of clean slate, and the first marks you make on the ground for a foundation or concrete slab need to be both accurate and robust enough to survive the onslaught of backhoes, trucks and the general mayhem that’s part of every building’s beginning.
The best method I’ve found for marking out a foundation excavation or slab-on-grade site involves string on soil, some 12-inch spikes and a can of spray paint. One spike gets pounded in to the ground at each corner, a string is tied taut between them, then a line of spray paint is applied over the string, marking the dirt or grass that covers the site. Lift the spikes and strings when done and you’re left with semi-indelible marks that any heavy equipment operator can work from, drive over and still follow easily. Make this painted outline several feet longer than the footprint of your building all the way around and you’ll create a comfortable space to build the foundation and install drainage features. Remember, the first hole you dig needs to be big enough for the foundation of your project to fit within it. The trick in all this involves creating an excavation outline with spikes and strings that actually has square corners. And since carpenters squares aren’t this large, you’ve got to come up with something else.
The easiest way to ensure square corners on a building footprint is using two measuring tapes at once, each big enough to span the longest side of the building and a diagonal line extending from corner to corner. I call this the “two-tape layout system” and it’s simple and incredibly accurate. A couple of 20-foot tapes will do for sheds and tiny buildings; 50-foot tapes work best for small and medium-size buildings. You’ll need a 50-foot and 100-foot tape for most houses. The key to the value of the two tape method is a small but highly significant geometric fact.
Equalizing Diagonals
When any four-sided shape has opposite sides of equal length, corners are guaranteed square when diagonal measurements taken from corner-to-corner are also equal. This is the genius of the geometry behind the system. The beauty of using two tapes at once is that you can check a diagonal line and one building side at the same time, at full scale. Watch the video below for an explanation of how this works, then read on for more detail. This video is part of my instructor-led online course for non-builders wanting to build their own tiny house.
Start work by pounding two spikes into the ground, spaced apart the distance of the longest side of your proposed building hole. Next, it’s time for a calculation to find the length of the diagonal that locates the third spike square to the first two. Using a calculator, determine the diagonal measurement using the Pythagorean formula. It’s the one mentioned in the video above.
Key Formula
Diagonal Length = Square Root of [building short side squared + building long side squared]
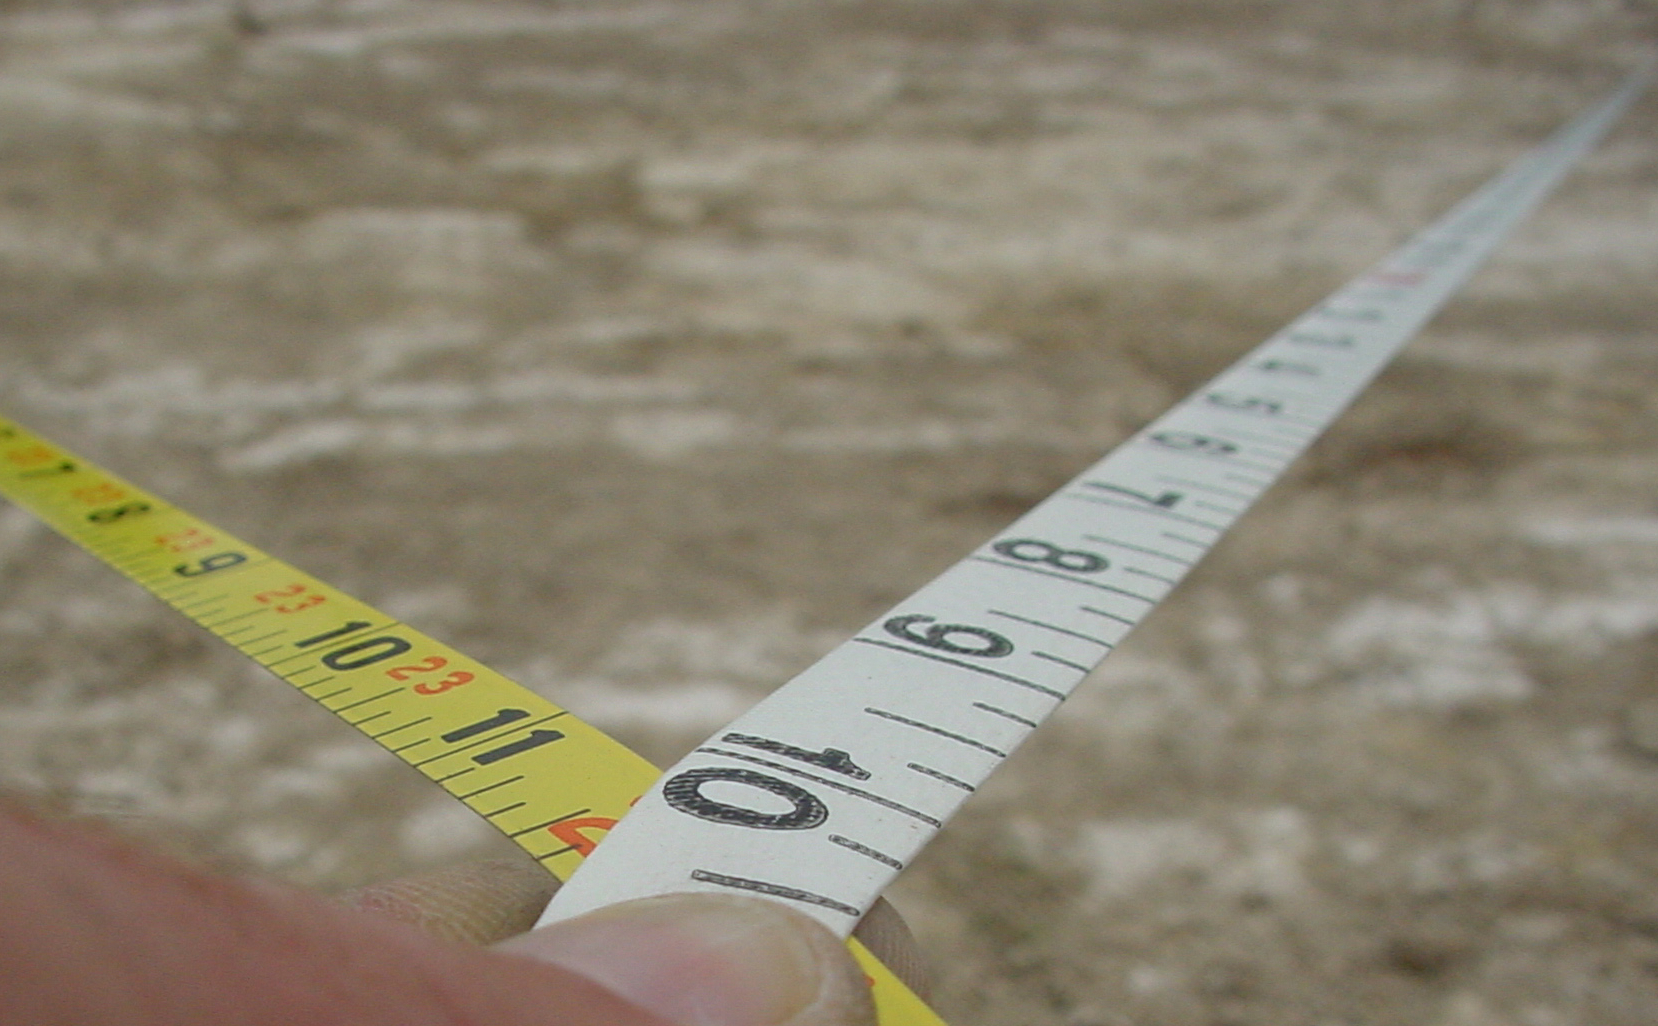
With this key Diagonal Length number in hand, hook one end of each tape over one of the two spikes in the ground, then walk the tapes out together so they cross at an angle. The place where the building hole width number on one tape intersects the diagonal measurement on the other tape marks the spot where the third spike must go to create a square corner. Pop this spike into the ground and connect it with the other two via a string. You’ve now got your second building side located perfectly square to the first. Repeat the two-tape process for the third side, then double-check that opposite sides and diagonals are equal as they should be. You can see two crossed tapes in the photo below. I took this shot while I was laying out a building I constructed a number of years ago.
You’re right if you wonder about the need for extreme accuracy at this stage. Pinpoint precision isn’t absolutely essential yet since you’re only laying out the shape of a hole in the ground or a slab location, not the actual foundation. But take your time just the same because you’ll need to do the diagonal measuring operation again later, except with much more accuracy as you lay out your actual building foundation, not just the outline of a hole in the ground. Footings and foundation walls can be marked out with the same dual-tape method. It’s the best way to mark out square corners fast and with absolute precision. Aim for diagonals that are equal to within 1/8-inch and call it perfect.
Building Layout: Achieving Vertical Accuracy
Getting the footprint of a building square is the first layout step, but it’s not the only one. You’ll also need to do the background work necessary to create level horizontal surfaces on which to build. This requires different tools and ways of thinking.
One of the biggest efficiency boosting tools that helps with vertical building layout is the laser level. It let’s one person reliably mark out correct elevations for footings, foundation walls and floor slabs in a fraction of the time required with traditional leveling tools. Some builders claim that laser levels aren’t quite as accurate as an optical builder’s level, but I’ve never had trouble with mine. Either way, no one can argue with laser speed and convenience. Even if you have to go back later and tweak things with a transit or water level, laser equipment still saves time.
The laser tools most useful for laying out elevations typically use a rotating laser head that spins within a stationary base. Since laser lines are invisible in daylight, a hand-held laser detector is used to assess the position of forms, sill plates, slab edges — anything that needs to be level or exactly the same height as some other feature. You can see the rotating laser level I used when laying out the foundation of the workshop I built.

Regardless of what you use to mark level locations as you begin building work, there’s a trick to success. Never measure only once. Every foundation project or slab campaign offers several opportunities to check and double-check that key areas are, in fact, as level and square as they’re supposed to be. Take every chance you get to do things right. Perhaps one of the most overlooked opportunities to ensure a level start happens at the sill plate stage. Masonry is rough and imprecise by nature, and that’s why you should double-check that any sill plate you bolt down is truly level. If it’s not, shim it into perfection every few feet, then use low-expansion foam to seal the sill-to-foundation gap before bolting it down. This is a terrific technique on all foundation designs. Spray foam is superior to any type of the more typical roll out foundation gasket because it expands to fill gaps while acting as a powerful adhesive. Just be sure to always use low-expansion formulations for this application because regular expanding foam swells enough to bow sill plates upwards if you’re not careful.
High-tech tools aren’t the only way to make sure building features are level. In some ways one of the oldest leveling systems in the world — the water level — remains the most versatile. You can make your own easily with $10 worth of hardware attached to an ordinary garden hose. This approach offers excellent results that are absolutely accurate. You can see how it works in the video tutorial below, also from my online course on building tiny homes for non-builders.
To recap what you saw in the video just now, fasten a female repair coupling to the male end of a garden hose, and a male coupling to the female hose end. Next, slip a 16-inch length of clear vinyl tubing onto the ends of the repair couplings, then fill the hose completely with water. Since water seeks its own level all the time, the liquid you see through the clear vinyl tubes will always settle down to exactly the same height after each one finishes sloshing around. Regardless of where the ends of the hose are, the height of the water lines are always identical to each other. Water levels are the only tool of this kind that can even operate with complete accuracy around corners.
Like many things in building work, laying out a structure correctly isn’t difficult when you know how. The trick is understanding methods that yield assured success quickly. And if pride in your work isn’t motivation enough to keep you on the straight and level, just think of all those kids on the lookout for something interesting to laugh at on boring drives.


I hope you found this content useful!
Your generous support helps me produce more practical, hands-on content that I hope you’ll find useful.
Steve Maxwell