There’s something important about finishing wood that I’ve come to realize, and it’s taken a couple of decades to see it clearly. While the standard approach of staining and urethaning furniture, interior trim and wood floors looks good initially, it doesn’t actually stand up too well over the decades. Wear is the reason why. Scratches, dents and friction eventually wear through the thickest protective layer of urethane, and that’s to be expected. Everything wears out in time. The problem is that renewing an existing urethane finish so it’s attractive again is pretty much impossible. You almost always need to sand back to bare wood and begin again, and that’s a big and dusty pain. That’s why I’m turning to oil finishes more and more often.
Oil Finishes Are Repairable
Oil finishes aren’t as durable as urethane, but they are very repairable. That’s key. When oil starts to wear thin or get scratched, simply rub in more oil, rub off the excess and let the surface dry. The results look as good as new or almost so. The trick is choosing the kind of oil that’s right for the job.

In 2013 I decided to opt for an oil finish on a large cherry kitchen table top I was making for my family. My initial thought for this project was to use something called polymerized tung oil. I’ve had good luck with this in the past, though I never have used it on a kitchen table before. In the end I bought something called Tried and True Varnish Oil by Lee Valley Tools. The results have been outstanding. Tried and True created the best oil finish results I’ve ever seen – deep and rich and long-lasting and surprisingly protective.
Back in 2018 it was the first time I had to renew the oil, despite five years of heavy use by a big family for three meals a day. Actually, I didn’t HAVE TO renew it, but the wood was looking a little dry. I rubbed the table down with a 3M rubbing pad, vacuumed it clear, slathered on a coat of oil, then wiped it off after 30 minutes.
Tried and True is great stuff, but it’s also the most troublesome oil I’ve used. How so? First of all it takes a long time to dry. It requires a least 3 days to fully cure, and this is for each coat. While you won’t need more than one coat for repair, you will need at least three coats for an initial finish.
Second, Tried and True is quite thick compared with other oils, so rubbing it off takes more time and skill. Would I use it again? Yes, absolutely, but only on simple projects without many nooks and crannies. For more complicated surfaces, I have another preferred option.
Watco Finishing Oil
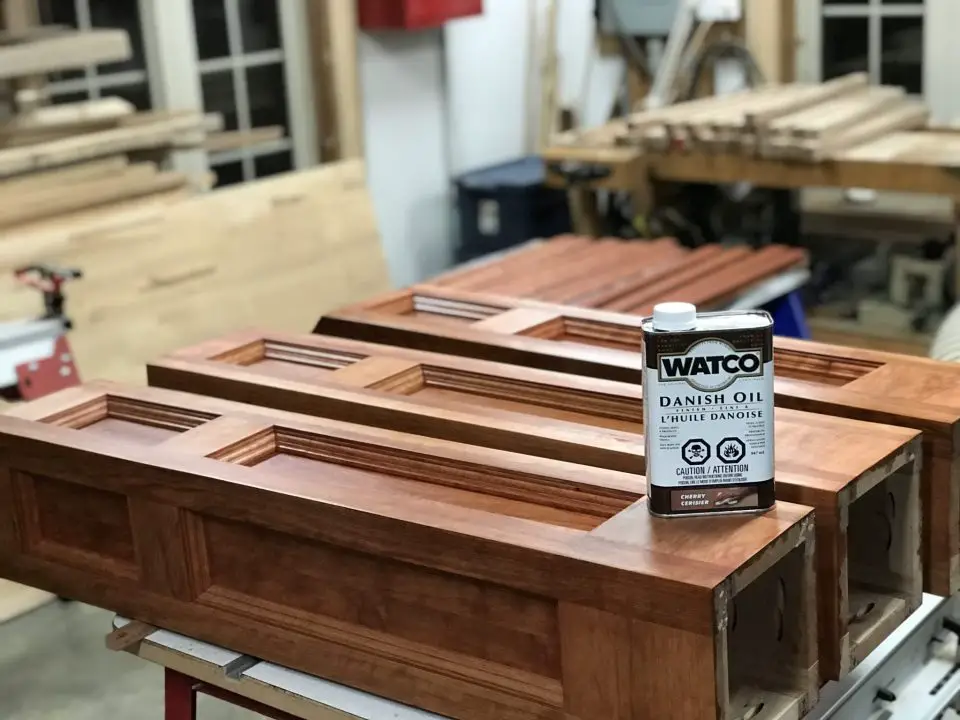
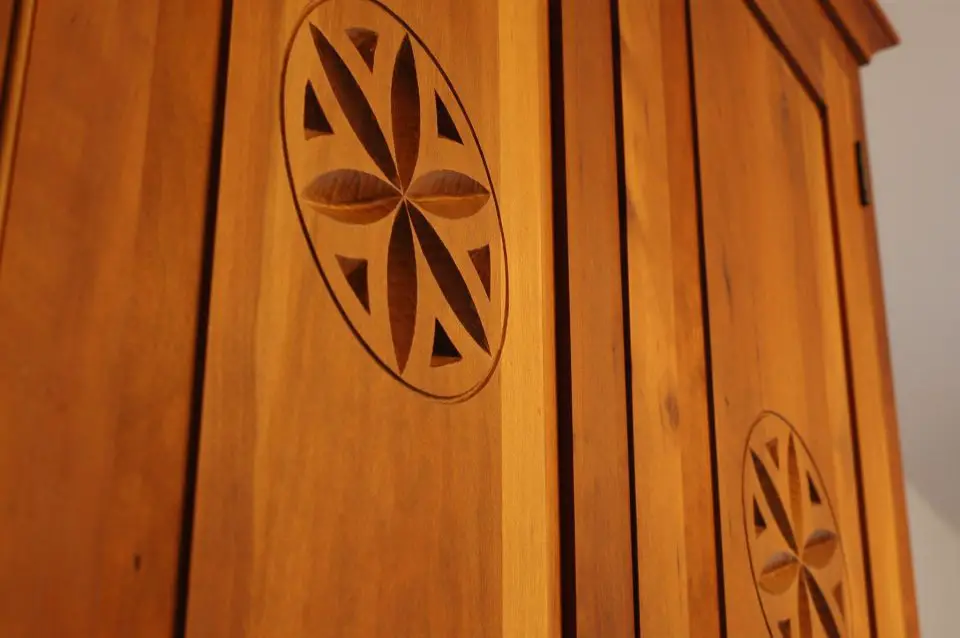
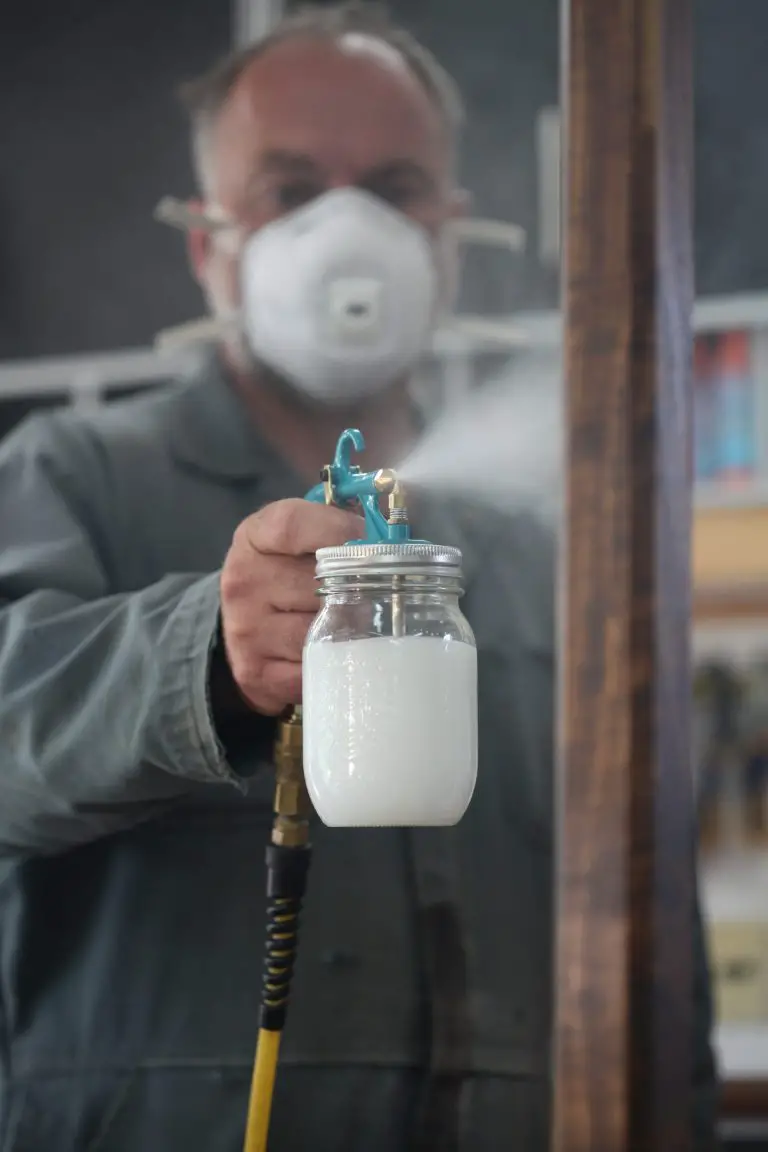
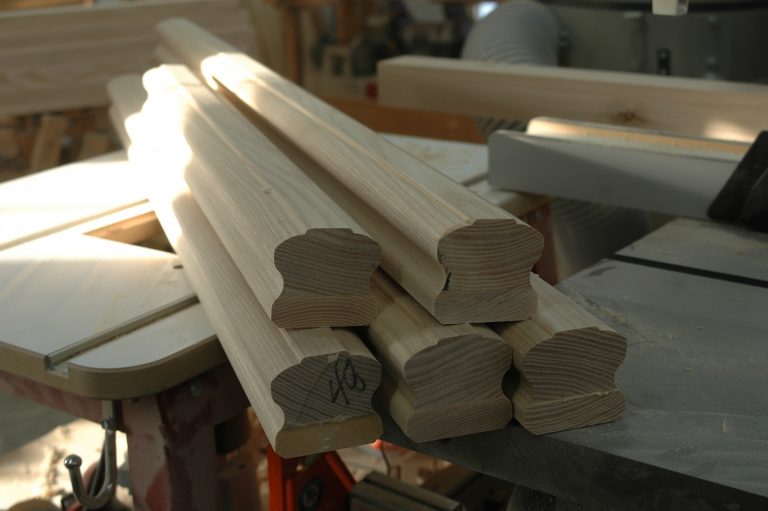
Watco Oil is one of the oldest and best coloured finishing oils in the world. I used some cherry coloured Watco on a stair railing project I completed. That’s the box newels for the railing above. Watco doesn’t provide as much protection as Tried and True, but it’s much faster and easier to apply, especially when you’re dealing with complicated profiles and corners. Although cherry automatically turns a rich, reddish brown colour on its own over time with exposure to light, I applied cherry coloured Watco to the cherry wood. You get a richer brown colour right away, and it also evens out any light areas of sapwood that you see in cherry sometimes.
Click below for a tour of Watco oil that I’ve applied to a wooden staircase project. Something like this is exceptionally good for stairs because they’re get a lot of traffic, so repairability is key.
- Video#1 Watch Time = 5 minutes
Click below to watch a tour of how my box newel stair project, as it went together and to get a close look at the oil finish.
- Video#2 Watch Time = 9 minutes


I hope you found this content useful!
Your generous support helps me produce more practical, hands-on content that I hope you’ll find useful.
Steve Maxwell


