Many excellent hammers and axes are still made today with wooden handles and that’s because wood works so well in this tool application. But wooden handles also get damaged and wear out over time, and this is why it pays to know how to change them. Simple woodworking skills make handle replacement a matter of ordinary maintenance, beginning with the job of getting the old handle out. It’s usually broken near the tool head, and the process of removal is the same for all wooden-handled tools.
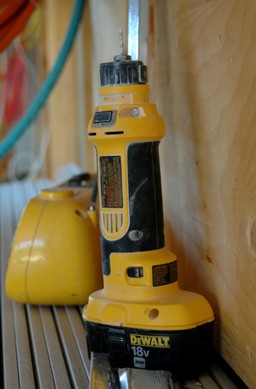
 Drilling is the best way to start. Auger out enough wood from the hole in the hammer or axe head and the entire handle will come out. I like to chuck a 5/16” to 3/8” diameter twist bit into a drill, tighten the tool head in a bench vise (what’s left of the handle pointing down), then drill out as much wood as possible from within the hole in the head. The more you drill, the easier the old handle comes out. Most tools have metal wedges in the end of the handle to expand the wood and keep it tight, so you’ll need to drill around these. Keep the wedges to re-use later. I use the end of a 6” length of large dowel to drive out the handle with hammer blows. Any kind of cylindrical wood or metal object works just as well. If pounding doesn’t knock the old handle out easily, drill more.
New wooden tool handles always come from the store too big to fit into tool heads, but that’s the way it’s supposed to be. In fact, that’s what you want. The extra wood allows a customized fit of the handle into the hole in the metal head, and to make this happen you need a strategy for whittling away just the right amount of excess wood.
Rest the empty tool head on the oversized end of your new tool handle, with the handle sitting vertically on a solid floor. Concrete is best. Keep the handle and the tool together as you raise them both about six inches, then bring the end of the handle down with moderate force several times on the floor. This pounding action begins to drive the head over the wood, though the head won’t get very far. The end of the handle is too big, but you knew that already.
Give the whole thing four or five hits like this, to seat the head down as far as you can onto the end of the handle, then wiggle the head off and look at the wood. Wherever you see the end of the handle has been rubbed or compressed by the head, use a pocket knife or spokeshave to whittle down the handle in this area. Never heard of a spokeshave? It’s a small, safe, hand-held woodworking tool that’s useful for all kinds of shaping jobs. Every time you repeat the pounding and head removal, it reveals new areas of compressed wood further down the handle that need whittling.
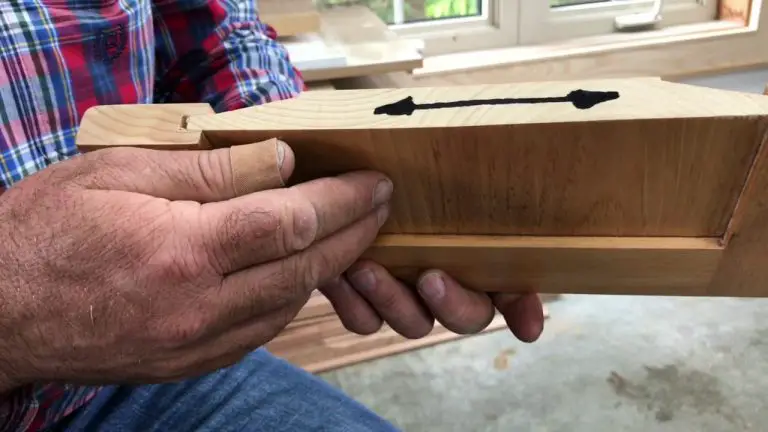
Repeat the process of pounding, head removal and whittling until the end of the handle extends about 1/4” above the end of the tool head. Use a hammer to pound a softwood wedge into the factory-cut slot in the end of the handle to expand it (you can buy wooden wedges ready-made at hardware stores), then saw the excess handle off so just 1/8” extends above the head. Finish up by driving one or two metal wedges into the wood at a 45º angle to the wooden wedge to expand the new handle even more.
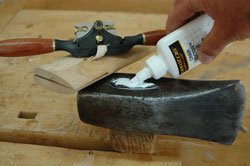
As added insurance that the head stays put, I always squirt a thin viscosity adhesive called Chair Doctor (www.leevalley.com; 800-267-8767) on the top end of the handle. This swells the wood and locks it that way. Do the same thing to tighten handles that become slightly loose with use and you’ll be back in the swing of things in no time.


I hope you found this content useful!
Your generous support helps me produce more practical, hands-on content that I hope you’ll find useful.
Steve Maxwell