- Video Watch Time = 4 1/2 minutes
Wood thickness planers are one of the most useful machines in any home workshop. They turn rough lumber into smooth, uniform boards and open up new design options you simply can’t achieve otherwise. Whether you’re buying your first planer or getting more out of the one you have, understanding how these machines work — and how to maintain them — makes a big difference in results.
Key Takeaways
- Thickness planers turn rough lumber into smooth, consistent boards.
- Benchtop planers offer excellent performance at an affordable price.
- Dust collection or built-in chip ejection prevents clogging and improves results.
- Planers and jointers serve different roles and are often used together.
- Regular maintenance like waxing and blade care keeps results smooth and consistent.
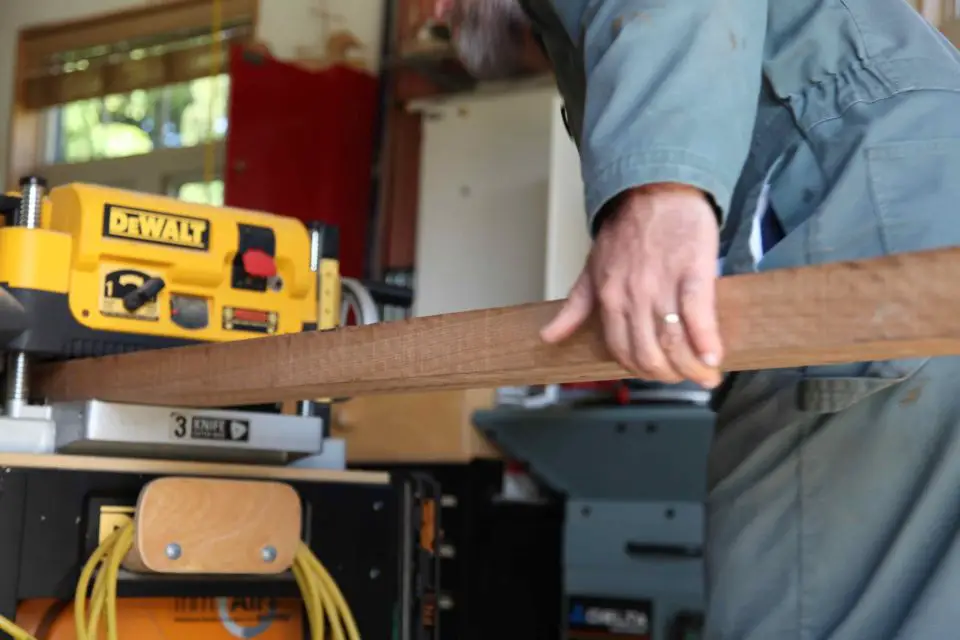
There are big reasons a woodworking thickness planer is so useful in the home shop. Not to be confused with a jointer, thickness planer (also sometimes just called “planers”) are a class of stationary power tool designed to smooth the faces of boards by shaving off a thin layer of wood with a set of rotating blades. Feed an ugly, grey board into one end of the machine, and out comes a smooth, gleaming, slightly thinner board from the other. Forty years ago you needed a forklift to move the smallest thickness planers around. Nowadays the lightest machines weigh in at about 50 lbs., while costing less than you’d pay in sales tax on one of those old 1970’s models bought new. And thickness planers are for more than just smoothening wood, too.
But if a decrease in price and weight were all there was to talk about, then the wood planer story wouldn’t be worth telling. What really makes wood planers shine right now is performance. Amazingly smooth boards currently come out of benchtop wood planers costing between $300 and $600. These little machines can even beat high-output lumberyard machines in a contest of quality. With a fresh set of blades in place, the best benchtop wood planers create an almost finish-ready smooth surface on wood. They’re amazing.
Wood Thickness Planers: Why They Make Sense
Most people aren’t involved in home woodworking very long before wanting a wood planer. Besides the substantial savings you can realize by turning low-cost, rough lumber into furniture-ready boards, they also offer design advantages. When wood of a non-standard thickness of, say, 1/2″, 5/8″ or 7/8″ is really the best option visually for a certain project, a thickness planer makes that kind of wood available. It’s practical and easy. Wood thickness is one thing, but square edges and flat boards are another. This is where another kind of woodworking machine called a “jointer” comes in. Watch a jointer in action.

Couple a modern benchtop wood planer with a hand-held metal detector, and you’ve got a terrific combination for salvaging wood from the “urban forest”. Shipping crates, pallets and even junked pieces of furniture become valuable resources when you can find hidden nails and screws reliably, take them out, then plane the wood into excellent lumber for small and medium-size projects.
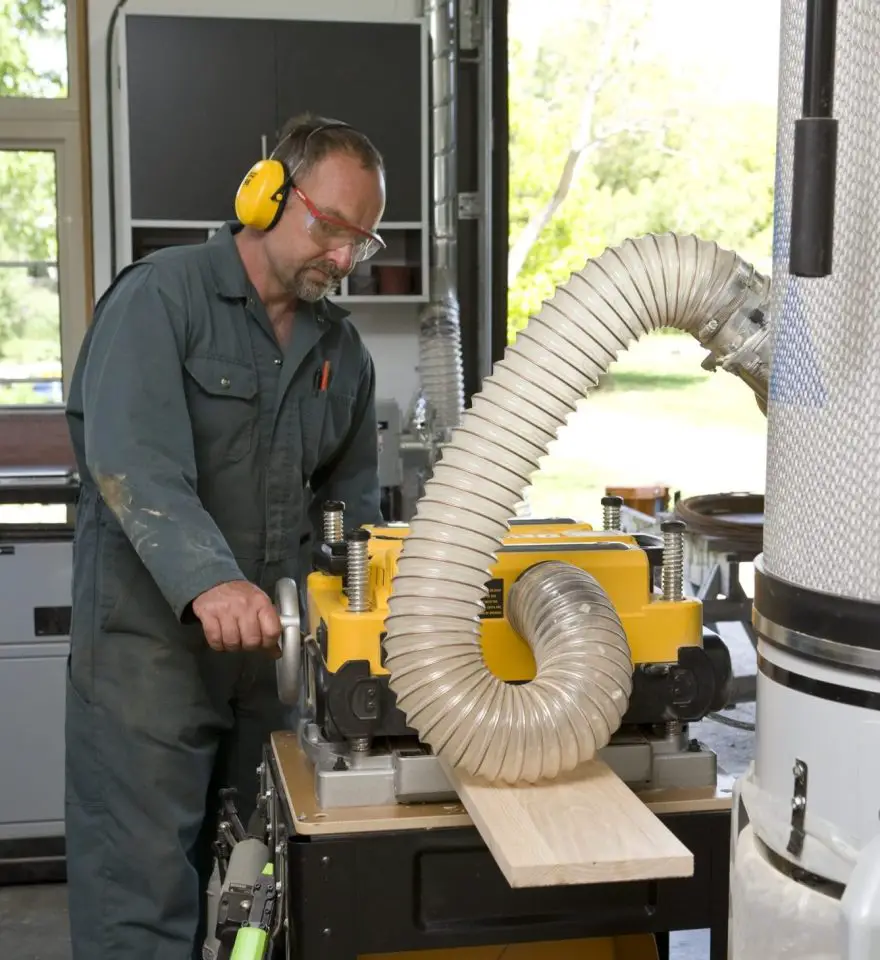
Back in the early 1990s I bought (and have since worn out) my first thickness planer, and since then I’ve completed published shop tests on this tool category several times. One recurring problem with all thickness planers up until now has been the tendency to clog up with shavings when operating without vacuum dust collection. Typical planers rely on incidental air movement from the spinning blades to shoot shavings out of the machine. But when the shaving load gets too high, they clog up, marring the wood surface as it’s planed. How to maintain a benchtop thickness planer.
Wood Thickness Planers: Choosing One for Your Shop
You can solve this problem by mechanically removing shavings with a vacuum system connected to your planer, but there’s a better option. DEWALT offered the first major improvement to have appeared in benchtop thickness planer design in a long time. In addition to a three-blade cutterhead (typical machines have only two), and dual-speed operation, their DW735 includes an on-board fan that aggressively draws shavings away from the wood. Clog-ups are virtually impossible. I know from several planing jobs that the power of this fan-assisted system is more than enough to propel planer debris through a 6-foot long flexible hose connected to a cloth-topped waste can. I have my own DW735 connected to a vacuum system that draws in the shavings even more positively.
Wood Thickness Planers: Maintenance Tips for Best Performance
At the moment, the DW735 is one of the best benchtop thickness planers I’ve ever used and it’s been this way for a while. It also doesn’t look like any other power tool manufacturer is taking a run at beating the quality of the DW735. There are many other very nice benchtop thickness planers out there, but none are quite as nice as this one in my experience.
This video shows how to keep a wood thickness planer running smoothly. The same maintenance steps apply to most benchtop planers. Full transcript below.
VIDEO TRANSCRIPT: 00:01 There are three things you need to do to keep your wood planer running well, and I want to show you each of them right now. The first thing you need to do – and it applies to all wood planers on the market – is to regularly wax the bed. If you don’t do this, your wood is going to stick, and it won’t feed through properly. Now, as for wax, this is what I use, Johnson’s Paste Wax. I bought it in the late ’70s, and as you can see inside, there’s still plenty of wax in there. I figure I got maybe five, 10 more years out of this can. Just put a little bit on the rag and rub it in circles around the bed. You don’t have to be fancy, just as long as you get complete coverage. Let it dry for a few minutes and then lightly buff it off with a clean rag. It’s amazing how long that’s going to allow your wood to keep sliding smoothly while you plane it.
00:56 The next two tune up operations happen inside the wood planer. Now, how you get into your machine might vary from what you’re going to see here, but the basics are the same. You’re going to have to take the top off to gain access to the cutter head inside. With the machine unplugged and the cutter head exposed, you can get to work changing the blades, which is the second maintenance operation you need to do on your wood planer. You know that the blades need to be changed when the planed wood comes out with little raised bumps along the length of the wood. That means that there’s a nick somewhere in the blade and it’s causing that berm of wood to be left behind. A few of them is okay, you can sand them out, but when they start to get large and numerous, then it’s time to get to work inside the machine.
01:45 The knives on all wood planers are held by a whole bunch of bolts, like you see here. That’s true regardless of the machine you have. But what you need to do is to start loosening off all the bolts and then remove them. Now, before you do that though, I want to show you a little trick. The bolt holes in most blades aren’t round. They’re actually oval like you see here. That allows you to slide one blade or the other from side to side slightly. The advantage is if you’ve got just a little bit of ridging on your planed boards, and you want to get that wood planer planing really well for an important project, but you don’t want to change blades, you just loosen off the blade-anchoring screws, slide one blade a little bit to one side, and then the nicks in the blades that caused the groove in the first place don’t line up, and you get perfectly smooth results, at least for a little while.
02:44 If you really do have to change your blades, you’re going to find the job very easy. Today’s blades are double-sided, they’re sharp on both edges, and they’re disposable. Also, each blade has holes for registration pins. These are the small, round protrusions of metal that come out of the cutter head and lock the blade in just the right position so you don’t have to worry about getting the height right. When the blade’s in place, you put your metal cap strip on top, tighten all of the bolts down, go back and forth several times to make sure you’ve got them all tight, and then you’re good to go.
03:19 Now, when you’re changing the blades and you’ve got the cutter head exposed, there’s one more thing you need to do. This is the third bit of maintenance, and that’s applying paste wax to the inside surface of the shroud that surrounds the cutter head. This greatly reduces the buildup of pitch that would roughen that surface and cause your planer to jam up during heavy planing. Take care of these three issues and you’ll have smooth wood every time you walk over to your wood planer and turn it on.
Frequently Asked Questions
What does a wood thickness planer do?
A thickness planer smooths rough lumber and reduces it to a consistent thickness by shaving off thin layers of wood.
Do I need both a jointer and a planer?
Yes, they serve different purposes. A jointer flattens one face and edge, while a planer makes the opposite face parallel and consistent in thickness.
What size thickness planer is best for a home workshop?
Most homeowners do well with a 12″ to 13″ benchtop planer, which offers a good balance of capacity, cost and performance.
How do you maintain a thickness planer?
Maintenance includes waxing the bed, replacing or adjusting blades, and keeping internal surfaces clean to prevent buildup and clogging.
Do thickness planers need dust collection?
Yes. Even models with built-in fans perform better when connected to a vacuum or dust collection system.
Want more practical home improvement ideas like this?
Join the Bailey Line Road newsletter for weekly DIY tips, building advice and real-world solutions for homeowners.


I hope you found this content useful!
Your generous support helps me produce more practical, hands-on content that I hope you’ll find useful.
Steve Maxwell