It sounds like you’re envisioning a kind of moulding called plate rail. This is a narrow, wood shelf-like arrangement, often with grooves milled along the top surface to prevent plates and other items from sliding outwards. Although plate rail is normally installed 18″ to 24″ down from the ceiling, you might find it works better at lower levels for photographs.
For fastening, you’ll need to use a nail or screw that penetrates at least 1″ into the underlying wall studs, after passing through the edge of the wooden molding you’re using and any drywall or paneling that forms the inner wall surface over the studs. Before you drive these fasteners, you’ll need to find the places on the wall where the wooden wall studs exist below the surface. These are typically spaced 16″ from centre-to-centre, and may exist anywhere underneath where you plan to locate your photo rail. Each wall stud is 1 1/2” wide, so you’ve got a pretty big target to hit. A small, electronic device called a stud sensor may show you where the studs are, but I’d verify your findings first by driving finishing nails part way into the wall without the photo rail being there, in an exploratory way. As long as you stay underneath the footprint of photo rail, it doesn’t matter if you miss the studs and leave frazzled nail holes behind. These will be covered by the photo rail when it goes on. You know you’ve hit wood because the nails or screws resist entry much more than if they hit a hollow wall cavity.
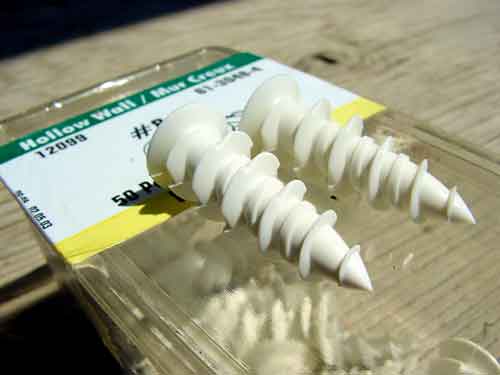
If there are no studs where you need them, install a threaded drywall anchor into the drywall to create a surface that’ll accept anchoring screws. They hold very well for light and medium-weight items. Predrilling a hole in the drywall before installing the anchor works best.


I hope you found this content useful!
Your generous support helps me produce more practical, hands-on content that I hope you’ll find useful.
Steve Maxwell