When your AC stops working, what’s the first thing you do? Most people pick up the phone and call in the experts. However, it’s not always necessary to get an HVAC technician out. There are a surprising number of things you can do on your own to fix or at least diagnose the problem.
Some of the most common AC issues are pretty easy to spot, so it’s well worth having a quick look before booking a repair service. You might save yourself time and money. Here are seven simple things you can check on your air conditioning system.
Before we get started, remember safety first: Always turn off power to your AC system at the breaker before opening panels or cleaning your unit. Electricity and moving parts can be dangerous.
1. Is Your Thermostat Set Correctly?
Many AC mishaps are related to the thermostat, so it’s important to start with the basics. Begin by checking that your AC is on cool mode and that the temperature is set lower than the ambient room temperature. Whether you control your system with a remote or a wall-mounted panel, make sure the screen is working properly. If it’s blank or unresponsive, the batteries might be dead. In that case, swap them out for new ones and see if it makes any difference. Is your thermostat a smart device? Try performing a reboot or reset using the app. Sometimes this clears up a glitch. If it’s still not working, move on to the next step of DIY AC repair.
2. Check the Air Filter
If your air filter is clogged, it restricts air flow, putting extra strain on your AC system. In severe cases, it can even cause the unit to shut down or freeze over. Fortunately, checking your air filters is fairly straightforward. All you need to do is pull out the filter and give it a quick visual inspection. A grey, dusty, or sandy-looking filter is a sign it’s time to be replaced. Ensure you replace it with a filter of the correct size and appropriate MERV rating for your system.
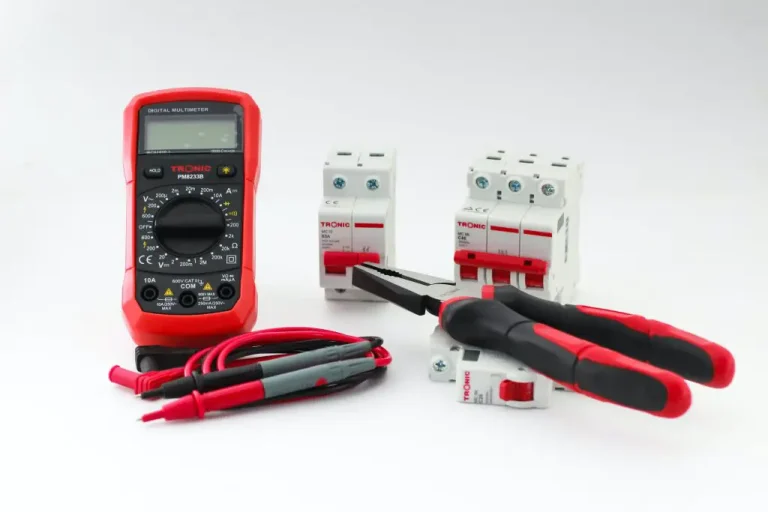
3. Is the Circuit Breaker Tripped?
The next thing to troubleshoot is whether your unit is receiving power. If it’s not turning on at all, the problem might be electrical. Take a look at your breaker panel and see if any switches are in the off position or stuck in the middle. If the AC breaker has indeed tripped, simply flick it off and then back on again. This should solve the issue, but if it trips again shortly afterward, it might mean you have a larger issue that needs professional attention. Breaker boxes involve high-voltage electricity, so be extra cautious. If you’re unsure, always get help from a licensed electrician.
4. Are the Vents Blocked?
It may not even be your AC unit that’s broken. Blocked vents between rooms can also affect how the air moves through your home. Take a walk around your property and double-check that nothing is in the way of the air vents; for example, carpets, rugs, curtains, furniture, or even piles of clothes in the way. While you’re at it, give the vents a quick dust to ensure they’re functioning properly.
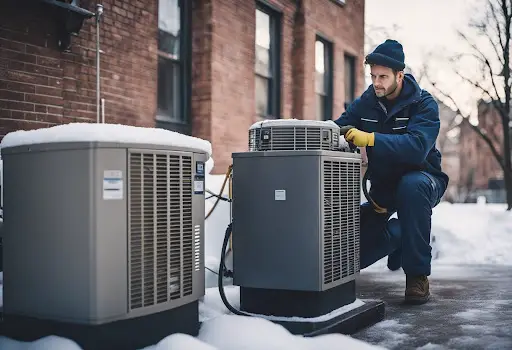
5. Check the Outdoor Unit
The metal box on the outside of your home, known as the compressor, needs space to work correctly. Remove any debris or foliage that might be in its way. Listen for unusual noises (grinding, squealing) and look to see if the fan blade is spinning when the unit should be running.
This is especially important after bad weather, when leaves and branches may have collected around it. If you notice the fins of the fan are dirty, you can gently rinse them with a hose; just be careful not to cause any damage. Remember, always turn off the power at the breaker before cleaning the outdoor unit.
6. Look for Ice on the Coils or Unit
Ice can build up on the inside or outdoor unit if there’s restricted airflow or the refrigerant is running low. Not to worry: simply turn off the AC and let it thaw. To do this, turn the thermostat’s Cool mode OFF. You can set the Fan to ON to help circulate air and speed up melting. Do not try to chip away ice. Never try to scrape the ice off as this can damage the unit. Once the ice is completely melted, try replacing the filter and turning the system back on.
7. Is the AC Actually Running?
If your AC unit is powered up and blowing air but it’s not cold, this could mean a few things, including low refrigerant, a faulty compressor, or a problem with the thermostat wiring. A DIY fix isn’t going to cut it here. These situations are all best left to a professional AC repair technician with the proper tools, knowledge, and skills to deal with the problem.
8. Inspect the Condensate Drain Line
This is a very frequent cause of AC shutdowns, especially in humid climates. Your AC pulls moisture from their air, which exits your home via a drain line. This is usually a white PVC pipe near the indoor unit. If it gets clogged, it can back up water into the system and trigger a float switch that shuts everything off. So, look for standing water in the drain pan. If it’s accessible, try flushing the line with a mix of vinegar and water or use a wet/dry vac to suck out any blockage from the outlet.
When to Call a Professional
If you’ve gone through the above steps and still can’t resolve the issue, it’s time to bring in an expert, especially if:
- The breaker keeps tripping
- You suspect refrigerant leaks
- Strange noises are coming from the compressor
- There are electrical issues beyond the breaker
- There’s persistent freezing after checking the filter and airflow
- You’re not totally confident doing any of these steps safely
Endnote
Next time your AC stops working, there’s no need to panic or imagine the worst. A faulty AC doesn’t always mean a costly repair or waiting weeks for a technician to be available or for parts to be delivered. With these seven easy-to-follow tips, you can assess if the issue is something small and maybe even fix it yourself. However, if you’ve been through this list and the problem persists, it’s worth calling in a licensed and qualified technician. The sooner you catch a fault, the better your chances of avoiding a bigger bill further down the line.


I hope you found this content useful!
Your generous support helps me produce more practical, hands-on content that I hope you’ll find useful.
Steve Maxwell