- Video watch time = 7 minutes
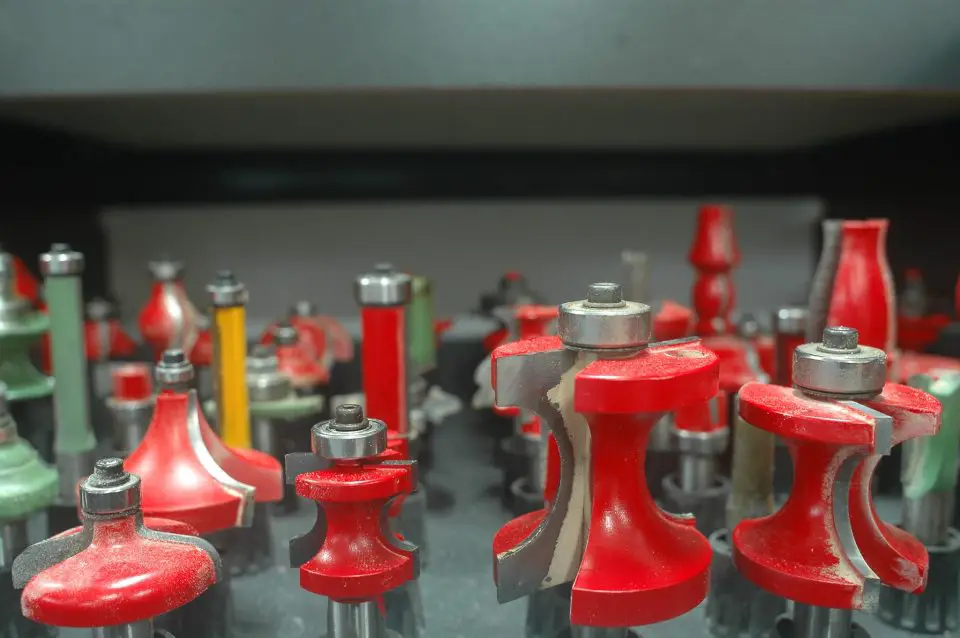
Routers are power tools used for shaping and milling wood, and they do this by spinning a variety of bits at up to 25,000 revolutions per minute. That’s serious speed and necessary for good results. But with this kind of speed comes five pitfalls. Read on to learn what they are and how to overcome them. Further below you’ll find an introductory video on routers, and how they can be used to greatly improve the look of decks. Not a typical application, but I think you find it useful.
Pitfall #1: Routing the Wrong Way
You’re not likely to make this mistake often, but it does bear mentioning for beginners. Wood must always encounter the bit traveling against its direction of router bit rotation. And since all routers spin in the same direction, success boils down to two simple rules:
- Hand-held Routers: Move the router from left to right along the wood.
- Table-Mounted Routers: Move the wood from right to left across the stationary router.
Get this wrong and the router bit will grab the wood and fling it instead of cutting cleanly. “Climb cutting” is a specialized operation where wood is intentionally fed in the same direction as bit rotation. Though this technique has some benefits, it’s also tricky and unnecessary. Don’t bother attempting it.
Router Pitfall #2: Biting Off Too Much
The largest routers have the same rated horsepower as your average lawn mower, and with this much power in your hands, it’s tempting to rout too deeply in a single pass. But ease up, even if your router has the power to leap tall buildings in a single bound. Don’t cut anything more than 3/8”-deep in multiple passes – less if the profile is wide or your router is smaller than 2 1/4 hp. Your router and bit will last longer and the quality of cut you achieve will be better, too. You’ll always get best routing results with multiple passes as opposed to a single, full-depth pass.
Router Pitfall #3: Don’t Rout Too Slowly
Cutters on a typical router bit hit the surface of routed wood about 800 times each second, and the potential for friction and heat build-up on the surface is high. Heat can cause surface burning, especially when you’re putting decorative edges on hardwoods like oak, maple, ash and beech. The solution is to reduce the number of cutter impacts on a given section of wood by moving your work piece across the bit more quickly. Yes, you can move too slowly with a routing cut, and too slow increases the tendency to leave burn marks on your wood.
My favourite solution is to rout all the wood off edge profiles except for about 1/32”. Extend the bit enough to take this final, very shallow pass, then complete the cut quickly. The wood won’t even have a chance to get warm, let-alone burn. If burning does happen, sanding is the best way to remove it. What you’ll discover, however, is that the burning is more than just surface deep and takes a lot of sanding to remove. Burn elimination in the first place is much better than burn removal after the fact.
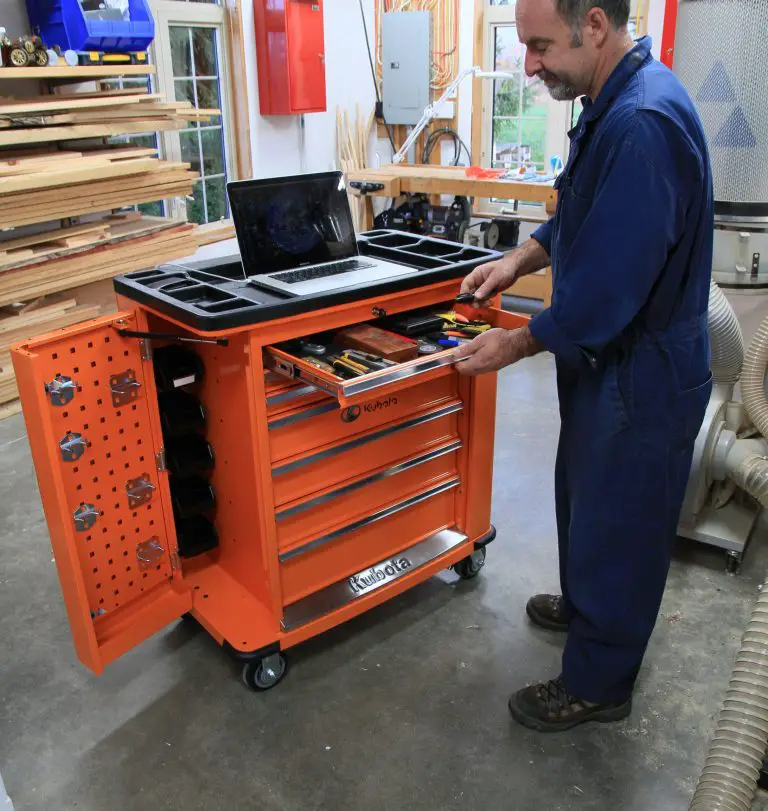
Router Pitfall #4: Beware of Warped Router Table Tops

A router table hold a router stationary and upside down, and this is a big help for some operations. A router table is what you see above. A truly flat router table top is good and a slightly crowned one is fine, too, but a dished tabletop is bad news indeed. Why? Inaccuracy, that’s why.
Imagine you’re routing a Roman ogee profile on the edge of a 36”-long drawer front and your router table top is dished just 1/16” in the centre. As the leading end of your drawer front hits the bit, it’s more-or-less tight to the table. But as you continue to push the wood farther along, the leading front end of the wood rises as it climbs up the dished shape on the other side of the table. And as the wood climbs higher and higher, it raises the middle part of the door in the process. The wood is no longer tight to the table at the bit, and this causes your routed profile to shift 1/16” further up the edge of the wood than at the ends. Not good. The more intricate the profile, the worse this shift looks.
Router Pitfall #5: Beware the Bearing
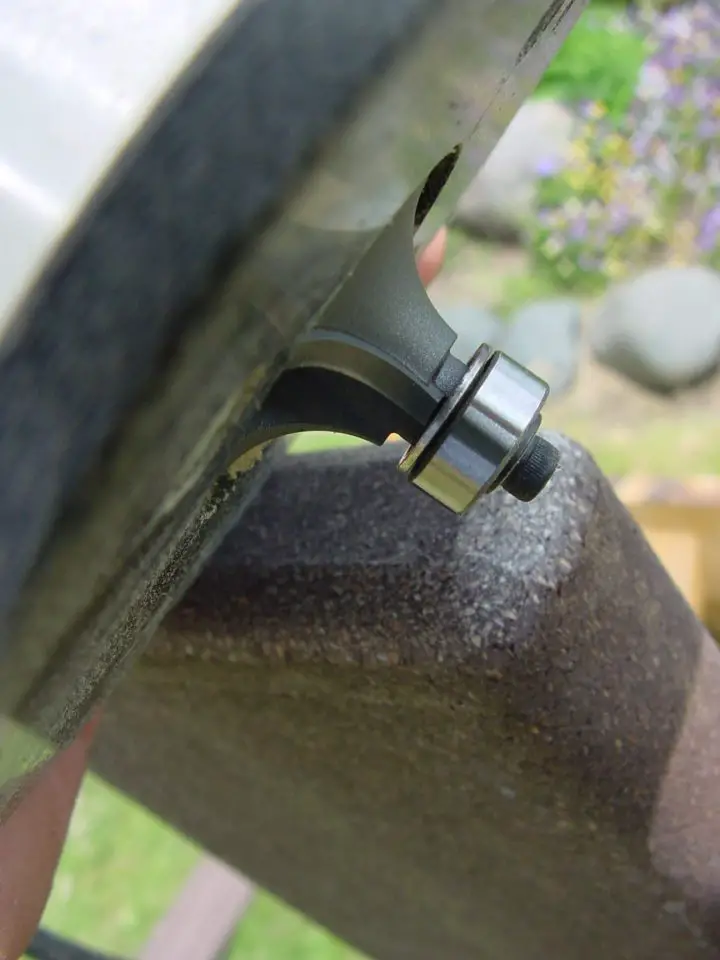
Many great router bits include bearings that guide cutting action, but these often leave shallow grooves behind on soft wood. Some marks only show up while staining, when it’s too late to eliminate the trouble easily. Avoid marks altogether by using a fence on a table-mounted router, even when a bearing alone would do the job. Besides yielding mark-free results, a fence boosts safety by covering most of the bit so your hands and fingers are less likely to run into trouble.
VIDEO: Router Basics & Decks


I hope you found this content useful!
Your generous support helps me produce more practical, hands-on content that I hope you’ll find useful.
Steve Maxwell