If you’re thinking of building stairs (or having a pro build them for you), you’ve come to the right place. This article explains the essentials of different kinds of stair construction, with tips you won’t find from most other sources. It covers the important details you need to know for different kinds of stair construction. Even if you’re just hiring someone to do the job, at least you’ll know the basics behind good work if you read this article.
Building stairs that remain comfortable, strong and quiet for years is something that happens far less often than it should. And I suspect this is because good workmanship demands more time than allowed-for in typical homebuilding budgets. Here are key tips you need to understand.
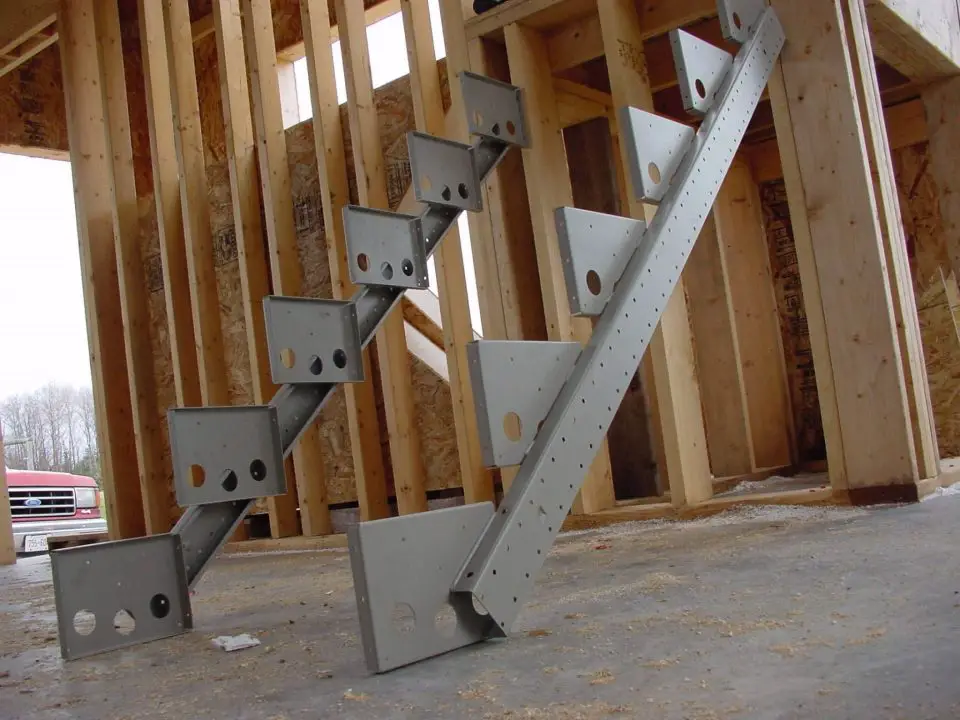
Stringers Your Stair’s Foundation
The way your stairs feel underfoot, and the ease with which you can climb them, depends on the shape and installation of notched pieces called “stringers”. The design, layout and anchoring of stringers are all crucial steps in any stair building job. There’s a video about this below. Stringers are angled pieces that are notched to hold the stair treads that you walk on. Cutting stringers accurately is key, and it all begins by measuring the height of one floor surface above another. Let’s say that works out to be a total rise of 9 feet, or 108″ in this example. That’s pretty typical for a home with 8-foot ceilings and the usual sort of second floor joists.
Math for Comfortable Stairs
In the stair building trade, the word “rise” refers to the height of each individual stair tread above or below its neighbour. “Run” describes each stair tread’s front-to-back width, ignoring any overhang along the front. For safe and comfortable stairs, the width of each tread plus the height of each riser should equal 18 inches, with the rise being somewhat smaller than the run. Some carpenters call this the 18-inch rule, though it’s more like a suggestion since you can fudge a bit in either direction and still get good stairs that feel comfortable to walk on. Following the spirit of this rule leads to a staircase that’s comfortable to use and safely proportioned. That’s the important thing.
Typically, the total number of risers in residential staircases is 13, including the step up to the landing and the step up to the second floor. Once again, that’s pretty typical, though the number of risers isn’t cast in stone. It could just as easily been 12 or 15 in this example, depending on how steep or shallow the stairs were designed to be, and the total overall rise.
Given the 108″ overall required rise of the staircase in this example, and the assumption of 13 risers in total, that means that each riser must have a height of 108 divided by 13, or about 8 5/16″ riser per stair. Subtract this figure from 18″ and you’re left with 9 11/16″ or the total horizontal run of each stair tread (not counting the overhang of the stair treads). These figures are typically transferred to 2×12 stringer material using a 24″ carpenter’s square. This step isn’t rocket science, though you must make allowances for the thickness of finished flooring, stair treads and stair risers when laying out stringers. You’ll want each stair’s rise and run dimensions to be consistent once all the finishing touches are added.
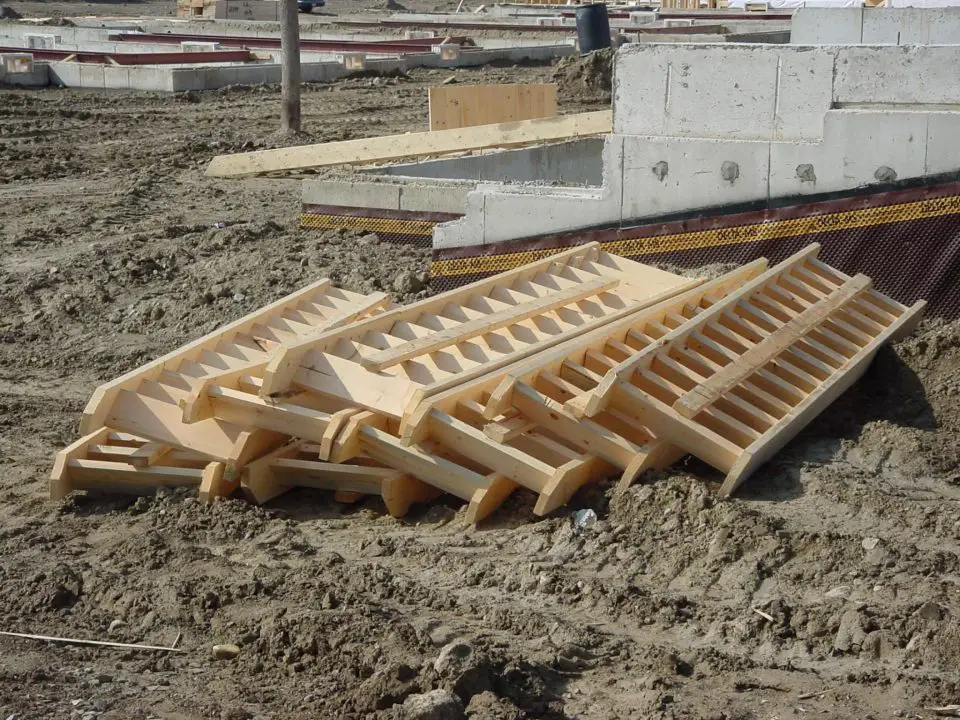
Wood for Stairs
As I mentioned, construction-grade 2 x 12s are the usual lumber used for making staircase stringers, though you can probably get away with 2 x 10s for shorter installations involving only a few steps. The crucial thing is that the wood be sound, relatively straight-grained, containing no large knots. By the time you cut notches out for the stairs, there will be quite a bit less wood in a stringer than when you started. Be sure that what’s left is good. Two stringers are okay for utility stairs up to 32″ wide, but you should go with three stringers for anything wider. It’s not a lot of work to add the stability that comes from this extra support at this stage, but it’s impossible later.
Watch the video below for a demonstration on marking and cutting stair stringers from wood.
- Video#1 Watch Time = 19 1/2 minutes
Glue: The Key To Quiet Stair Performance
If there’s one thing that affects the solidity of stairs more than anything else, it’s the use of wood glue on all joints. And now is the time to begin that discipline. The top and bottom ends of each stringer have notches that nestle around 2×4 ledger boards fastened to 3/4″ plywood on the wall, floor and edge of the landing platform. Ledger boards are key, making it impossible for the stringers to fall down after installation. The mechanics of this design is an important part of any squeak-free installation.
A potential weak link in the steady-stair equation is the landing platform. Not all stairs have a landing, but if yours does, do whatever is necessary to make it rock solid because so much depends on this. That means firmly tying the landing into surrounding walls, sheathing the top surface with plywood, and using more ply as gussets to keep it steady on its support legs. You’ll gain a lot of strength in this way by extending the plywood hanger boards lower than necessary to support the stringers. Always remember that the downward force of weight carried on stairs is transmitted to sideways force by the angled orientation of the stringers. To be solid and silent, your stair frame must be able to resist these sideways forces.
While on the topic of joining stair parts, here’s a tip: You’ll find #10 wood screws better than nails for two reasons. First, you can install them without the kind of bashing necessary for a hammer-driven nail. A hand-held electric drill does the trick or impact driver. Screws also hold much more firmly than nails, and keep their grip forever. Nails sometimes come loose in time. Just be sure that the screws you use are long enough to sink at least 1 inch of threads into underlying wood. The drawing show one use for screws that’s important and invisible. By securing the end of each tread to the stringers using a pair of counterbored screws, you’ll give them the best possible chance of remaining solid. The dowels that extend from the bottom of the spindles fit into the counterbored pockets, hiding the screws and anchoring the spindles at the same time.
Silent stairs are to a house what a solid “thunk” is to a closing automobile door. It’s a sign that someone out there went beyond the minimum. And why else would you be reading this one if you weren’t interested in quality?
How to Build Stairs: Wedges Make Things Easier
No one’s work is perfect, but wedges can make up for that in some parts of the stair building game. During construction, and especially before you seal any support structure under drywall, examine everything closely and tap wooden wedges into gaps as you find them.
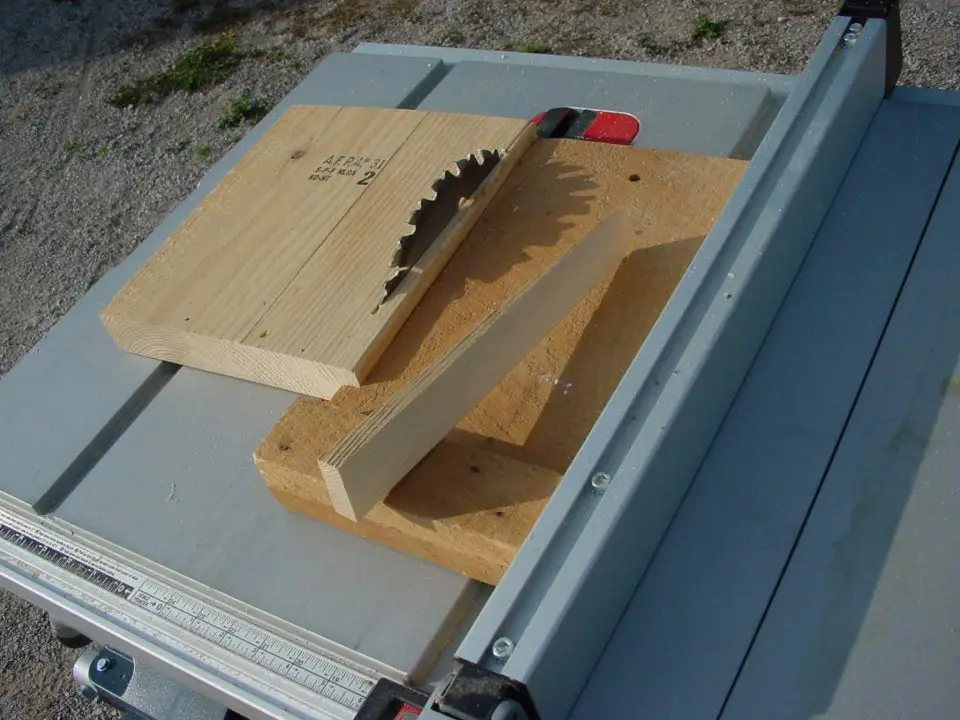
Stair noise always happens because of wood movement, and movement needs space. Fill that space with shop-cut wedges (glued in place, of course), and you’ll keep things quiet. The most likely need for wedges is in gaps underneath treads where they rest on the stringers, or between any angled-top wall that sits directly underneath stringers. Click here for a video lesson on how to cut wedges quickly, easily and accurately using a tablesaw.
- Video#2 Watch Time = 2 minutes
Do you have a small floor area and some need to get a working staircase into the space? Click here for a tour of a compact staircase kit that I installed a while back leading to my attic.
How to Build Stairs: A Word on Finishing
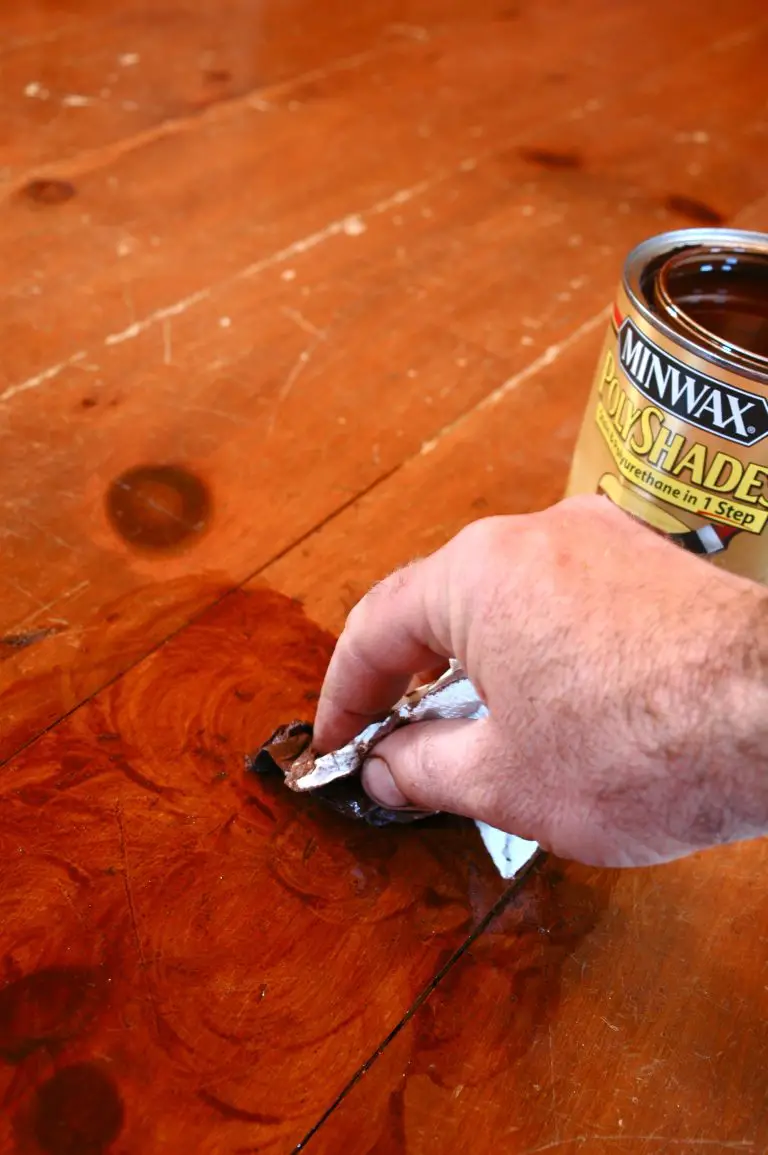
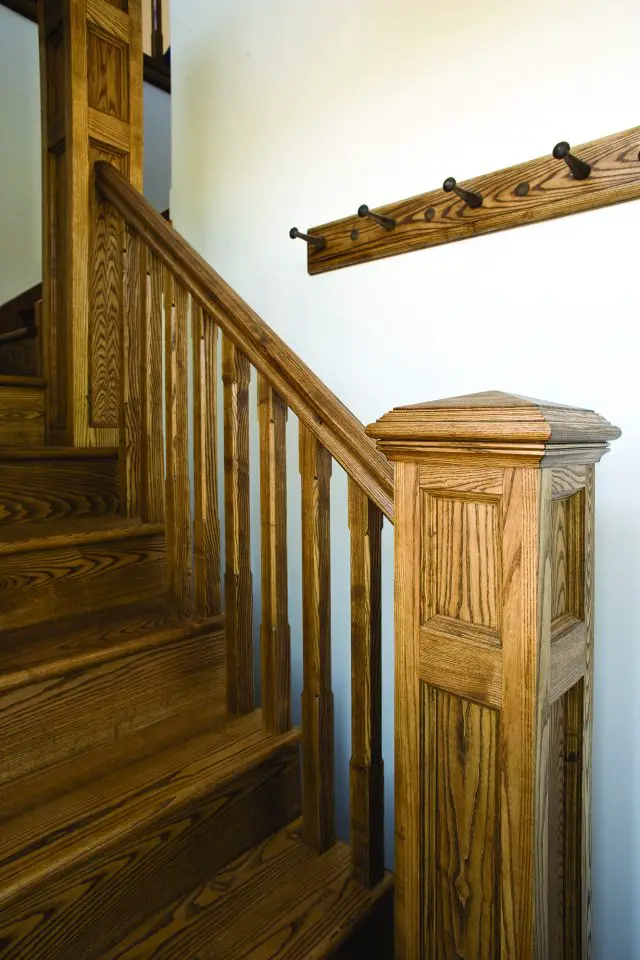
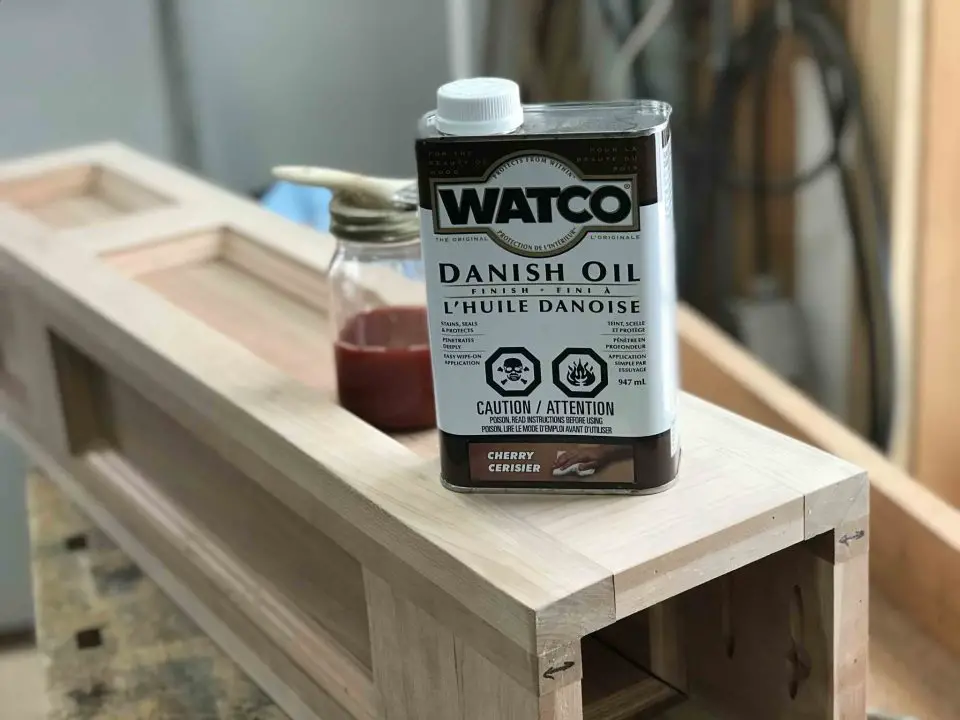
Few wood finishing challenges are as intricate as coating a new, all-wood staircase. But you can speed your work and improve results by pre-finishing just about everything before installation. This means treads, risers, hand rails, spindles (more properly called balusters) and newel posts can all be coated in urethane or varnish while they’re still easy to deal with on your workbench. As long as the surfaces involved in joinery remain bare, glue will hold them solidly. My favourite option for stairs involves the use of a finishing oil as opposed to a film-forming finish like urethane. It’s much easier to renew an oil finish because you simply apply more oil, with no need for stripping the old, tired, urethane first.
As with all wood-finishing work, sanding stair parts between coats is vital to a smooth finish. Here’s a trick that speeds this process on turned spindles, the type most often used for stairs. Cut the head off a #12 x 1 1/2” wood screw, then chuck it into a variable-speed electric drill, with 5/8″ of the point facing outwards. This is your spindle drive pin. Next, hold the spindle in one hand, place the tip of the screw in the middle of the top of the spindle, then drive it into the wood using low revs until the screw is completely buried. Pick up a 3M rubbing pad in one hand and wrap it around the turned part of the spindle under your grip. Use the drill to spin the spindle while holding on to it with your abrasive-lined hand. About 60 seconds of spinning up and down the spindle is all that’s required to smooth the otherwise difficult-to-deal-with turned profile. Reverse the drill to release the spindle, then move on to the next one. Click here to learn more about how to apply finishing oils.


I hope you found this content useful!
Your generous support helps me produce more practical, hands-on content that I hope you’ll find useful.
Steve Maxwell