Soffit and fascia are what you call the horizontal and vertical extensions of a roof over exterior walls, and depending on how picky you are, installing aluminum soffit and fascia can be a simple part of finishing up a project, or an annoying exercise in frustration. It all depends on how you go about it. And truth be told, there are plenty of so-called professionals who won’t take the time nor trouble to install aluminum soffit and fascia the right way. It can be different for you, as you’ll see.
Soffit is the horizontal area underneath a roof overhang, and fascia is the vertical face of the edge of a roof. Any handy DIY person can have success installing this stuff, but your experience depends on understanding the challenges involved and the steps you take to achieve the three main aluminum soffit and fascia goals.
Three main soffit and fascia goals…
- Preventing water from sneaking behind the aluminum and causing the roof edge to get wet and rot.
- Making allowances for aluminum’s unstoppable habit of liberally expanding and contracting with changes in temperature.
- Securing fascia so it withstands every kind of harsh weather that comes along.
To achieve these goals on your house, garage or cottage, you’ll need to meet three challenges of working with factory-finished aluminum soffit and fascia products.
Soffit & Fascia Challenge#1: Cutting Aluminum Neatly
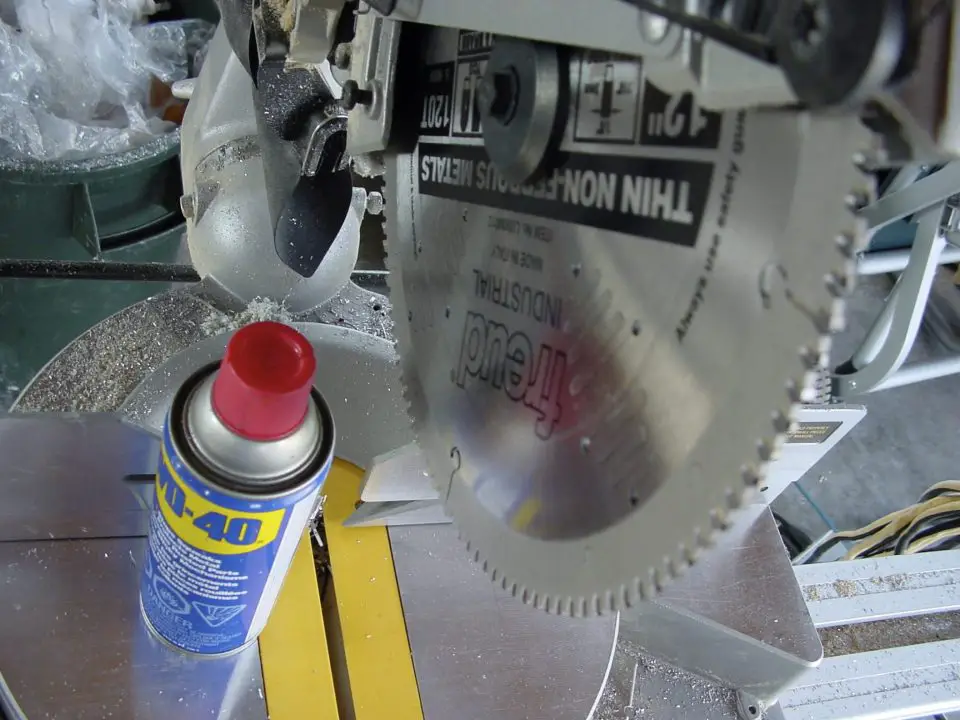
Working with factory-finished aluminum soffit and fascia involves cutting operations that use a combination of hand and power tools. Besides a good pair of aviation snips for medium-sized cuts, I use a pair of small, first-aid scissors for completing tiny cuts accurately. And you can’t beat a sliding compound mitre saw for large, repetitive cuts. The blade I prefer is made especially for soffit and fascia work, and slices more cleanly and quietly than a regular crosscut blade. For best results, also give a quick shot of WD-40 to the teeth after every few cuts, to extend blade life.
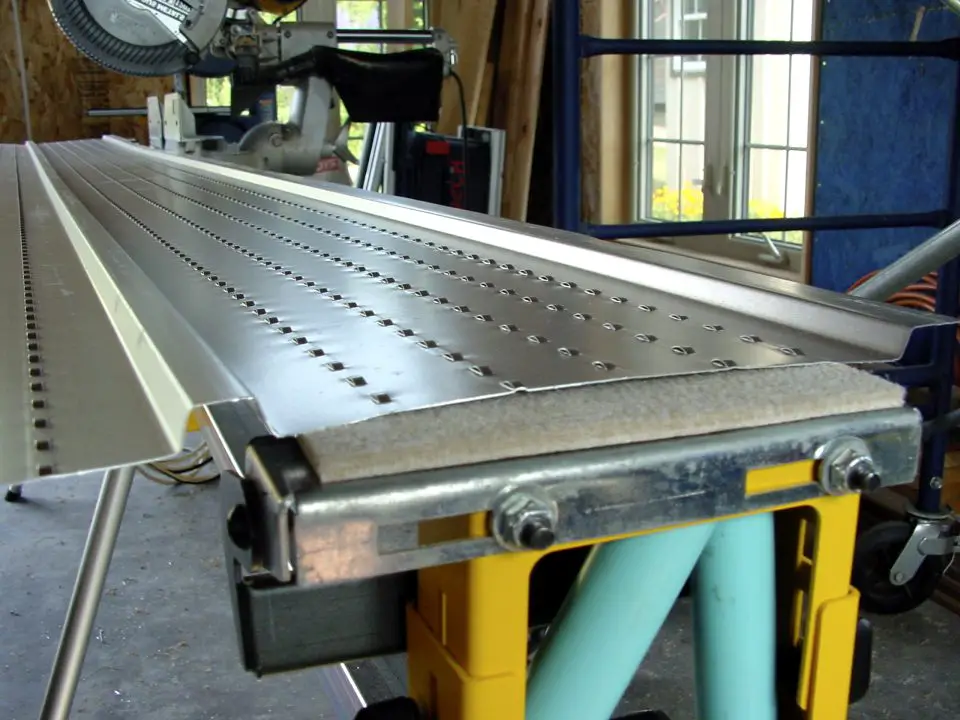
The factory-applied finish on the aluminum you’re working with will last for decades outdoors, but it’s surprisingly easy to scratch while it’s going up. And with all the metal filings that build up around the saw after just a few cuts, it’s a dangerous place, especially when you’re working with dark brown aluminum that shows scratches so clearly. You can greatly reduce the scratch hazard by installing self-sticking felt pads onto the support arms of your saw. This protects the painted finish on those occasions when soffit and fascia needs to be cut with the finish facing down. I use the kind of felt sold to protect wood floors from furniture feet.
Soffit & Fascia Challenge#2: Install J-Channel and Soffit
This phase of the work is simple, but if brick or stone veneer will be going up later, J-channel gets a little trickier. You’ll need to determine the amount of space the veneer requires, then locate the J-channel that same distance from the wall. Snap a chalk line to act as a guide, then fasten the J-channel with screws along the mark.
Soffit comes next, but watch out. Don’t assume that the lengths of each piece of soffit are the same for the entire building. Variations in eaves width are possible, so measure the area where you’re working to make sure that one size really does fit all. If not, you’ll need to custom-cut soffit pieces to suit. Aim for a soffit length that places the outside edge of the aluminum about 1/4-inch back from the outer face of the wooden eaves framing.
Aluminum nails sold for soffit and fascia work are soft and short, so it can be frustrating to drive them. I use a framing nail as a centre punch for getting nail holes started in pieces of soffit, but I never use the standard aluminum nails for securing the aluminum.
Soffit & Fascia Challenge#3: Getting Fascia Right
Next time you have a chance, measure a length of brown aluminum fascia that’s been sitting in the shade, then move it into the hot sun and measure again in fifteen minutes. A standard 12-foot piece expands by a whopping 1/4-inch as it heats up, and this fact affects the most visible parts of installing aluminum properly. When expansion and contraction issues are ignored, wavy, buckled fascia is a constant eyesore. It ripples when the sun shines, and smoothens out on cloudy days. You can certainly turn the odds in your favour by installing fascia during hot weather, but there’s a more important trick than that, and it’s not immediately obvious.
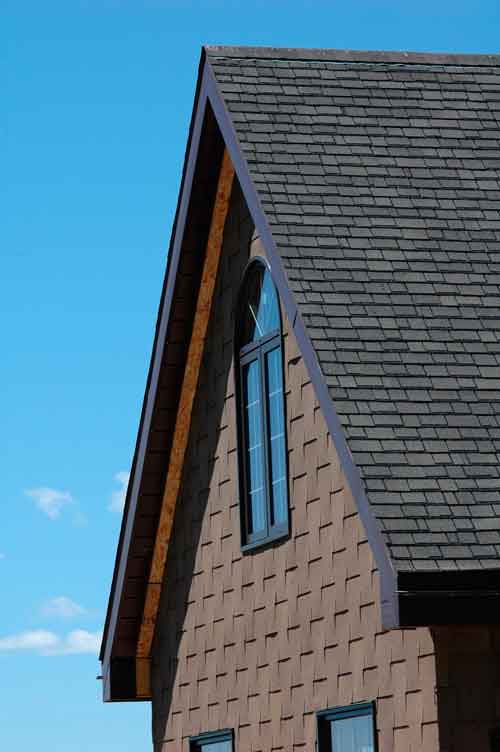
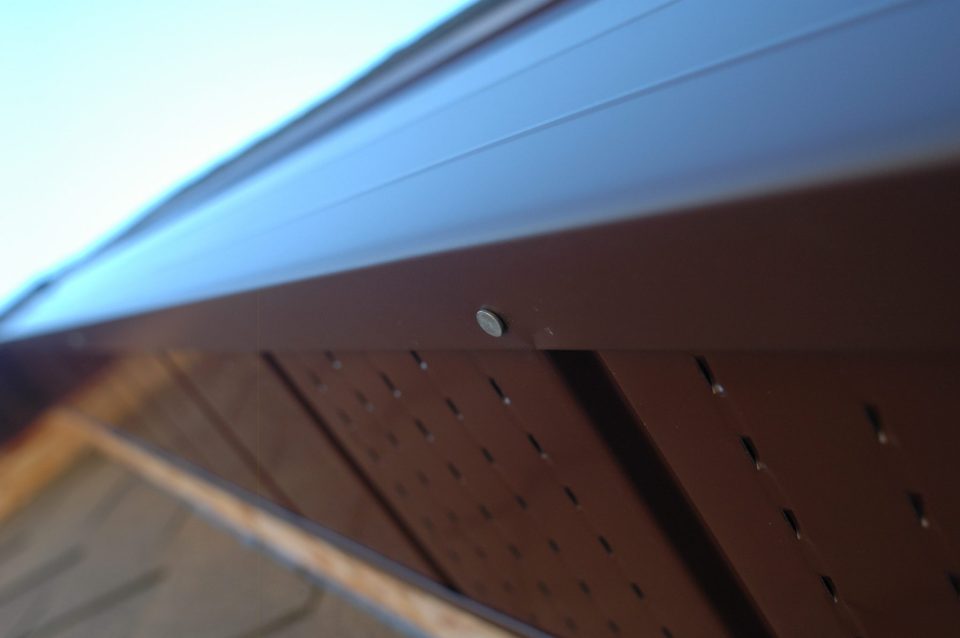
- Rule #1 for attractive fascia installation: Nail as little as possible and never in the front face of the metal. Ignore this detail, and aluminum’s nasty habit of getting bigger on hot days will cause unsightly buckling and waviness. This is especially important where steep roofs with prominent gable ends remain exposed to view, unhidden by face-mounted eavestrough.
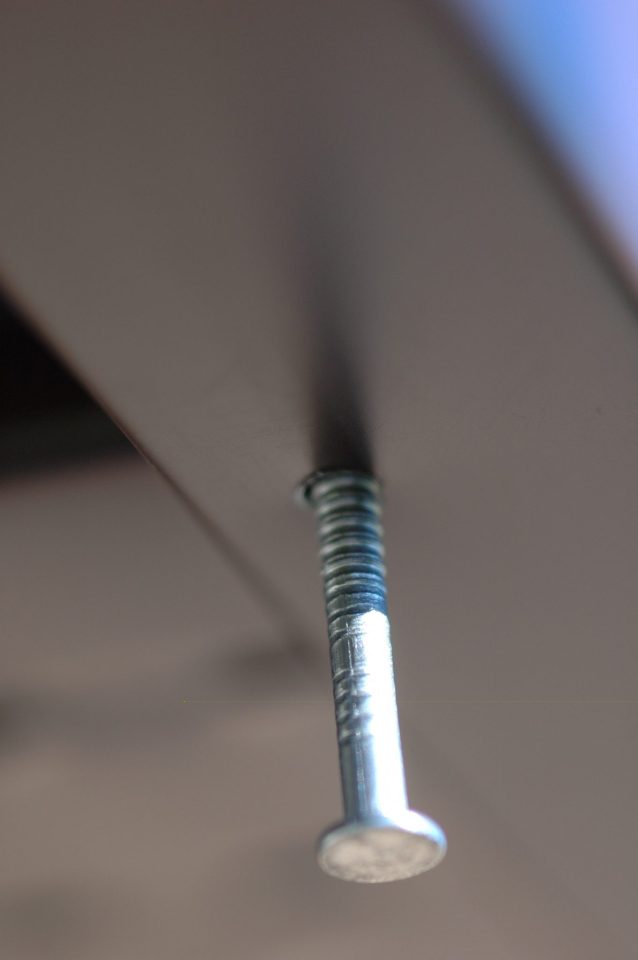
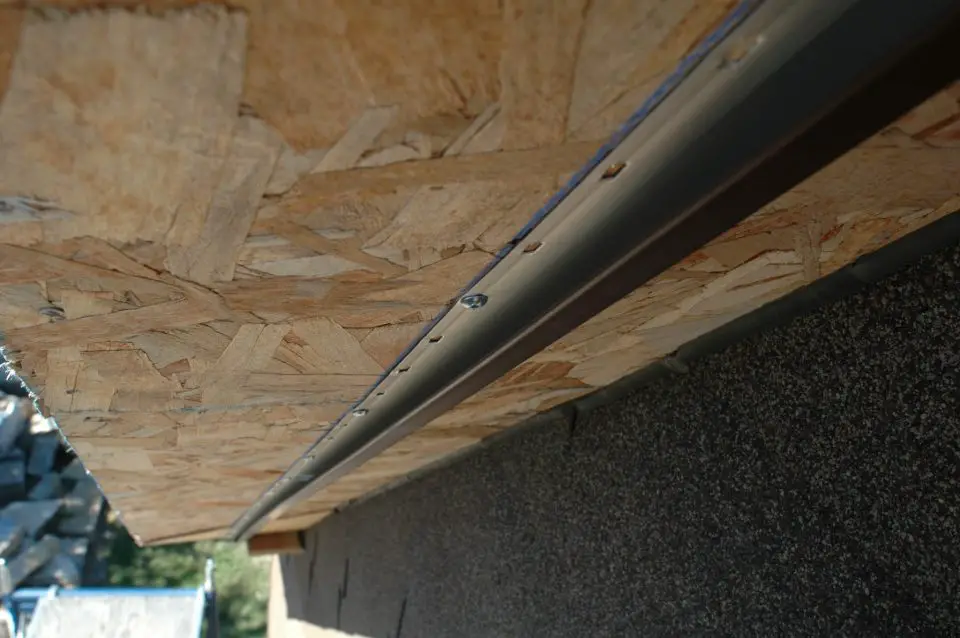
Instead of face nailing fascia at the top, tuck it up underneath aluminum drip edge installed around the perimeter of the roof. This offers plenty of holding power along the top edge, but only when the approach is coupled with nails driven into oversized holes along the bottom edge of the L-shaped fascia profile. The trick here is using corrosion-proof nails that are long enough to extend securely into the solid wood of the roof frame. Standard aluminum nails are rarely available in the minimum 1 3/4” length required for this approach, and regular galvanized and electroplated nails will react badly with the aluminum in time. That’s why 2-inch long stainless steel nails are the way to go for securing the bottom edge of fascia. Predrill slightly oversized holes aligned with every third groove in the soffit, then hammer the nails home just tightly enough to take up all the slack.
In the interests of good looks and weatherproofing, I never face-nail fascia. I always use polyurethane caulking as a glue instead. It comes in colours that match factory finished aluminum, and the long-term holding power of polyurethane is at least as good as nails. Lay down a small bead underneath a joint wherever you’d be tempted to face-nail two pieces of fascia, then temporarily hold the joint together with tape until the caulking cures. I’ve used masking tape and duct tape for this job, but the very best product is the high-strength double-sided No More Nails mounting tape made by LePage. It’s firm, very sticky and doesn’t leave adhesive residue behind when you peel it off in a day or two. Use the glue and tape approach where lengths of fascia meet on long runs, and where fascia ends at the bottom edge of a roof. Besides a cleaner appearance, glued fascia isn’t fastened to the underlying wood, so it’s free to move with temperature changes. The main thing to understand as that the fascia isn’t glued to the underlying wood, just glued to neighbouring pieces of fascia.
As with so many things in the building world, success with soffit and fascia is won in the details. Make allowances for thermal expansion, overlap joints to keep water out, and secure everything firmly against wind. Fascia is a part of your home that everyone will see, so it pays to be particular.


I hope you found this content useful!
Your generous support helps me produce more practical, hands-on content that I hope you’ll find useful.
Steve Maxwell