Video Watch Time = 2 minutes
If you’ve got worn wooden floors and not enough money for professional refinishing, I’ve got an encouraging story to tell you about how to refinish hardwood floors yourself . . . saving substantial money and building your hands-on skills at the same time. A floor in a house some of my kids and grandkids moved into is behind this article, and these young people finished the floors themselves using the methods you’ll learn here. But first, a true story.
A History of Floor Finishing
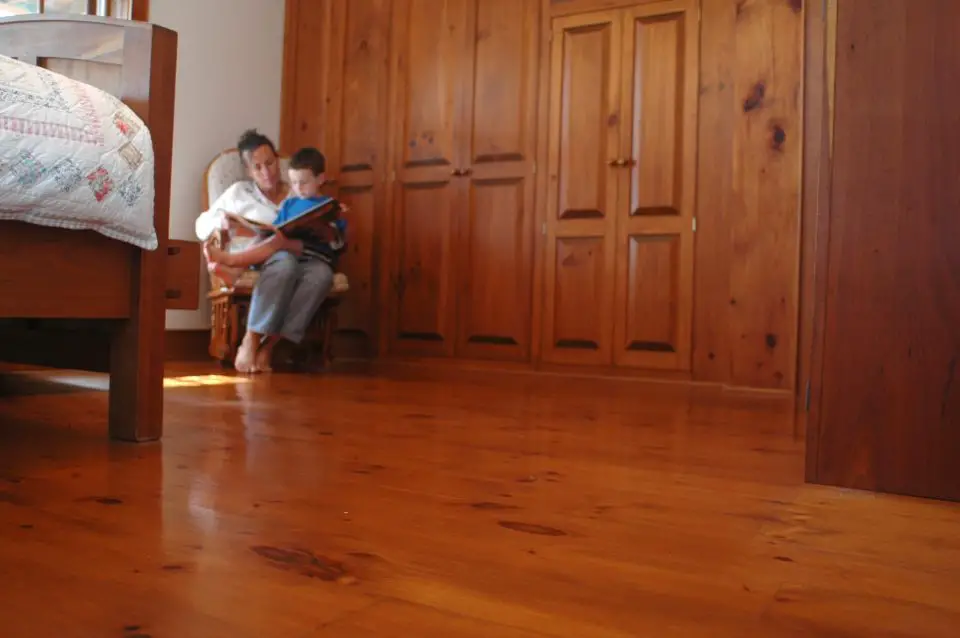
Back in the spring of 1967, my dad worked evenings after his day job and on weekends to refinish the wood floors just before we moved into our first family home. In the spring of 1991, I saw the sun rise through an open window as I completed an all-night push to finish the wood floors before moving in to my own first home that I was building myself. In the spring of 2019, my son-in-law, Paul, worked around his day job to finish the wood floors in the first home he bought with my daughter, Katherine, and their boys. If funds are tight, I can tell you for sure, from three generation’s experience, that any able bodied non-professional can make their wood floors look great again without spending a lot of money. It’s an old-school approach to minimizing expenses and it works. The floors you see below are all from Katherine and Paul’s house after Paul refinished them – his first-time effort.
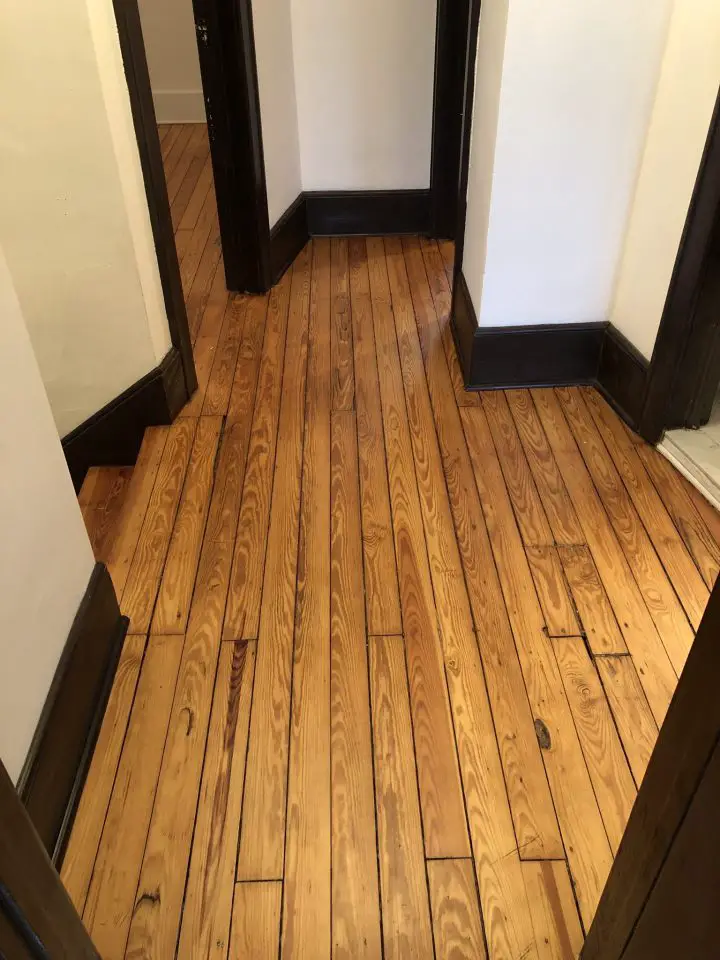
When Katherine and Paul bought their first home in the spring of 2019, the wood floor finish was worn away completely in high traffic areas of the 103 year-old place. Bare, grey looking wood showed in every room and the kids couldn’t afford the $4k estimate for professional refinishing before they moved in. That’s when I suggested our family’s old sweat equity approach. The mess below is typical of what Paul faced with that wooden floor.
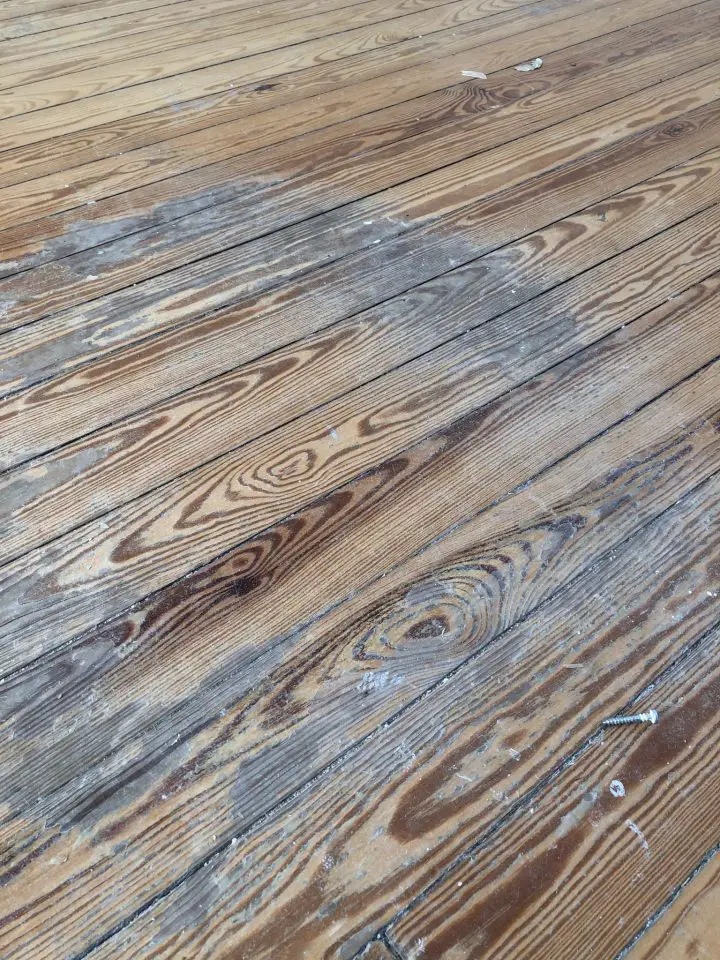
Paul had never finished a piece of wood before, but after some coaching from me the floors are now smooth. The ugly, grey areas you see above are gone, and a lot of money was saved. Except for a few minor issues, his floors look as good as if a pro refinished them. Even though it took him 96 hours to sand and seal 1300 square feet of floor (he’d be much faster if he had to do it again) , the work “earned” Paul $37 per hour in after-tax dollars saved. I’m a firm believer in Benjamin Franklin’s old saying, “a penny saved is a penny earned.” Paul is also a bigger and better man because he rose to a challenge and prevailed.
Sanding is First Step

Sanding is the most challenging part of a job like this and professional floor refinishing contractors use large sanding machines that you walk behind. Anyone can rent a machine like this, and that’s what Paul ended up doing. But that’s not how he started. My initial suggestion was that he try sanding on his hands and knees using a hand-held belt sander. I’ve sanded several thousand square feet of floor like this myself, and I know that working with a belt sander saves the time, hassle and expense of renting, transporting and returning a floor sander. A hand-held belt sander works and it’s practical for floors without heavy layers of old coating. It’s also easier to wield than a big machine. However, for those who prefer professional assistance, considering restoration services might be beneficial.
Different Ways to Sand
In Paul’s case, after successfully sanding a couple of rooms with the hand-held belt sander approach, we decided to try renting a walk-behind sander to speed progress in tougher areas. The easiest type to use have a vibrating abrasive pad. Often called a “square buff” or “pad” floor sander, these are least likely to over-sand the floor, but they also work the most slowly of the walk-behind sanders. Looking back, he would have made better progress with a belt-style floor sander. These use a large abrasive belt that removes material faster than a pad-style machine, while still being fairly easy to control for a beginner. I strongly recommend you avoid what they call a “drum floor sander”. This uses a spinning cylinder and is much more likely to gouge floors than the other two types. Regardless of how you sand, the DIY floor refinishing process comes down to the same six steps.

Hardwood floors make any space look a little nicer, but they do need upkeep to keep them looking decent. The steps below are for floors that are so far gone they need to be sanded back to bare wood. If your floors aren’t this bad, you could be in for an easier time. Watch the video at the end of this article for details.
Step#1: Coarse Sanding
Coarse sanding removes old finish and grey discolouration. Paul used a 16-grit sanding pad in the walk-behind pad sander initially. When it comes to abrasives, the “grit” number refers to the approximate number of abrasive particles on each square inch. So 16-grit is extremely coarse, and really only applies to the square buff sander. If you’re using a belt-style, walk-behind sander, then 40-grit is the coarsest you want to start with. Will you be trying the hand-held belt sander approach I suggested to Paul initially? In that case a 60-grit belt in that machine is the thing to begin with
Step#2: Finer Sanding
Finer sanding to prepare for sealing. A 40-grit then 80-grit abrasive with a walk-behind sander, or an 80-grit disk in a hand-held random orbit sander does the job for intermediate sanding. At the beginning of this stage of work your floor doesn’t have any more old finish, and your aim is to simply make the wood smoother. If you’re a woodworker, you might be surprised at how the floor sanding process does not use abrasives as fine as what you’d use when building furniture. A final sanding with a 120-grit abrasive in a random orbit sander completes the sanding work.
Step#3: Clean the Area
Meticulous vacuuming of the floor is necessary to remove all dust. This is especially important because any remaining dust will make the floor quite rough after the first coat of finish goes down. This is especially true if your wood floors are old and have substantial gaps between boards. These will trap dust that’ll get pulled up when you brush on some urethane, making a rough mess. A shop vac is an excellent tool for cleaning a wood floor before sealing (and the cracks between boards), but be careful. Many shop vacs have hoses and wheels that leave black marks behind on the bare wood if you’re not careful.
Step#4: Coat the Floor
Application of a floor finish with a brush comes next. Most floor finishes on the market dry too quickly, leaving brush strokes and bubbles behind. Not good. The few oil-based floor finishes on the market make success much easier. The best by far right now in my tests are Varathane Pro Finisher in the matte sheen. It goes down nicely, it flows out well, but it’s also dry to the touch in about 6 hours.
Urethane quality has gone way down as low odour formulations have been made to satisfy government regulations. That said, Pro Finisher (shown below) is every bit as good as the old oil-based urethanes of years ago, and it’s still available. Whatever you do, be sure to choose a urethane with a satin or matte sheen. Glossiness brings out the flaws in any floor, but a dull sheen or none at all makes things look so much better. Also, be sure to stir each can of urethane thoroughly, even if it looks like there’s nothing to stir up. Additives that cause the urethane to dry without a sheen often settle to the bottom, and in some cases you can’t even see these additives. If you don’t stir, then your floor will transition from glossy in areas covered by the urethane in the top of the can, getting progressively less shiny as you use the bottom half.

As you work, choose 3 to 8 floor boards at the far end of the room, then apply urethane to them with a 4″-wide brush, working from one end of the boards to the other as a group. When you’re finished that group of boards, coat the next group of boards closer to the door. Continue until the floor is done. A portable 500 watt quartz halogen floodlight makes it easy to see where you’ve coated and where you’ve missed. Always coat your floor with good light shining at a shallow angle to the floor. Never leave a flood light like this unattended because it gets so hot during use. It can be a fire hazard if it were to tip over.

Step#5: Sand Lightly Between Coats
Sand the floor after the first coat is dry using a 220-grit abrasive in a quarter-sheet finishing sander to remove raised grain. You probably won’t feel like doing any more sanding at this stage, but this step is absolutely key. Do not skip it! As the urethane dries it causes microscopic wood fibres to swell, stand up, and harden in the upright position. That’s why your floor will feel rougher after the first coat dries than it did before application. The good news is that this finish sanding doesn’t take long. Just push the sander back and forth along the wood grain as if you were giving a couple of wipes in any given spot and you’re done. Stop and run your hand over the sanded areas and you’ll immediately feel the difference.
Step#6: Coat & Sand & Coat Again
Now it’s time for a second, third and possibly a fourth coat of floor finish, depending on the results. It’s vital that you do another vacuuming to get off the little bit of fine dust created by the finish sanding. After that, apply another coat of urethane. When it dries you may or may not need to sand between coats. It all depends on how the surface feels. Apply at least another coat after the second one, and perhaps even four coats in all depending on how much protection you want to apply.
Got wooden floors that are starting to look bad, but not too far gone? The video below could lead you to a great floor without all the hassles of a full-blown sanding job.
- Video Watch Time = 2 minutes


