Building a scale model of a new addition, small outbuilding or even a brand new home is a great way to help you as an owner make optimal design decisions, and this video and article shows you how.
Models let you plan proportions, experiment with window and door layout, practice how framing goes together and get familiar with the construction process when all mistakes are small. You’ll even have a nice memento of the project after you’re down. Scale models are also fun for kids to build and to learn how building frames go together.
Click below to watch some of the ways I build scale architectural models. Video transcript below, too.
- Video Watch Time = 3 minutes
VIDEO TRANSCRIPT: 00:00 Ever since I was introduced to scale architectural modeling in high school, I’ve been a big fan of what it can do for you. This is a model of the house frame that I built as I was designing the home that you see behind me, that I ultimately was built from this. The model allowed me to make all of the important decisions in miniature, so that when it came time to building the real thing, I didn’t have any worries that things would turn out funny. But there are also other benefits you can enjoy from architectural modeling, so let’s go into the shop and I’ll show you what I mean.
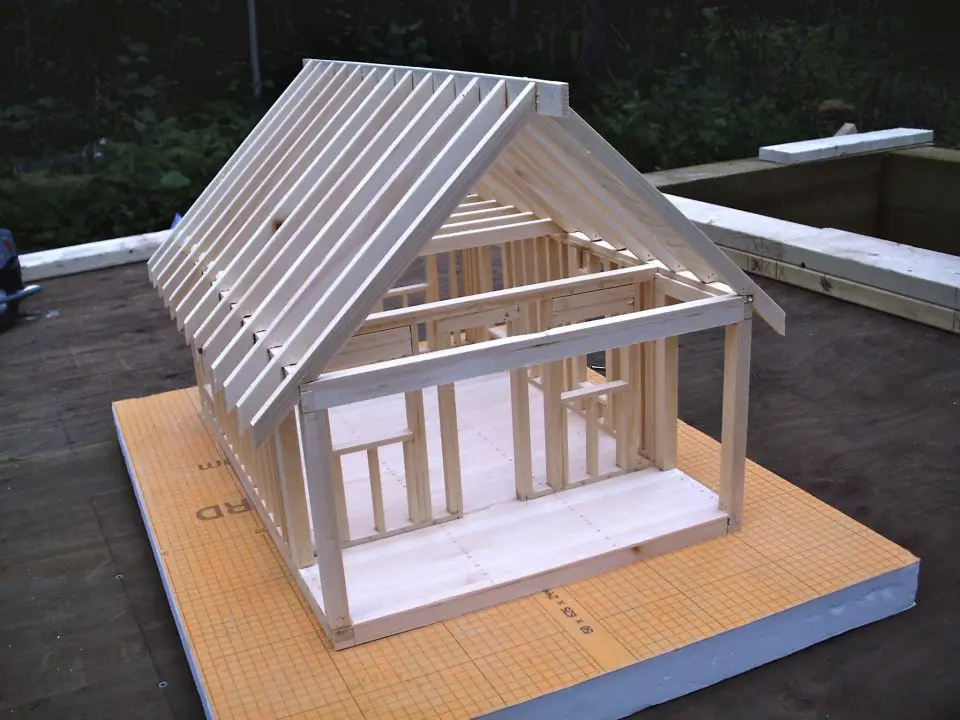
00:32 Here, we’ve got three other models that we’ve made over the years. Some of them were made by kids, and some of them were made for more practical purposes. This is a school project. It’s kind of a cutaway, a scale model of an old schoolhouse in our area. This is a little cabin made just for fun. And this model here is of a cabin that we’re building right now. We built it to experiment with proportions, so that the overall building and the open front porch would look good, and also to give one of my sons some practice in how a frame like this goes together, so that when the time comes, he can build it with confidence. One of the things that is really neat about these models is the way you can dress them up, in this case with little wooden shingles, so let’s go over to the bandsaw, and I’ll show you the jig I use and how I use it to cut those shingles from scrap wood.
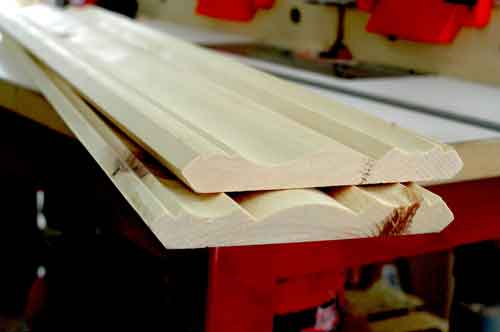
01:23 The jig I use to make miniature shingles is just made from a piece of 3/4″ scrap plywood. The key feature is this angled notch that you’ll see in the corner. It cradles a piece of wood that I’m cutting the shingles out of and supports that wood, at an angle relative to the bandsaw blade, as I cut those shingles. What you get is a piece of wood that’s tapered, just like a real shingle is, and because the grain direction on the blank that you’re using runs this way and not this way, you end up with shingles that have the grain running along their length, which is what you want. So, come on a little closer and I’ll show you the jig in action.
02:05 So you start by switching on the saw and putting your shingle blank into the notch in the jig, and then slowly pushing both forward until you’ve cut your first shingle. Now, when you pull the jig back, flip the wood over. Otherwise, the end of the shingle blank will become progressively more angled as you cut. One of the things to keep in mind is that your shingles should vary in width, just like the real thing, and the way you achieve that is by using shingle blanks of different widths. They’ll all work together in the same way, with the same jig.


I hope you found this content useful!
Your generous support helps me produce more practical, hands-on content that I hope you’ll find useful.
Steve Maxwell