In this lesson you’ll learn how to:
- create a tablesaw setup for cutting 4×8 sheets of plywood with a bench saw
- cut all upper and lower cabinet box parts and backs
- finish interior surfaces of cabinets before assembly
- assemble all upper and lower cabinet boxes with back panels installed
- cut and fit adjustable shelves

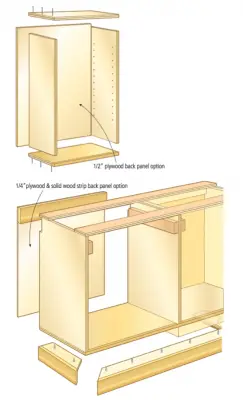
As I mentioned before, kitchen cabinets are really just fancy boxes mounted to walls, and now’s the time to start building the boxes you designed. Follow your cutting list and prepare the sides, top, bottom and back pieces you need. This sounds simple enough, but if you’re new to large-scale cabinetmaking like this, be cautious. Start by cutting the parts for only one box, then hold the parts together and see if everything works out right. It’s surprisingly easy to tally up a cutting list wrong. Double-check that butt joints overlap in the correct orientation, and that A + B really does equal C. When you’ve proven to yourself that you’ve got the dimensions correct for this first box, go ahead and saw all the parts you need for the rest of your foundation boxes, working in efficient batches. Don’t have a big shop and a full-size cabinet saw? Watch the video up next for a work-around that really works.
In This Section...
Cutting Box Parts
CUTTING & ASSEMBLY TIPS
Not everyone has a full-size cabinet saw in their shop, but building kitchen cabinets doesn’t require one.
Joining Box Parts
STRONG & EFFICIENT ASSEMBLY
Joining box parts is super-simple. Just lay a bead of carpenter’s glue on the joint area…