VIDEO: Designing Your Cabinets
Eventually, designing any kind of woodworking project comes down to numbers and this begins now for your kitchen project. There are five main design parameters involved. Sounds complicated? Just relax and tackle the steps one at a time:
Determine Overall Depth and Height of Upper Cabinets
The plans show an overall 13” depth which you probably won’t want to change much. In rooms with an 8-foot ceiling, you can extend overall height of uppers so they take up all the space to the ceiling while mounted 17” to 20” above the countertop. If your ceiling is higher than 8 or 9 feet, consider leaving enough space above the uppers to allow for cleaning, decoration and storage.
Determine Overall Depth and Height of Lower Cabinets
The plans show an overall height of 36 1/2” including countertop and kick base, and this is a good standard height for kitchen cabinets. A countertop height of 24” to 36” is what you’ll see in most ready-made lower cabinets, depending on the situation. How do you know what’s best for you? Test cabinet height by temporarily setting up a simulated countertop surface and determine your ideal counter height by trial and error. How does it feel? Might as well get the height just perfect for whomever will be working in the kitchen most often. If you want to get fancy, consider different surface heights for different areas of your lower cabinets. General purpose prep surfaces 3” or 4” below your elbow will work fine, but try a lower height in specific areas if the person you’re building for likes working with dough or pastries. Some people find that 6 1/2” to 7 1/2” below elbow height is perfect for these tasks. Cooking surfaces are another matter. Generally speaking, the ideal cook surface should be 2” or 3” lower than food prep areas to account for the height of pots and pans. Most kitchens aren’t like this, but it’s worth considering as a custom feature. The nice thing about building your own cabinets is that it’s easy to make different cabinet heights. Just vary the height of boxes made for specific areas.
Determine Location of Sink, Stove, Fridge, Dishwasher
As you’re gearing up to build cabinets, look for existing kitchen layouts that you like, then analyze and measure them. Cook in them if you can. Measuring and recording what you find is key. The relationship between sink, range and fridge is the most critical one because that’s the path you’ll be traveling most often. A triangular workflow pathway between these places is best. Aim to have each side of the triangle as similar as possible in length, with total triangle perimeter between 19’ and 21’. Closer than this and you’ll feel cramped. Larger than this and you’ll walk more than necessary.
Determine Length of Cabinet Sections
It’s one thing to know that the overall length of a cabinet for a specific run is a certain number of inches, but will you cover this section with one door? Two doors? Now’s the time to make these decisions. Keep overall door width between 11” and 16” wide and you’ll be doing fine. Don’t extend the distance between the internal walls of the cabinets more than 30”. Anything more than this and cabinet strength can suffer.
Determine Width of Face Frame Elements and Trim Details
Now’s the time to make decisions about how wide your face frame elements will be, what kind of crown molding, trim or beading you’ll use, then work these into your initial sketches and notes. Of these elements, the main one to decide on now is how wide your face frame members will be. 2 1/4” is just right for the stiles and visible portion of top rails of most kitchens, but look around at kitchens you like, snap some photos and make notes.
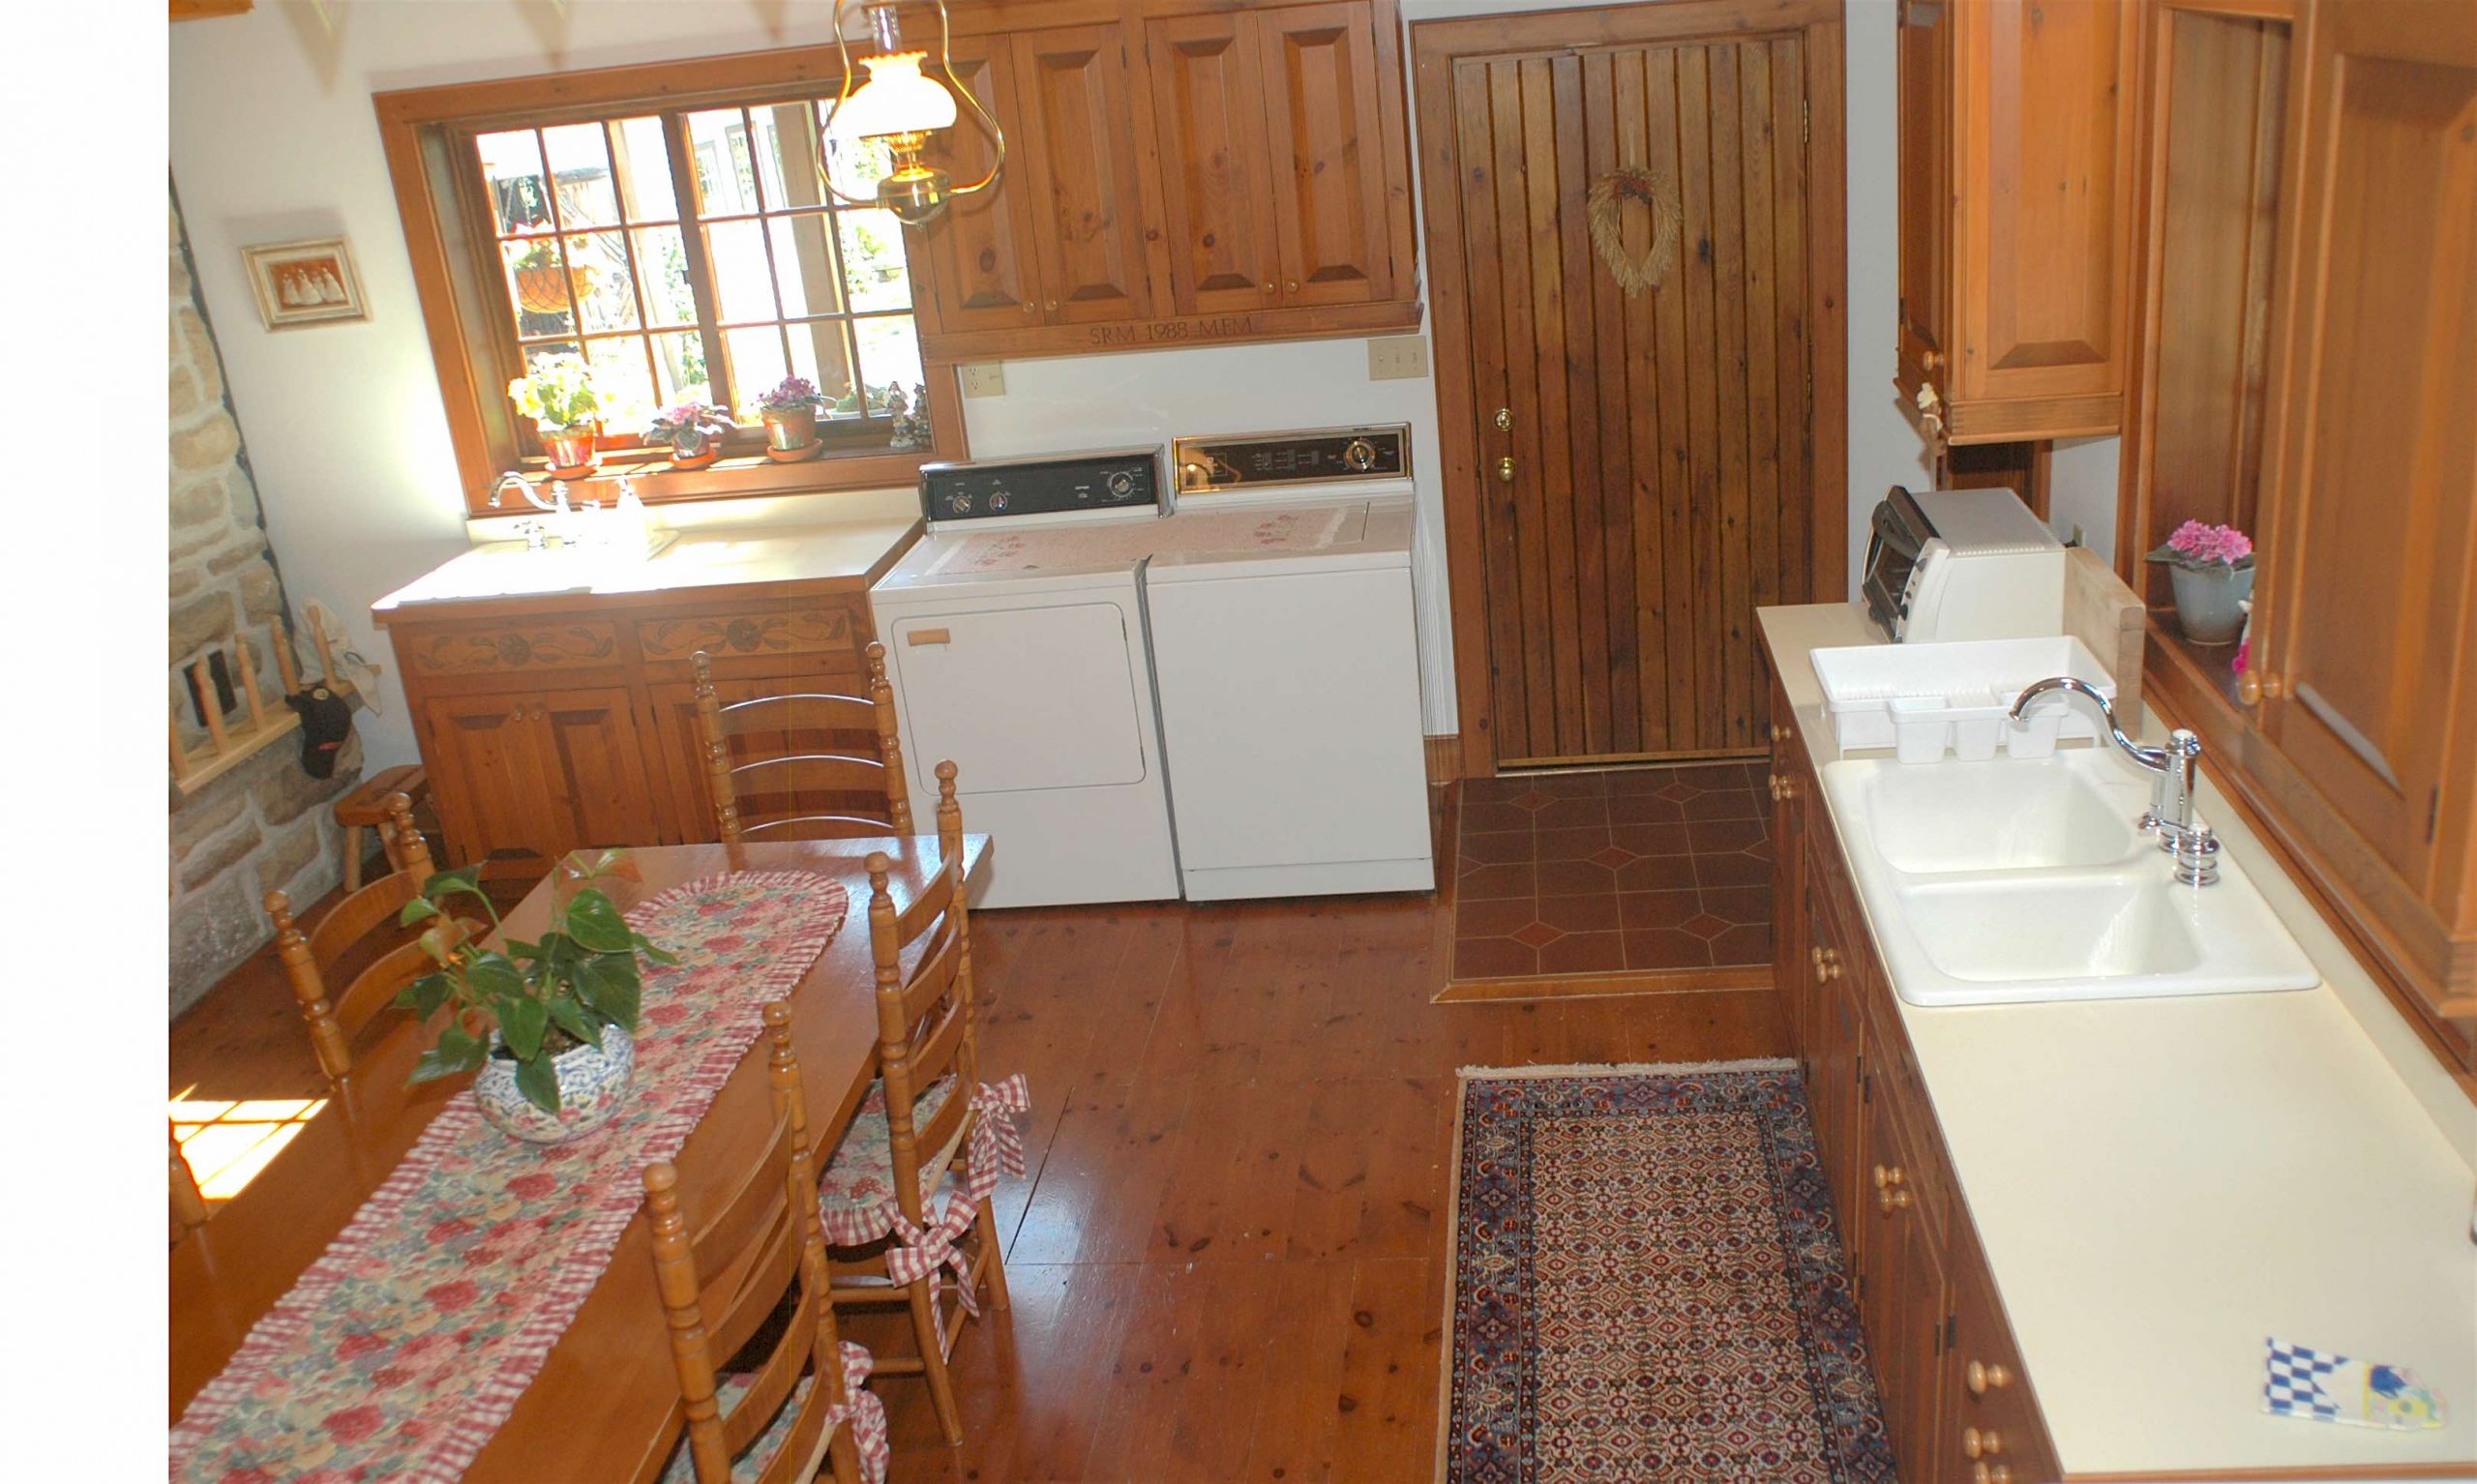
Before you finalize your kitchen layout, consider what I call the “laundry kitchen”. By working a washer and dryer into your kitchen design you can greatly reduce the time and effort required doing laundry in a separate space. My wife was reluctant to include a washer and dryer in the kitchen when I suggested it, but she’d never have it any other way now.
Eventually all this needs to boil down to a cutting list. This is the final thing you need to prepare before making sawdust. Keep this list as simple as possible for now, focussing only on the upper and lower cabinet box parts as they’re made of sheet goods. You’ll make other cutting lists later for the face frames, end panels and doors. For now, just focus on the boxes themselves. These are made of 3/4” sheet goods (ideally veneered plywood or all-birch plywood), cut into sides, bottoms, tops and backs. Watch the video up next to see the kind of cutting lists I make.
VIDEO: Cabinet Box Cutting List
At the end of this lesson you’ll have:
- laid out your entire cabinet design with measurements marked on actual kitchen space or on your shop floor.
- created and checked a cutting list for the foundation cabinet boxes you’ll make next
