Skills You’ll Need
Well-made cabinets are beautiful and impressive, but success with the approach I’ll show you here requires only intermediate skills. You don’t have to be an expert woodworker to get great results, but you do need to be equipped and skilled enough to do the following:
- Cut 3/4”-thick veneered plywood safely and accurately on a tablesaw.
- Safely rip, crosscut and prepare 3/4”-thick solid wood into face frames, door parts and drawer faces.
- Accurately build drawer boxes + or – 1/16” from ideal size using 1/2” veneered plywood.
- Cut and join frame-and-panel doors and end assemblies from 3/4”-thick solid wood. No fancy router bits required.
- Apply a stained-and-sealed finish consistently on doors, drawers and cabinet boxes.
All these skills are pretty basic as woodworking goes, but if you’re unsure of yourself, practice where you’re weak before building these cabinets. You’ll learn more about the specific details of each operation as we get there in the course.
Tools You’ll Need
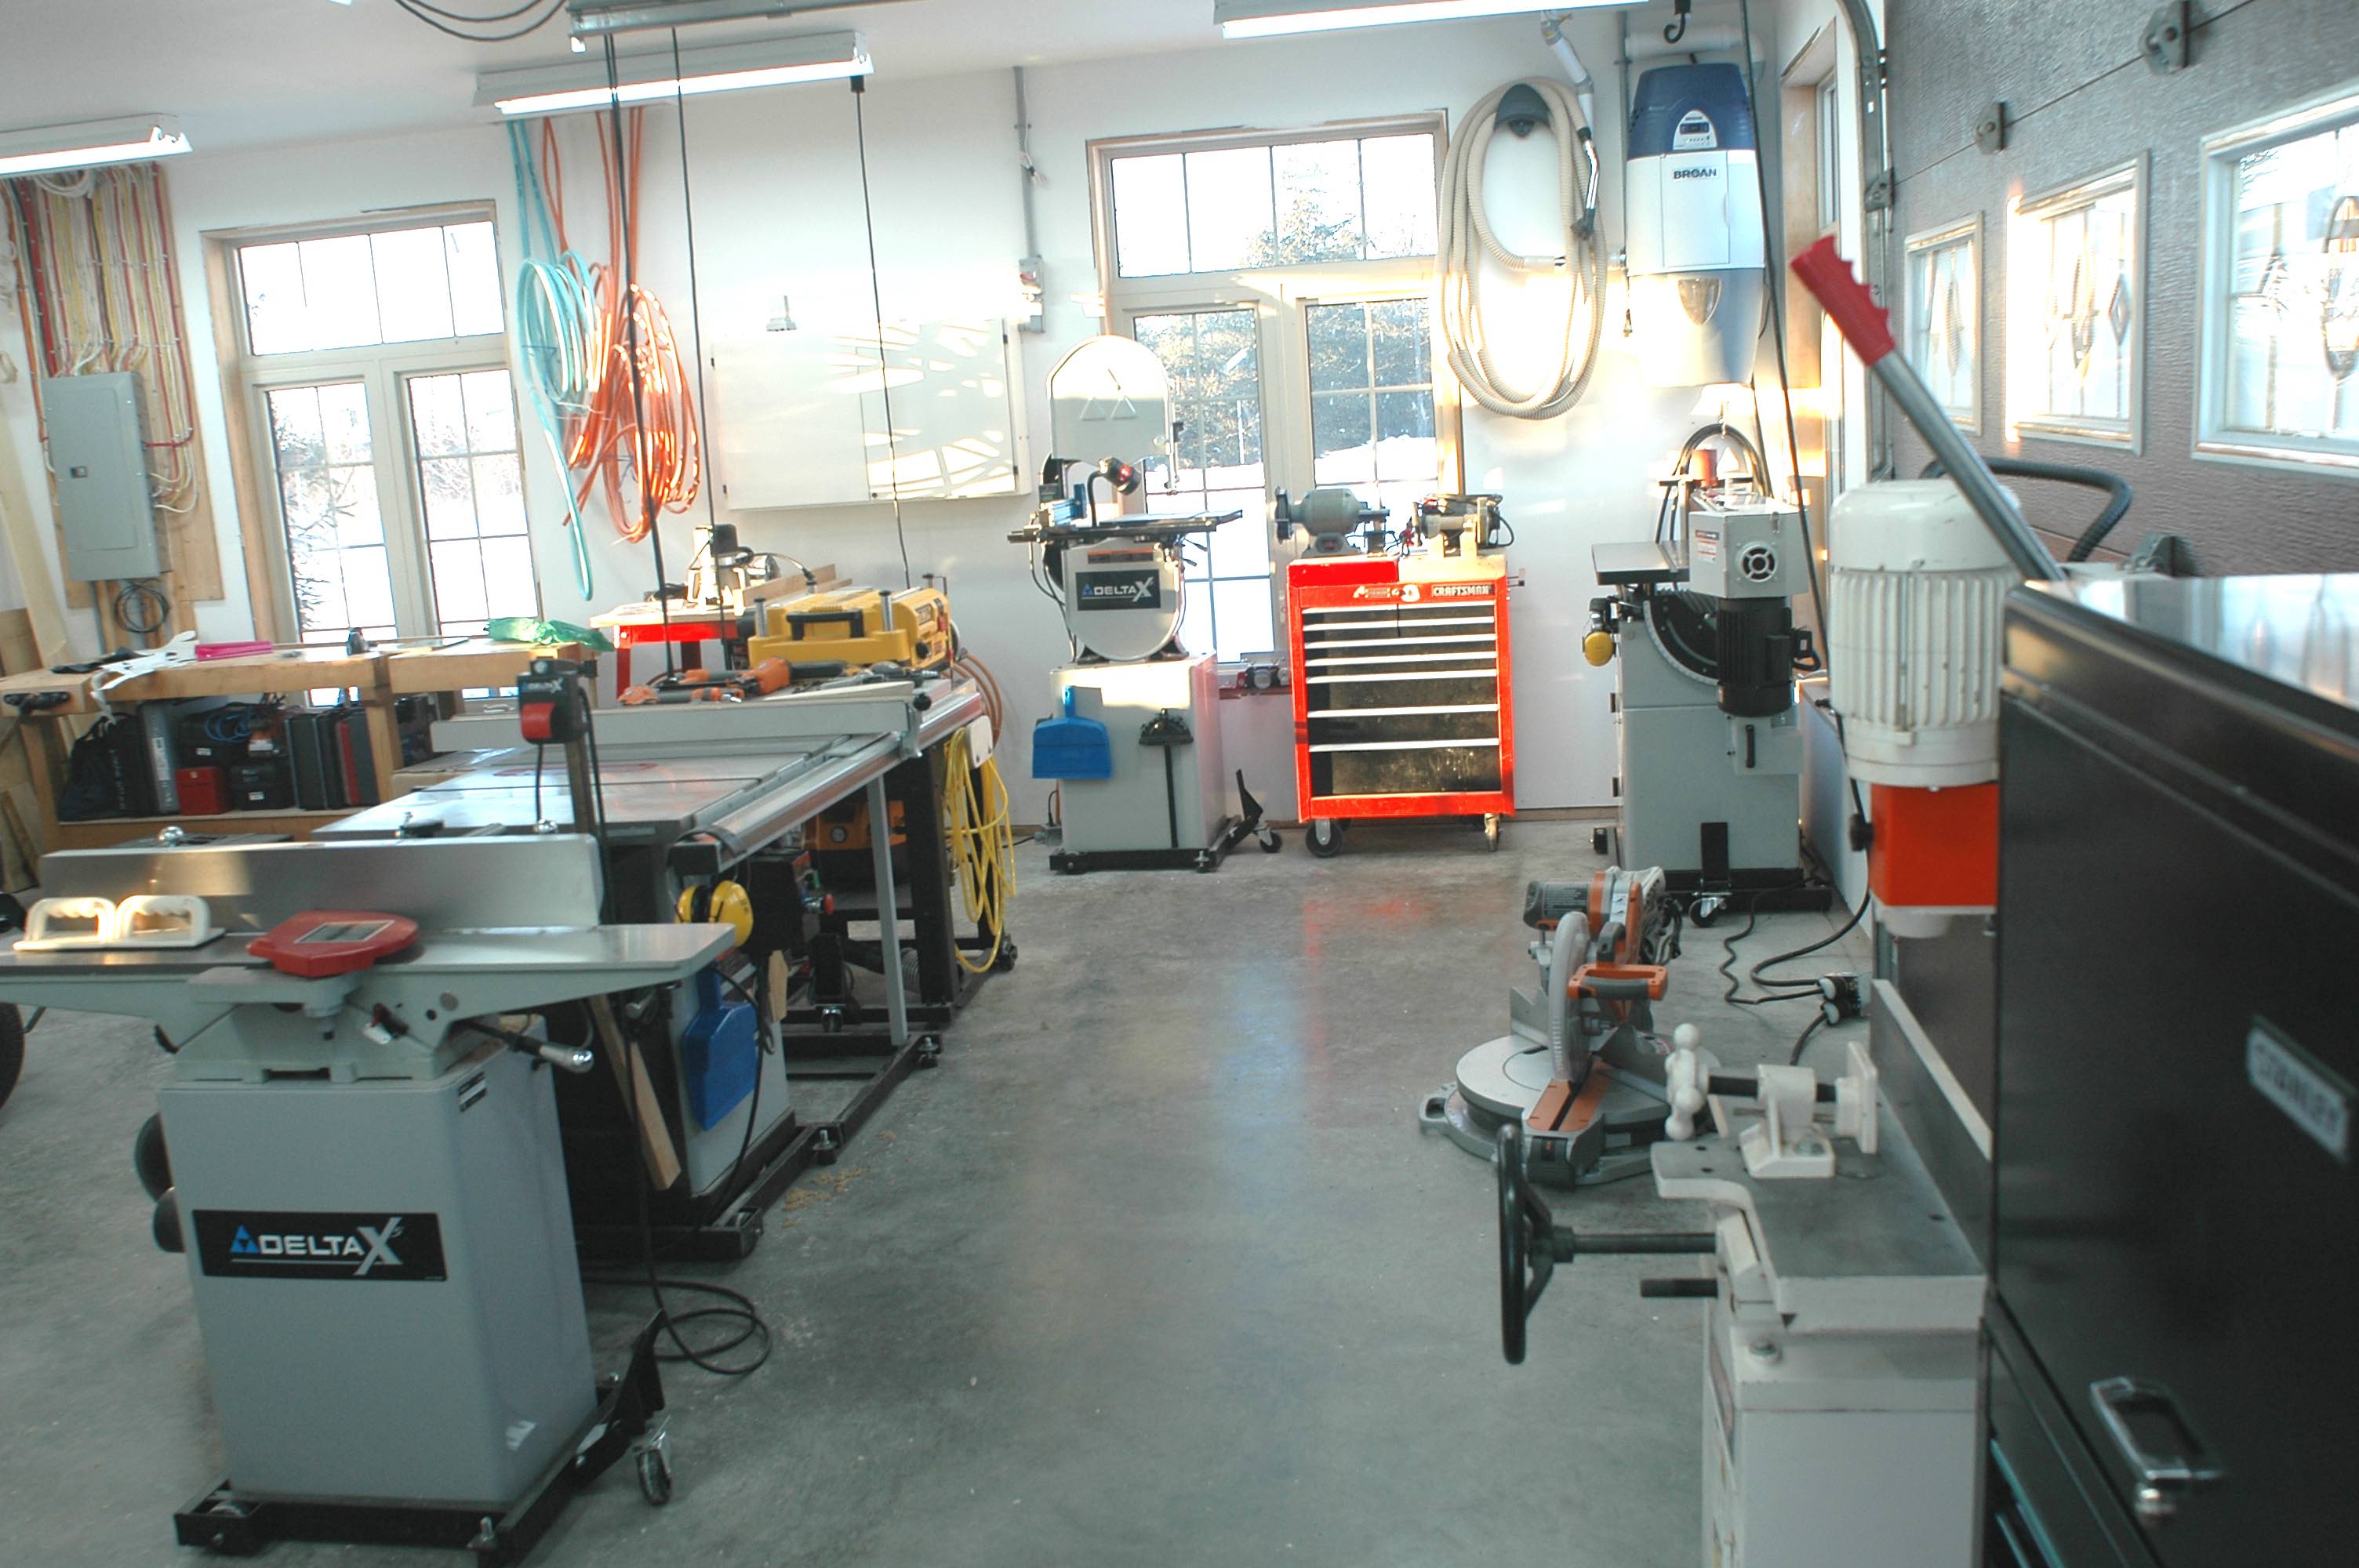
I began building cabinets the way you’ll learn here in 1987, when I worked as a cabinetmaker for a husband and wife team who owned a custom kitchen shop in the suburbs of Toronto, Canada. The kitchen you see in the photos is in my own house. I built it in 1989 using the simplest collection of power tools imaginable, right in the 15’ x 20’ kitchen space itself. No workshop at all. These days I have a dedicated woodworking shop that you can see here, but something like this isn’t not necessary. The equipment you need to succeed is actually pretty basic:
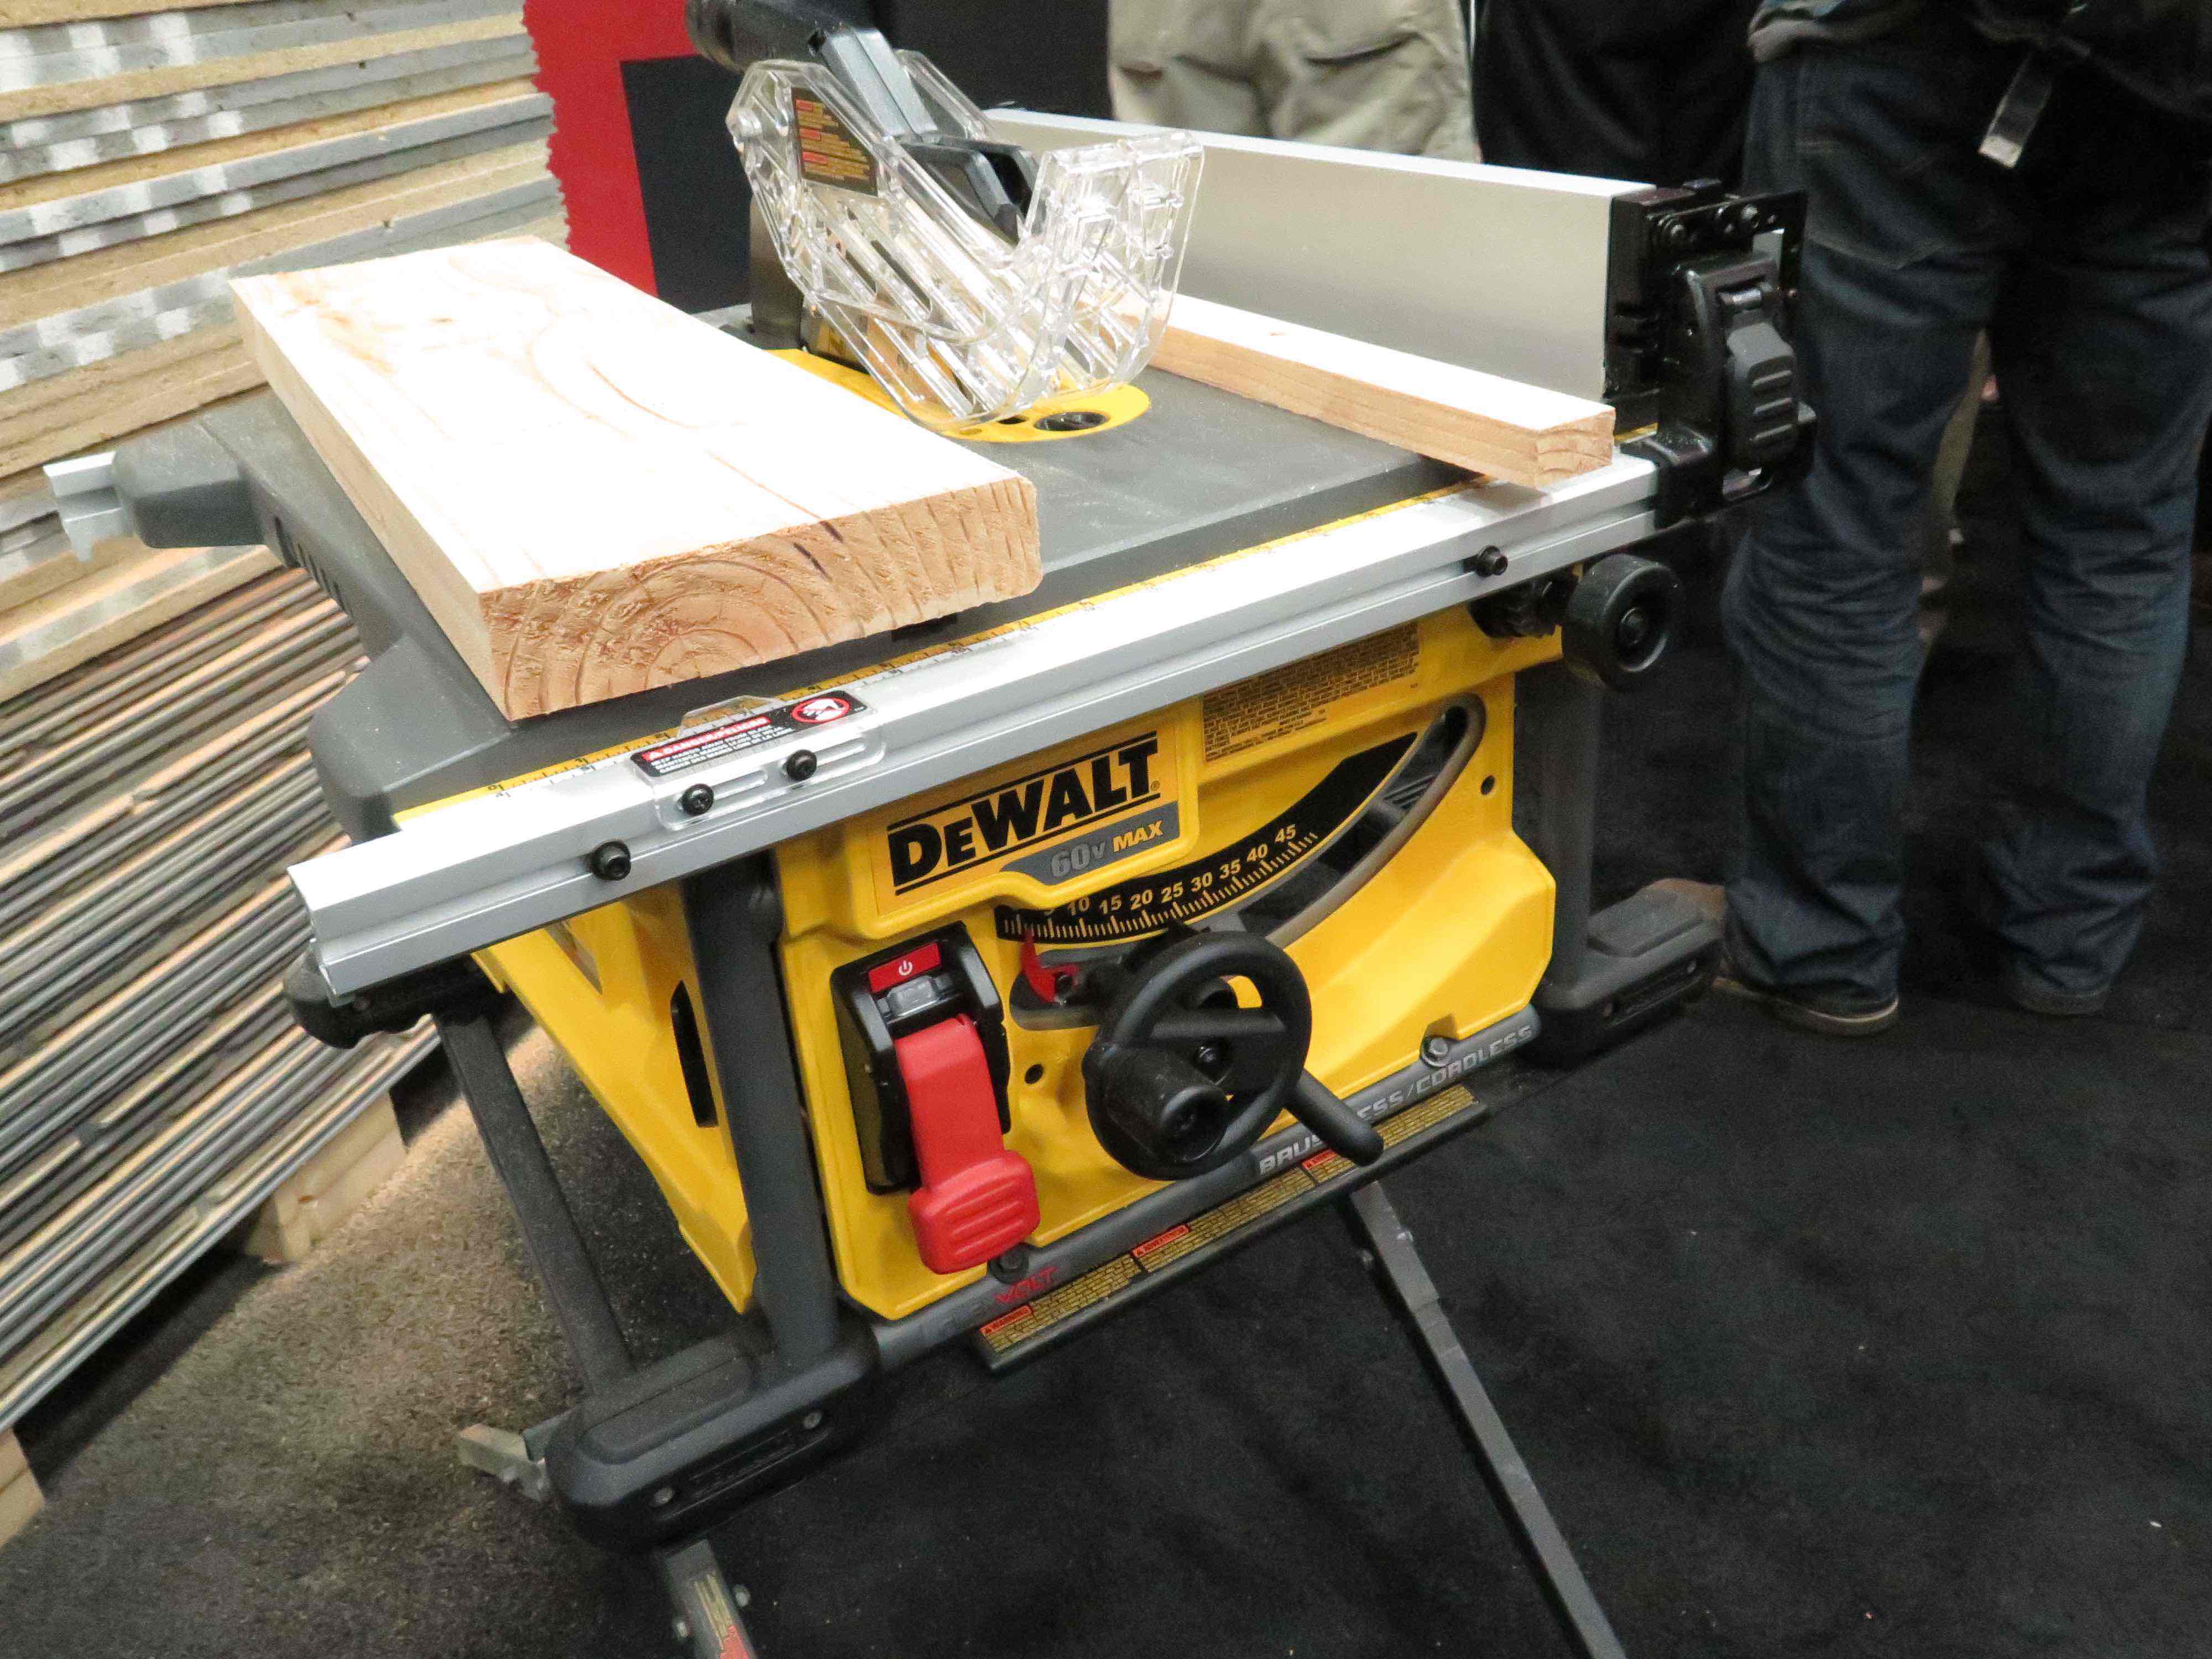
Tablesaw: I used a little Makita benchtop model for making my own kitchen years ago. A stationary tablesaw is what I use now, but a portable benchtop model works just fine if you build a wrap-around outfeed table to support the sheet goods as I’ll show you later.
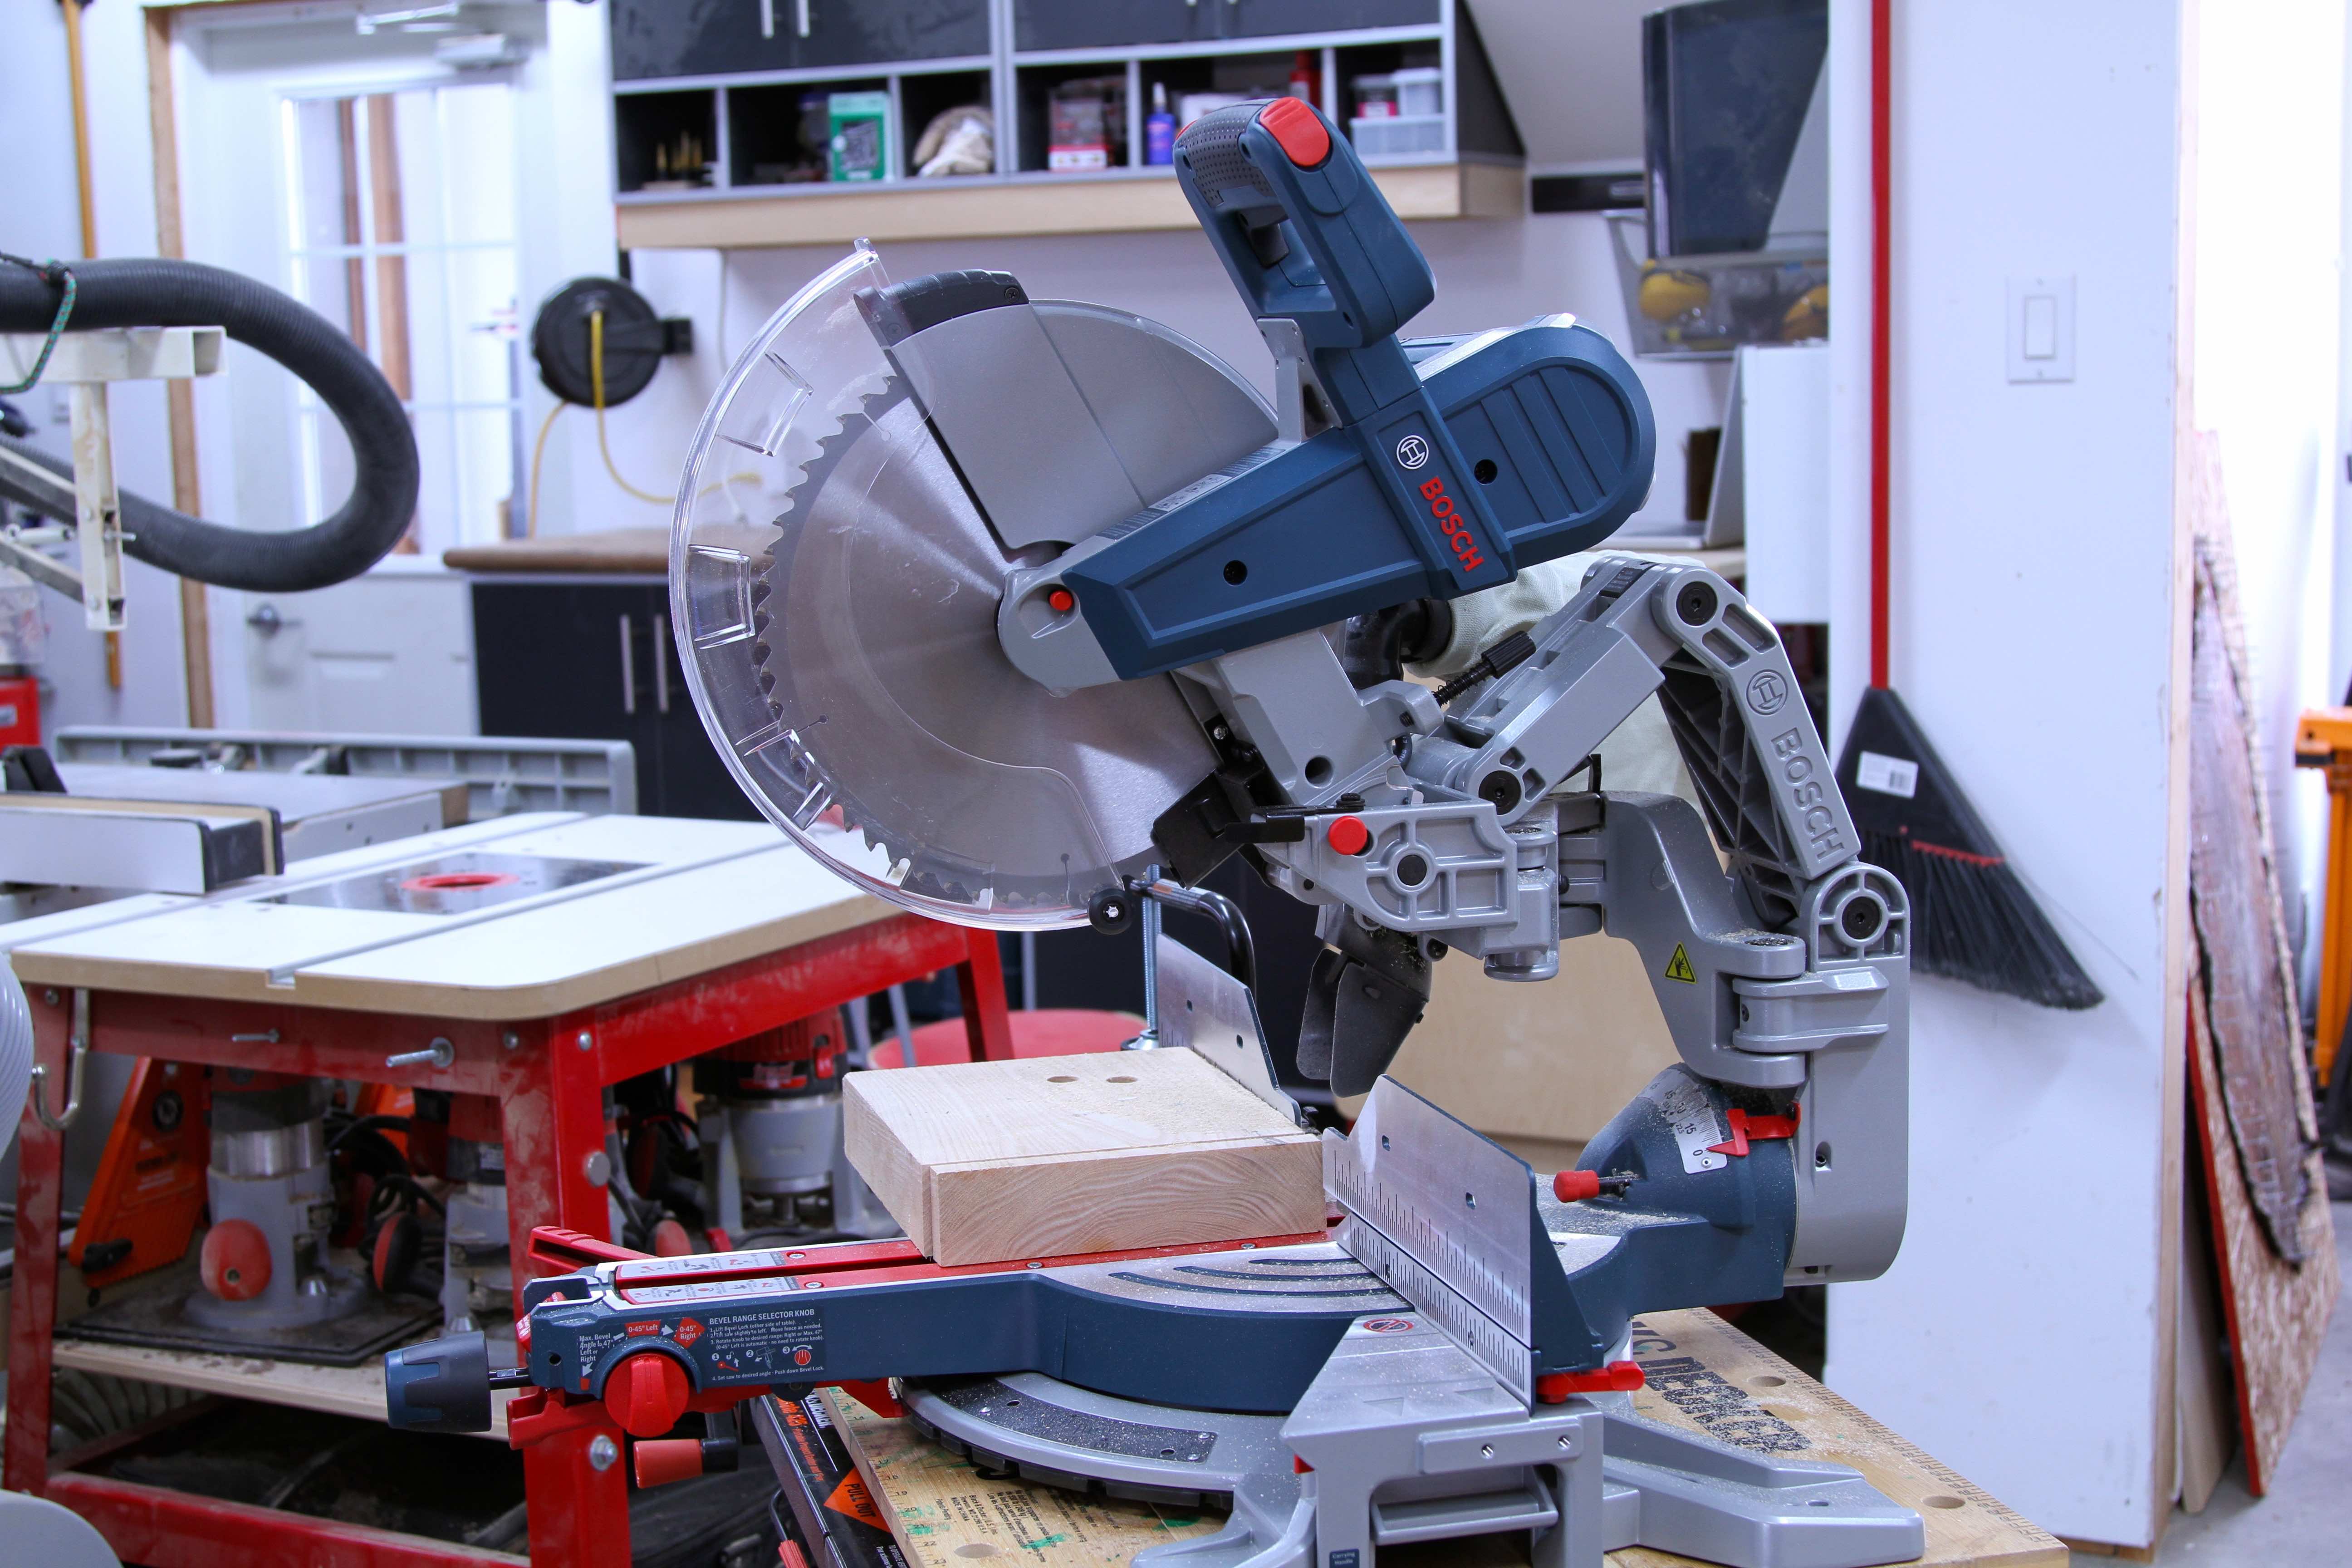
Chopsaw: A simple, non-sliding saw that crosscuts at least a 2×6 is all you really need to build cabinets using the methods in this course. Solid wood parts are mostly for the face frame, and all these parts are narrow. A bigger saw is nice for crosscutting wider parts, but you can always do this on the tablesaw if need be. The simplest chopsaw is all that’s required to succeed.
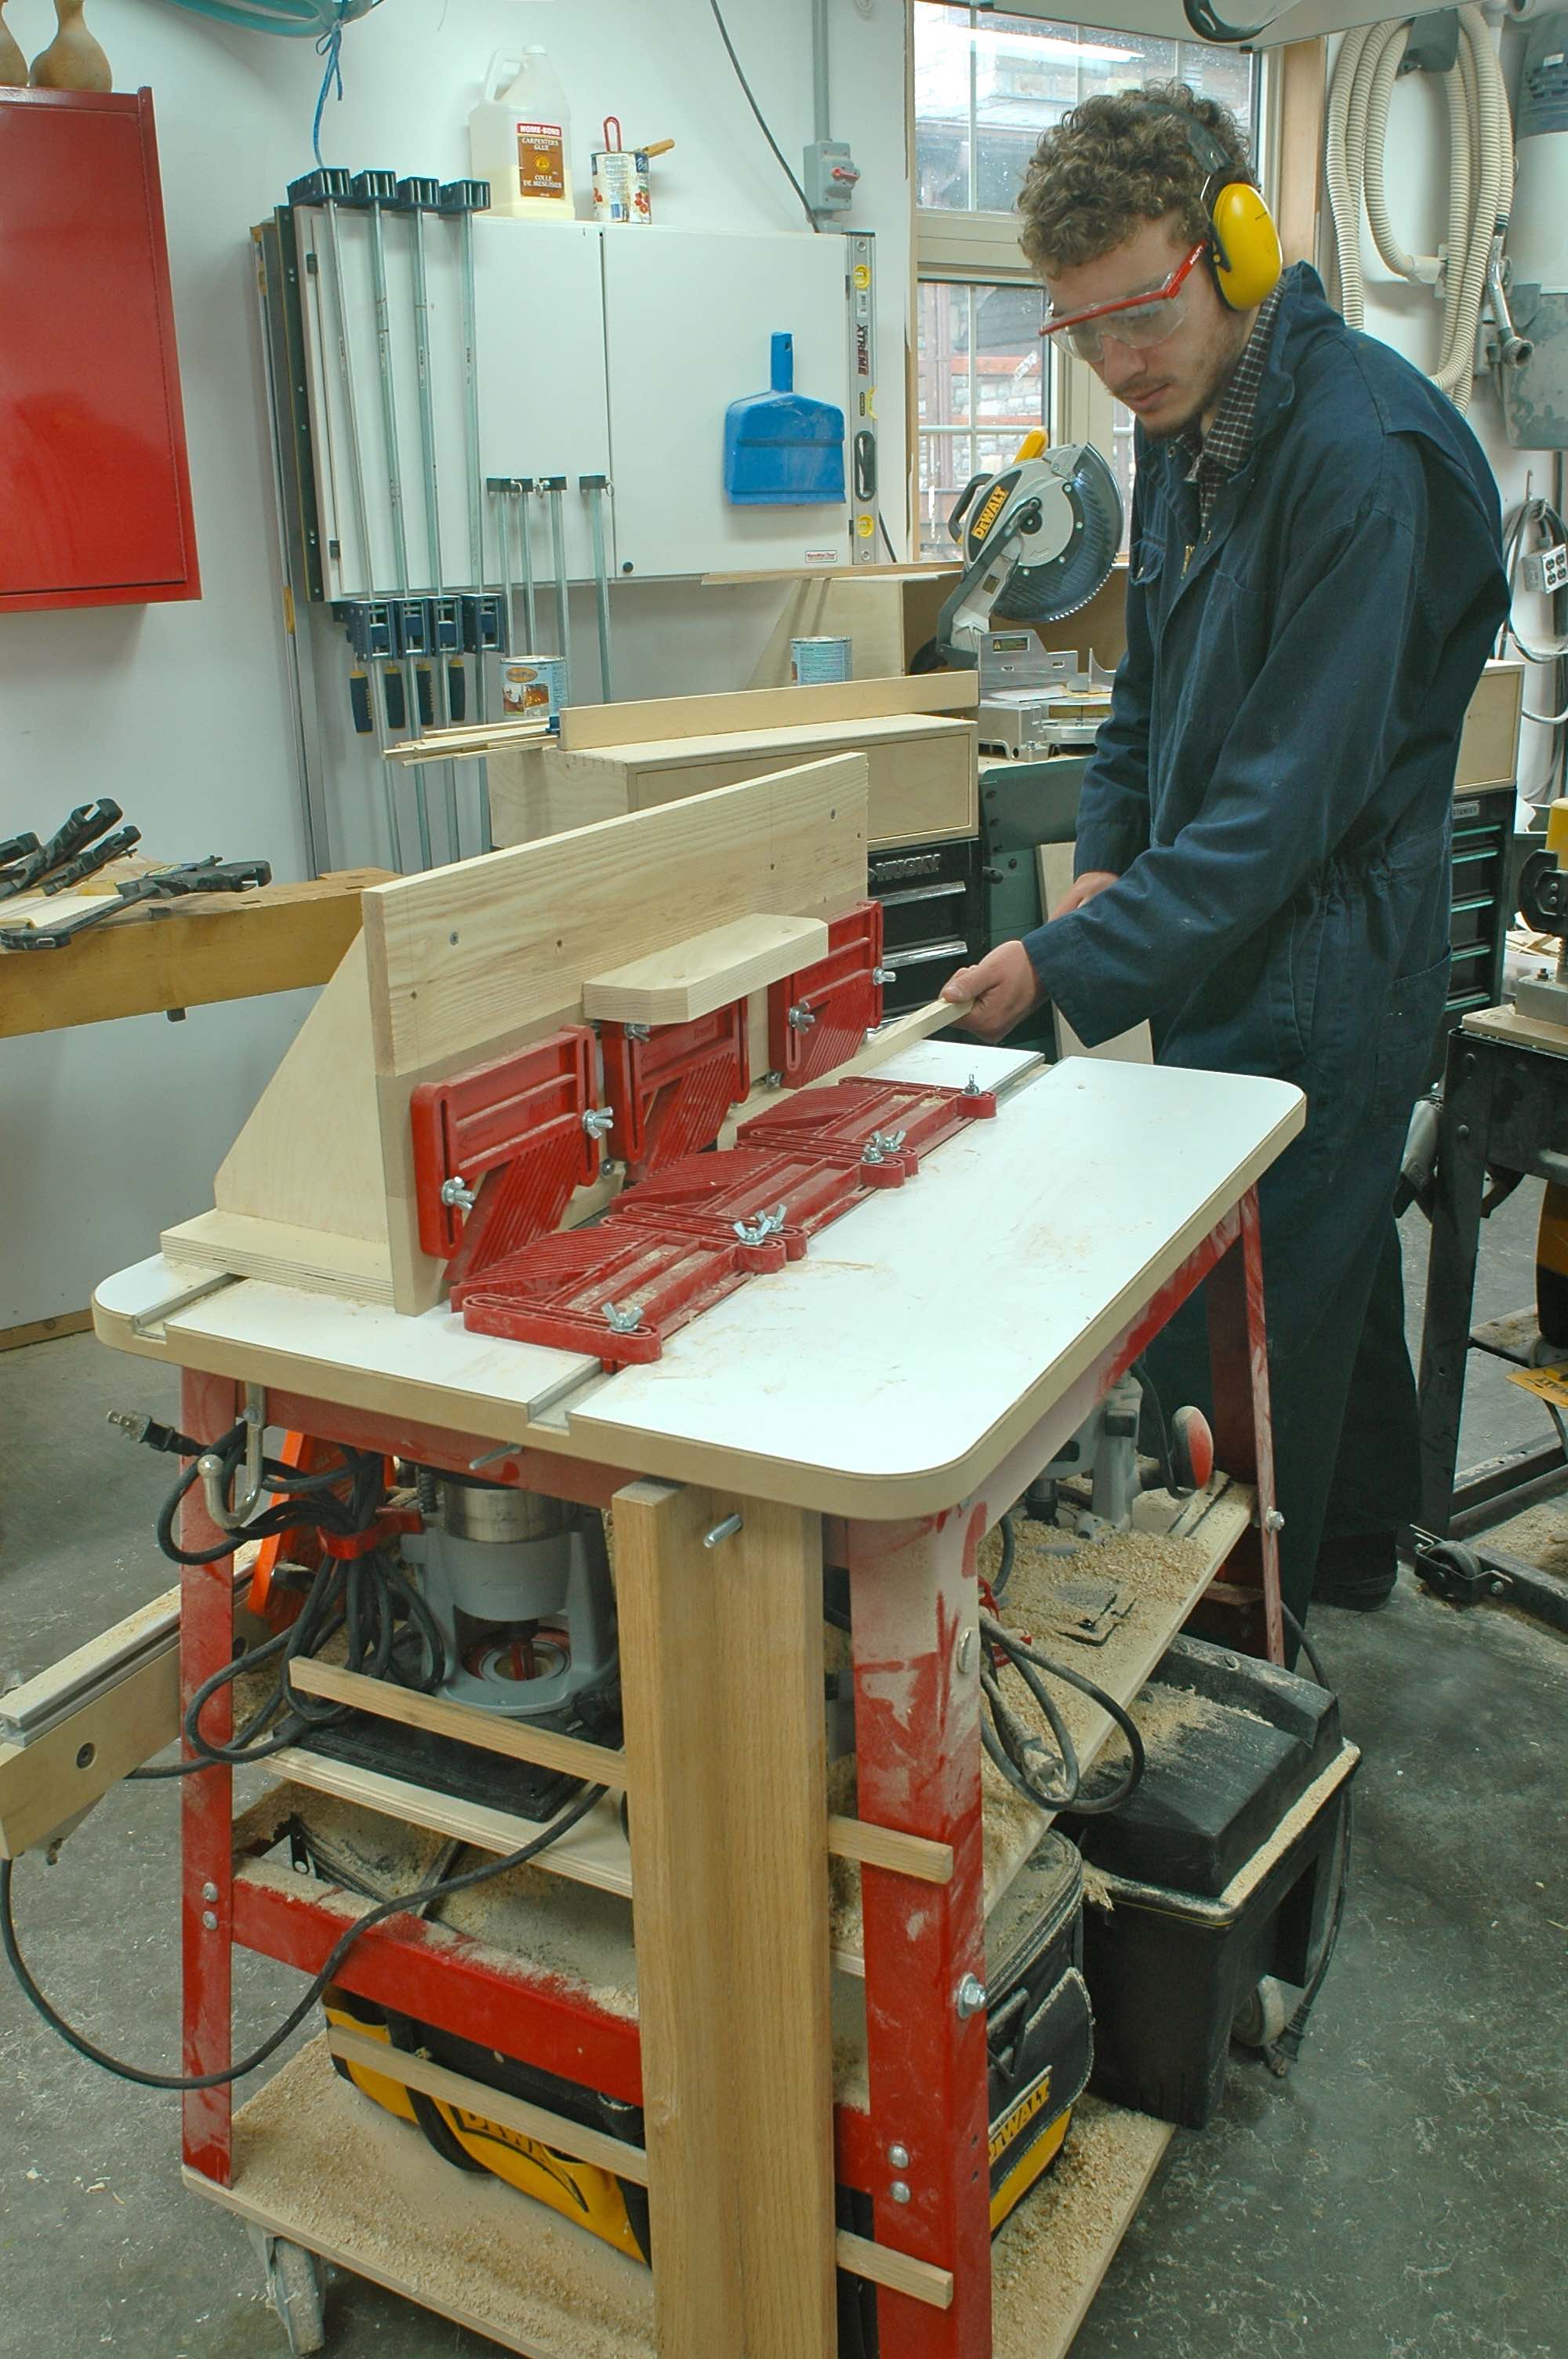
Router and router table: You only need a router table if you plan to make your own beading and crown molding, as I did and as I explain in the course. A simple, 2 1/2 horsepower router in a home-made router table top is all that’s required. More later on making a wide-faced fence if you want to mill your own crown molding.

Hand-held belt sander: Any kind of belt sander will do here. You’ll use this tool for preliminary sanding of face frames so they’re flat and smooth after they’re fastened to the cabinets. A crepe rubber block is excellent for cleaning belts and making them last much longer. That’s one being used to clean the best on one of my belt sanders.
1/4-sheet finishing sander: This is the tool to use for second-stage sanding of face frames. You’ll complete the job sanding by hand, but the 1/4-sheet sander is ideal for intermediate work. The results are much better than with a random orbit sander. The finishing techniques you’ll learn in this course apply to any kind of interior wood finishing challenge you’ll face.
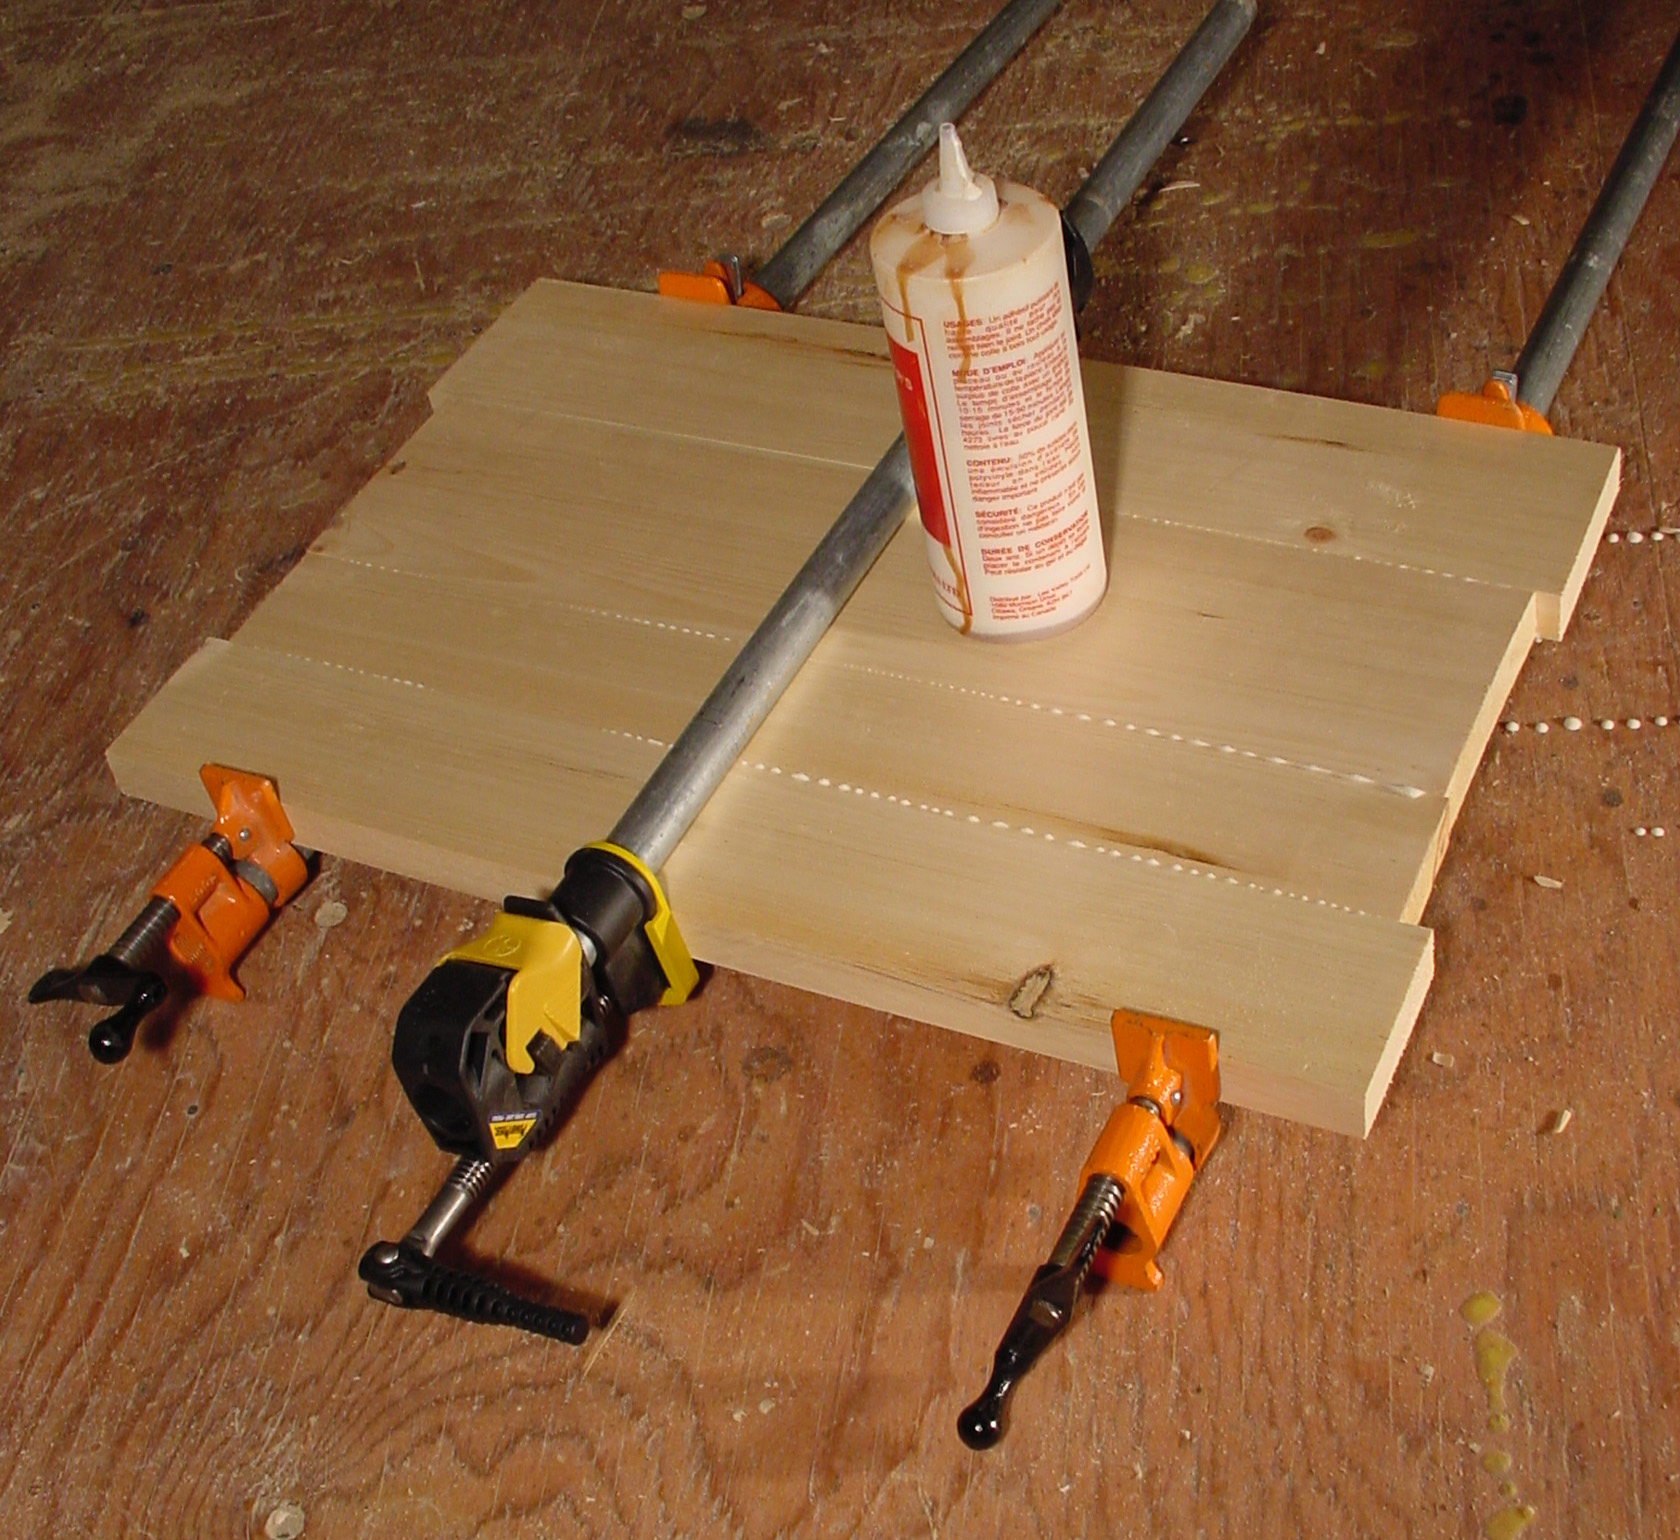
Pipe clamps: Half a dozen 3/4″ diameter steel pipes 3 or 4 feet long will do fine for most cabinet construction projects. The clamps jaws and head simply fit over the pipe and thread onto it.
In the course I’ll show you how to extend clamps like this to any length you want later on using simple couplers. This can be handy when work on large cabinets sometimes. You’ll use these clamps while gluing solid wood strips onto plywood edges and for assembling cabinet parts.
Electric drill: Any kind will do. You’ll be using this drill to bore holes and drive screws. Even an old corded drill will do fine. Maximum hole size you’ll need to drill probably won’t be bigger than 1/4″ in diameter.
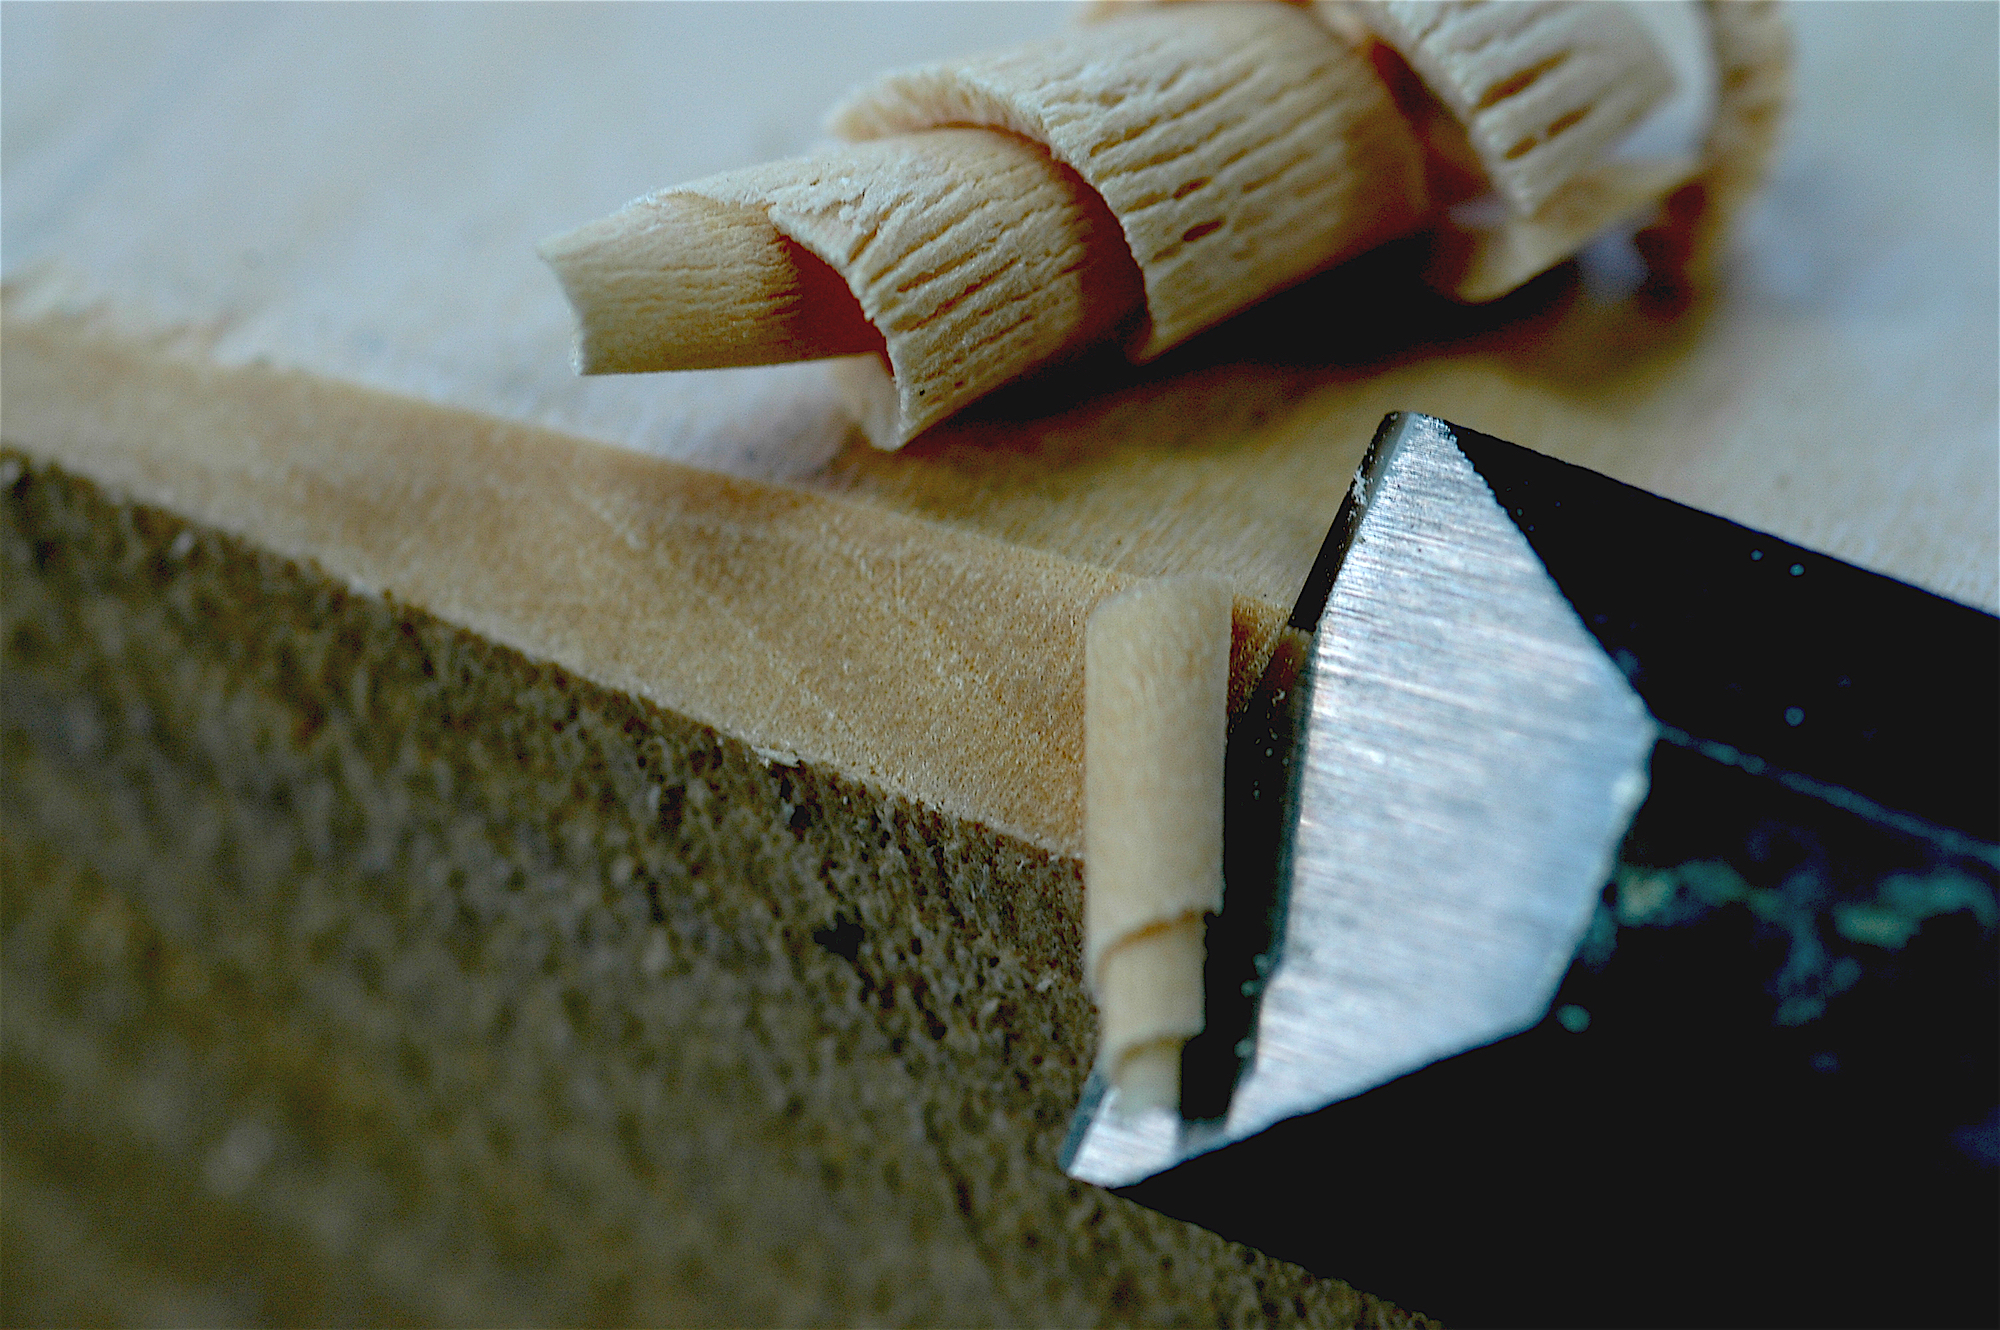
Hand tools: The list includes a hammer and nail set. You’ll also need a sharp chisel and block plane for fine fitting, too. Much more on hand tools later as we get into the various construction steps.
