 I doubt you’ll ever find anyone with something bad to say about the wintertime comfort of a building equipped with a properly installed hydronic in-floor heating system. Warm feet feel terrific, and that’s how hydronics work. Hot water piped into floors keep buildings warm by turning the entire floor surface into one big, gently heated radiator. It’s quiet, superbly comfortable and very reliable. What scares some owner-builders and professionals away from installing radiant systems themselves is the apparent complexity of the job. All those pipes snaking around does have a daunting effect, though the reality of installation is something quite different. If you can build a house or addition, you can certainly lay the groundwork for an excellent radiant in-floor heating system. The hardware is terrific these days, easy to work with and functions perfectly in both poured concrete floors and wood-framed situations. The technology is now mature, and the key to successful creation of a radiantly heated floor is understanding the essentials and following due diligence practices when it comes to installation workmanship and pre-operation testing.
Radiant heating works especially well in a concrete floor slab and three factors form the basis of success: proper pipe spacing, correct pipe installation procedures, and pressure-testing the system before covering the pipe. None of these steps are complicated, though there are details, sometimes obscure ones, that you need to understand to get the most out of the technology.
Success begins with a boring bit of math called a heat-loss calculation. This is a computer-generated analysis that predicts the total amount of heat that will escape from your building at or near some minimum expected outdoor temperature. Your hydronic equipment supplier can work out the final numbers for you, based on information you provide on building size, wall and roof construction, plus the number of windows and doors involved. When the computer finishes crunching numbers it produces an overall figure in btu/hr. This number is used to size the heat source that powers your hydronic system, plus it does something else. It allows the hydronic designer to make recommendations about pipe spacing for various building areas. A workshop floor, for instance, usually works fine with a 12-inch spacing between runs of 1/2-inch diameter hydronic pipe, though that should be tightened up to around 6 inches apart on the couple of runs nearest exterior walls. You need more heat to make up for energy loses along the edge of the slab. An 8-inch spacing is better suited for living spaces.
Next comes a mental plan for pipe layout that works within the limitations of standard pipe roll lengths. On a recent job I used both 250-foot and 300-foot rolls arranged so most of each roll went down on the floor, with both ends of each roll sticking out of the slab for later connection to the heating control panel that distributes hot water. Every panel is made to accept a number of separate loops of pipe, eliminating the need to have pipe connections occurring within the floor. This ensures an extra measure of reliability. if one loop of pipe fails (it hardly ever happens), the system can continue to operate on the remaining loops.
Begin pipe installation where you plan to put your panel, securing the pipe wherever it crosses some rebar. Plastic cable ties are the fastest and best way to secure radiant heating pipe. Unroll 8 or 10 feet of pipe, position it along the rebar, then wrap it down with the cable ties. Don’t forget to decrease pipe spacing around exterior walls. Also, arrange your runs so lengths of pipe don’t cross. Don’t forget to snip off the ends of the cable ties after installation since they’ll interfere with the concrete finishing later.
Where pipe ends leave the slab they need to be protected in plastic elbows and arranged so they’re even and neat. Lash all the exit pipes evenly to a couple of pieces of rebar located above the top surface of the floor, then snip the cable ties off and remove the rebar once the floor is poured and cured.
Before you call the cement truck, there’s one more thing you need to do. It’s sometimes overlooked, though this oversight can lead to extreme anguish. The task is pressure-testing to identify any leaks in the system, before the pipe is buried forever. You’ll need about $40 worth of fittings to test the average floor slab: enough coupling to connect all loops of the system into one; a snifter valve to allow compressed air to be added to the piping; and a pressure gauge to monitor air in the system. Connect all the parts then add enough air to bring internal pipe pressure up to 65 or 70 pounds per square inch. Watch the gauge over the next 24 hours, and find any leaks. You can expect air pressure to drop as much as 10 or 15 lbs during the course of a sunny day, but the gauge will come back up if the drop is unrelated to a leak. The most likely source of any leak isn’t the pipe, but the fittings you added earlier. Test them with a bubbly solution of water and dish washing liquid to find the areas that need repair. Only when your piping reliably holds air should you cover it with concrete.
Running radiant pipes for a heated concrete slab is really nothing more than a specialized plumbing job. In fact, you’ll probably like it so much you’ll be tempted to use the same kind of piping for domestic water supply lines, but that’s another story.
Sidebar: Under-Slab Insulation
There’s a surprising tendency for people to shortchange themselves when it comes to under-slab insulation, though it’s hard to understand why. Who would want to allow excess heat to perpetually escape downwards from a heated floor slab, all for want of a little foam insulation?
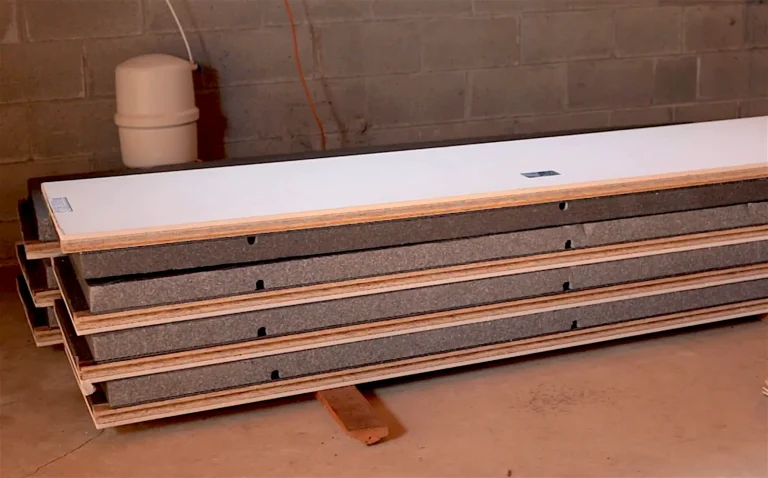
The best floor slabs are insulated underneath in two ways, both against conducted and radiant heat loss. You’ll never go wrong putting down 2 inches of rigid extruded polystyrene foam on top of your compacted slab foundation (offering an insulating value of R10), capped by a layer of radiant barrier foil. This stuff looks like bubble wrap, but is designed to direct radiant heat upwards to the building interior. Be sure to choose a radiant foil product that protects the reflective aluminum layer under clear plastic. Radiant barrier foil with aluminum on the outside deteriorates quickly when capped with concrete.
Sidebar: Easy Chairs
The best way to make any poured concrete floor strong and crack-free is to reinforce it with rebar. According to industry sources, steel mesh — the old concrete floor favourite — doesn’t actually do anything to prevent cracking. Mesh merely keeps the cracked pieces together after the fact. A rebar network, on the other hand, coupled with synthetic reinforcing fibres in the ready-mix, does a terrific job holding any concrete floor in one piece and as a secure base for fastening radiant in-floor heating pipe.
The best way to install rebar for maximum strength and radiant heating performance is on top of inexpensive plastic items called “rebar chairs”. Snap these on to rebar every couple of feet, holding the steel up a couple of inches off your insulated floor base. Not only to you get superior slab strength, but radiant heating pipes are kept a consistent distance from the top of the slab, ensuring even heat output. At less than $50 for a bag of 250, rebar chairs are inexpensive quality boosters that should be part of every slab pour.
Sidebar: Hydronic Heat Source
All radiant in-floor heating systems are heat delivery mechanisms. You still need a source of heat to make it all work, and you’ve got a couple of options. One of the best for small and medium-sized buildings is a fuel-fired domestic hot water heater. Unlike traditional hot water radiator systems, hydronic in-floor heating operates at a lower temperature of 130F to 140F — exactly what domestic hot water heaters are built to provide. If your project is within reach of natural gas lines, then this is one viable option, though there’s good reason to also consider oil. Some of the highest output domestic hot water heaters are fired by oil, delivering more the 60,000 btu/hr of output — enough to heat a good sized home. You’ll also find hybrid oil-fired and gas-fired systems designed with an internal heat exchanger and sized specifically for the dual-purpose role of radiant in-floor heating and domestic hot water production.


