Survival Gardening Fundamentals
Survival gardening is different. Producing serious amounts of food to keep you and your family alive during long-term societal collapse is entirely different than driving to a garden center, picking up half a dozen tomato plants on a Sunday afternoon, then enjoying a BLT sandwich two months later. Feeding yourself after the food system collapses is more challenging than that. It requires preparations and foresight that go way beyond the backyard gardener mentality. That’s because the stakes are higher with the survival garden challenge.
Permanent-Mulch Vegetable Gardening
No matter where you live, there’s something consistent about almost every natural ecosystems you’ll see in the world. Soil is never bare. Nature always covers soil in some sort of plant material, and there’s a good reason for it. Several good reasons, in fact. Dead leaves, grass and other organic matter sitting on top of the soil automatically enriches it over time. We call this organic matter “mulch” when it’s applied intentionally, and it feeds soil microbes that in turn feed plants.
We’ve been mulching gardens heavily here at my place since the mid-1990s, and the difference between mulched and unmulched soil is night and day. Worms as thick as your thumb, lots of lush growth, and more mellow soil texture are all the benefits. Mulch also offers two other advantages for your survival garden food system.
Mulching: Mulch greatly increases the amount of water available in the soil for plants. All else being equal, you’ll reduce water needs by 30% to 70% by mulching. Mulch also reduces or even eliminates the tendency for a patch of ground to grow weeds (as long as you keep the mulch thick enough). This is huge because you simply won’t be able to hoe an area large enough to feed yourself. Weeds are nothing more than naked soil trying to hide itself. Cover that soil with mulch and it won’t be interested in growing weeds (and keeping you as busy with the hoe).
Serious benefits are why permanent mulching is a great start to your survival garden. But how you make permanent mulching happen has a lot to do with how successful you are. There are plenty of ways to mess up (I know because I’ve probably done most of them over the last 30 years). That’s where lessons from my experience can help you avoid trouble.
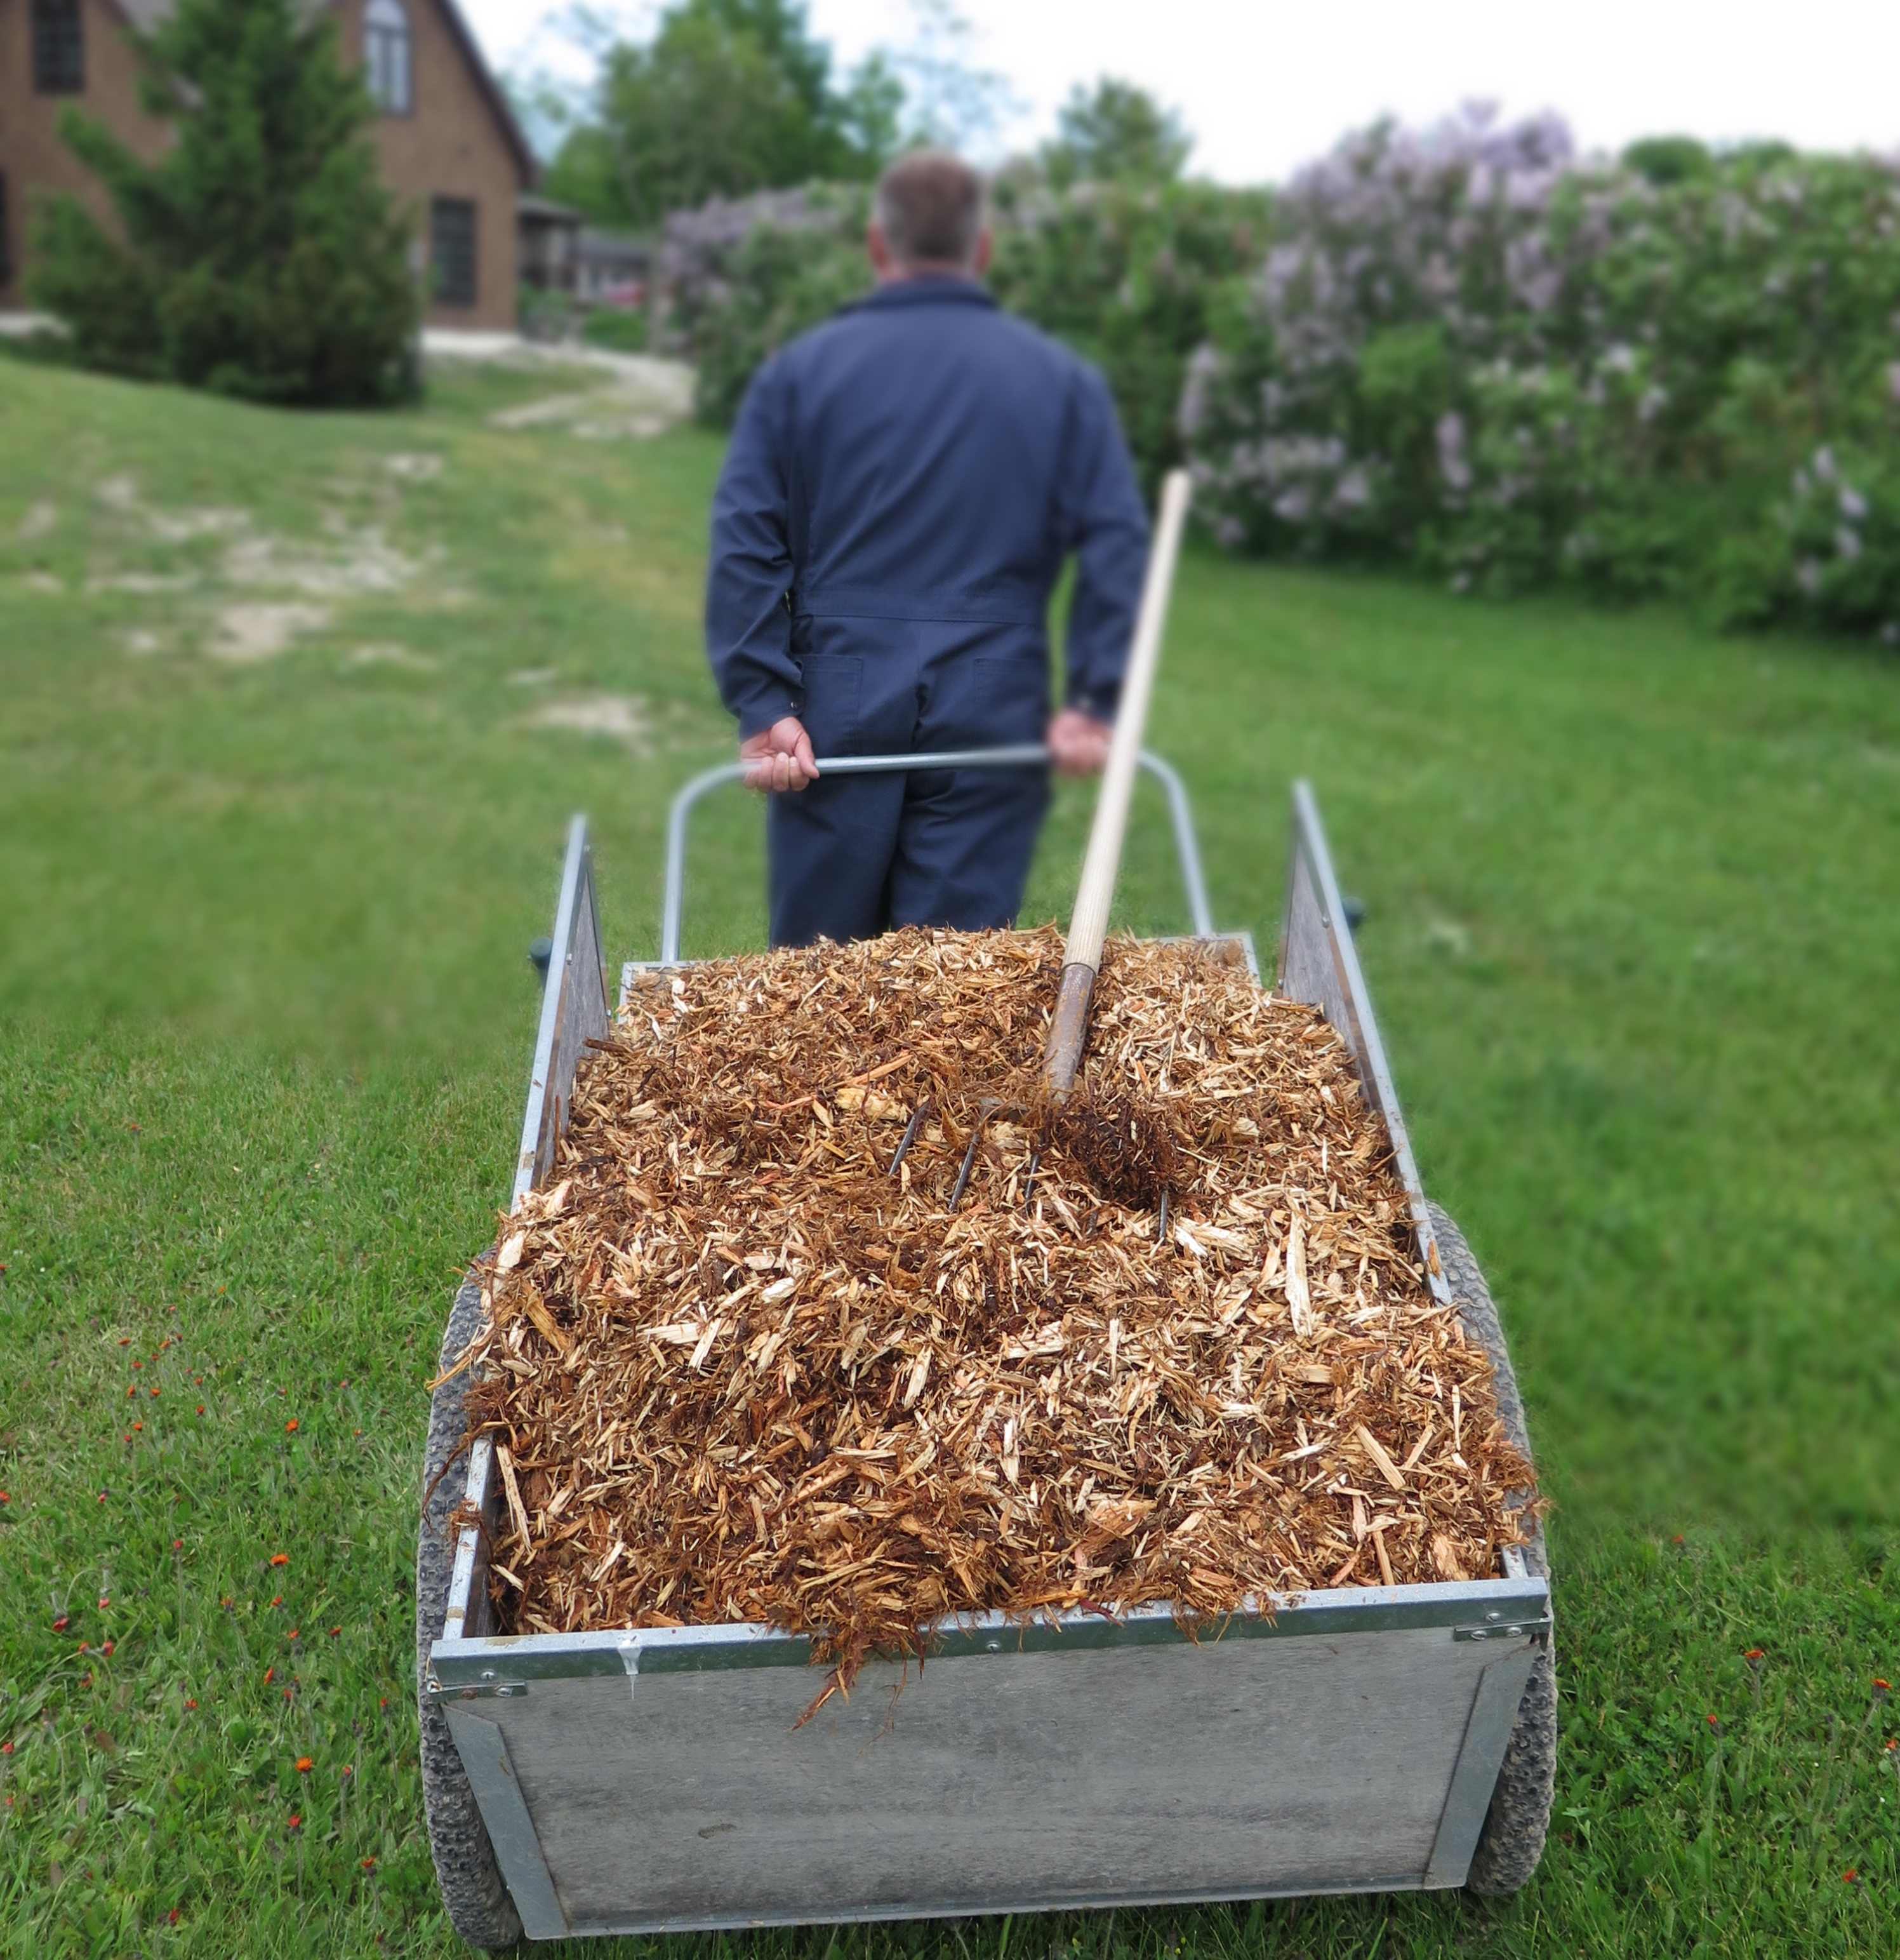
Technically speaking, most organic matter makes pretty good mulch. That said, you’ll need to choose a source of mulch that makes sense in your area. When mainstream sources of energy and transportation systems collapse, you won’t be buying bagged mulch from your local garden center any more. Look around and see which sources of mulch your region produces naturally and in abundance, then learn to use that resource. Here where I live, there’s lots of old hay available locally. There’s also a small scale sawmill nearby that generates some excellent cedar bark mulch in bulk. Whether or not hay cropping and sawing lumber continues after trouble happens in your area remains to be seen. But for now, I’ll use this source of inexpensive, effective mulch as long as I can.
TECH TIP: Mulching & the Weed Seed Hazard
Most forms of agricultural mulch contain at least some weed seeds – perhaps even a lot of them. Hay is especially likely to be loaded with undesirable seeds, and even straw can be bad, too. So why would you want to spread weed seeds on your garden along with mulch? Well, you don’t. The thing is, if you spread straw or hay mulch thick enough, it kills weeds that come with it. Weeds will start growing if the mulch gets thin enough as it rots down, but that’s easily solved by adding more mulch. While there’s nothing wrong with tillage of a garden, your ability to till soil with outside sources of gasoline or diesel fuel will be limited in a long-term societal breakdown. Mulching is one good way around this. And what about slugs and snails? Both these vegetable-eating garden pests love mulch and the moisture it brings. If slugs and snails prove to be a problem in your area because of mulching, pull back the mulch farther from the rows you’ll be clearing for tillage and cultivation. Mulch doesn’t necessarily need to surround plants closely if it encourages slugs and snails.
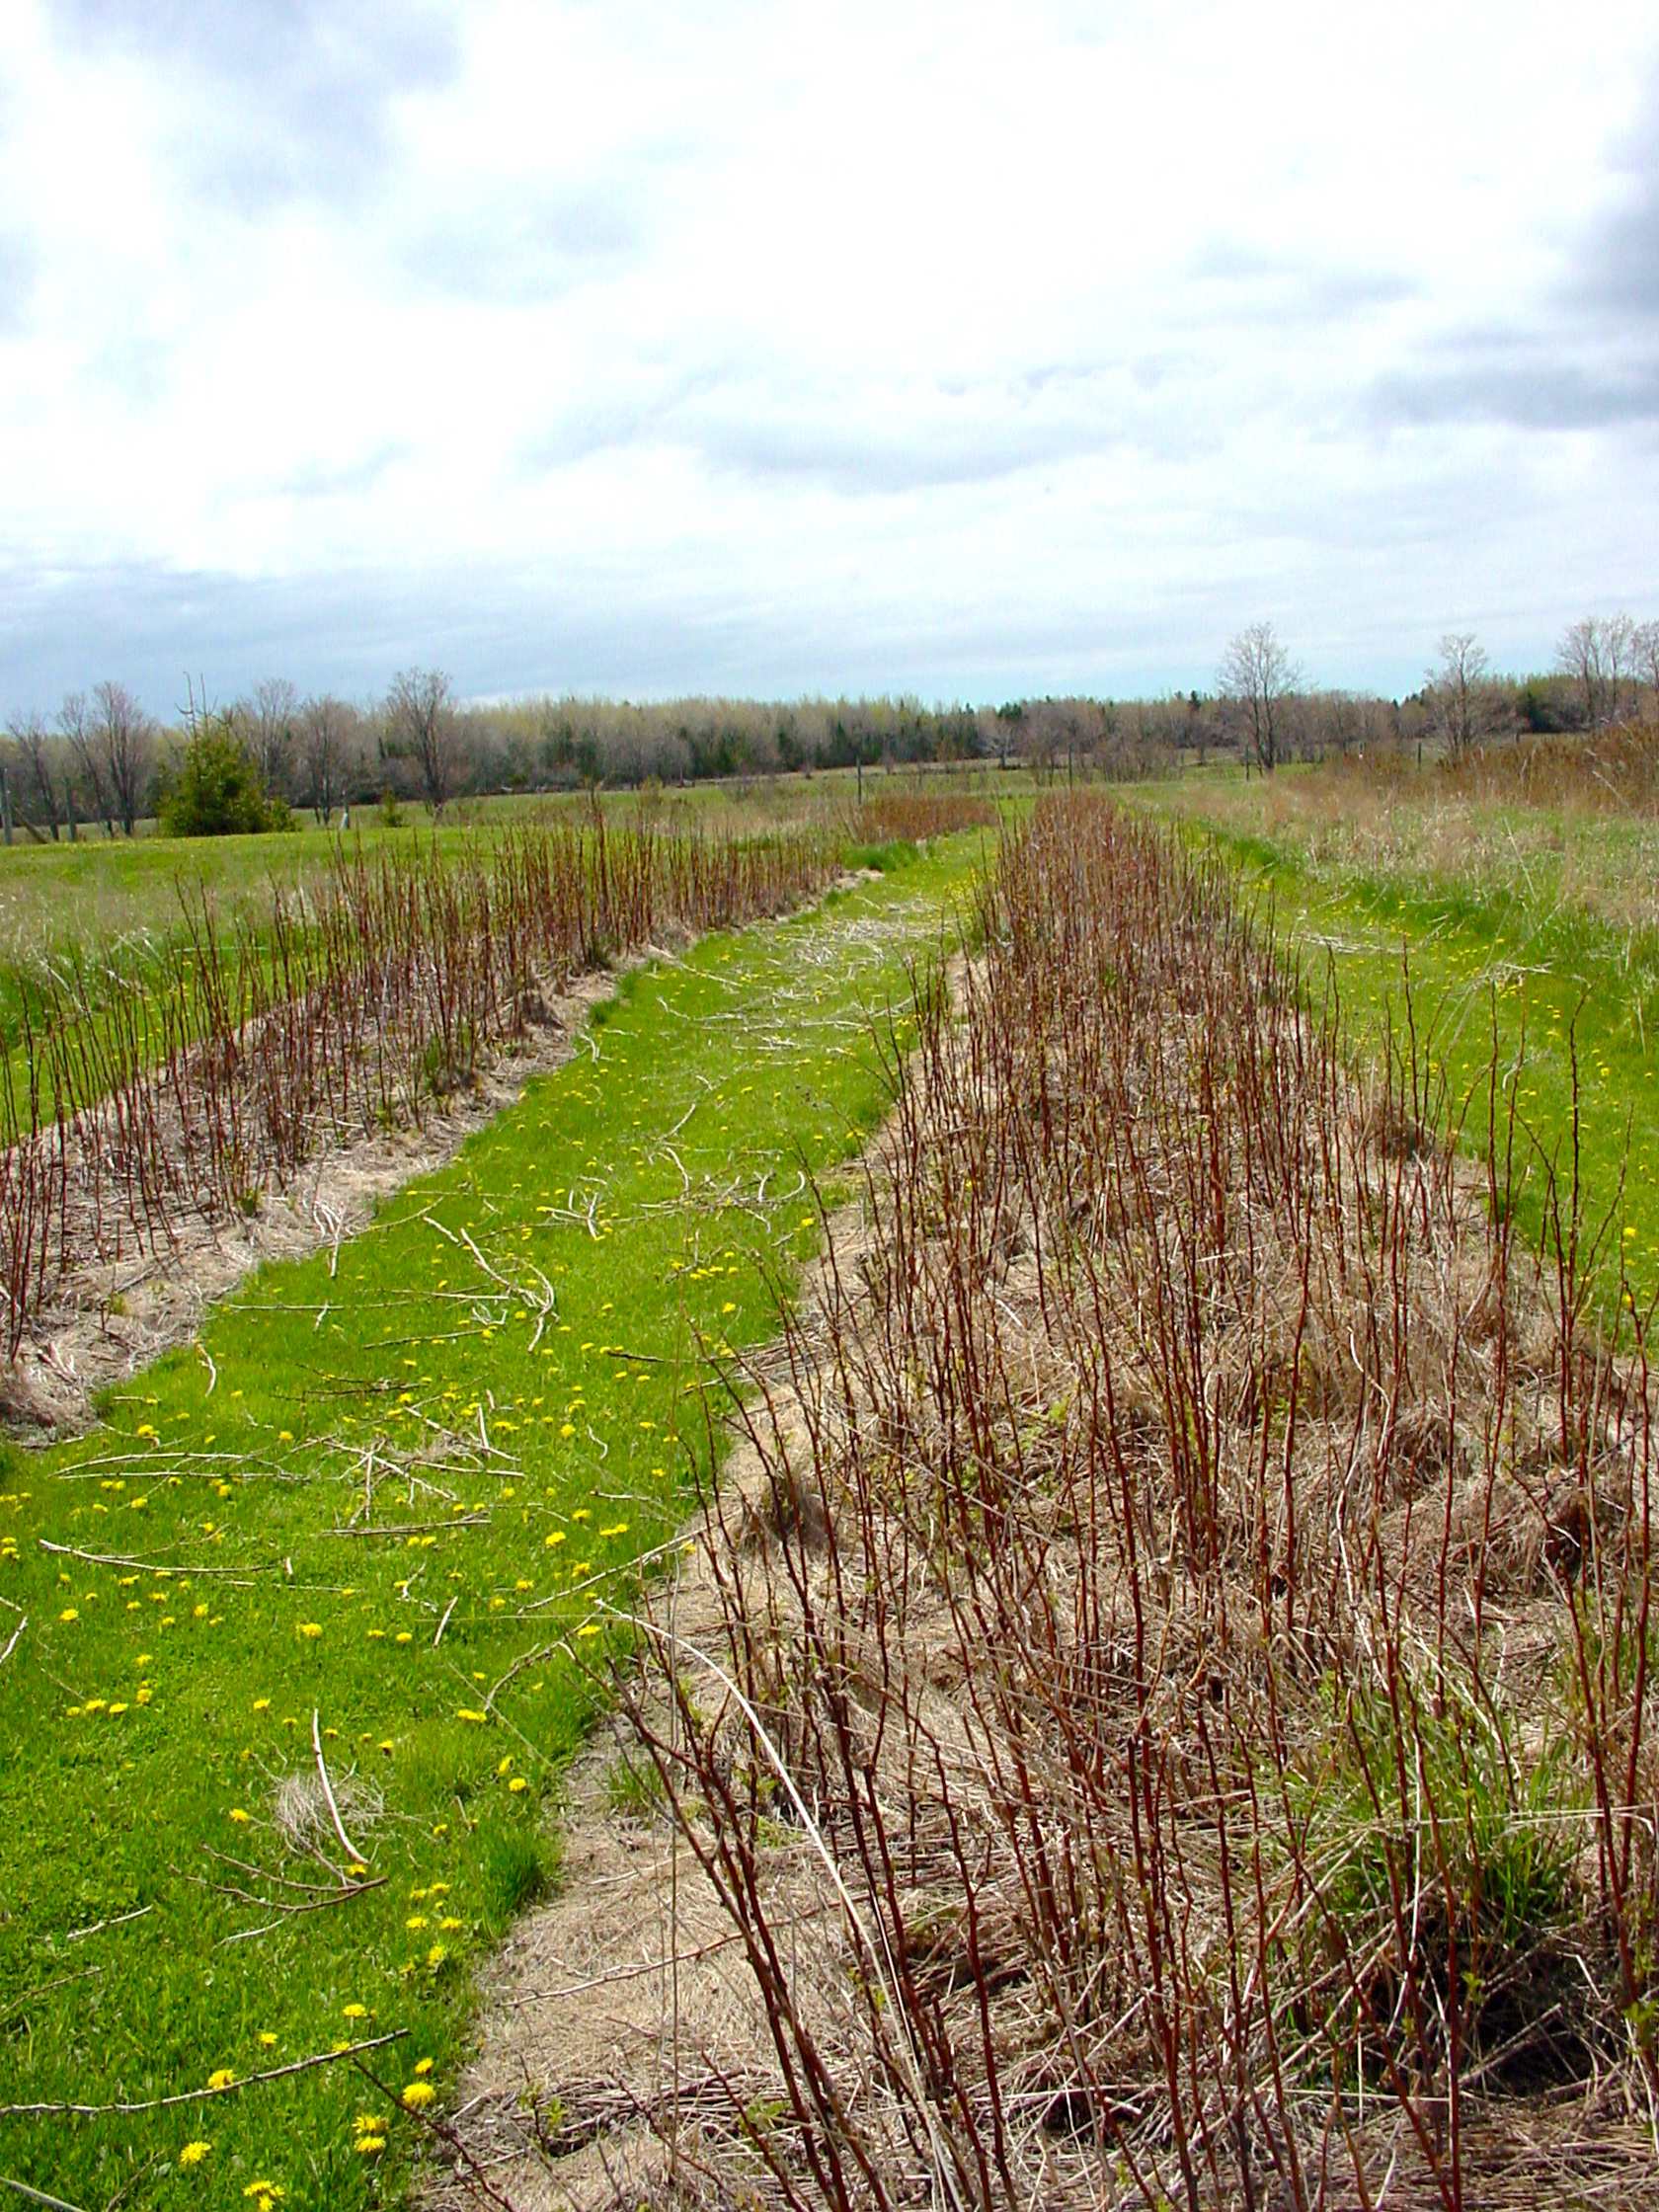
An even more local source of mulch for me is a small patch of trees I planted in my front yard. It’s now a half-acre section of pines and oaks that drops enough leaves and needles each fall to generate a nice annual coat of mulch for my vegetable garden. The garden is about one third the size of the young forest, so the quantity of mulch adds up to a thick layer as it’s concentrated into a small space.
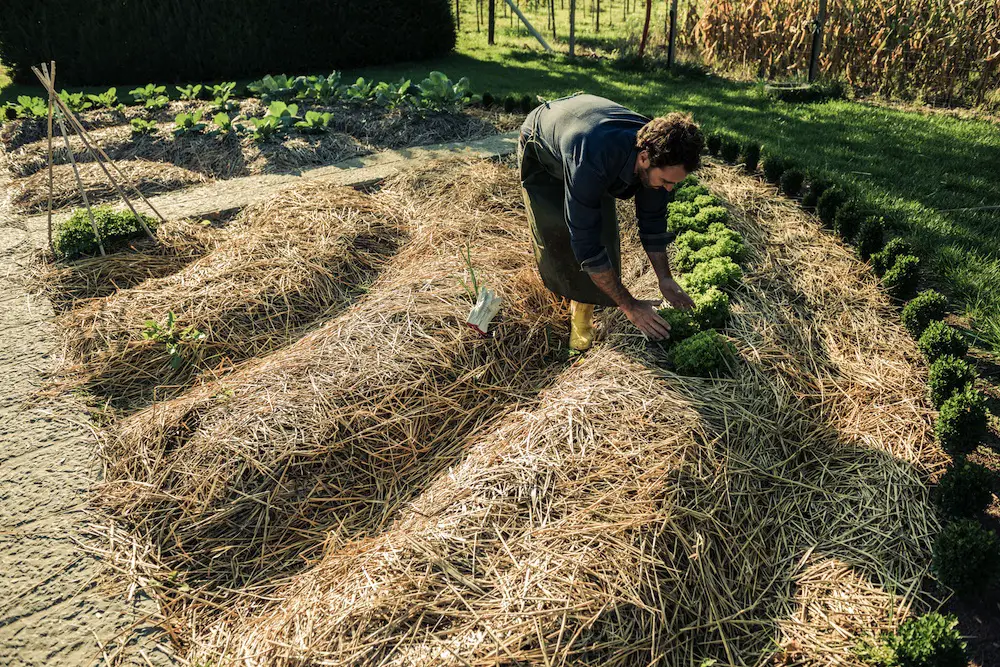
Regardless of what you use for mulch, the idea is to pile it up deep enough on the soil that weeds can’t come through. How thick is that? It depends. Dense, heavy mulches like cedar bark, for instance, need to be put on about 6 inches deep at first. Fluffier mulches, such as old hay or pine needles, need to be 12 to 16 inches thick at first application. Hay will settle and pack down over time so you end up with something about 6 inches thick in the end.
There are three dangers when it comes to mulching: tilling the mulch into the soil; using toxic mulch; and insufficient thickness. All good mulch has a lot of carbon in it. Carbon is good, but if you mix it into the soil it draws available nitrogen away from plants for a season or two. This nitrogen is needed for the rotting process and will return to the soil after rotting is complete. The problem is that your plants won’t have enough nitrogen to grow during that initial period of rotting. But by leaving mulch on the surface of the soil it slows the rotting process down, leaving lots of nitrogen in the earth for plants to grow.
Another potential mistake is toxic mulch. Just because something is plant material doesn’t mean it’s safe as mulch. Most stuff is, but avoid leaves, branches or bark from walnut trees, for instance. They contain a chemical called juglone. It suppresses plant growth so walnut seedlings can get started without competition from other plants. Trouble is, juglone from walnut leaves also suppresses growth of your garden, too. Fresh grass clippings are harmful as a mulch as well. Fresh-cut greenery releases substances that suppress growth. Let grass dry before adding it to the soil surface and you’ll be fine. And of course, don’t use shavings or sawdust from pressure-treated lumber.
Insufficient mulch thickness is the third common mistake. Mulch needs to be thick to work. There’s no way around this. Thick applications are especially important with mulch that may contain weed seeds. Hay and straw often contain seeds that will sprout and grow unless the mulch is thick enough to stop it. Rule of thumb: If anything grows through your mulch that you haven’t planted, the mulch isn’t thick enough. Add more mulch.
How you grow a mulched survival garden is entirely different than a traditional tilled garden. The details come down to exactly what you’re growing and how it needs to be planted.
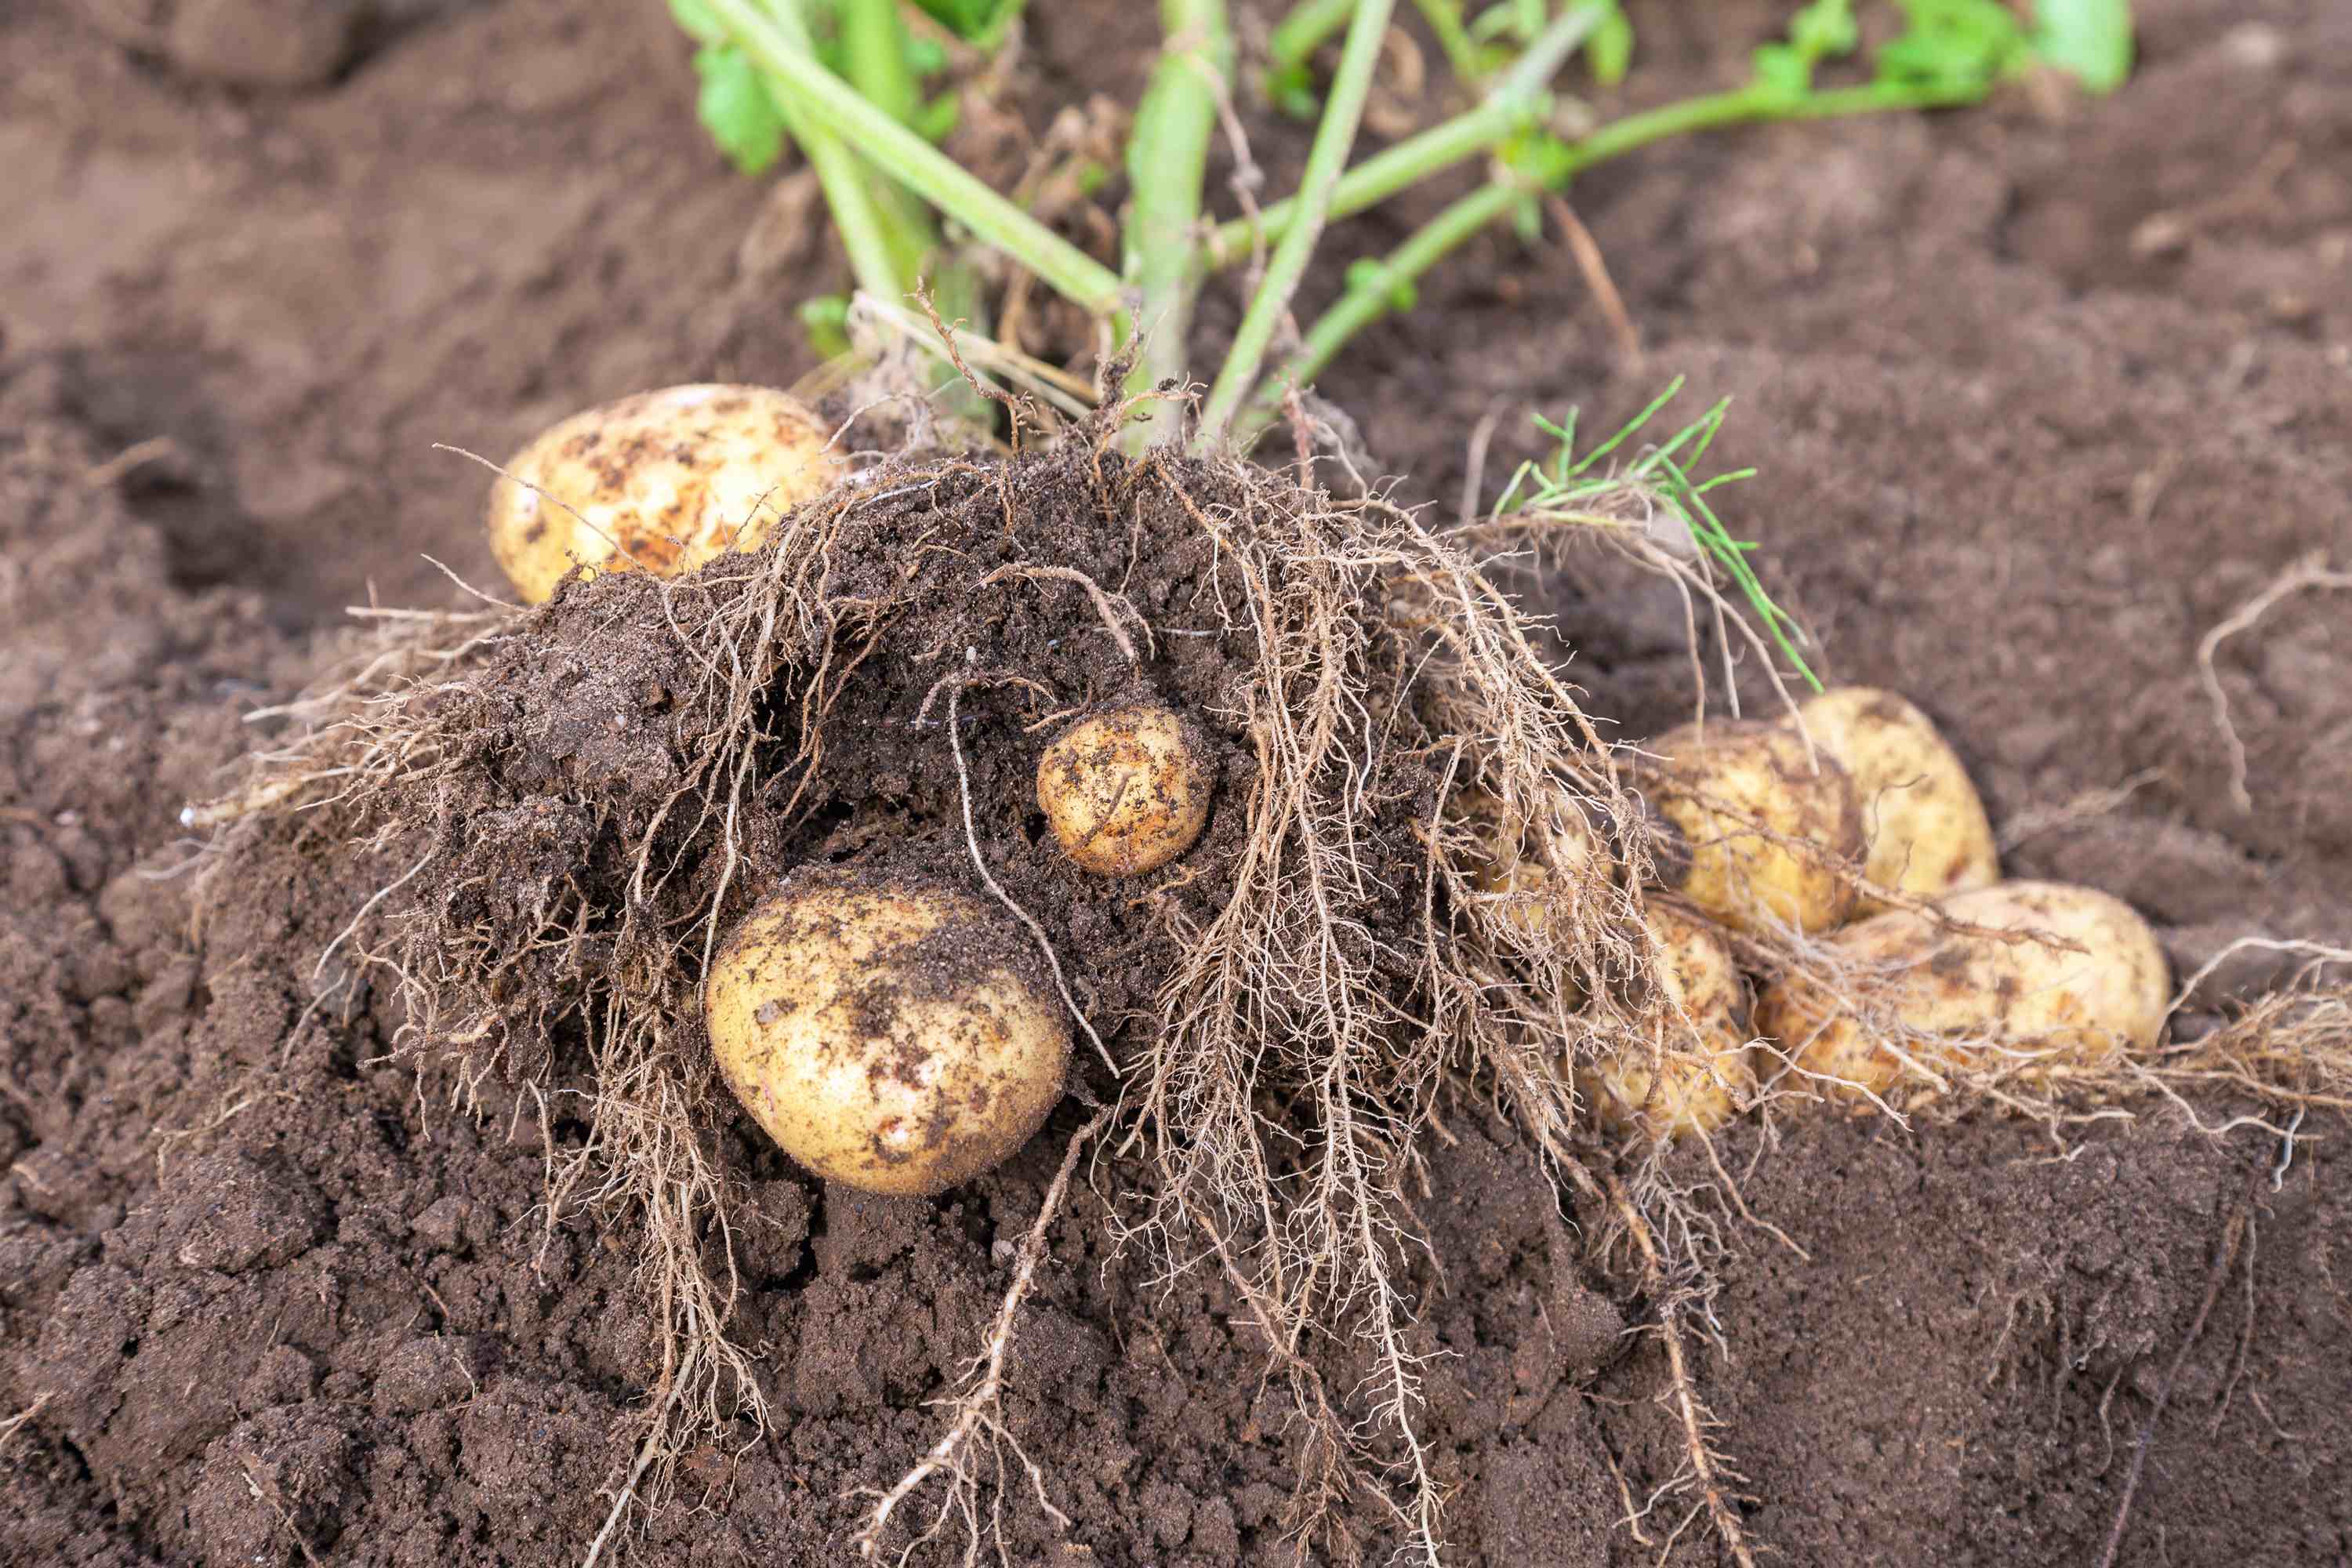
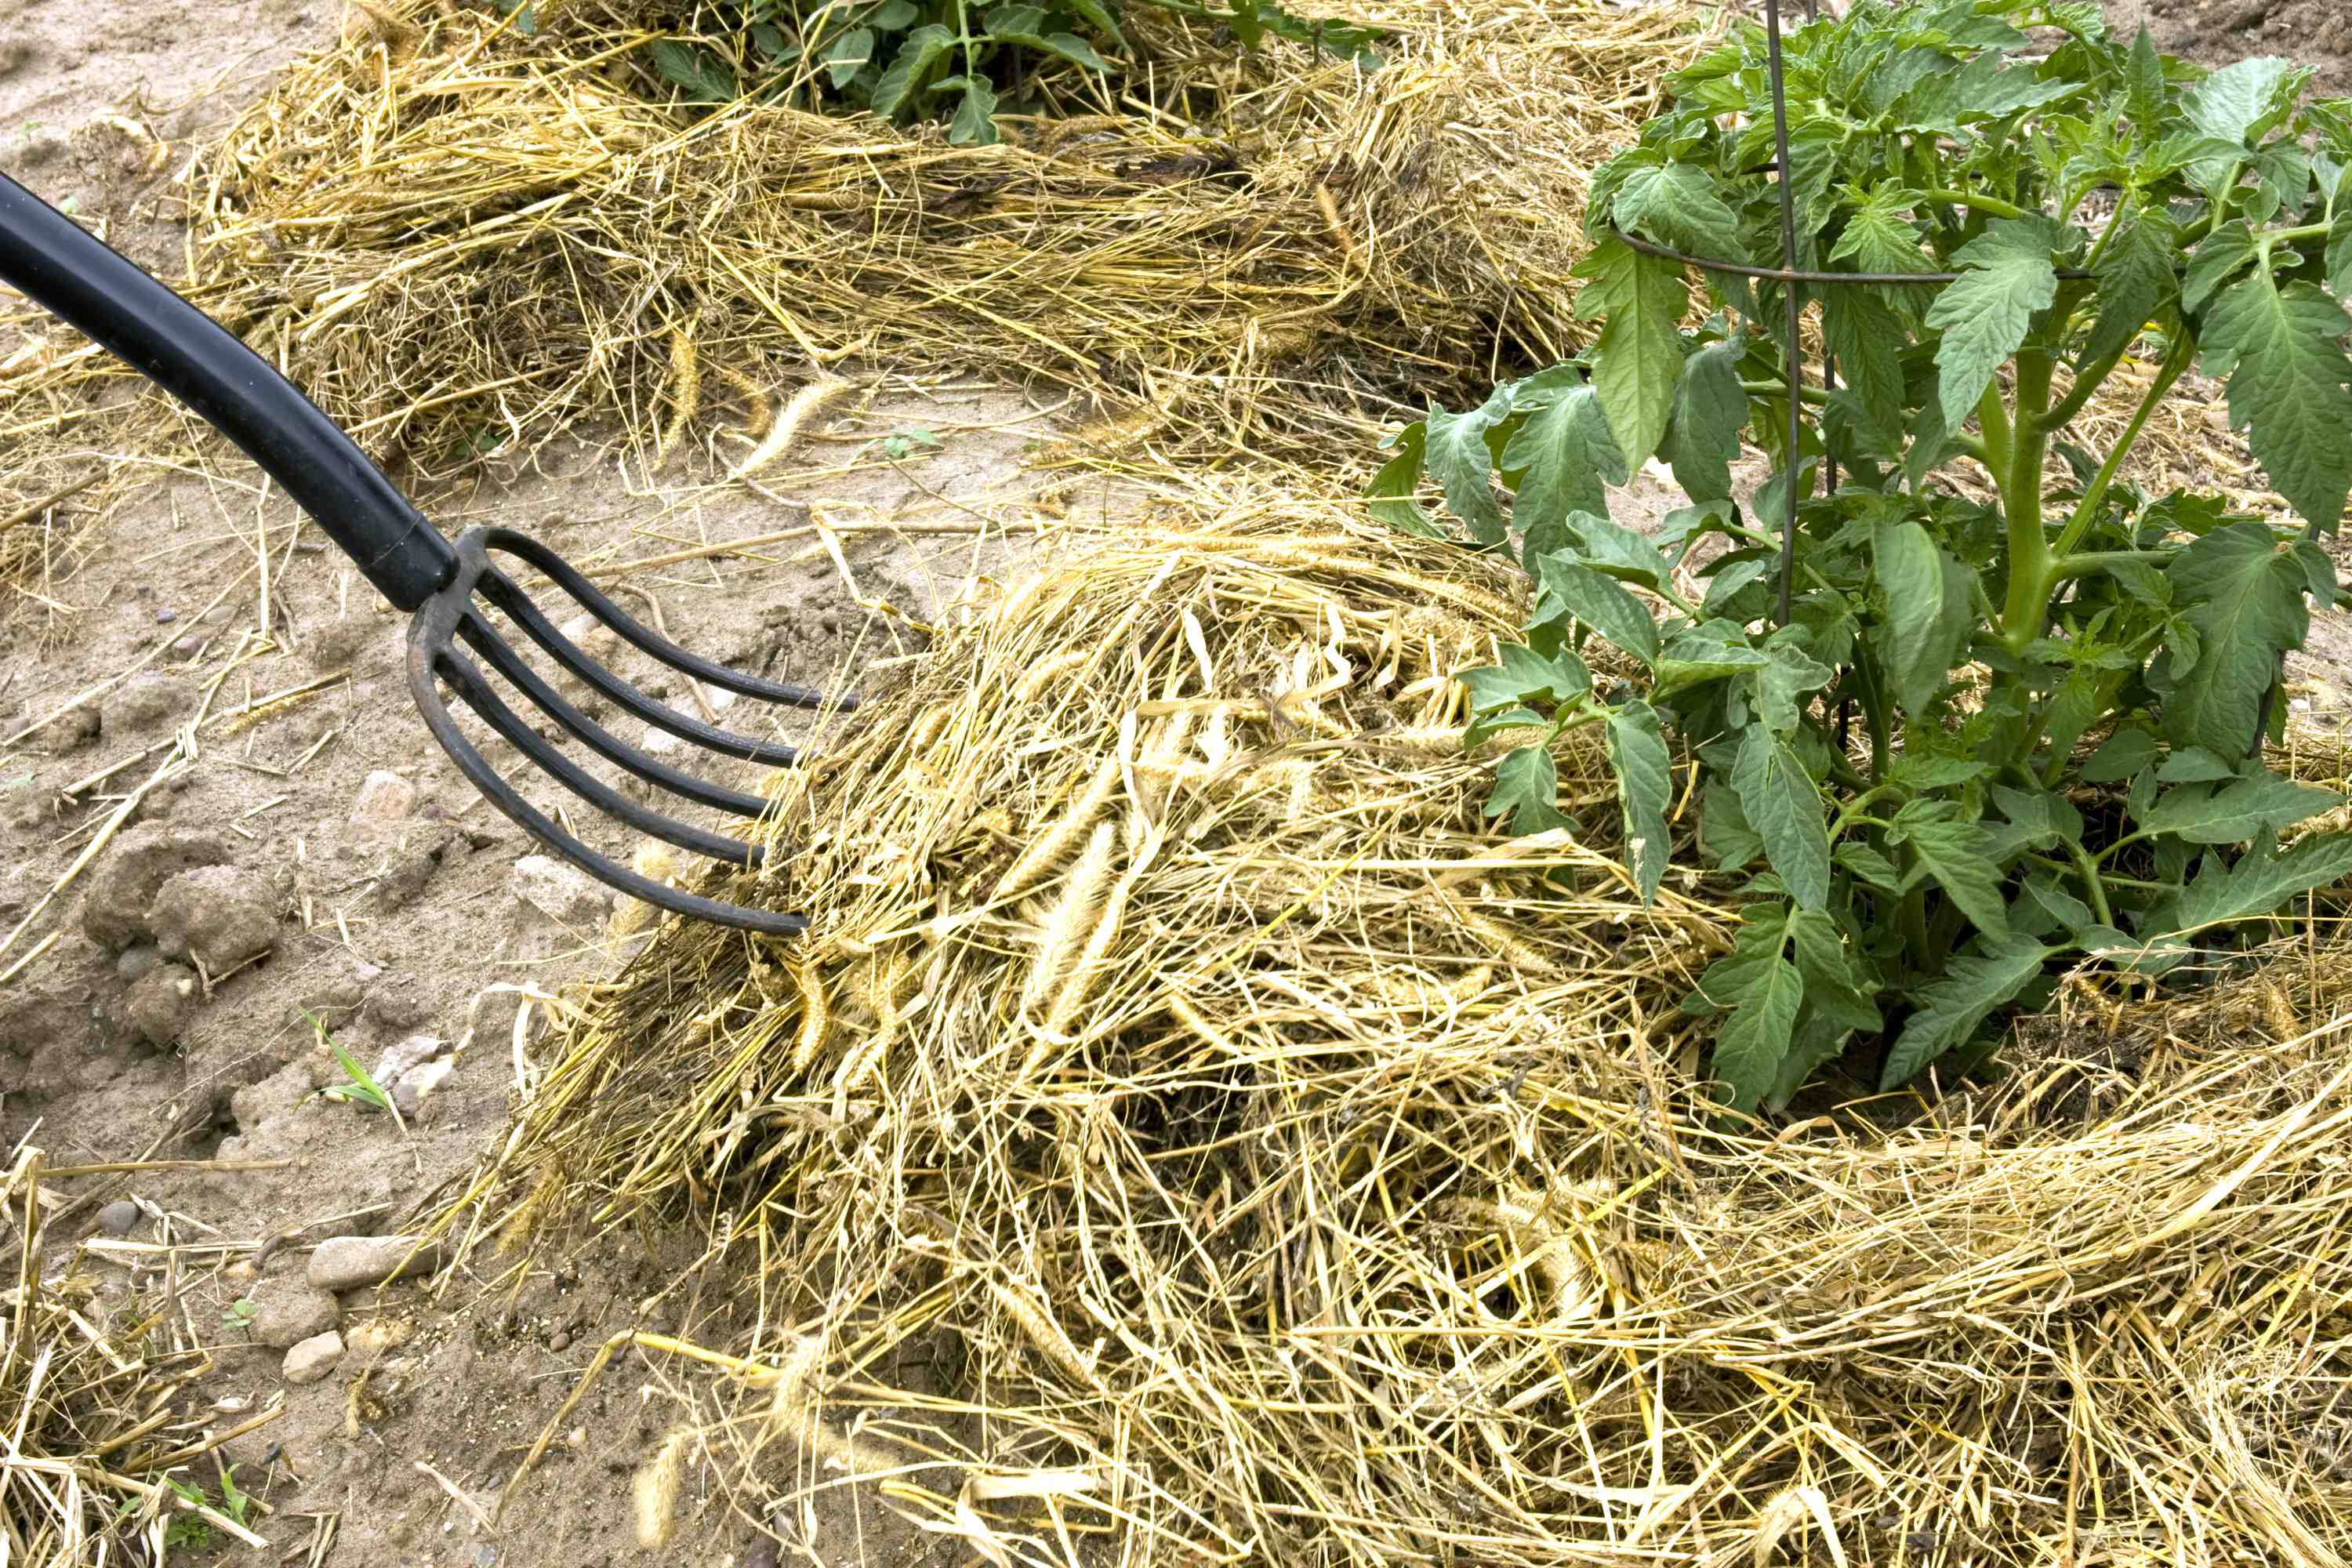
One of the simplest survival crops you can grow is potatoes. These yield a lot of high-energy food off a small piece of land, so they’re quite efficient. Potatoes also do very well under a permanent mulch system. The traditional, non-mulch way of growing potatoes involves cutting them up so there are two eyes on each piece of seed potato. Dig a hole or open up a furrow in the soil, drop a piece of seed potato in every 12 to 16 inches, then covered up the seed with soil again. Heap the soil up around the growing plants as they emerge, then get the shovel out again and dig all the potatoes out from under the soil when they’re mature. If you’ve ever done this before, you know it’s a lot of work. Growing potatoes under mulch is easier.
Cut up your seed potatoes as usual, but instead of burying each piece, just pull back the mulch layer, place a piece of seed potato on the soil, then cover the spot back with mulch again. Potatoes are vigorous enough to send shoots growing right up through the mulch, no matter how thick, while also sending out roots that grow along the top of the soil where it meets the mulch. Potatoes will grow along these roots, and they’re easy to harvest. Just pull back the mulch, pick the potatoes you want, then put the mulch back down. Potatoes grown this way won’t yield as much food for a given area of the garden as buried and hilled potatoes, but mulch potatoes will yield more food for a given hour of labor put into growing and harvesting them. This is especially valuable when machinery and fuel for tilling the ground becomes rare.
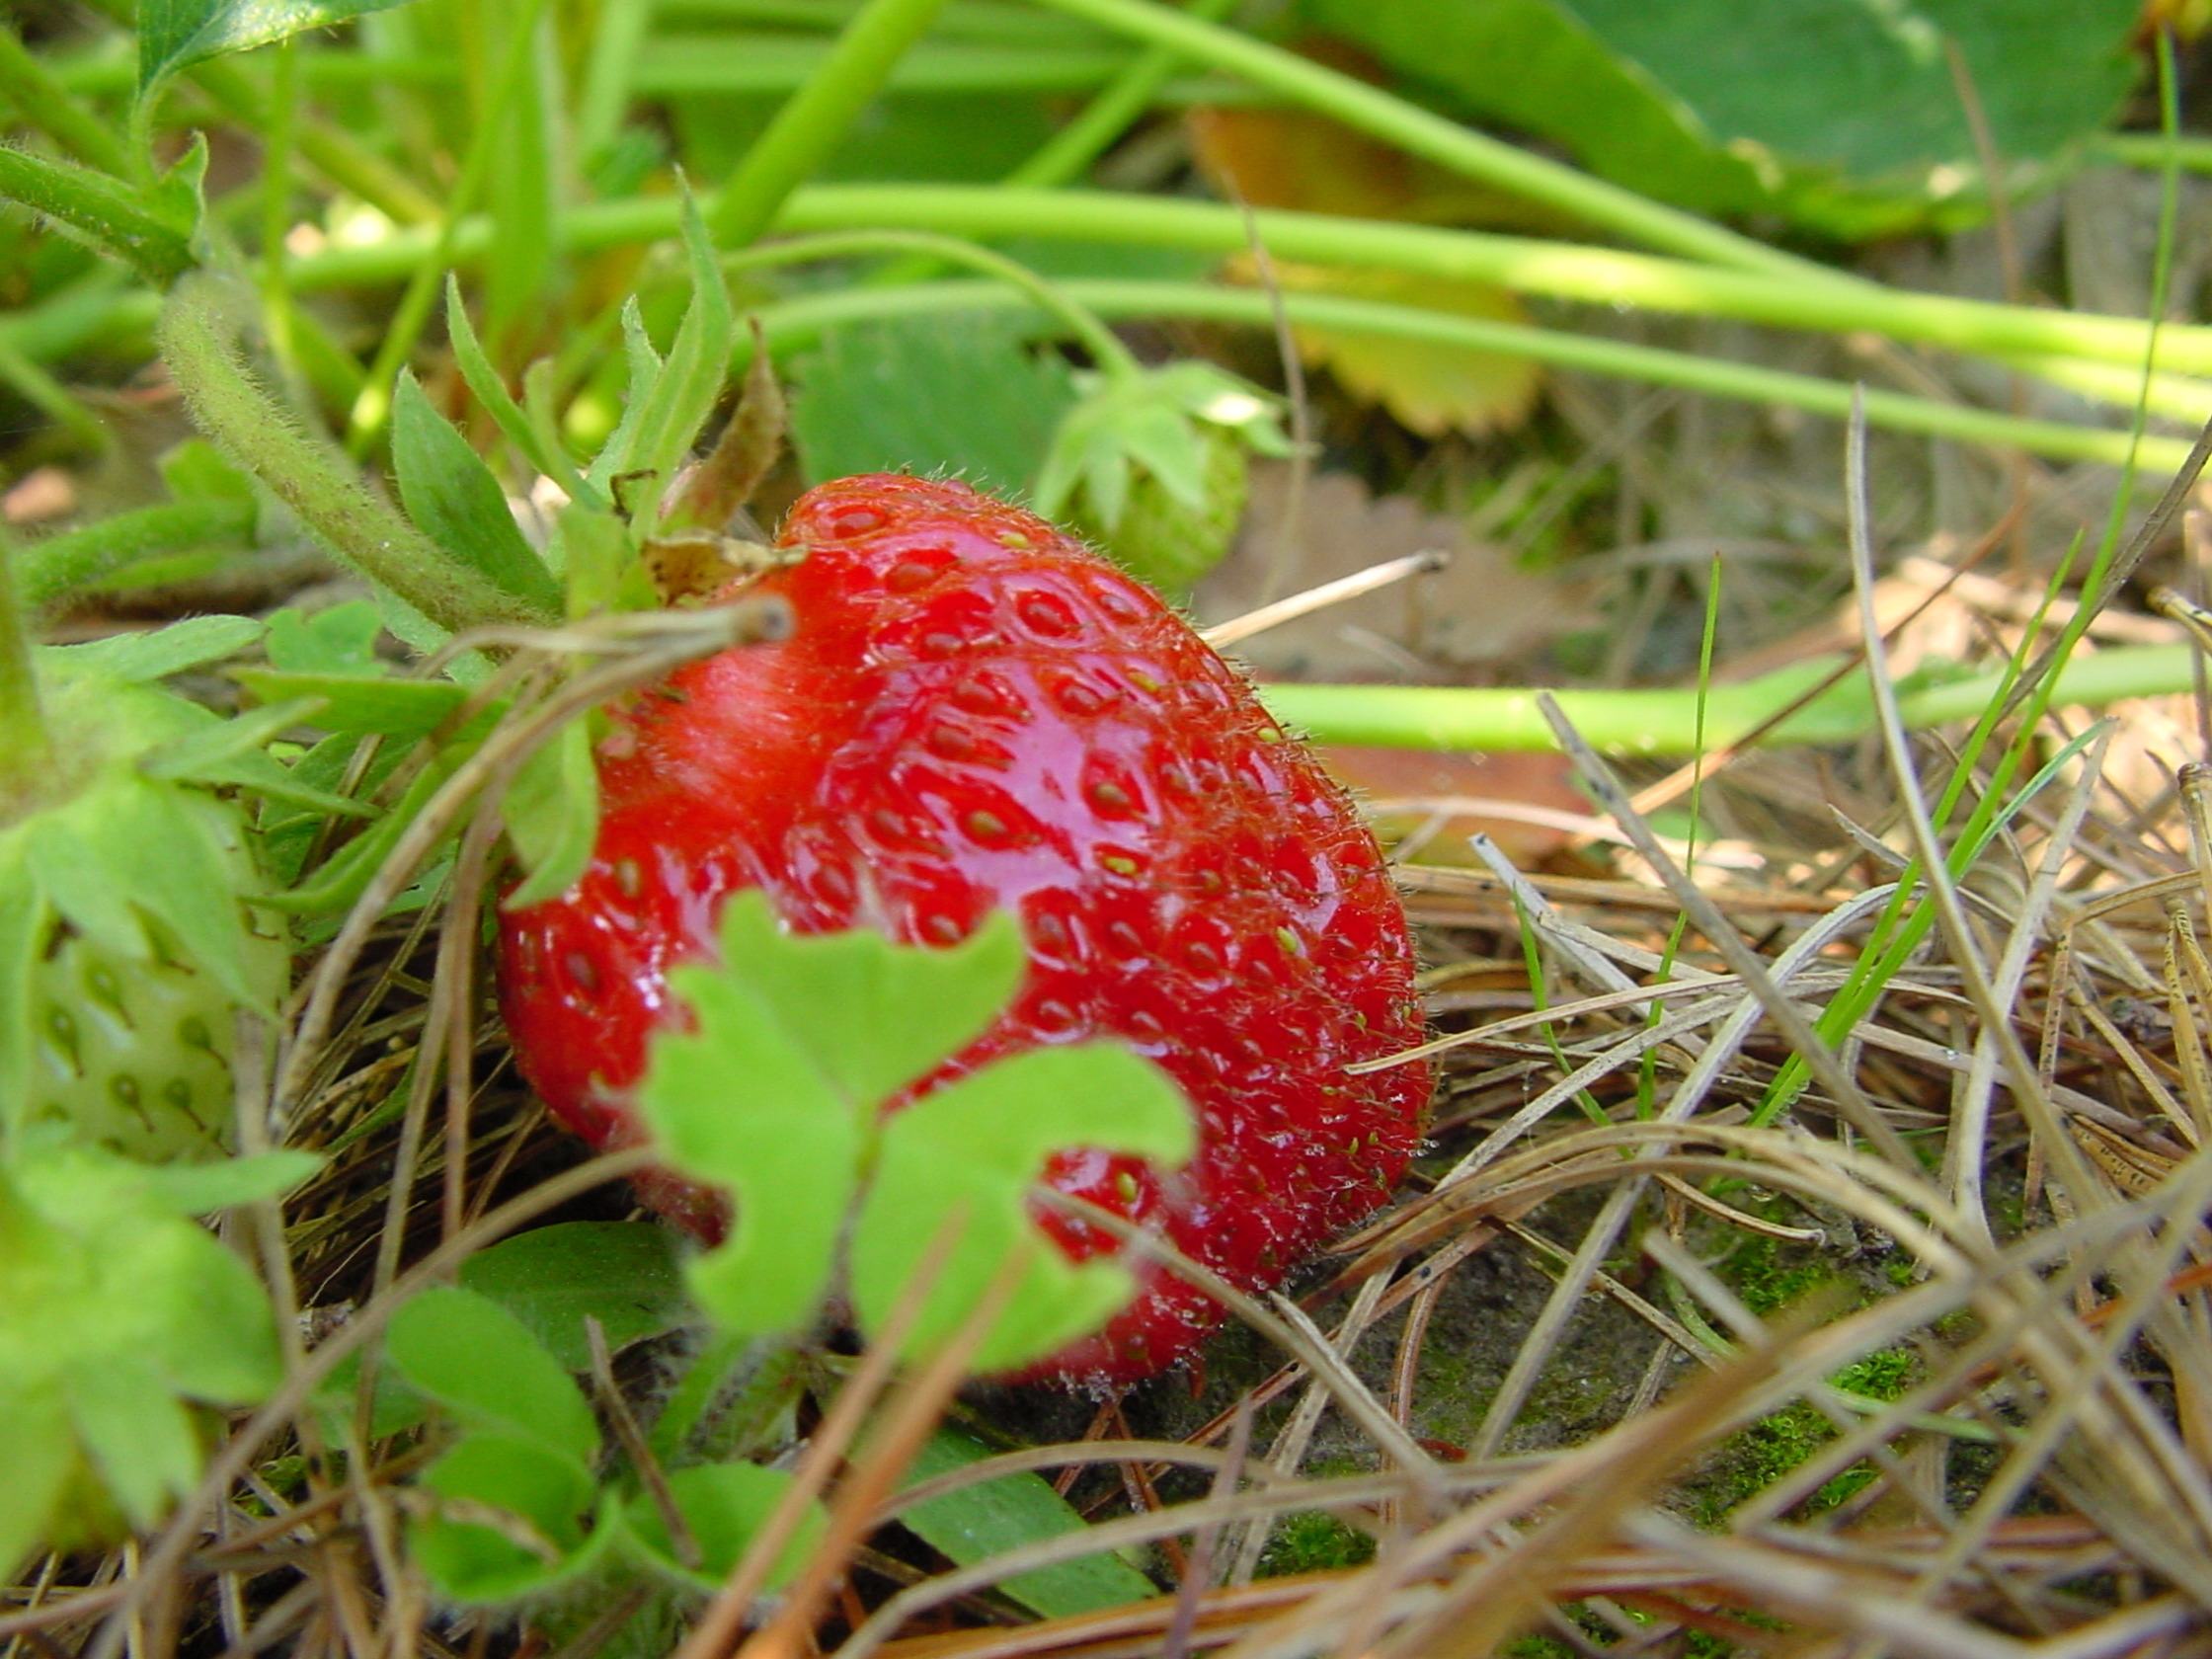
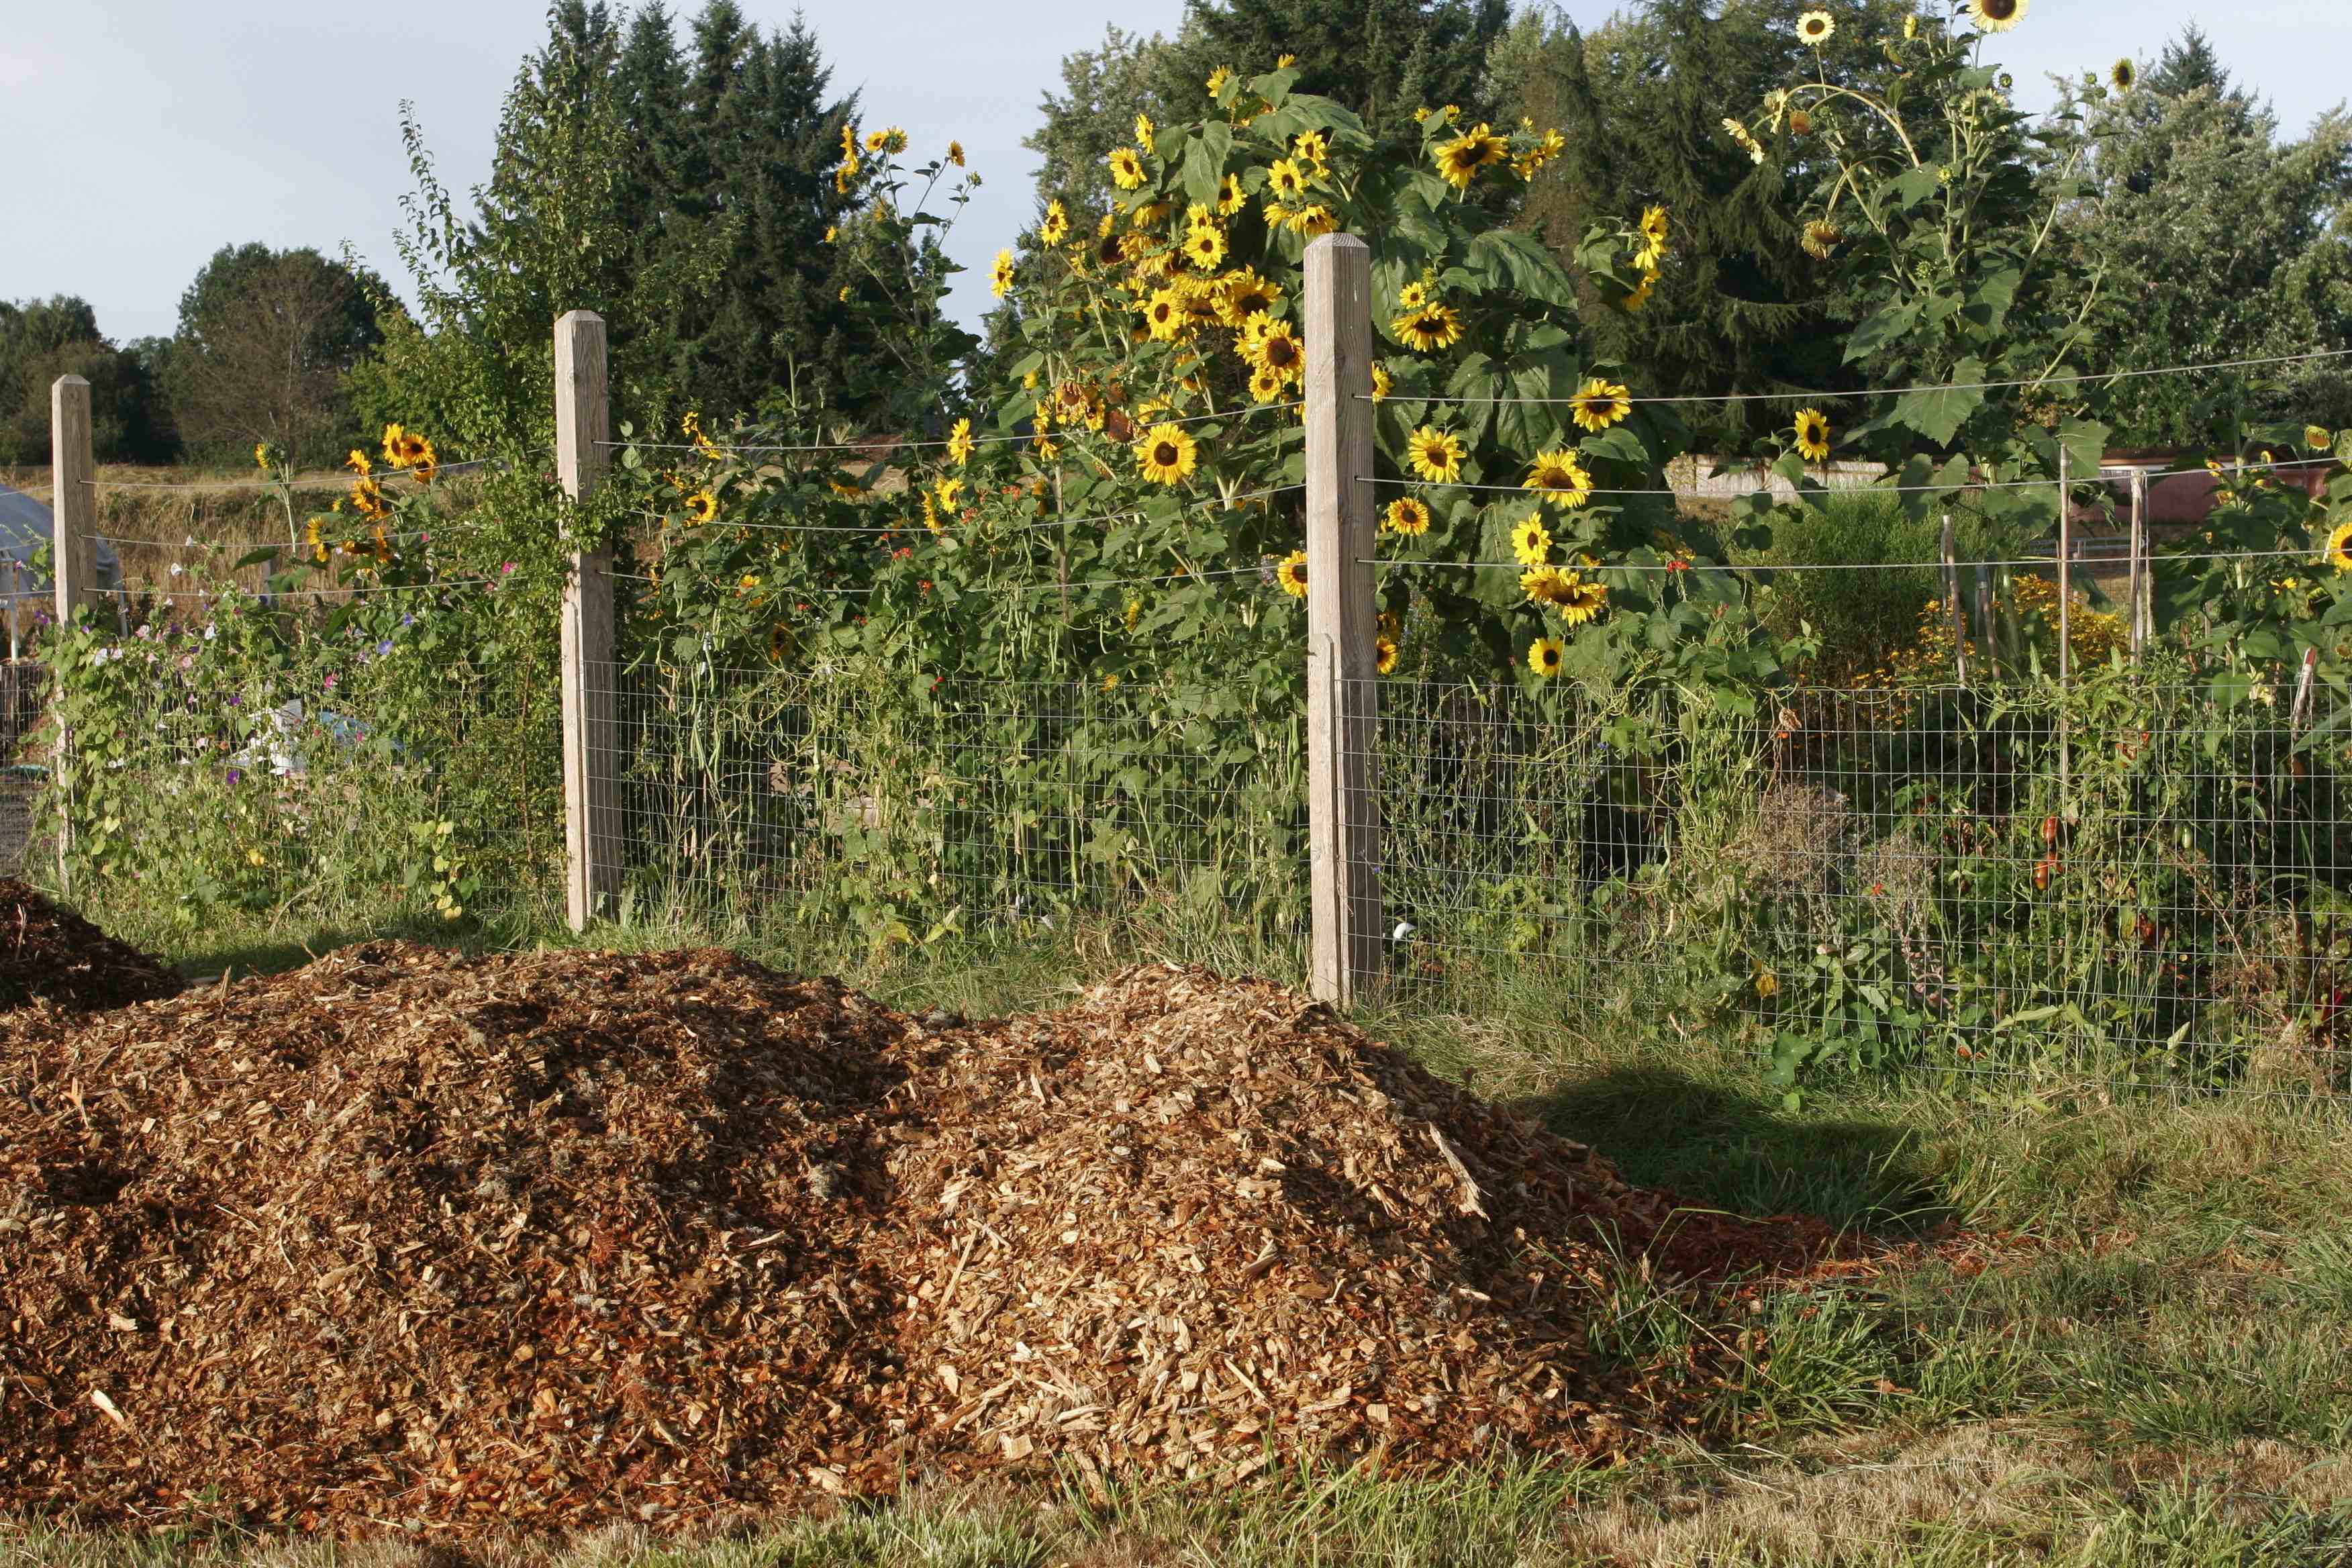
Permanently mulched garden beds make even more sense with small perennial fruit crops. Raspberries, blueberries and other high-bush fruits benefit big-time from permanent mulching. You’ll get a much longer lasting patch with mulch in place because it keeps weeds and grass from infesting the patch easily. While you might only get five years of fruiting from a bare patch of raspberries not treated with herbicides, you can easily get 10 to 20 years from a patch that’s heavily mulched and chemical-free. That’s what we do at our place. You’ll get bigger, juicier fruit because of the added moisture and nutrients, too. Mulch is a very good thing indeed.
TECH TIP: Saving Seeds
Buying packets of vegetable seed is one of the many things you probably won’t be able to do after a societal collapse. That’s why you need to get skilled at saving seeds from open-pollinated vegetable varieties now. A rapidly growing number of vegetable seeds these days are what they call “hybrids”. These are produced by cross-pollinating two or more varieties of plants to create better growth, better flavour or better yield in the next generation. These benefits are real, but they also mean you can’t save seeds from crops of hybrid vegetables and expect them to perform well again. If you save hybrid seeds and replant them, you’ll get wonky throw-backs to the original parents of the hybrid, most of which don’t make very good vegetables on their own. Hybrids are a relatively recent innovation in world history, and not all vegetables are hybrids. You can still find non-hybrid, heritage seeds for sale (look for “open pollinated” or “heirloom” varieties). Seeds like these breed true from year to year. You can safely save open pollinated seeds and re-plant them after the world no longer has little paper packets of vegetable seeds for sale on store shelves.
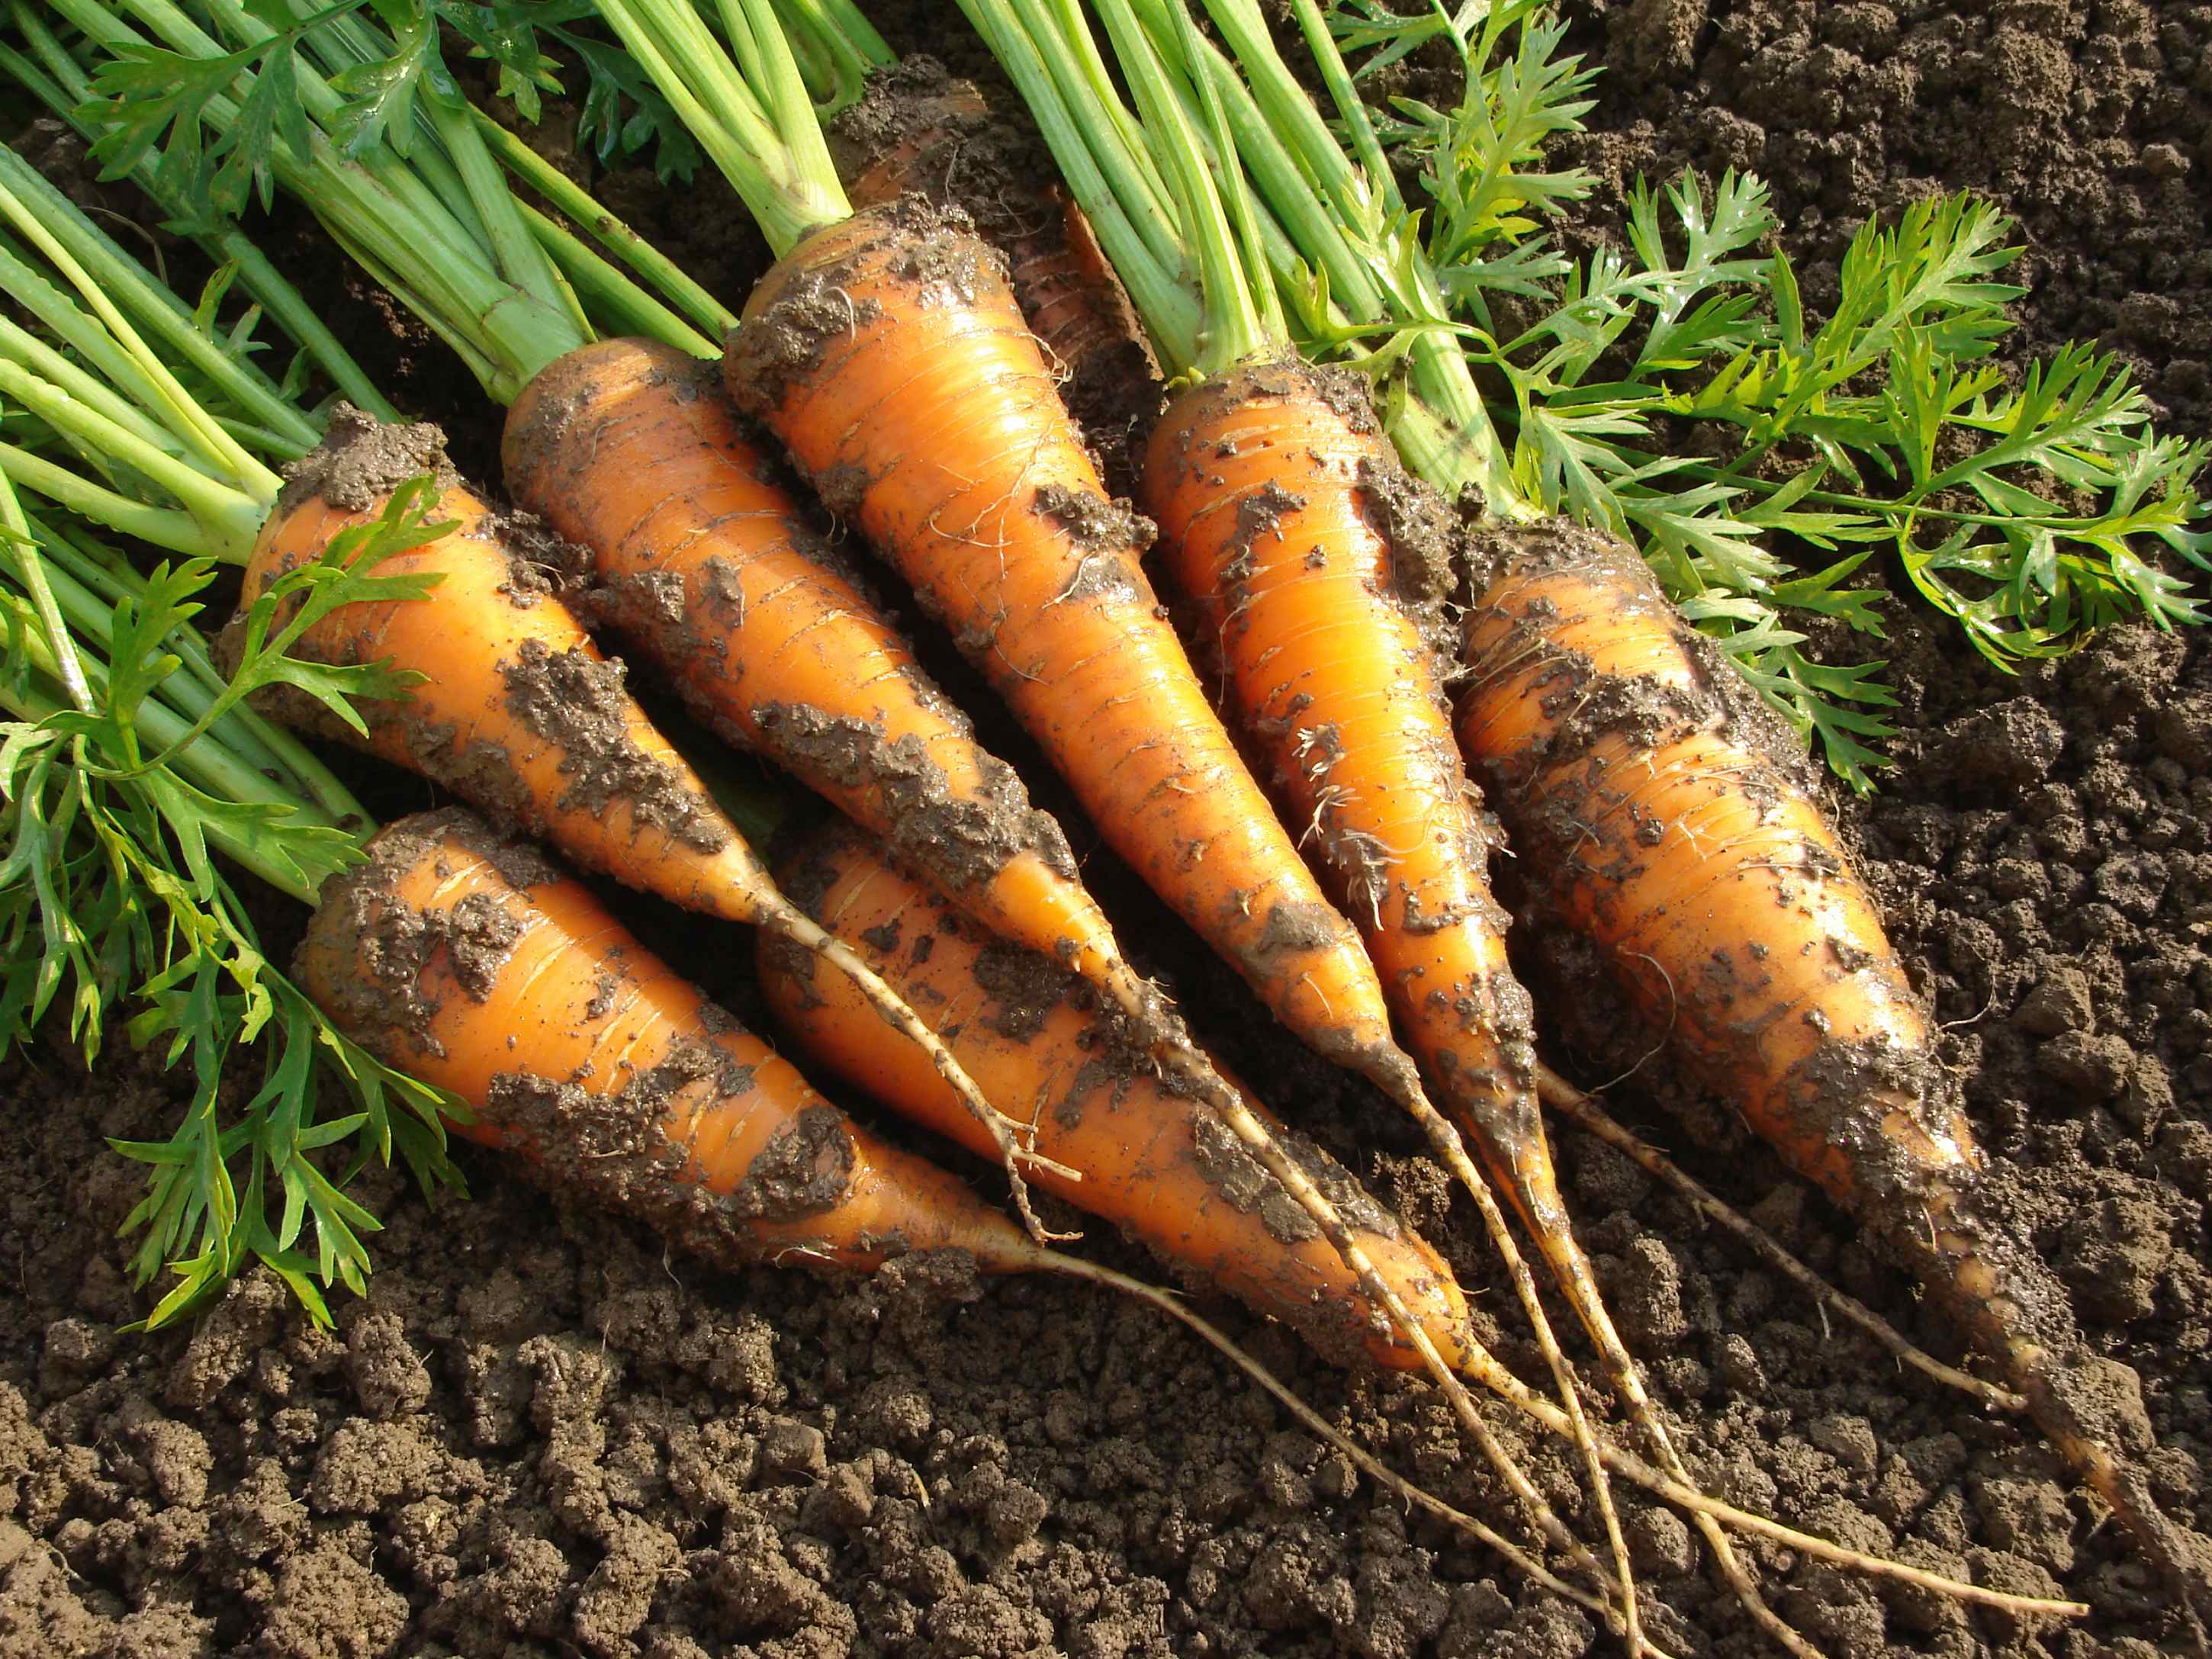
So, what about annual vegetable crops that need to be planted from seed or small transplants each year, such as carrots, beans, peas, tomatoes, turnips, kale and beets? How does this happen in a mulched garden? This is where a modified mulch approach comes in. While most of the garden soil is sitting shaded under an enriching layer of mulch, a relatively small proportion of the garden is needed for the actual rows growing annual vegetables. Where you want to plant this year, simply rake back the mulch in a row, exposing enriched soil underneath. Till the ground in that area to work up a seedbed, then plant. As the young seedlings grow, rake more and more of the neighbouring mulch onto the rows in between the plants. You’ll get better growth this way, with less weed pressure. And with rows of root crops, simply pile the mulch on high over top of the carrots, parsnips or beets in the fall and let these vegetables sit stored right in the ground overwinter.
How well does this work? Even in regions like mine, where wintertime temperatures drop way down to at least -13ºF (-25ºC), the mulch combined with snow cover keeps the soil and vegetables from freezing. It’s a great thing to be able to go out in February, April or June and dig fresh root crops directly from the soil. It’s kind of like a built-in, no work root cellar.
How does it work next year? When it comes time to plant again, choose new spots for your seedling rows, leaving the old areas covered up and enriching for the next two or three years before it’s time to clear, till and plant that row again.
The main thing to remember with a mulch garden is to keep adding new mulch each year. Here at our place, soil microorganisms consume about 2 inches of dense cedar bark mulch each year off the top. In three years by 20’ x 80’ vegetable garden completely digested ten 800 lbs round bales of hay. I’m happy to replace this because I know it’s going to a good cause. Organic matter, soil texture and fertility all shoot through the roof after four or five years of continuous mulching.
Drip Irrigation

One of the main things to understand is that successful self-reliance after collapse of the food system depends on a high level of efficiency in all things. If you’re not truly efficient, you’ll be hungry. The world of over-abundance we live in today has completely warped our sense of what real efficiency looks like. With so much energy easily available to do all kinds of work for us, we have little sense of what it means to do a lot with a little. Irrigation of food crops is a prime example. Overhead sprinklers, large volumes of water, and energy guzzling pumps work fine in the world of overabundance surrounding us now. But things will be different after cheap, concentrated energy disappears. That’s one reason I really like drip irrigation.
Also called “trickle irrigation”, this system uses a series of special hoses that drip small amounts of water directly onto soil. Today’s best systems typically use less than 10% of the water consumed by sprinklers irrigating the same area. And since drip systems keep plant leaves and stems dry, your garden stays healthier, too.
My first experience with drip irrigation happened in 1990 and it was a disaster. Clogged lines, unreliable fittings, and inconsistent water delivery rates were all glitches that plagued me at first. I’ve learned from my mistakes so you don’t have to.

The simple and reliable system I’ve settled on uses commercial-grade drip tubing with built-in self-cleaning, pressure-compensating emitters. These emitters are moulded right into the flexible polyethylene pipe, allowing water to drip out at regular rates from holes in the tubing. If you have clay soil, emitters should be spaced 18 inches apart. Light, sandy soils require closer, 12-inch spacing because water doesn’t spread out as far horizontally in lighter soil.
My early problems started with the porous drip lines I bought. They were made from recycled tires and were supposed to ooze water along their entire length. No emitters. Instead, they delivered too much water near the beginning of the run, and way too little near the end. Eventually this porous irrigation line stop delivering water at all as internal pores clog with dirt and fine growths. That’s a thing of the past now.
As I discovered, two features of drip irrigation line make all the difference. First, the emitters need to be self-cleaning by design. Even if you’re using perfectly clean water, the fact that the water sits stagnant in the sun from time to time means it will eventually grow or precipitate something solid. And if emitters aren’t self-cleaning, they’ll clog and your whole system becomes useless. It happens.
Water pressure compensation by emitters makes irrigation action consistent from one end of each run of tubing to the other, and this is crucial, too. Since water is continually being drawn from drip lines along their length, water pressure drops considerably the further you go from the source. You can have 60 psi of pressure at the start of a run, and less than 10 psi three hundred feet away. Pressure compensating emitters release a consistent amount of water regardless of internal line pressure. This means that all your plants get the same amount of water no matter where they are.
High quality drip irrigation line is made by only a handful of companies around the world, but my favourite is Netafim. They invented drip irrigation back in 1965, and some of my Netafim tubing has been in place and working for 25 years without issues. Mine has 18-inch emitter spacing because I have heavy soil.
A 5/8-inch commercial-duty rubber garden hose on a rolling, steel hose reel supplies my drip network and it does a great job. This hose is tough, easy to move and versatile. I used to use 1” black poly pipe to feed my drip lines, but found it bigger than necessary and not easily portable. You just can’t coil up that stiff poly pipe like you can a garden hose. The nice thing about garden hoses for irrigation use is that you can lift it off areas that need to be mowed, or use it elsewhere around your property for other jobs between irrigation sessions. After all, you don’t need to irrigate all the time. Rubber hose can also be repaired easily. Cut the hose at the break point, trim the ends so they’re clean using a sharp utility knife, then cut a 3″ or 4″ length of 1/2″ copper. This should fit nicely inside both ends of the hose, with screw clamps on the host to make the connection tight. This repair will last forever.
One other thing . . . when you’re buying a hose for irrigation, consider versions that are rated for safe use with drinking water. Typical garden hoses leach hormone-mimicking chemicals into the water over time. This is not problem at all if you’re using water to mix cement or wash the car, but there’s a chance that harmful chemicals could get into your vegetables if you use a traditional rubber hose.
Watch the video up next to see how a trickle irrigation system works.
VIDEO: Trickle Irrigation System Tour
Supplying your drip system with water doesn’t require anything other than a normal domestic pump drawing from an ordinary well. The 1/2 hp submersible pump that powers my system (and home) is more than enough to take a two-acre patch of raspberry row from flower to ripe, juicy fruit without any rainfall at all. If you’re installing a new submersible pump, consider a 3/4 hp model if you’re irrigating more than a couple of acres.
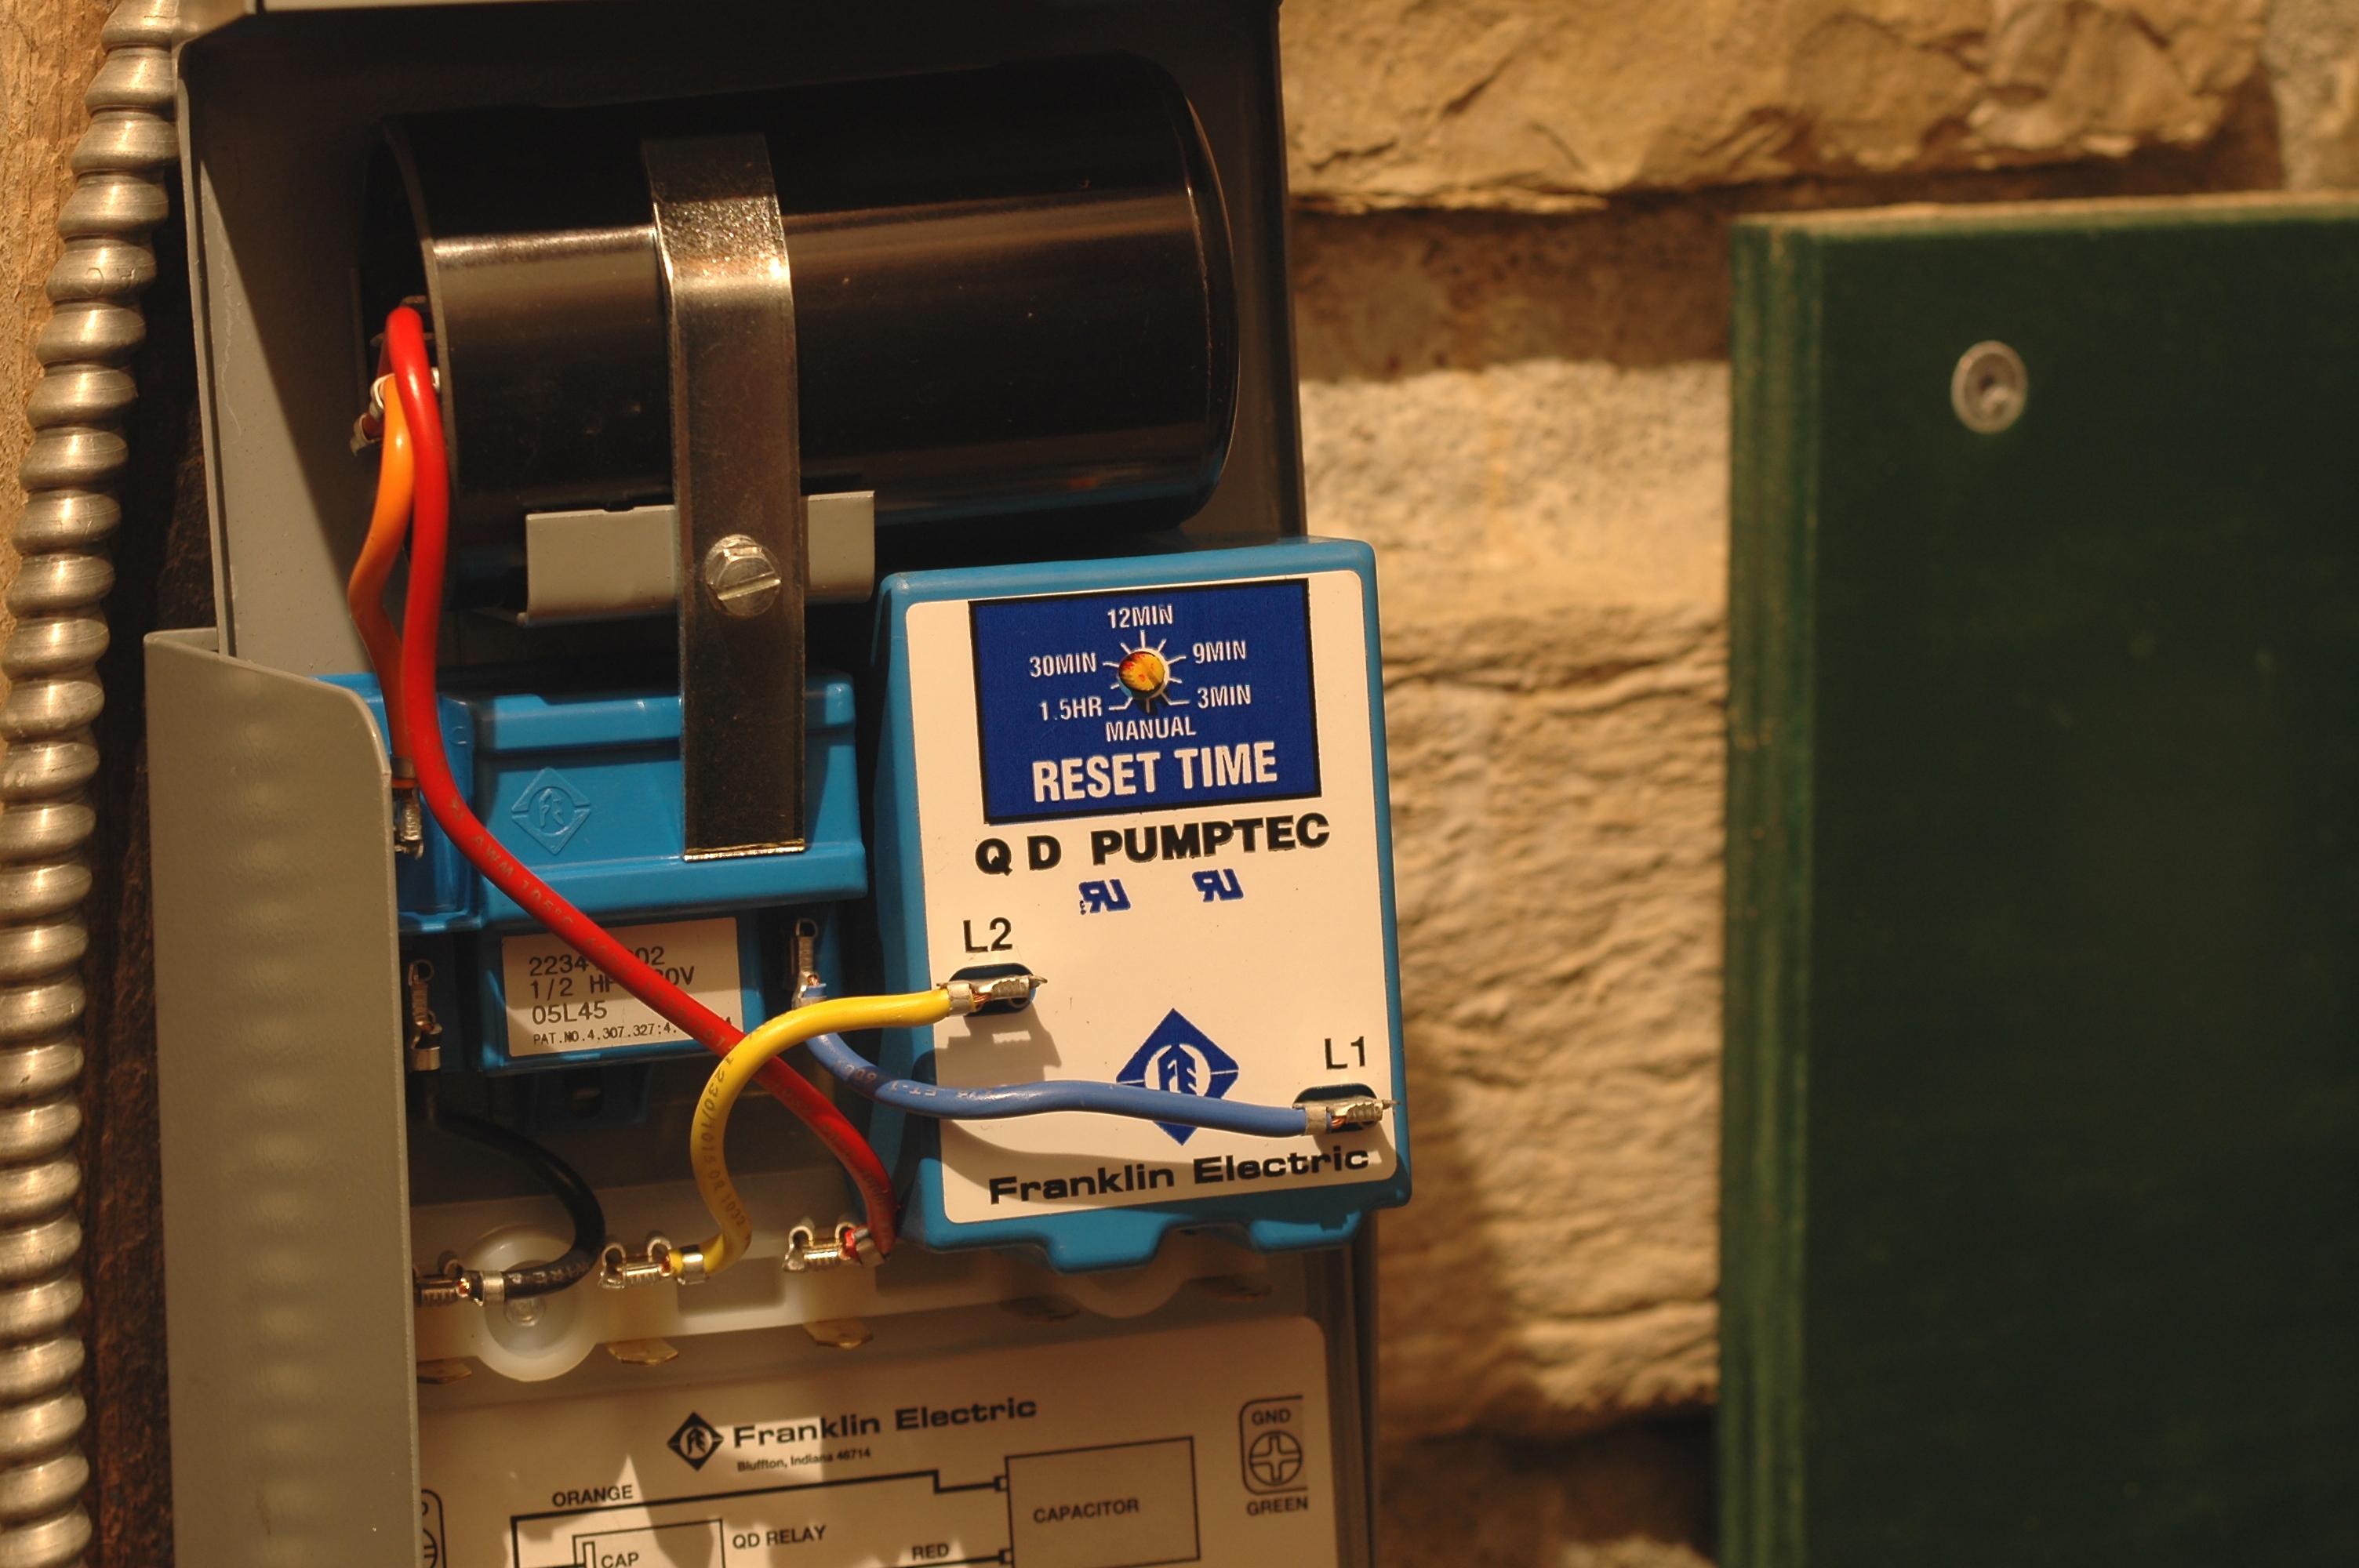
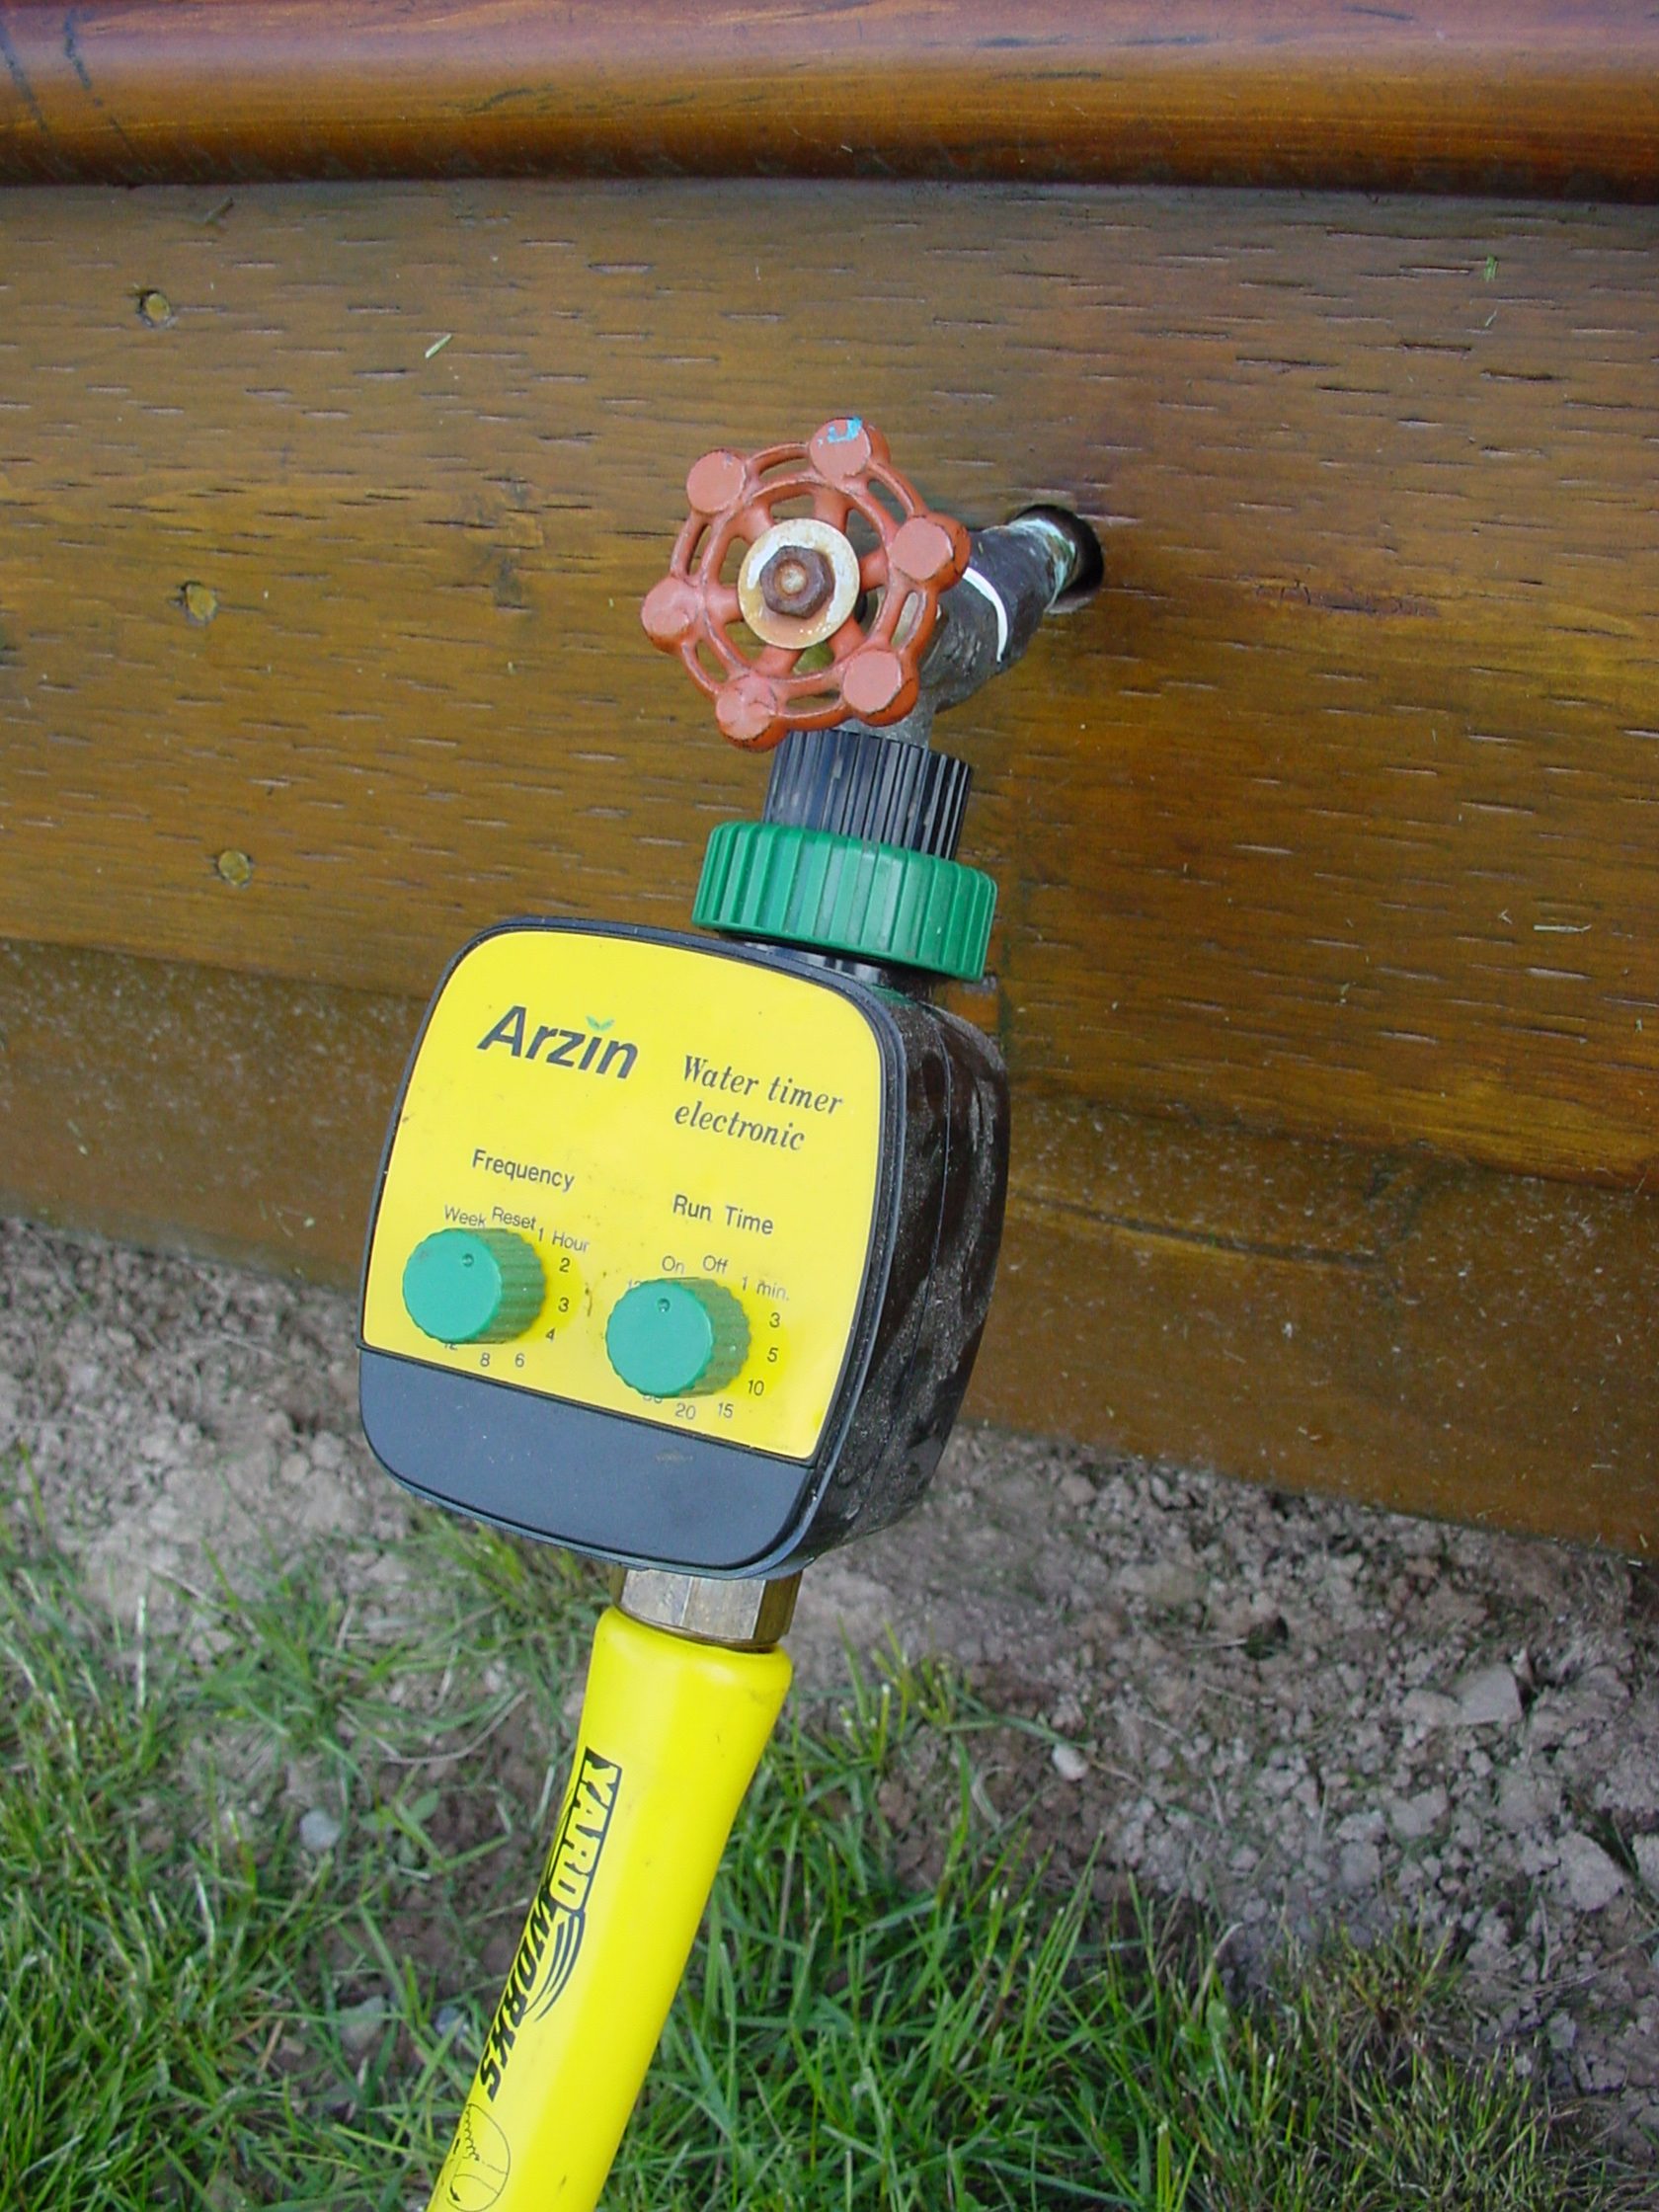
A safety switch that shuts off if the well runs dry is cheap insurance against pump burn out. Even a good well can be pumped dry if an irrigation line breaks and water draw never stops. And a water timer maximizes output from a weak well by automatically controlling watering cycles around the clock. Water for 30 minutes, rest for 30, water for 30, rest, etc. If water is in very short at your place, check out our plans for a system that delivers loads of water from a weak well. Sounds too good to be true, but it’s legit, as anyone looking at the plans can tell.
Would you like to learn how to build, maintain and troubleshoot your own water well system? Click here to heck out my online course WATER WELL SYSTEMS WORKSHOP at the DIY University. There’s even a section on how to get lots of water from a weak well with no hocus-pocus. Use my discount code STEVEMAXWELL10 to get 10% off the course fee.

Fittings are an expensive and sometimes troublesome part of a drip irrigation system. That’s why you’ll want to use as few as possible in your system. You’ll need to use tee fittings whenever you’ll be feeding water into a line mid-way along it’s length, and the kind that work best slip over top of the drip line, staying put by friction. Just be sure to get fittings that match your line diameter exactly. There are several sizes in the industry that are only millimetres apart, and though they appear interchangeable they can (and usually do) blow off during use if you get them wrong. Like I said, the hazard of a fitting or pipe failure (and a subsequent dry well) is a very good reason to have a pump protection device in place. The best way to end a run of drip line is with figure-8 fittings. It holds the end of the pipe in a folded position, stopping water very reliably. Figure-8 end-stop fittings never fail.
TECH TIP: Tobacco – The Universal Barter Currency

Over a 20 year period of time, I came to be good friends with a man named Klaus Bach. He lived in Germany and was 9 years old when World War II ended. He told me how American soldiers gave chocolate to German children after the fighting stopped, and how even the German soldiers themselves couldn’t resist that great American swing music that came with the red, white and blue presence in Europe.
The money economy in Germany collapsed part way through the war, and didn’t come back again until 1948, when the US-led Marshall Plan gave every adult 1500 Deutsche Marks to kickstart the economy. Before that, for at least five years, there was no money-based economic activity at all in Germany – at least not at an ordinary civilian level. It was a time of extreme hunger and want, but Klaus’s mother kept the family clothed and cared for with “currency” she grew herself in the garden. Tobacco was the closest thing there was to growing your own money back then, and it may get that way again if the regular financial systems collapse. That’s why you’d be wise to get good at growing tobacco now, while there’s still time to learn.
You can be as prepared as you like, but when trouble arrives there will always be a need to acquire something you can’t make or do on your own. Perhaps a neighbour with horses and a harrow can work up a seedbed for you. Or maybe someone down the road has a meat saw powered by an ethanol generator to cut up your beef. Or maybe you need some hay and don’t have the land or equipment to grow it. “Tobacco dollars” can make all the difference in a simple, barter economy because it acts like money. It doesn’t matter if you smoke or not, and it doesn’t even matter if the person you barter with smokes. Eventually, somewhere in the primitive barter economy that will develop in your area, there will be enough smokers to keep the wheels turning. Ultimately, tobacco is prized by enough people in the economy who do smoke that it can make the barter world go around. It’s happened before and it could certainly happen again.
