The timber rim you just installed will soon support floor joists that hold up the main subfloor and the porch floor. By running joists across the 16-foot width of the building, you’ll have the stiffest possible floor for a given width of joist. We used pressure-treated 2x12s on 12-inch centres across the span of this cabin and it creates a stiff floor. Since the species of wood affects total allowable span, and building codes may vary where you live, double-check floor joist sizes and spans with a local authority. We used 2x6s for the porch floor joists, since the span is only about 4 feet.
Crowns Go One Way
 Few pieces of lumber are perfectly straight as you look down their edges, and the convex edge of any piece of wood is called the “crown”. As you select pieces of lumber for various jobs, get in the habit of sighting down the edges from an end, with an eye for determining the direction of crown. The crown of wood matters for two reasons. First, all crowns should be oriented in the same direction, to create more consistent framed assemblies. Second, when it comes to floor joists, rafters and other parts that resist the force of gravity in some way, crowns should always be oriented upwards. This way they’ll get more straight – not less – as they sag over time. Wall studs can have their crowns oriented either inwards or outwards. I always choose inwards, though it doesn’t matter much.
To keep the profile of the floor frame as shallow as possible, we hung the 2×12 floor joists on galvanized metal joist hangers. This puts the ends of the joists on the inside face of the timber rim, rather than sitting on top and making the cabin 12” taller. Pressure treated wood isn’t essential for the floor structure, but it’s a wise way to reduce the threat of rot and insect attack. Where you do use pressure-treated lumber, use stainless steel fasteners to secure it. This is especially important with the joist hangers that support the floor frame. Pressure-treated lumber is far more corrosive to steel than regular wood, so plain steel or electroplated nails must never be used in it. Two rows of blocking made with scrap 2x12s helps keep the floor as stiff as possible by transferring some of the load to adjoining joists.
Installing the Subfloor
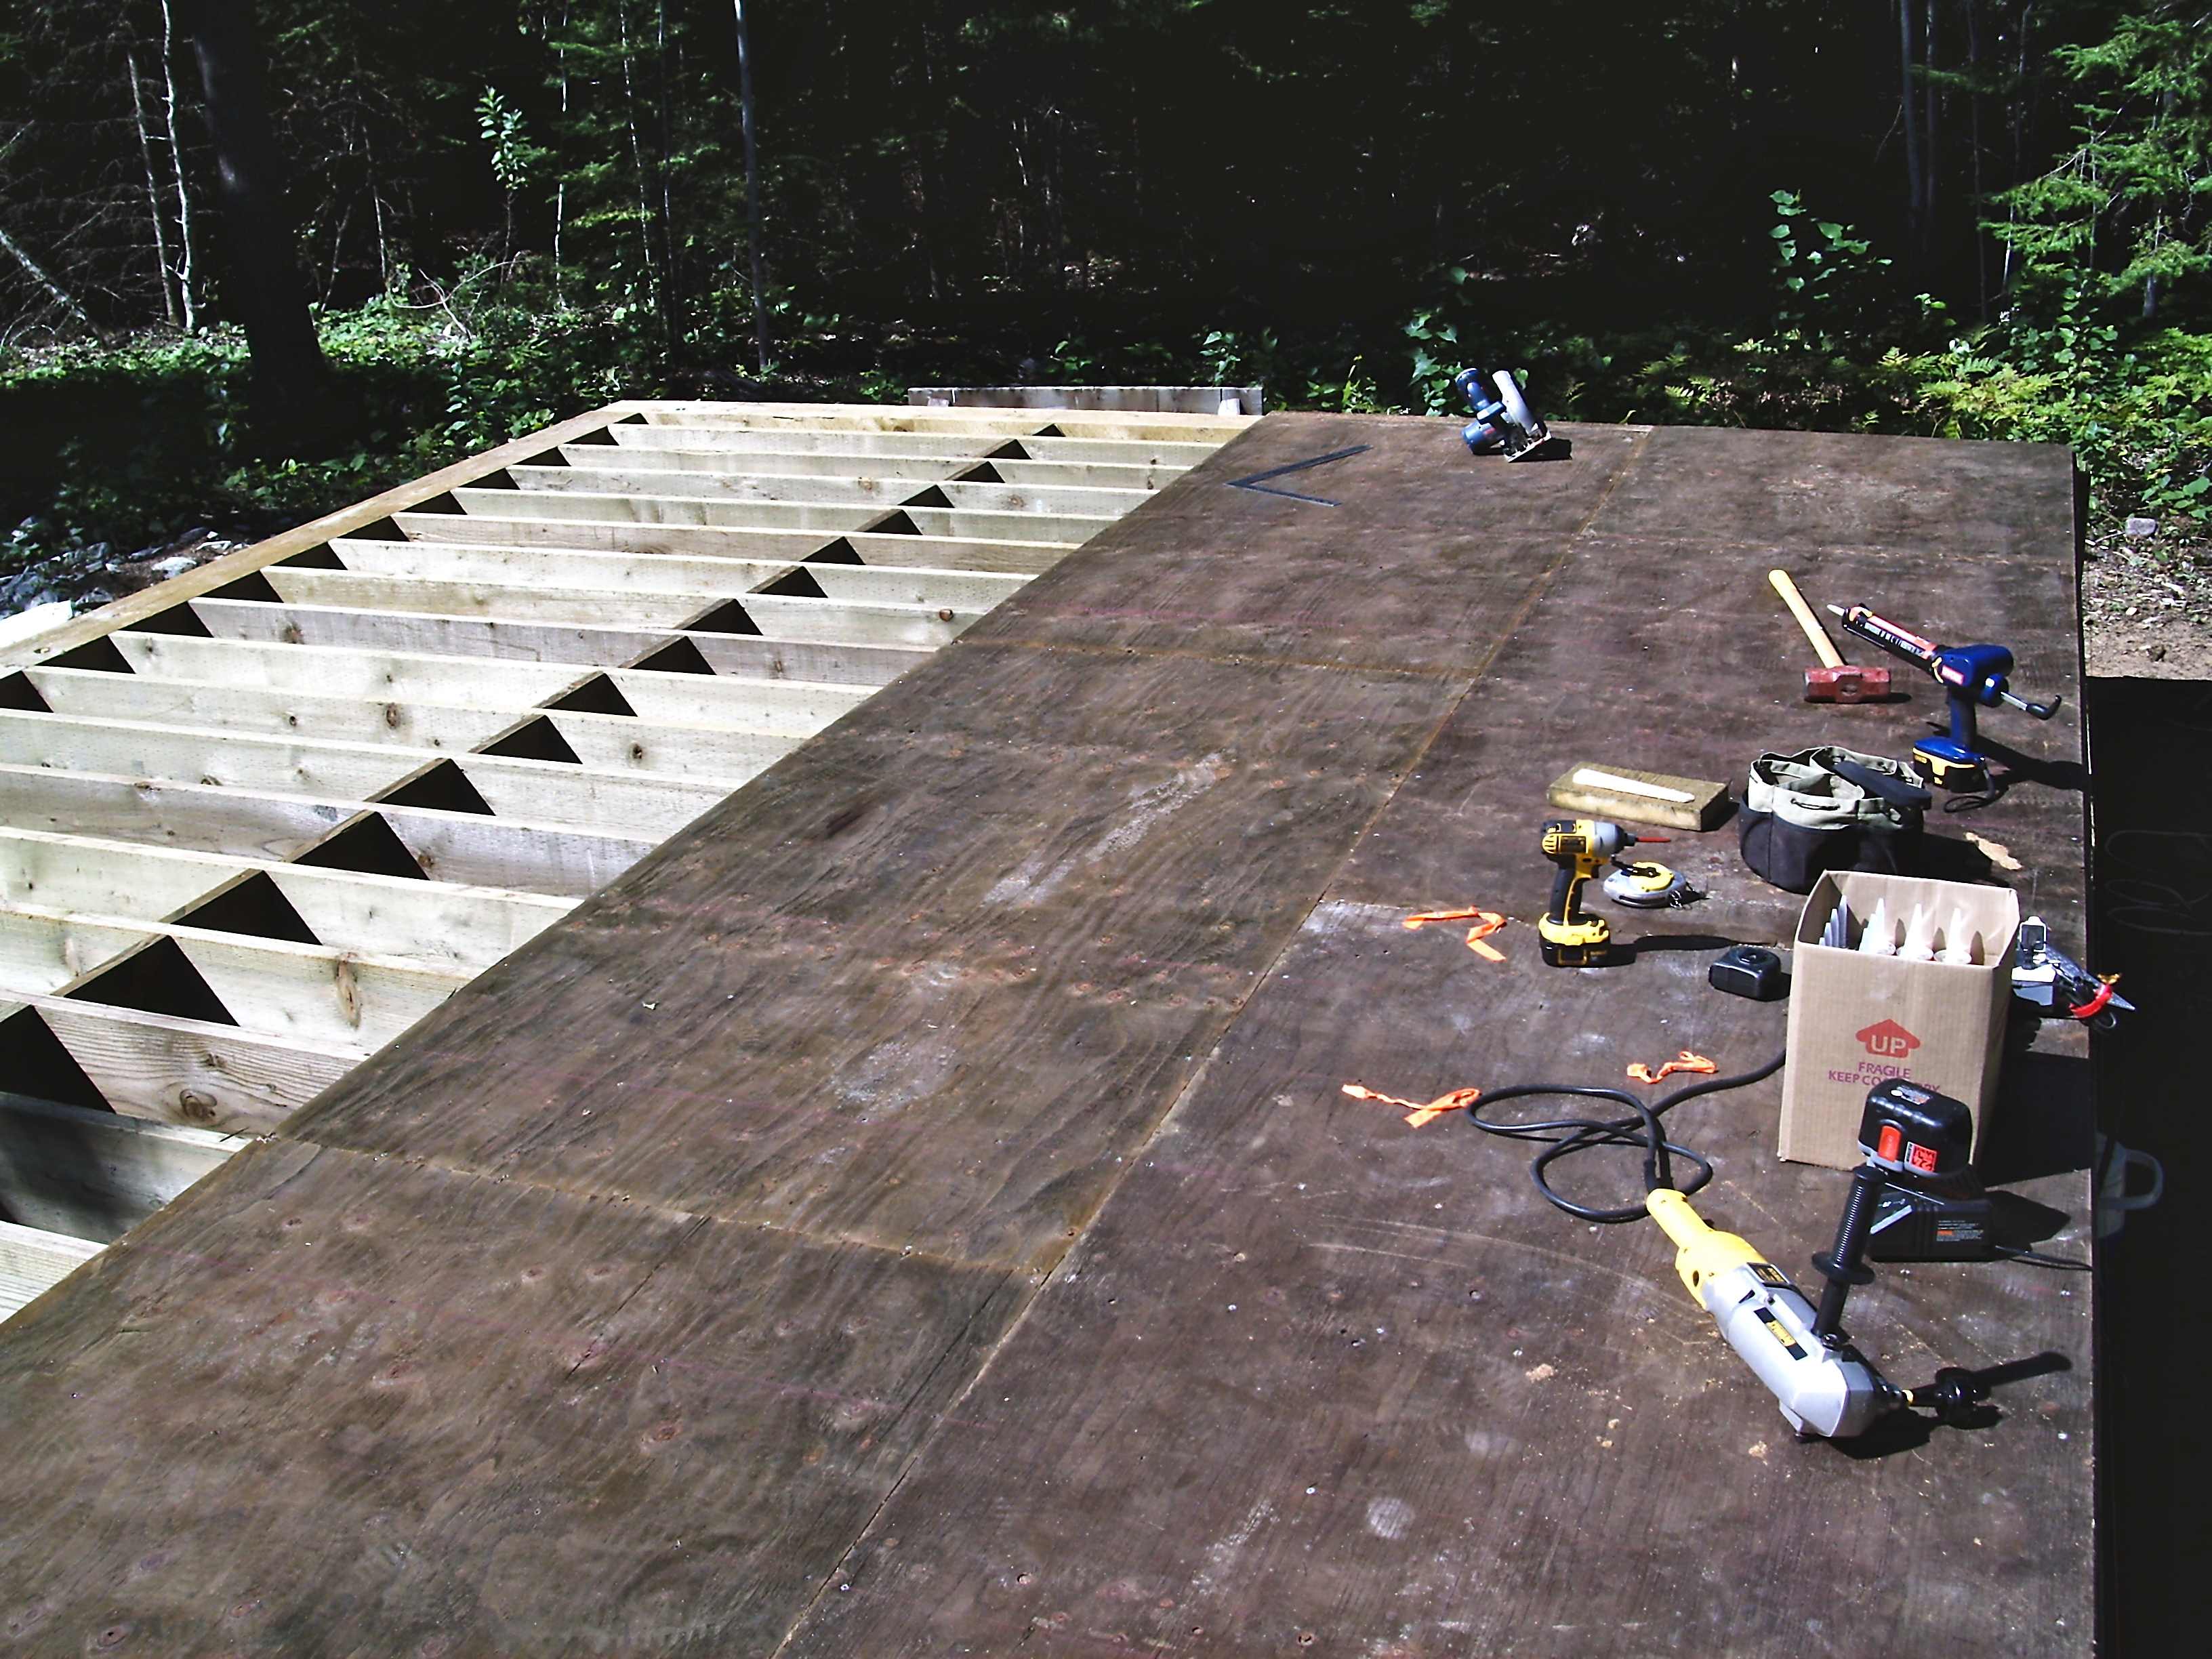
Using plywood for a subfloor is a great idea, and we used 3/4” pressure treated ply for our design. You can go with 5/8” if you need to economize. Either way, plywood keeps drafts out well, and adds an element of rigidity that dimensional lumber can’t match. Plywood also happens to look pretty ugly, especially in a cabin. That’s one of the reasons the plywood will be hidden later on by a finished floor. For now, secure each piece of subfloor to the floor joists with construction adhesive and #10 x 2 1/2”-long hot dipped galvanized deck screws driven every 6 inches.
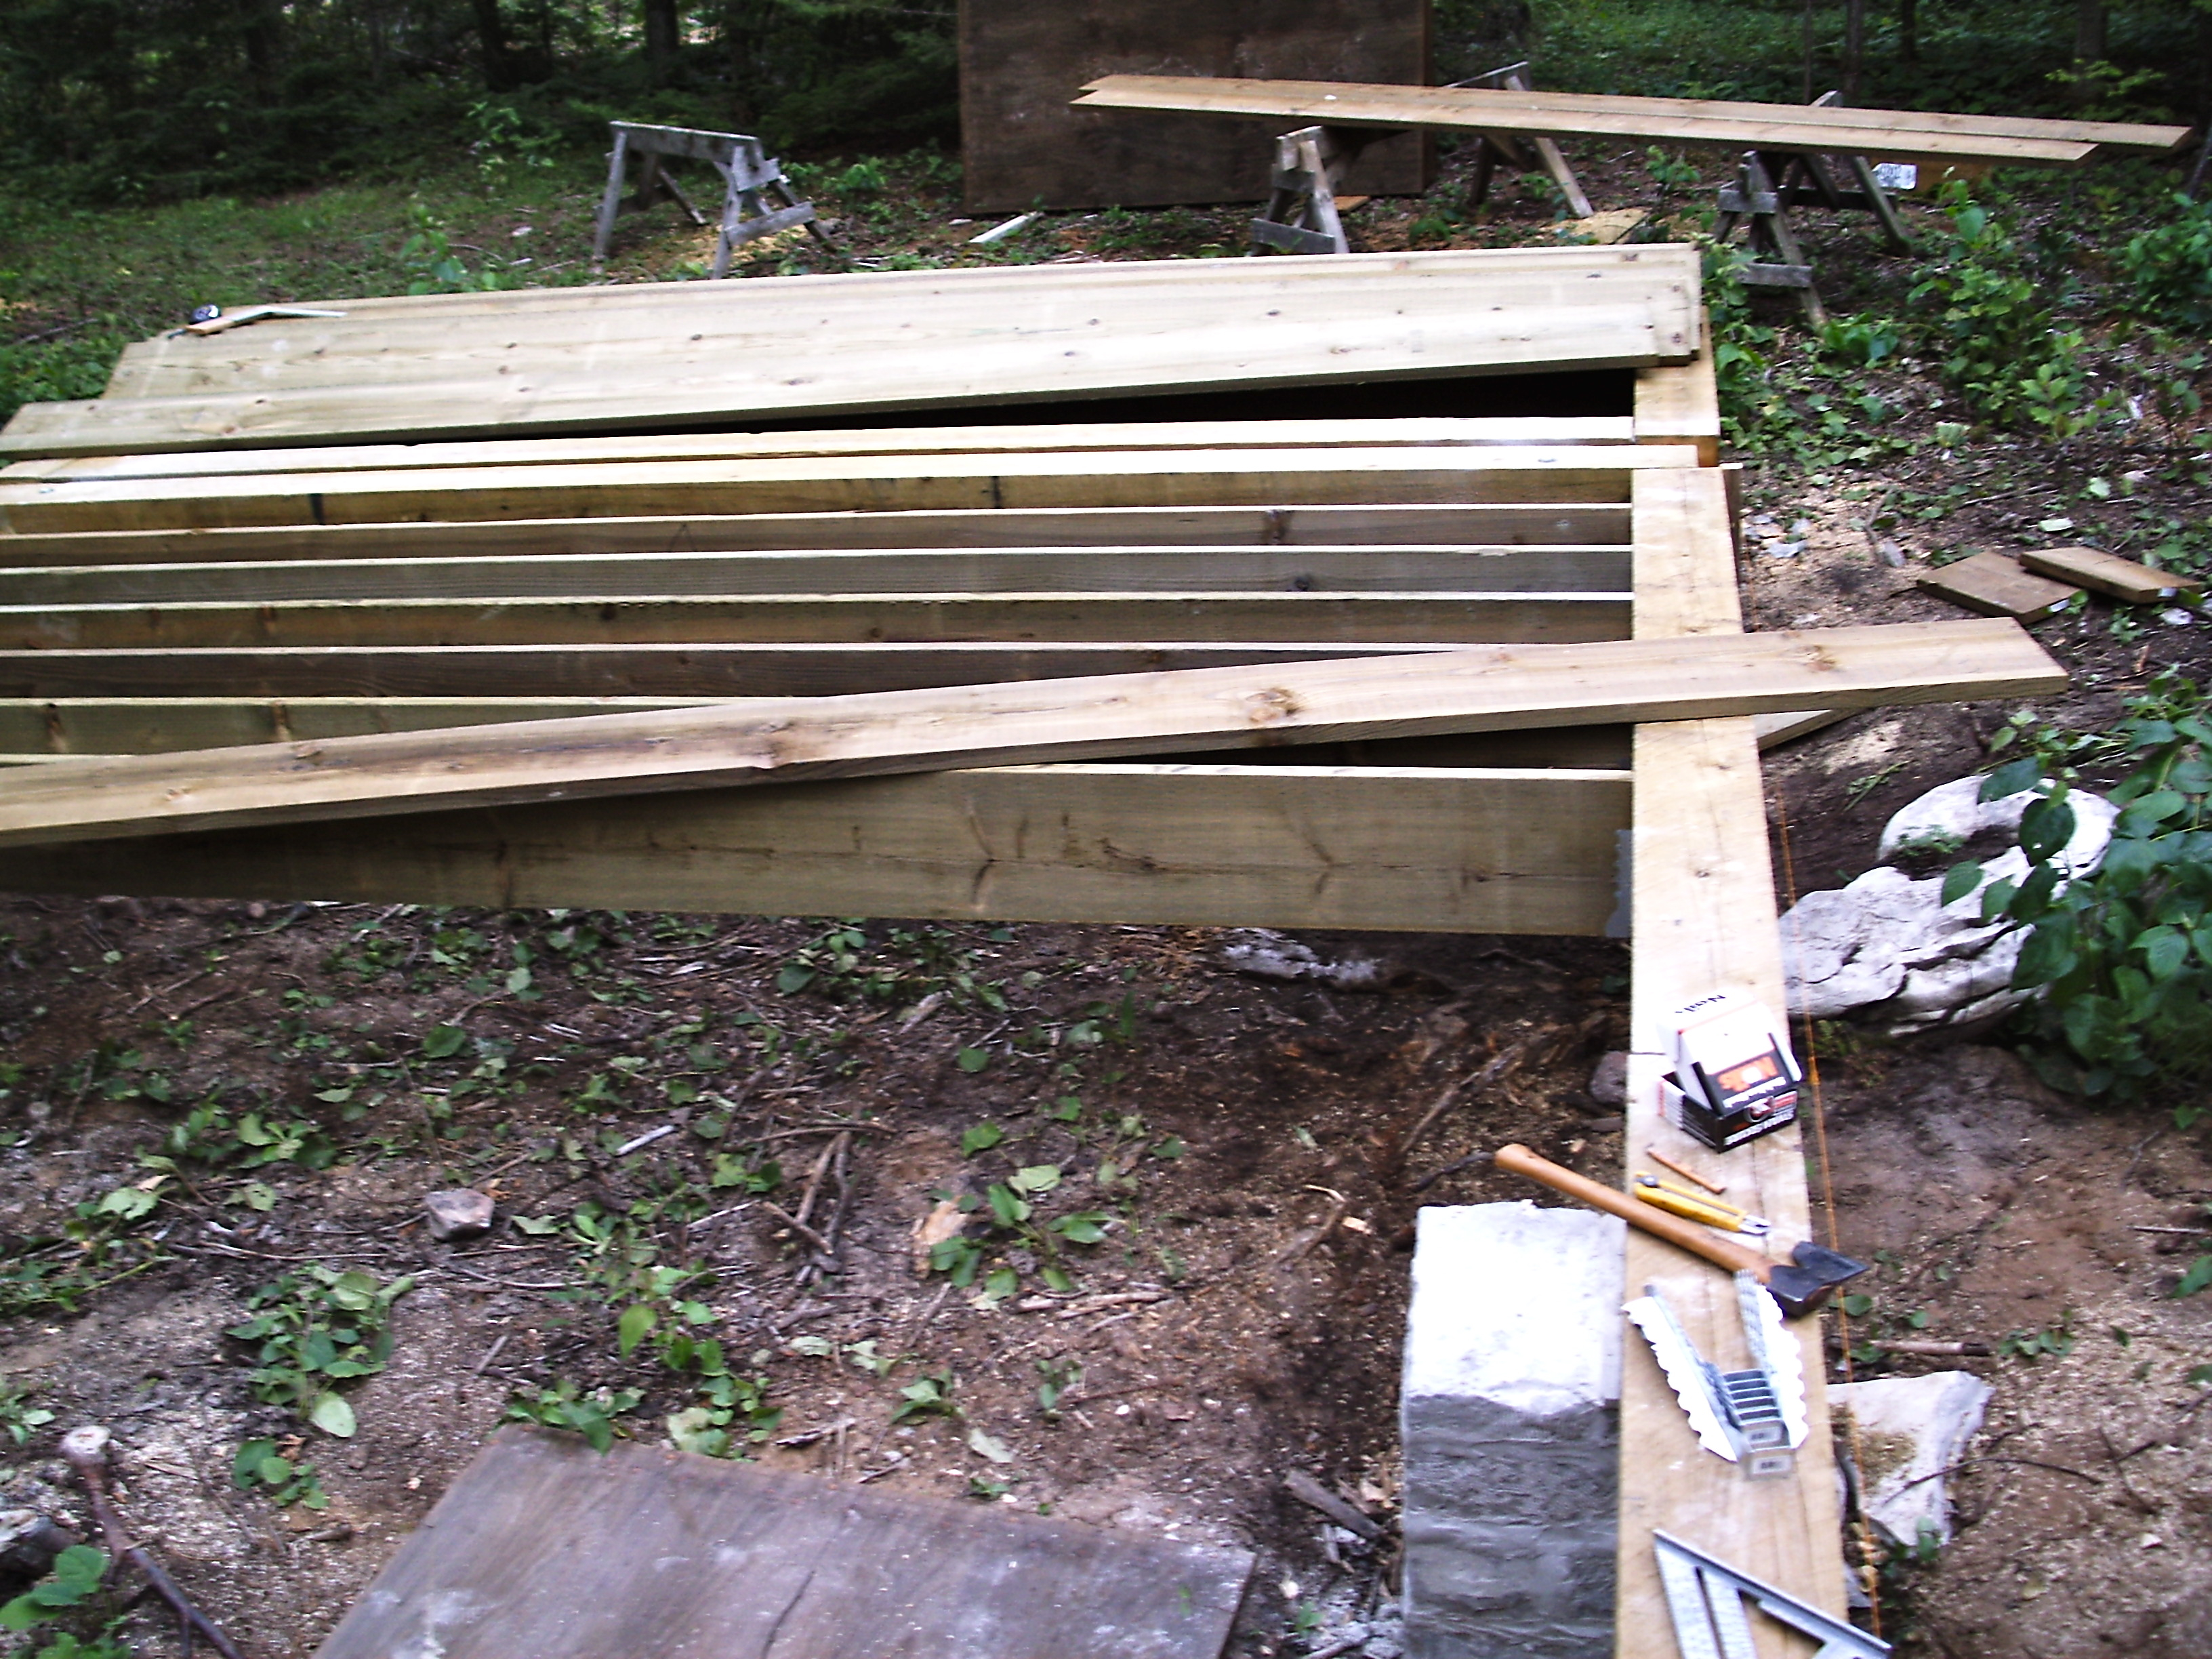
As I mentioned before, there’s a separation between the cabin floor frame and the porch floor frame, and that’s to allow the exterior cedar shingle siding to extend continuously down the front wall. If the porch floor timber frame was simply part of the main floor frame, continuous siding would be impossible. There would be a breach in the siding that could allow water and insects in. By allowing exterior siding to be installed all the way down to the bottom of the front wall, you’ll need to leave the inner porch beam off for now. The side and front beam needs to be installed right away, because they’ll support the porch posts that hold up the roof. The inner porch beam nestles into notches cut in the ends of the side beams later, after the siding is up. I’ll remind you of this later, when the time comes. There are videos coming up that make this clear, too.
Did you notice how the previous photo shows the inner porch beam lap joint underneath the short porch beams? If you did, that’s pretty sharp of you. We flipped things over later on because you can’t add the beam later this way. Having the inner porch beam nestle down over the notches in the short porch beams is the only way to make things happen properly. The plans show things the right way around. To better see what I mean about this porch beam, and for more details, be sure to watch the next video tip.
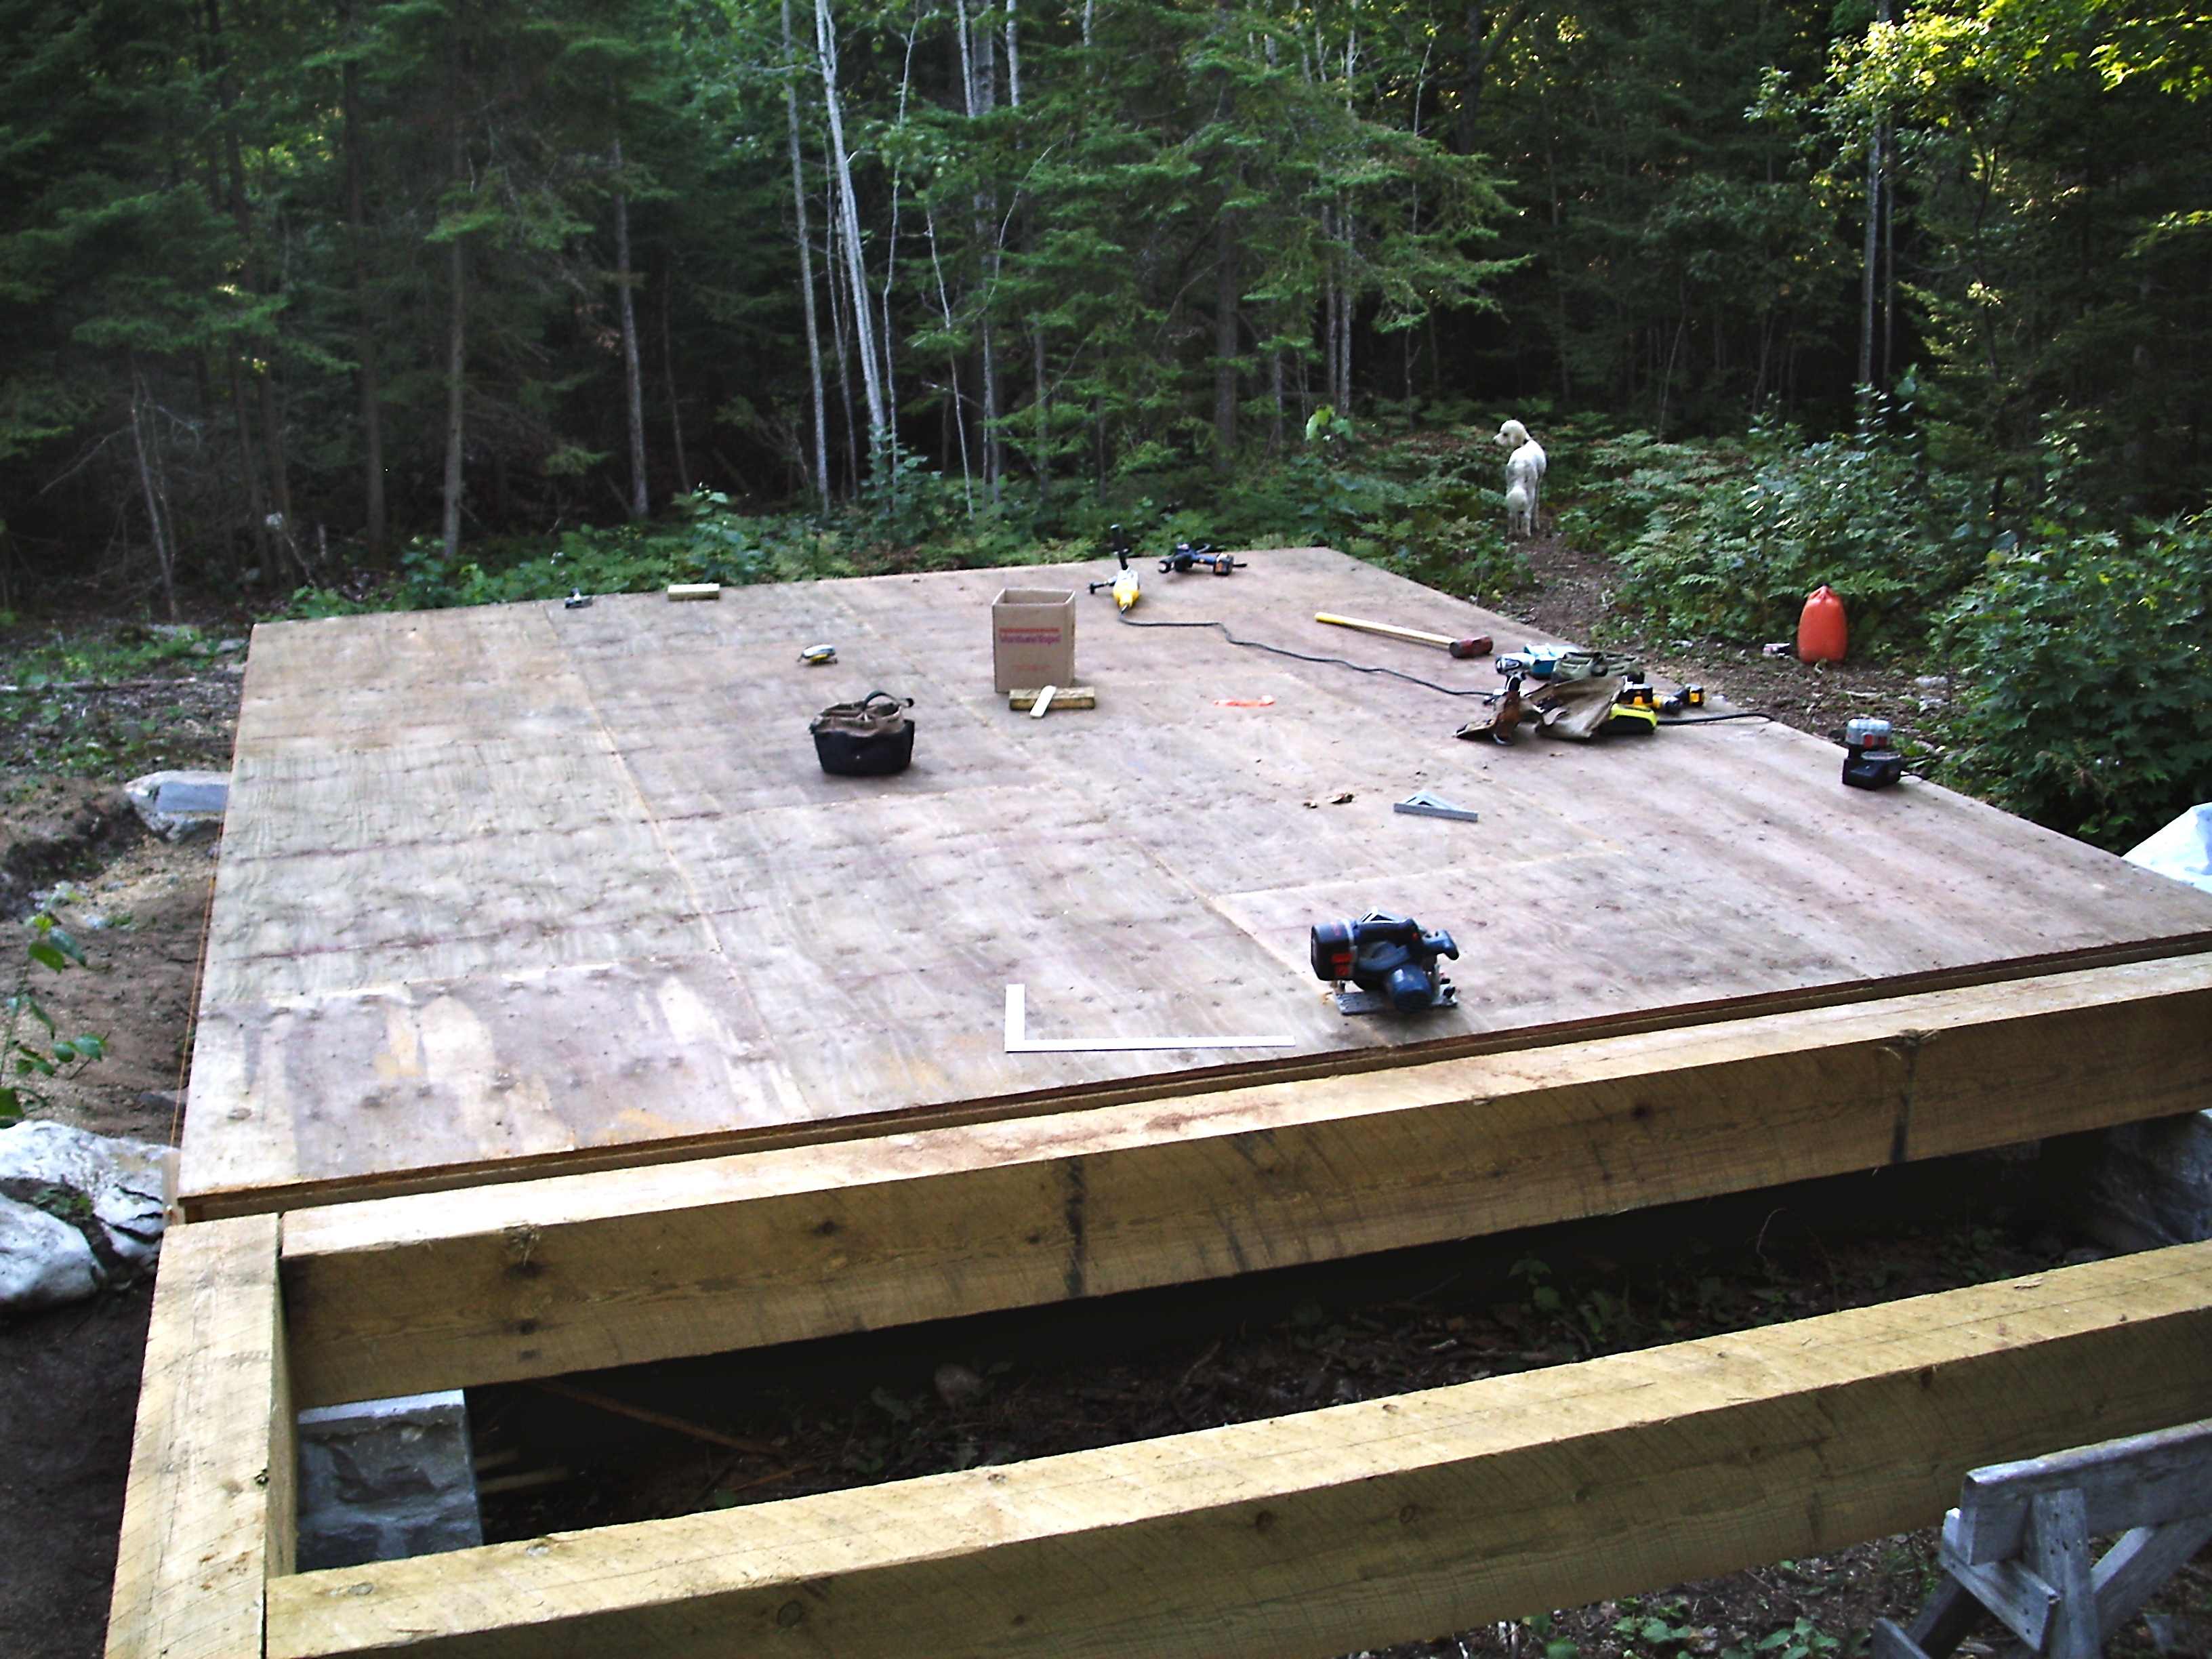
Milestone#3
Floor beams and joists are in position, with plywood subfloor on top. You’ve now got a nice, flat floor to build and raise walls on.
