The rot, mold and mildew that happens when exterior layers of water protection fail are both serious and hidden, and that’s why you really need multiple layers of defense to ensure trouble doesn’t happen. The best approach begins with a layer of durable, waterproof, breathable underlay fastened to the outside walls of the cabin. Ideally, this waterproof layer needs to go on in conjunction with auxiliary protection installed around window and door openings, because water leaks there are even more likely. Google “window drainage pan” to see many of the plastic products that are available to line the bottom of window openings. These act as a waterproof barrier that directs leaked water outwards and downwards, should it ever get past the exterior window trim itself. Before window drain pans like this go on, install the first layer of waterproof membrane on the outside of the cabin walls. I’m not a fan of building wrap for this purpose because it’s too light, flimsy and prone to deterioration after it goes down. That’s why we used a vapour-permeable roof membrane called DELTA-ROOF fastened directly against the 5/8”-thick plywood wall sheathing. It’s like extra-heavy building wrap that keeps liquid water out while also allowing any trapped water vapour to pass through on its way outside.
VIDEO: Durable Wall Detail
While it’s one thing to keep liquid water away from the wood frame in the event of an exterior siding leak, it’s another thing to allow that water to drain downwards, out of the cabin, harmlessly. This is where a dimpled, plastic drainage membrane comes in. The kind we used is called DELTA-DRY, and it goes on top of the black DELTA-ROOF. The cedar shingles go on after this, later on. The dimpled nature of this plastic creates a vertical escape path for liquid water to drain downwards behind the shingles, if it ever gets there. Chances are it won’t, but this feature is prudent just the same. It’s an extra step doesn’t usually happen with house construction, and you can ignore it if you choose. I wouldn’t, but you can. The video up next shows a close-up view of how the bottom edge of the drainage system works.
VIDEO: Cedar Shingle Drainage Details
Open areas at the top and bottom edges of this drainage channel are lined with non-woven insect screen strips (part of the DELTA-DRY system), to keep bugs out. Cedar Breather is another option for creating back-of-shingle drainage, too. It’s a 1/4”-thick, non-woven matt that also creates a drainable layer behind shingles. Regardless of what you use, all these layers waterproof work together as part of a system to make your cabin waterproof before the cedar shingles even go on. And that’s just the way it should be.
Fast, Secure, Membrane Installation
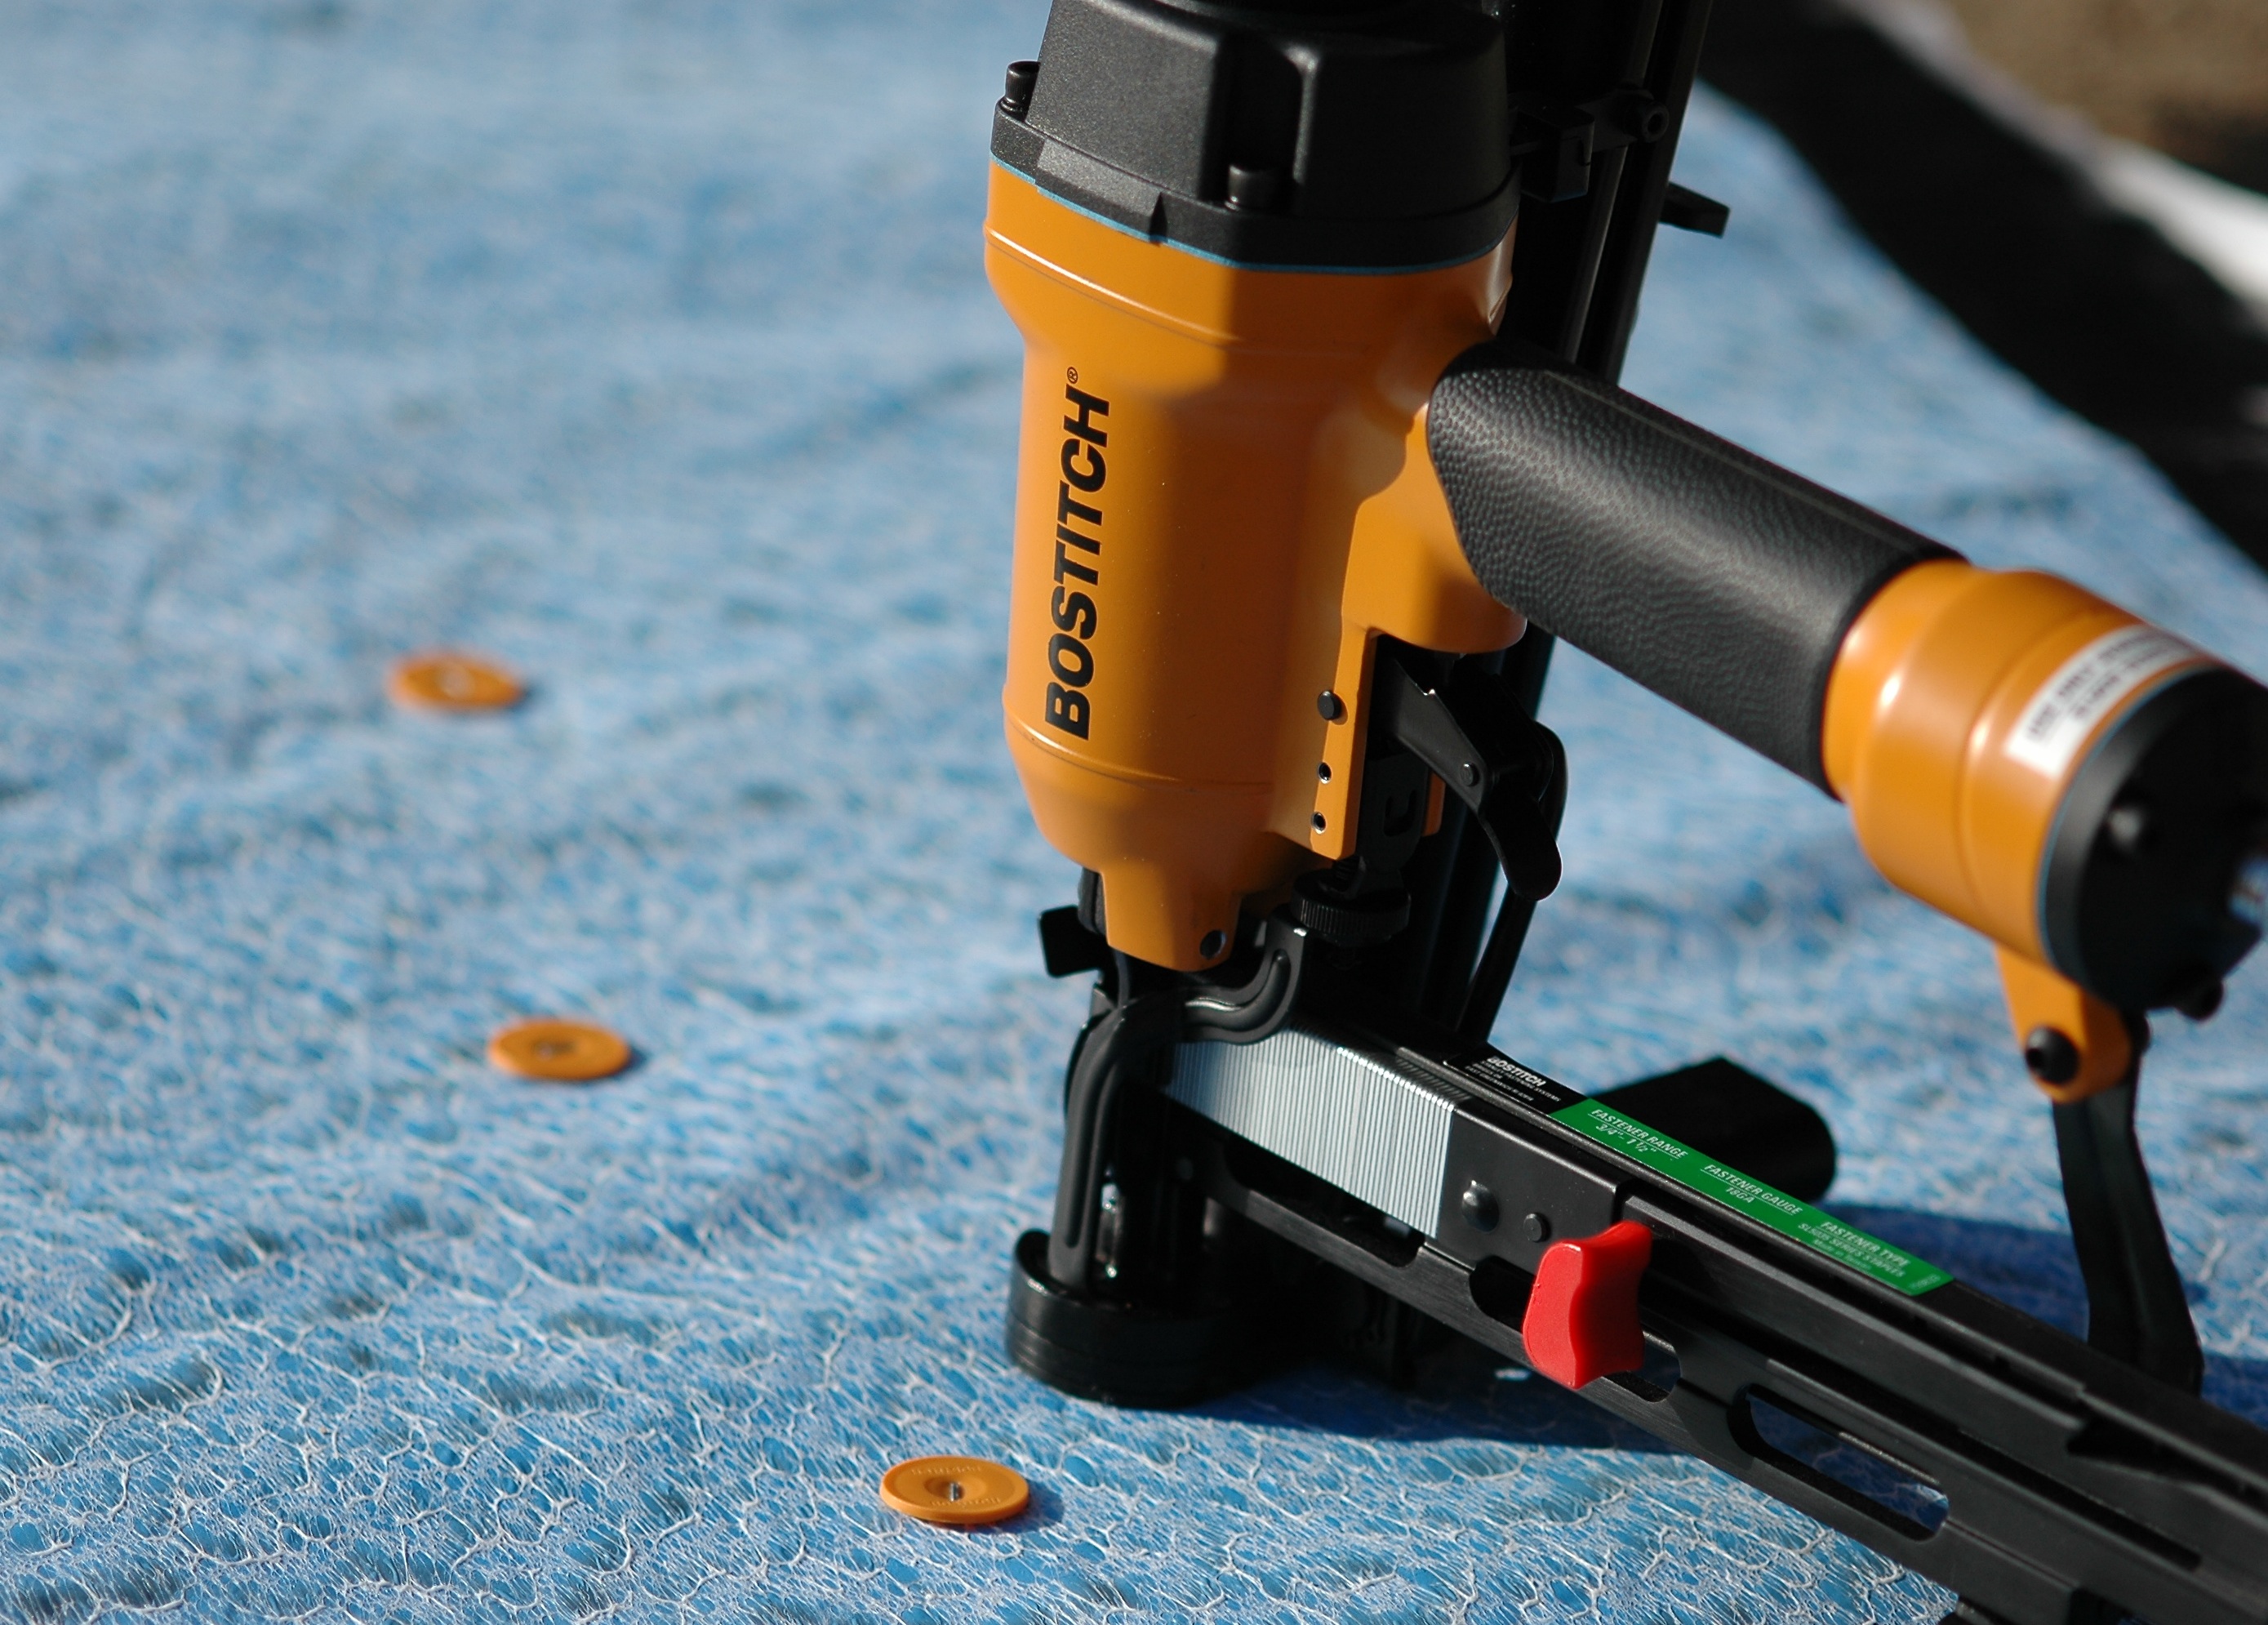 The fastest and best way to fasten membranes on walls and roofs is with an air-powered cap stapler. These shoot 1/4”-wide x 1”-long staples, into 1” diameter, washer-like plastic caps. The staples and caps are loaded separately into the gun, then they come together just as each staple is driven. This tool is a huge help if you can get your hands on one.