You may have noticed on the plans that the top of the main walls have two 2×6 plates, but at this stage you’re only dealing with one top plate. That’s okay. This is the way it’s supposed to be for now. The second top plate gets added later, overlapping in the corners after the walls are up. More on this later. For now, nail all parts of the right wall together as it lies flat on the floor, double-checking as you go. It’s far easier to slow down a bit now to avoid errors than it is to remove nails and correct misplaced studs later. If you do make a mistake, a reciprocating saw with a hacksaw blade is a huge help. Simply saw the nails securing the ill-fated joint and the parts come apart without bashing or smashing.
Raising Your First Wall
With your first wall framed and lying on the deck, you need to gather another pair of eager hands (two extra pairs if they’re not particularly strong) and get ready to tilt the wall up and into position. This is an exciting moment, but just don’t rush ahead. You’ll need a few tools for success. Besides a framing hammer and 3 1/2” -long nails to anchor the bottom of the wall, you’ll also find an 8 lbs. or 10 lbs. sledge hammer helpful for nudging the wall into final position. A 24”, or better-yet, a 48” level is essential to check and align the wall so it’s plumb. That’s carpenter talk for straight up and down. You should also snap a chalk line on the subfloor so it’s 5 1/2” in from the outer edge of the floor frame. This will act as a guideline for positioning the wall straight once its up. Stud frame walls are surprisingly floppy, and they don’t stay straight on their own. Raise the frame upright with your helpers, then push, pull and pound it into alignment with the chalk line you just made. Use your level to help align the wall so it’s directly straight up and down at the ends, then drive two nails into the space between a few studs, extending down into the floor frame. You’ll drive nails into each stud space later, after adjusting the wall so it’s perfectly plumb, but just a few nails are needed at this stage.
VIDEO: Bracing Raised Walls
Your wall is up and steady now, but it’s not strong. A wind could blow it over, so don’t allow your helpers to let go just yet. At this stage you need to brace the wall with 12- or 14-foot long pieces of 2×4 lumber extending from both ends of the wall and down to the outside face of the floor frame. You’ll take these 2x4s off later, so you can re-use them for other jobs. Fasten the 2×4 brace to the end of one wall with just one 3 1/2” deck screw, then have a helper push or pull the wall until it’s perfectly plumb before anchoring the bottom end of the brace. One brace at each end of the wall works fine, since even the long side walls aren’t that long. Longer walls on larger buildings require bracing in the middle of the walls, but not these. Drive a few more screws into both ends of each brace, just for good measure.

Repeat the framing, raising and bracing process for the left wall, then frame the rear and front walls. The plans show how these fit between the side walls, so they don’t need to be braced. Cut your top and bottom plates the right length to fit between the side walls with 1/4” of wiggle room, rather than using theoretically correct measurements for the plates. All four walls get joined together at the top, with important details that I explain in the next video.
VIDEO: Overlapped Stud Top Plate Details
When you’ve framed and raised all four walls, cut and apply another layer of 2x6s over most of the existing top plate. This second layer of top plates don’t need to be without joints, but they do need to be arranged so they overlap the underlying top plates as they meet in the corners. Leave the upper top plates off for now in the area immediately around the two front corners of the cabin, but go ahead and apply sheathing to the outside face of the wall frames. We used 5/8”-thick plywood for this, because it grips cedar shingle nails well. You could use 1/2” plywood or oriented strand board (abbreviated OSB) to save money. Either way, cover the entire frame without cutting door and window openings.
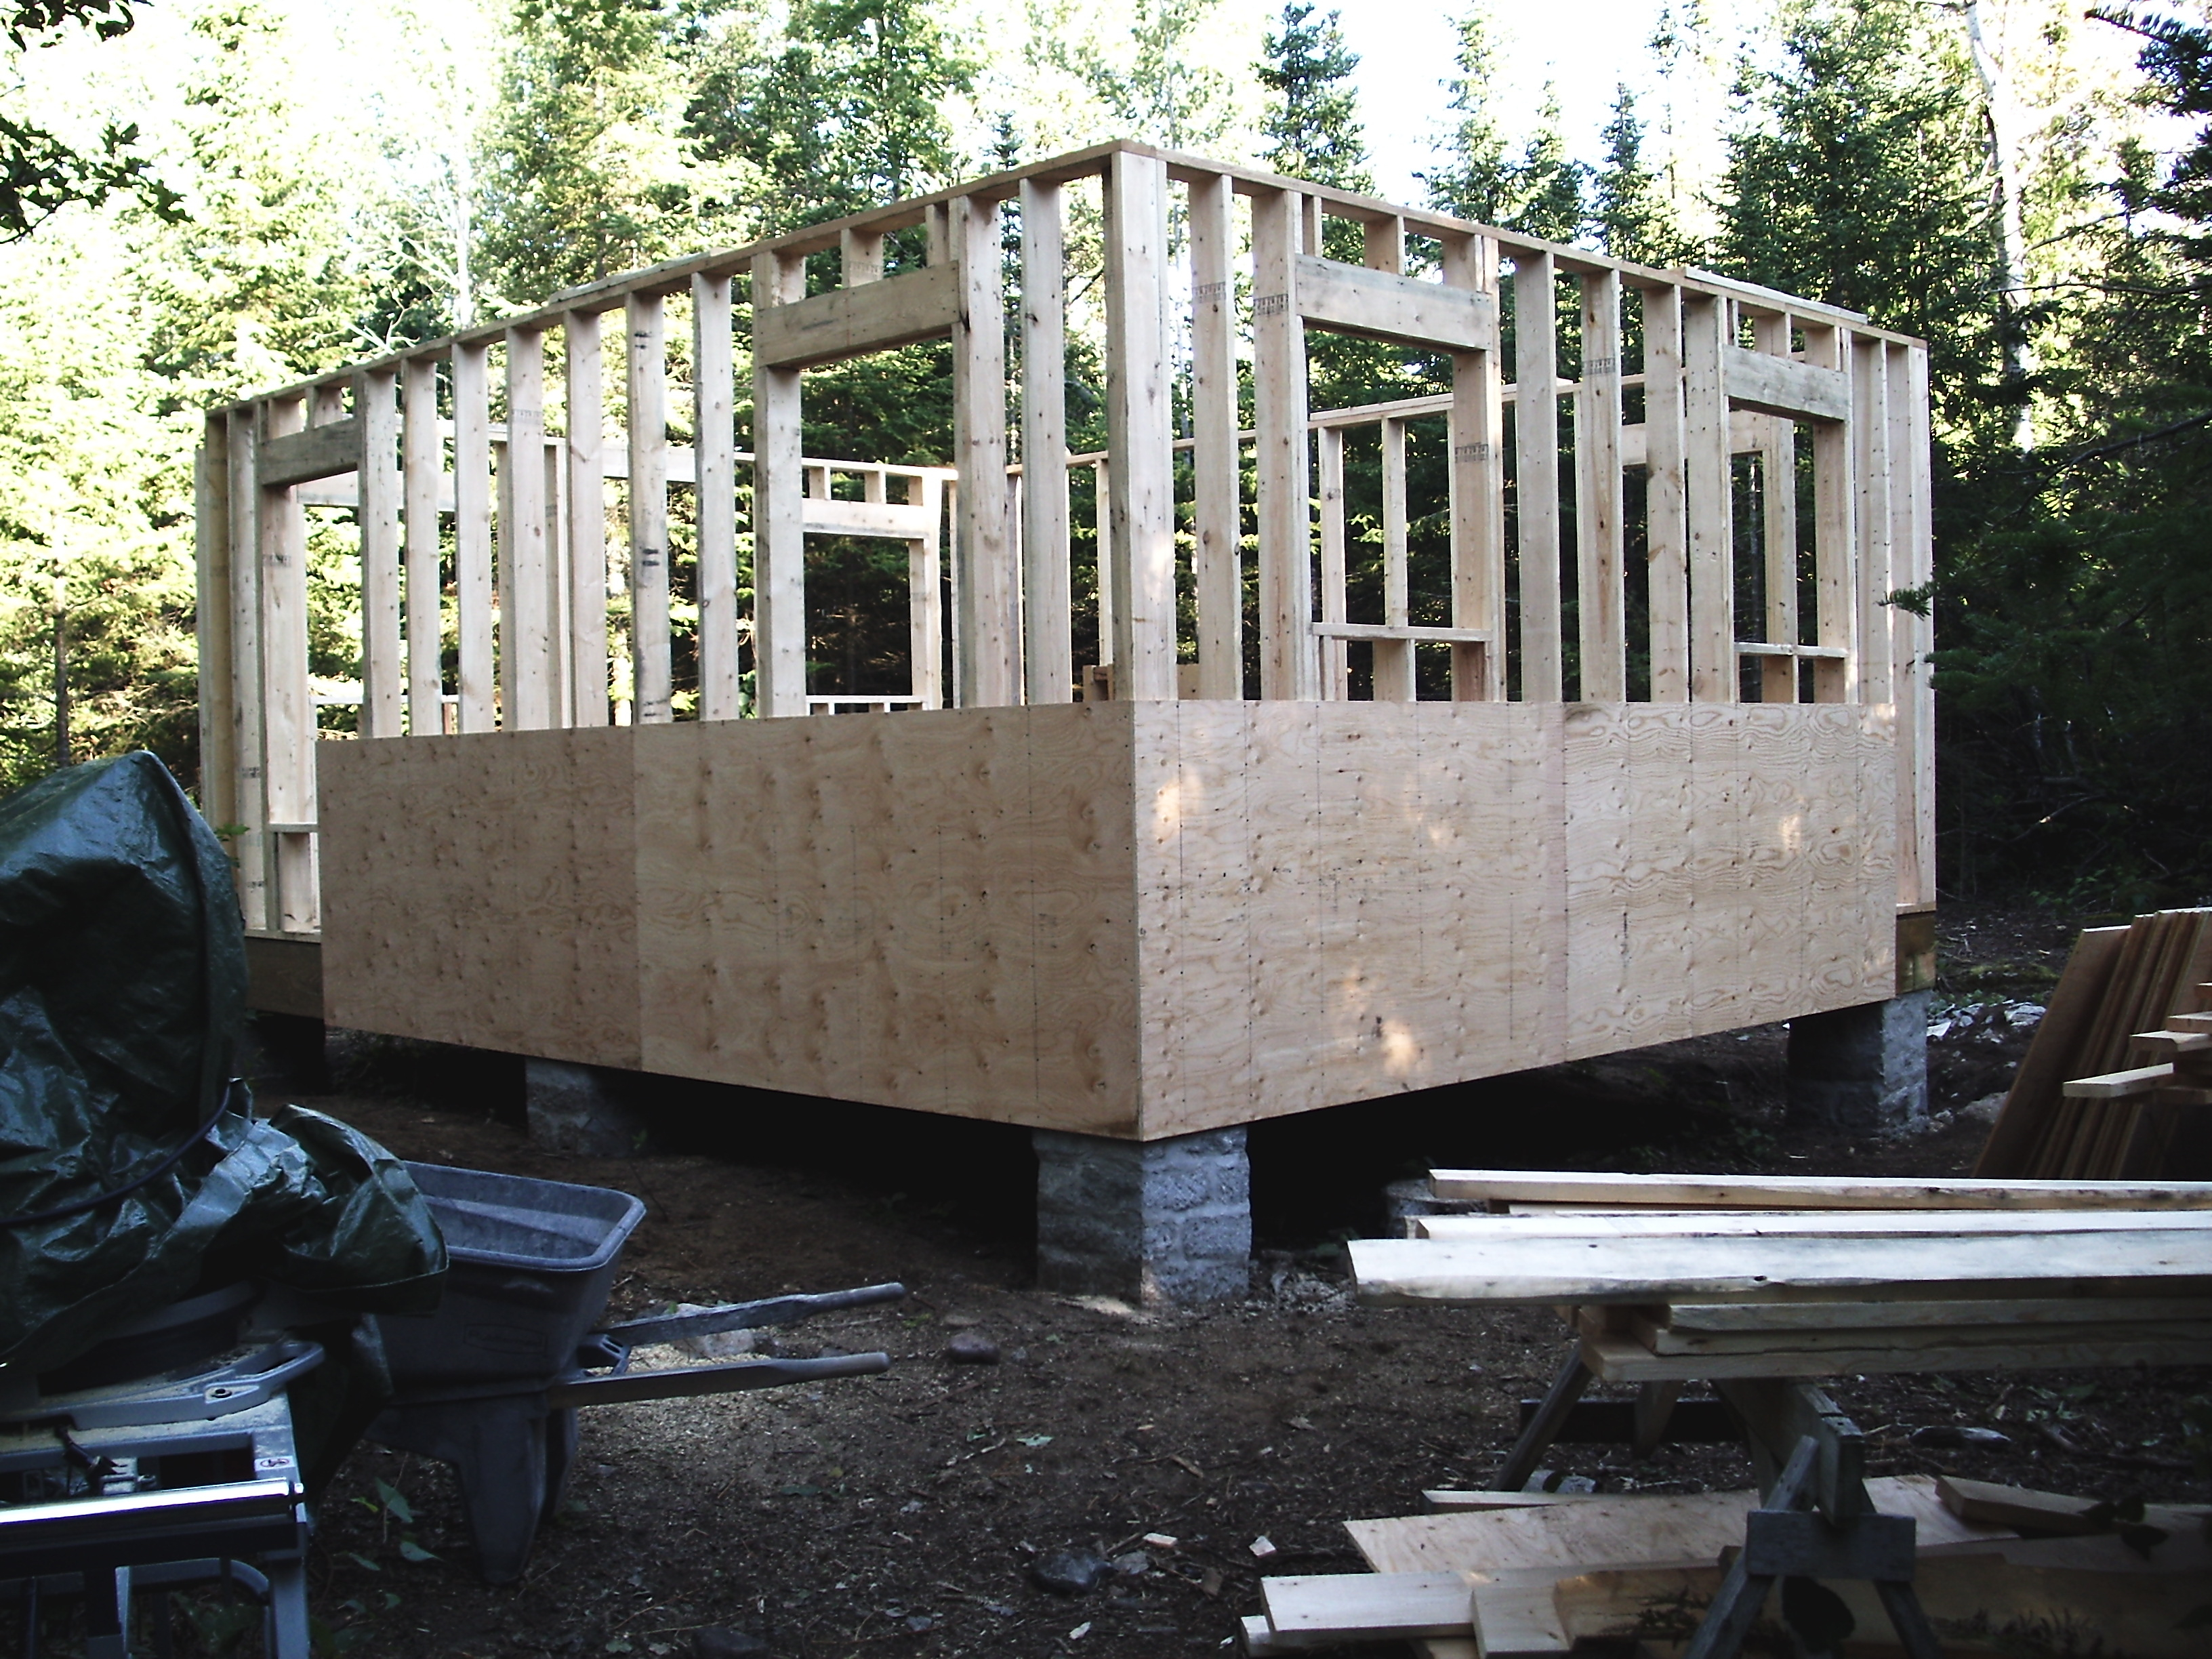
When all wall sheathing is up, use a chainsaw to cut the openings from inside the cabin. Working from this side greatly reduces splintering of the wood, and this approach also allows the studs and lintels to act as a guide for your saw. Before you install the last bit of upper top plate in the area over the front corners of the cabin, there’s one more detail you need to attend to first.
