Exterior Siding Options
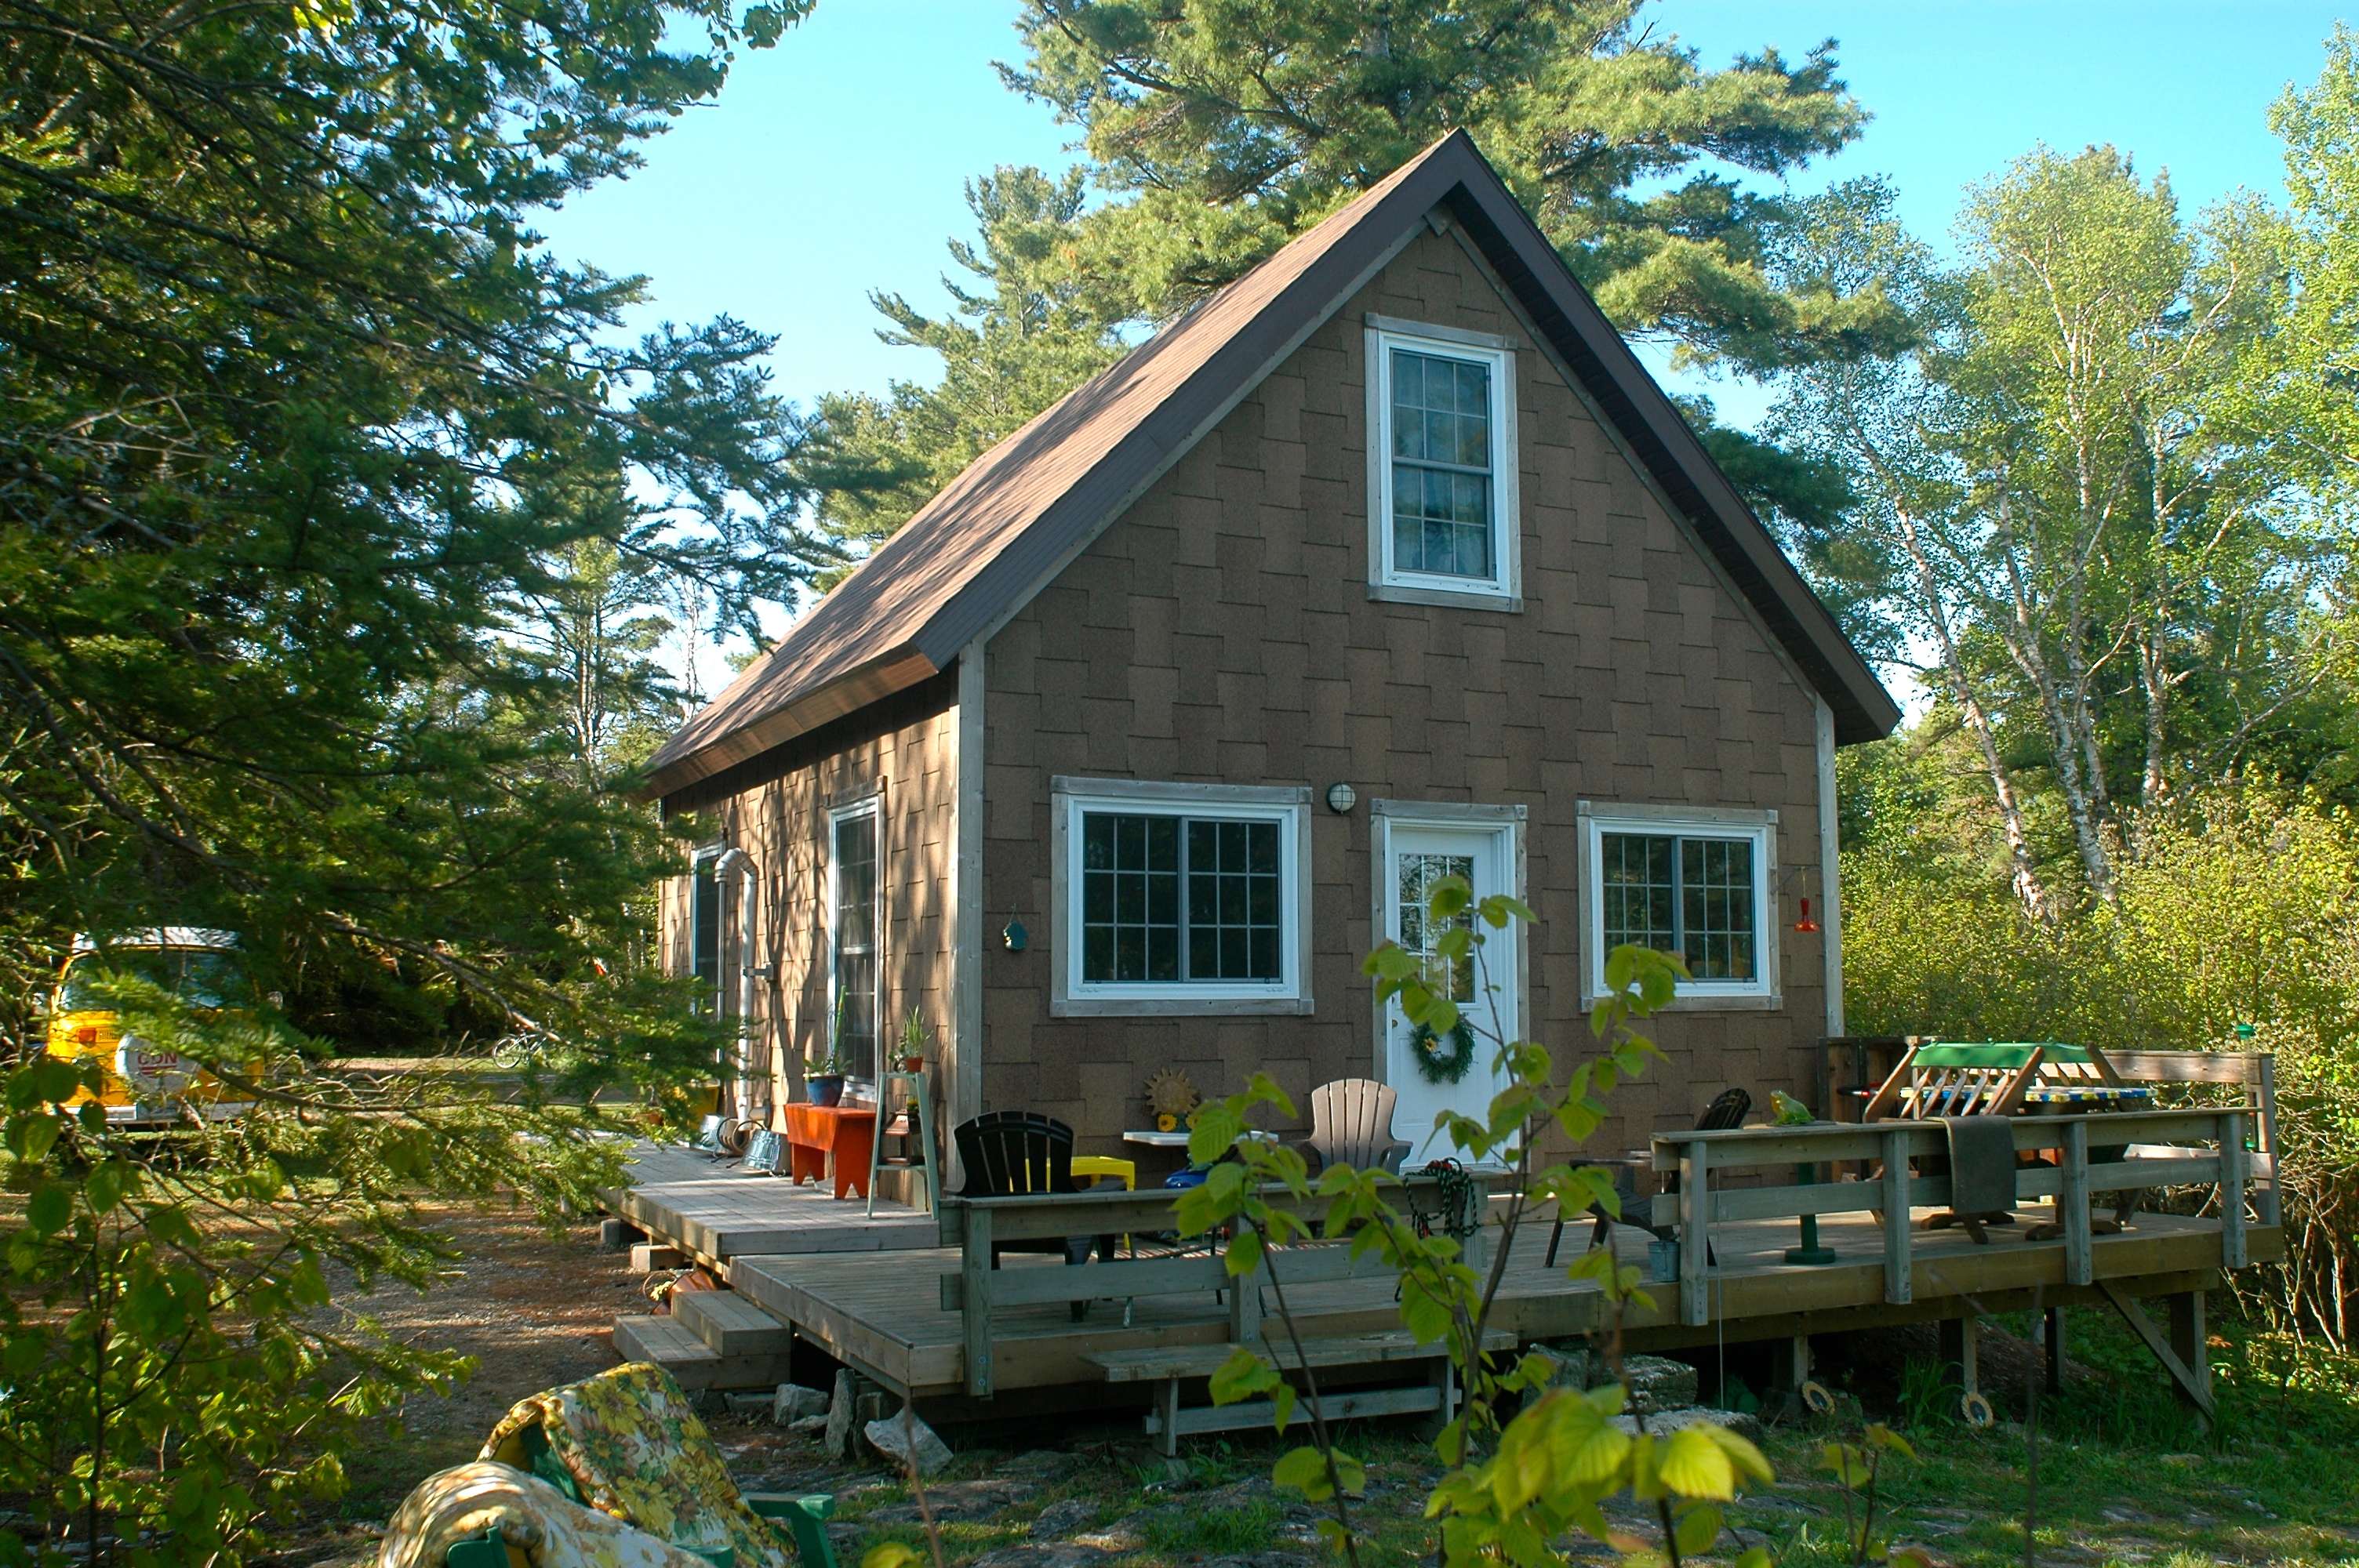 The exterior wall treatment you choose for your cabin matters a lot because it sets the tone for how the place looks and how much maintenance you’ll be saddled with over the years. Cedar shingles are a terrific option because they look great in a rural setting, they last many decades with no maintenance, and they’re light in weight. That’s why we used them. Another wall siding you might consider is wind-lock asphalt shingles. These are made for roofs, but they work great as siding. They interlock together physically, allowing them to be installed vertically without the usual flapping in the wind you’d get if you tried the same thing with regular shingles.
Select Your Cedar Shingles
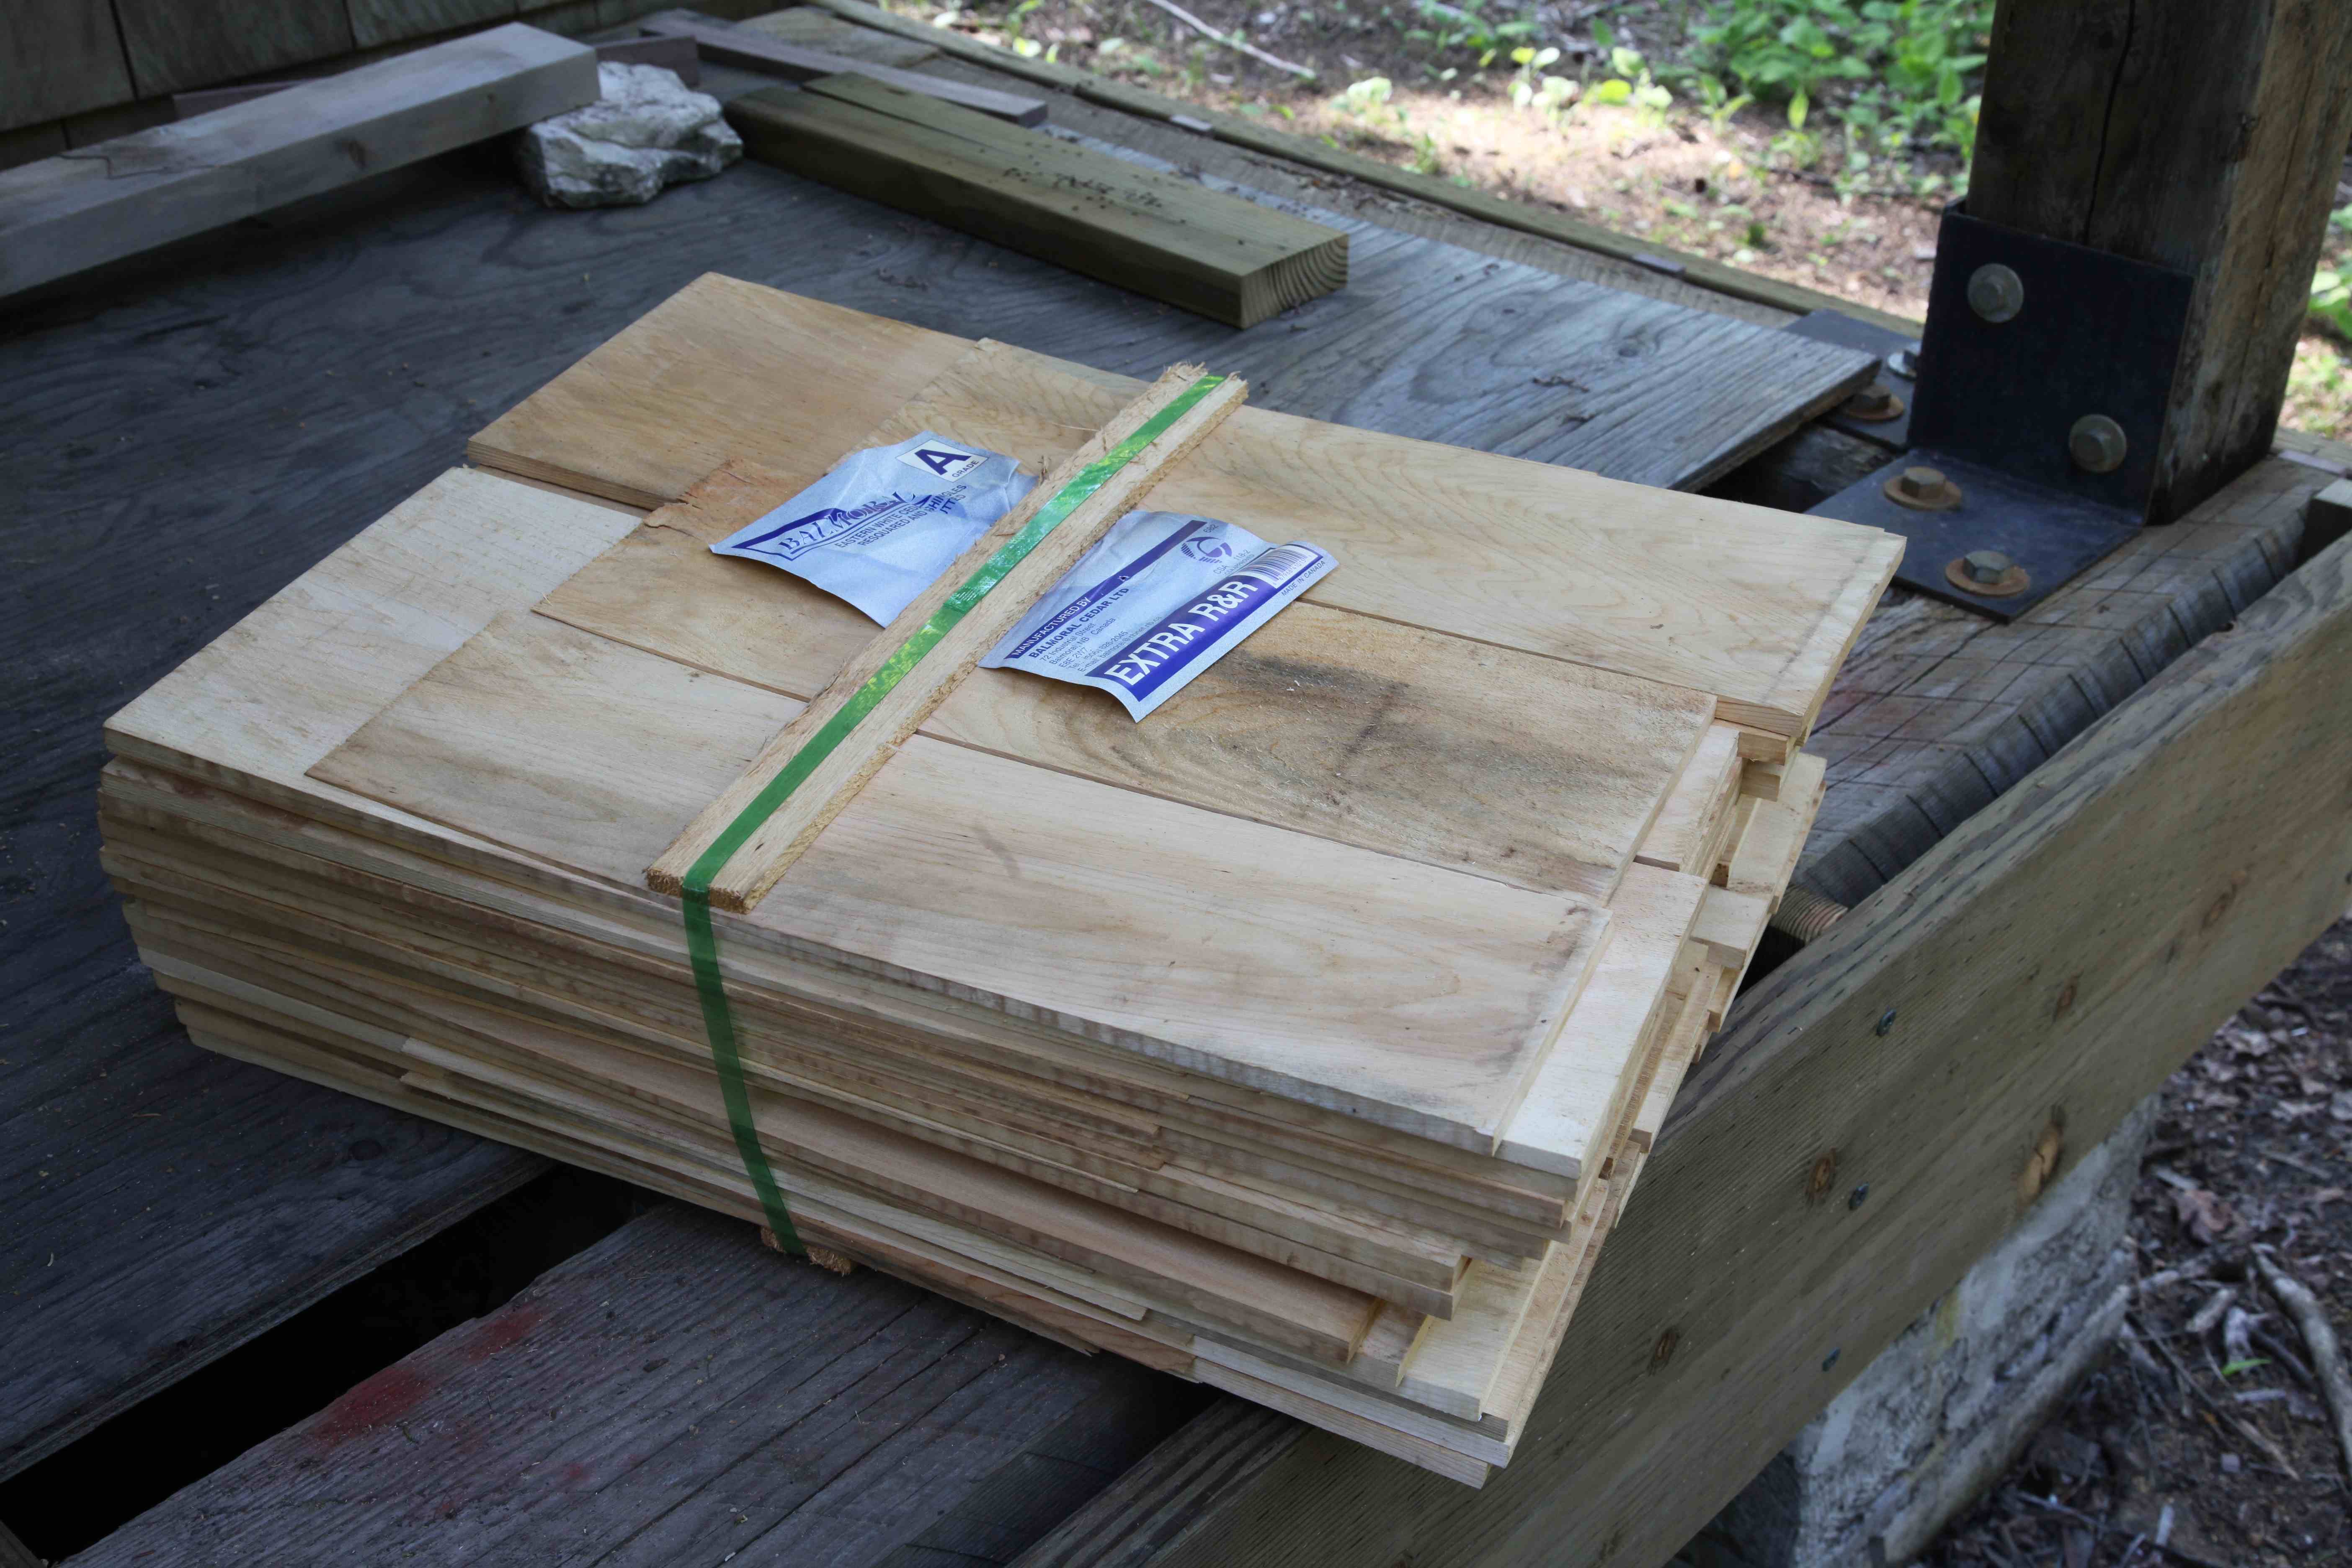 Choosing the right quality of cedar shingles is vital, but first you’ll need to figure out the total area of walls you’ll be covering. Cedar shingles are priced in one of two ways. There’s the cost per bundle approach, and the cost per “square”. A square is a unit equal to 100 square feet of coverage. Coverage all depends on how much of each row of shingles you choose to expose to the weather. That’s up to you as the installer. Typically, four bundles of cedar shingles equals one square of coverage, with about 5” of each shingle exposed to the weather. It’s wise to order at least 10% to 20% more shingles than you think you’ll need, to allow for waste, errors and the inevitable bad shingles you’ll find in some bundles. Once you’ve figured out how many squares you need, it’s time to choose the shingles themselves. Total exterior wall area of the cabin is just over 700 square feet, not subtracting windows and doors. We bought 10 square of shingles from www.balmoralcedar.com. which left is with plenty for other projects. Balmoral delivered first-rate white cedar shingles to our door at lower cost than we could buy western red cedar shingles from our local building supply outlet.
The first choice you need to make is species. Western red cedar makes very nice shingles, but eastern white cedar is my favourite. It’s physically harder than western cedar, it weathers to a lighter grey, and I’m told it’s more rot-resistant.
Next, choose your shingles’ grade and butt-thickness. Shingles are always tapered, and I think it’s good value to spend a bit more money for premium shingles with a butt thickness greater than the standard 3/8”. Thicker shingles last longer and the ones we used measure almost 1/2”-thick at the thickest end. Extra butt thickness makes them more resistant to wearing out from weather, and they’re less likely to curl and crack in the sun, too.
 Knots are not a desirable thing in wood shingles, and that’s why premium grades are completely free of knots. You can expect these to last at least 50 years on exterior walls – even without finishing. Although you can use shingles with small, tight knots for wall applications, I prefer knot-free shingles. Another feature worth paying extra for is something called rebutting and resquaring. This is an extra operation that’s completed at the mill, ensuring that the bottom ends of each shingle are sawn perfectly square to the sides, making for a more precise finished shingling job.
Prepare for Shingle Installation
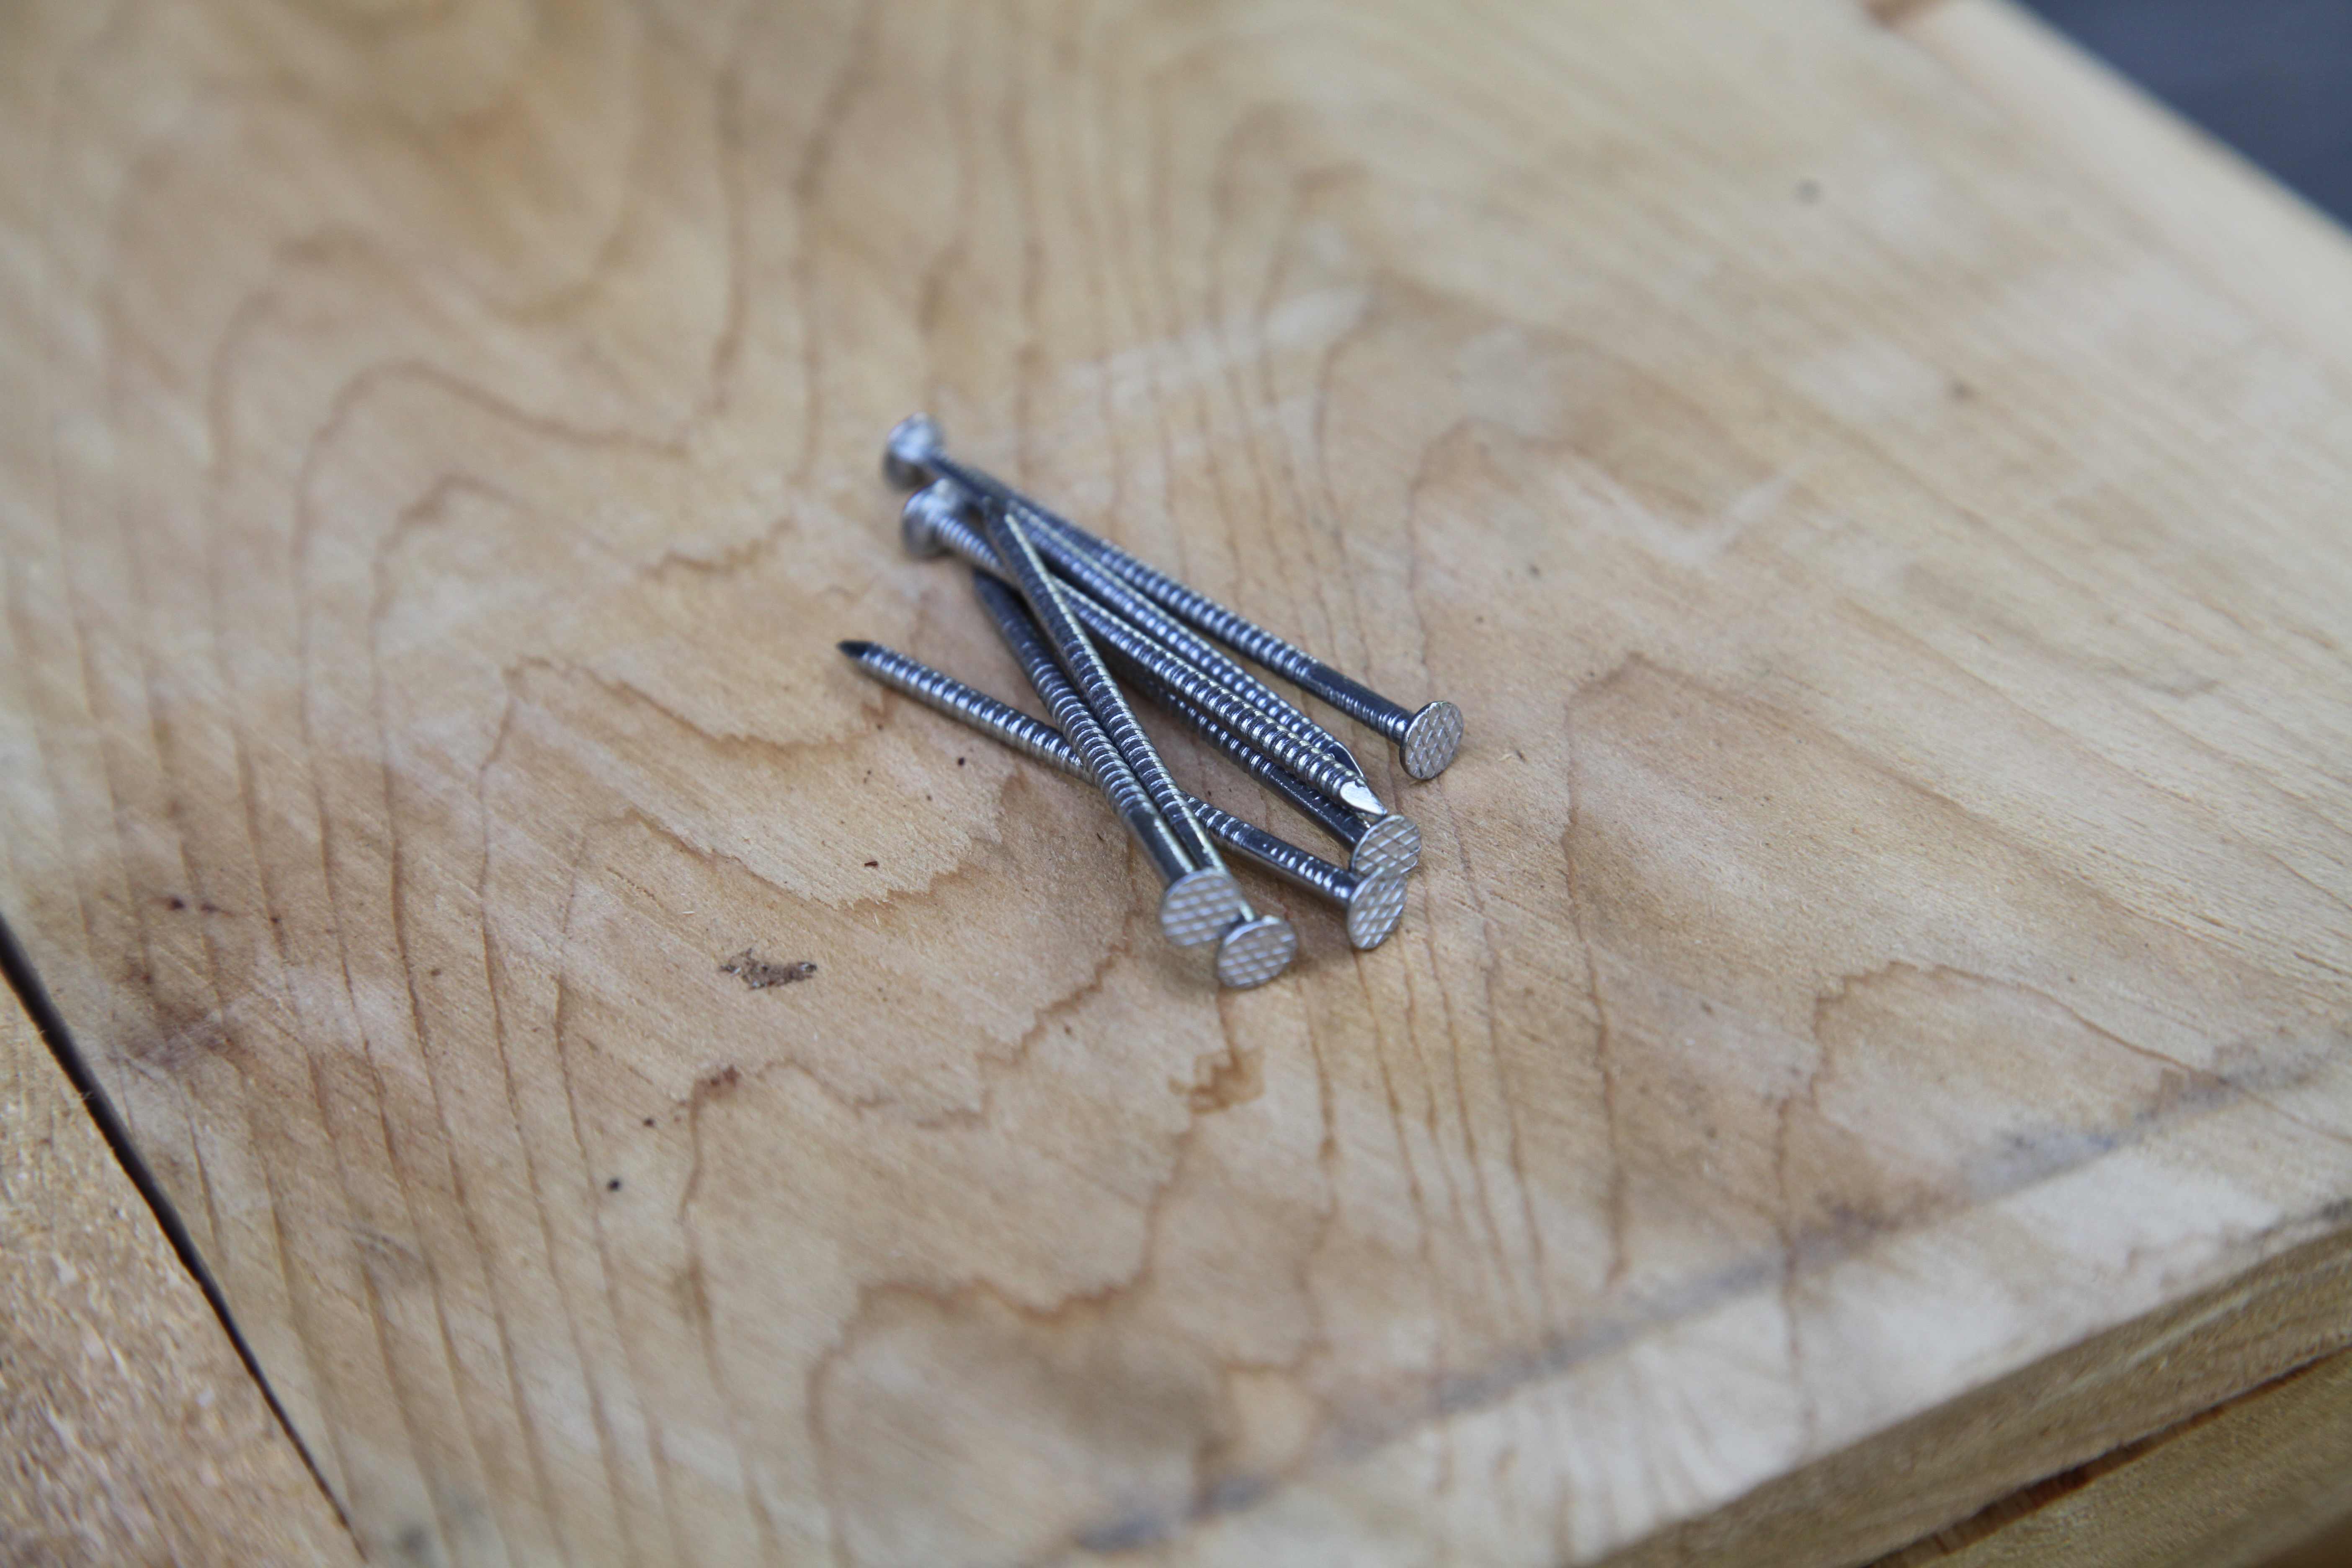 The first item on your checklist is a supply of stainless steel fasteners to secure the shingles to your wall. You’ll find 7/16”-wide, stainless steel air-driven staples in an air stapler are great if you’ve got compressed air on your site. We bought ours from www.fastenersusa.com. Although the narrower, 1/4”-wide staples are sometimes used for cedar shingle installation, cedar shingle manufacturers themselves recommend against them because they’re too narrow to hold well optimally. Dedicated shingle nails work fine, too. It’s good to have some on hand for times when it’s not handy to grab the staple gun. Go with a length of 2” so your shingles will be properly secured through the drainage layers and into the sheathing. Never use bare steel or electroplated fasteners because these can rust and let your shingles fall off prematurely.
In addition to a 16-ounce hammer and/or air stapler for shingle installation, we also used a sharp block plane, construction adhesive, an adjustable T-square, tape measure, 6”- and 24”-long levels, a chalkline, a utility knife, a ball of mason’s line, a pencil or two, and a sharp handsaw with a Japanese tooth pattern. Although it’s not part of the traditional cedar shingle installation process, we also used an air-powered 23-gauge pin nailer. It boosts quality and ease of installation. I’ll explain how in a minute.
Drier is Better
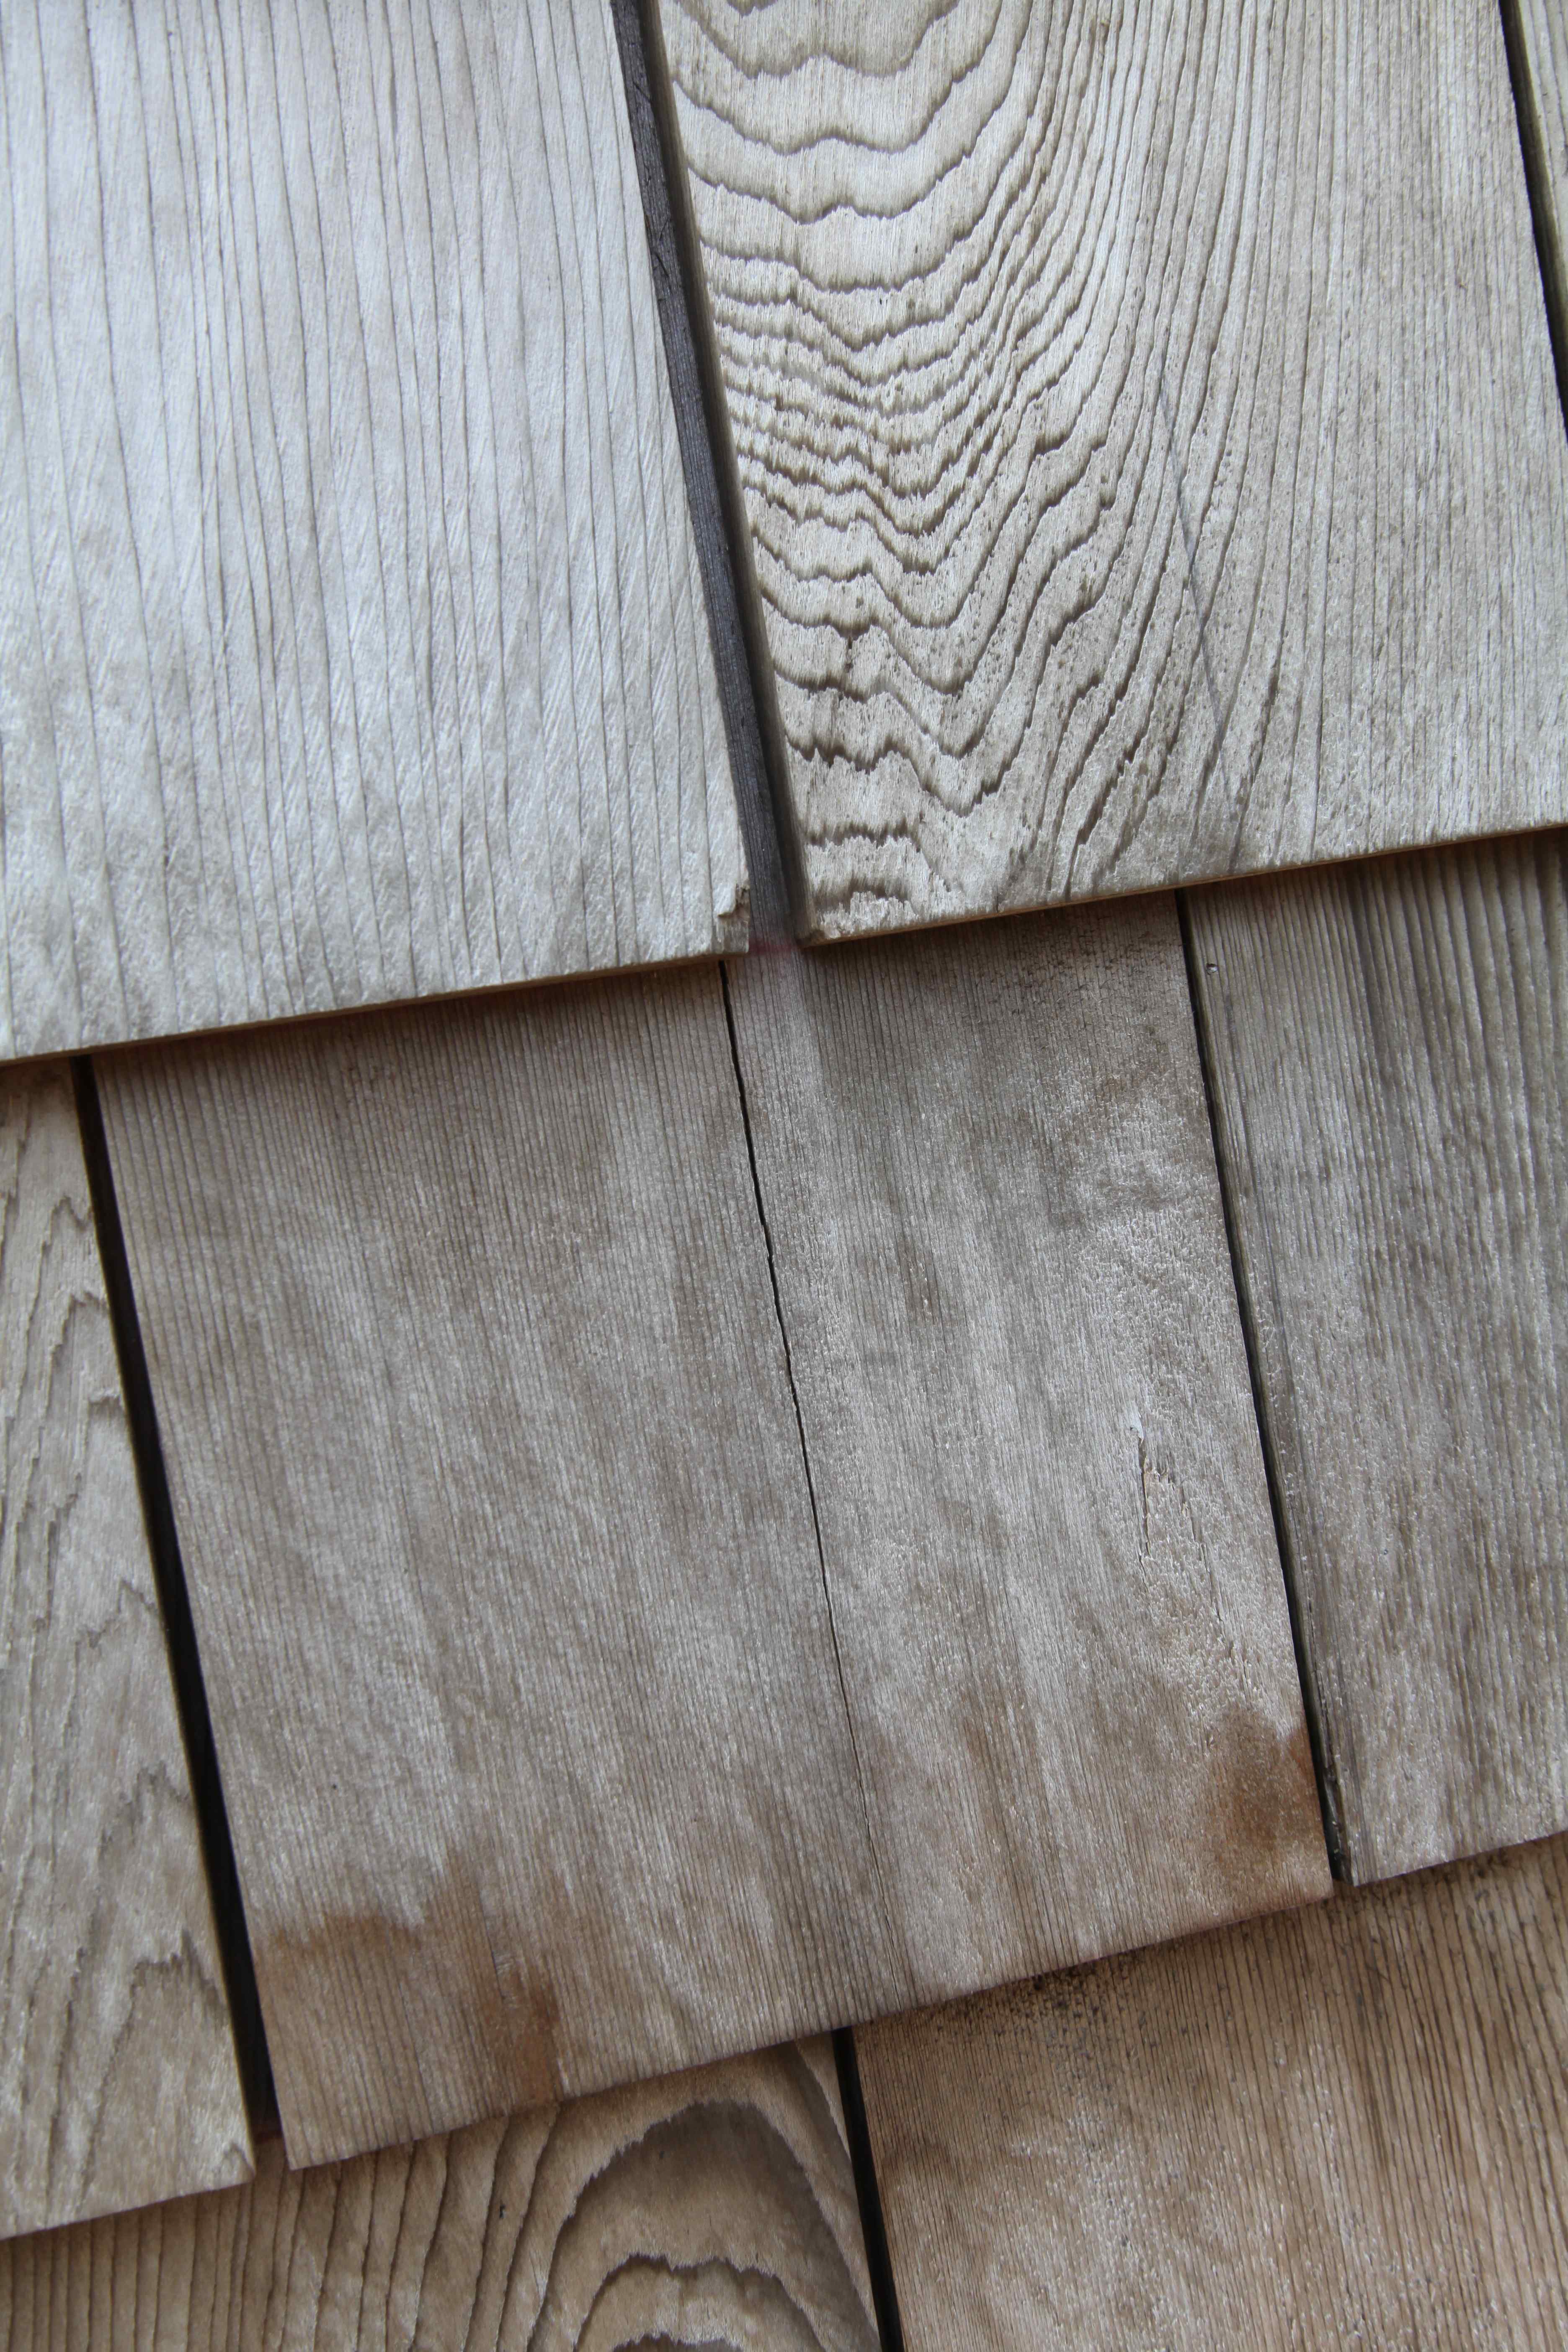 Cedar shingles usually leave the mill sopping wet, because they’re sawn from green logs. This is fine as long as you remember to let the shingles dry at least part way before installation. Avoiding cracks is the reason why. If shingles are fastened to a wall when very wet, some will split vertically as the wood tries to shrink while also being fastened near both edges by staples. These cracks aren’t the end of the world since shingles are always arranged with multiple layers keeping water out. But still, if you can avoid cracks by letting your shingles dry for three or four weeks under cover before installation, all the better. There’s no need to open the bundles to let drying occur. It happens even when the shingles are strapped together.
