Finished Floor Best Practices
With a reliable subfloor in place, you have the option of choosing from among most finished flooring options for your basement. The only choice that presents a big problem is solid hardwood – the kind secured by nails. As useful as basement subfloor tiles are, they don’t offer enough material to grip the nails necessary to hold traditional hardwood properly. And besides, these tiles are floating, so they don’t offer an effective anchor point for anything that requires nails. Hardwood also has the disadvantage of swelling in the presence of moisture. I’d never use solid hardwood in a basement. Some people do, but the risk is too high in my book.
If you live in a climate that requires heating, the only way you’ll have an exceptionally warm basement floor is with some kind of infloor heating system. An unheated basement floor built with subfloor panels will be comfortable, just not toasty warm. One simple and economical way to create really warm basement floors is to only install infloor heating in those areas that matter the most. As I mentioned in the audio lesson, an electrically heated zone in front of a basement sofa, for instance, makes for toastier toes on movie nights. A heated bathroom floor is always welcome. Perhaps a heated zone in front of kitchen cabinets or next to anticipated locations for beds makes sense, too.
Currently the most effective and reliable electric infloor heating system I’ve seen is made by a company called Schluter. You can learn more about this system in general at the video up next. I’ve installed several different electric infloor heating systems over the years, but this is by far the best performing and most reliable for both basements and above-ground instalations. Watch the video up next for an overview of how the Schluter system works in a general sense.
VIDEO: Electric Infloor Heating Tour
When it comes to choosing a finished basement floor, here are the pros and cons as they relate to the most common choices:
Laminate: Fully Recommended for Basements
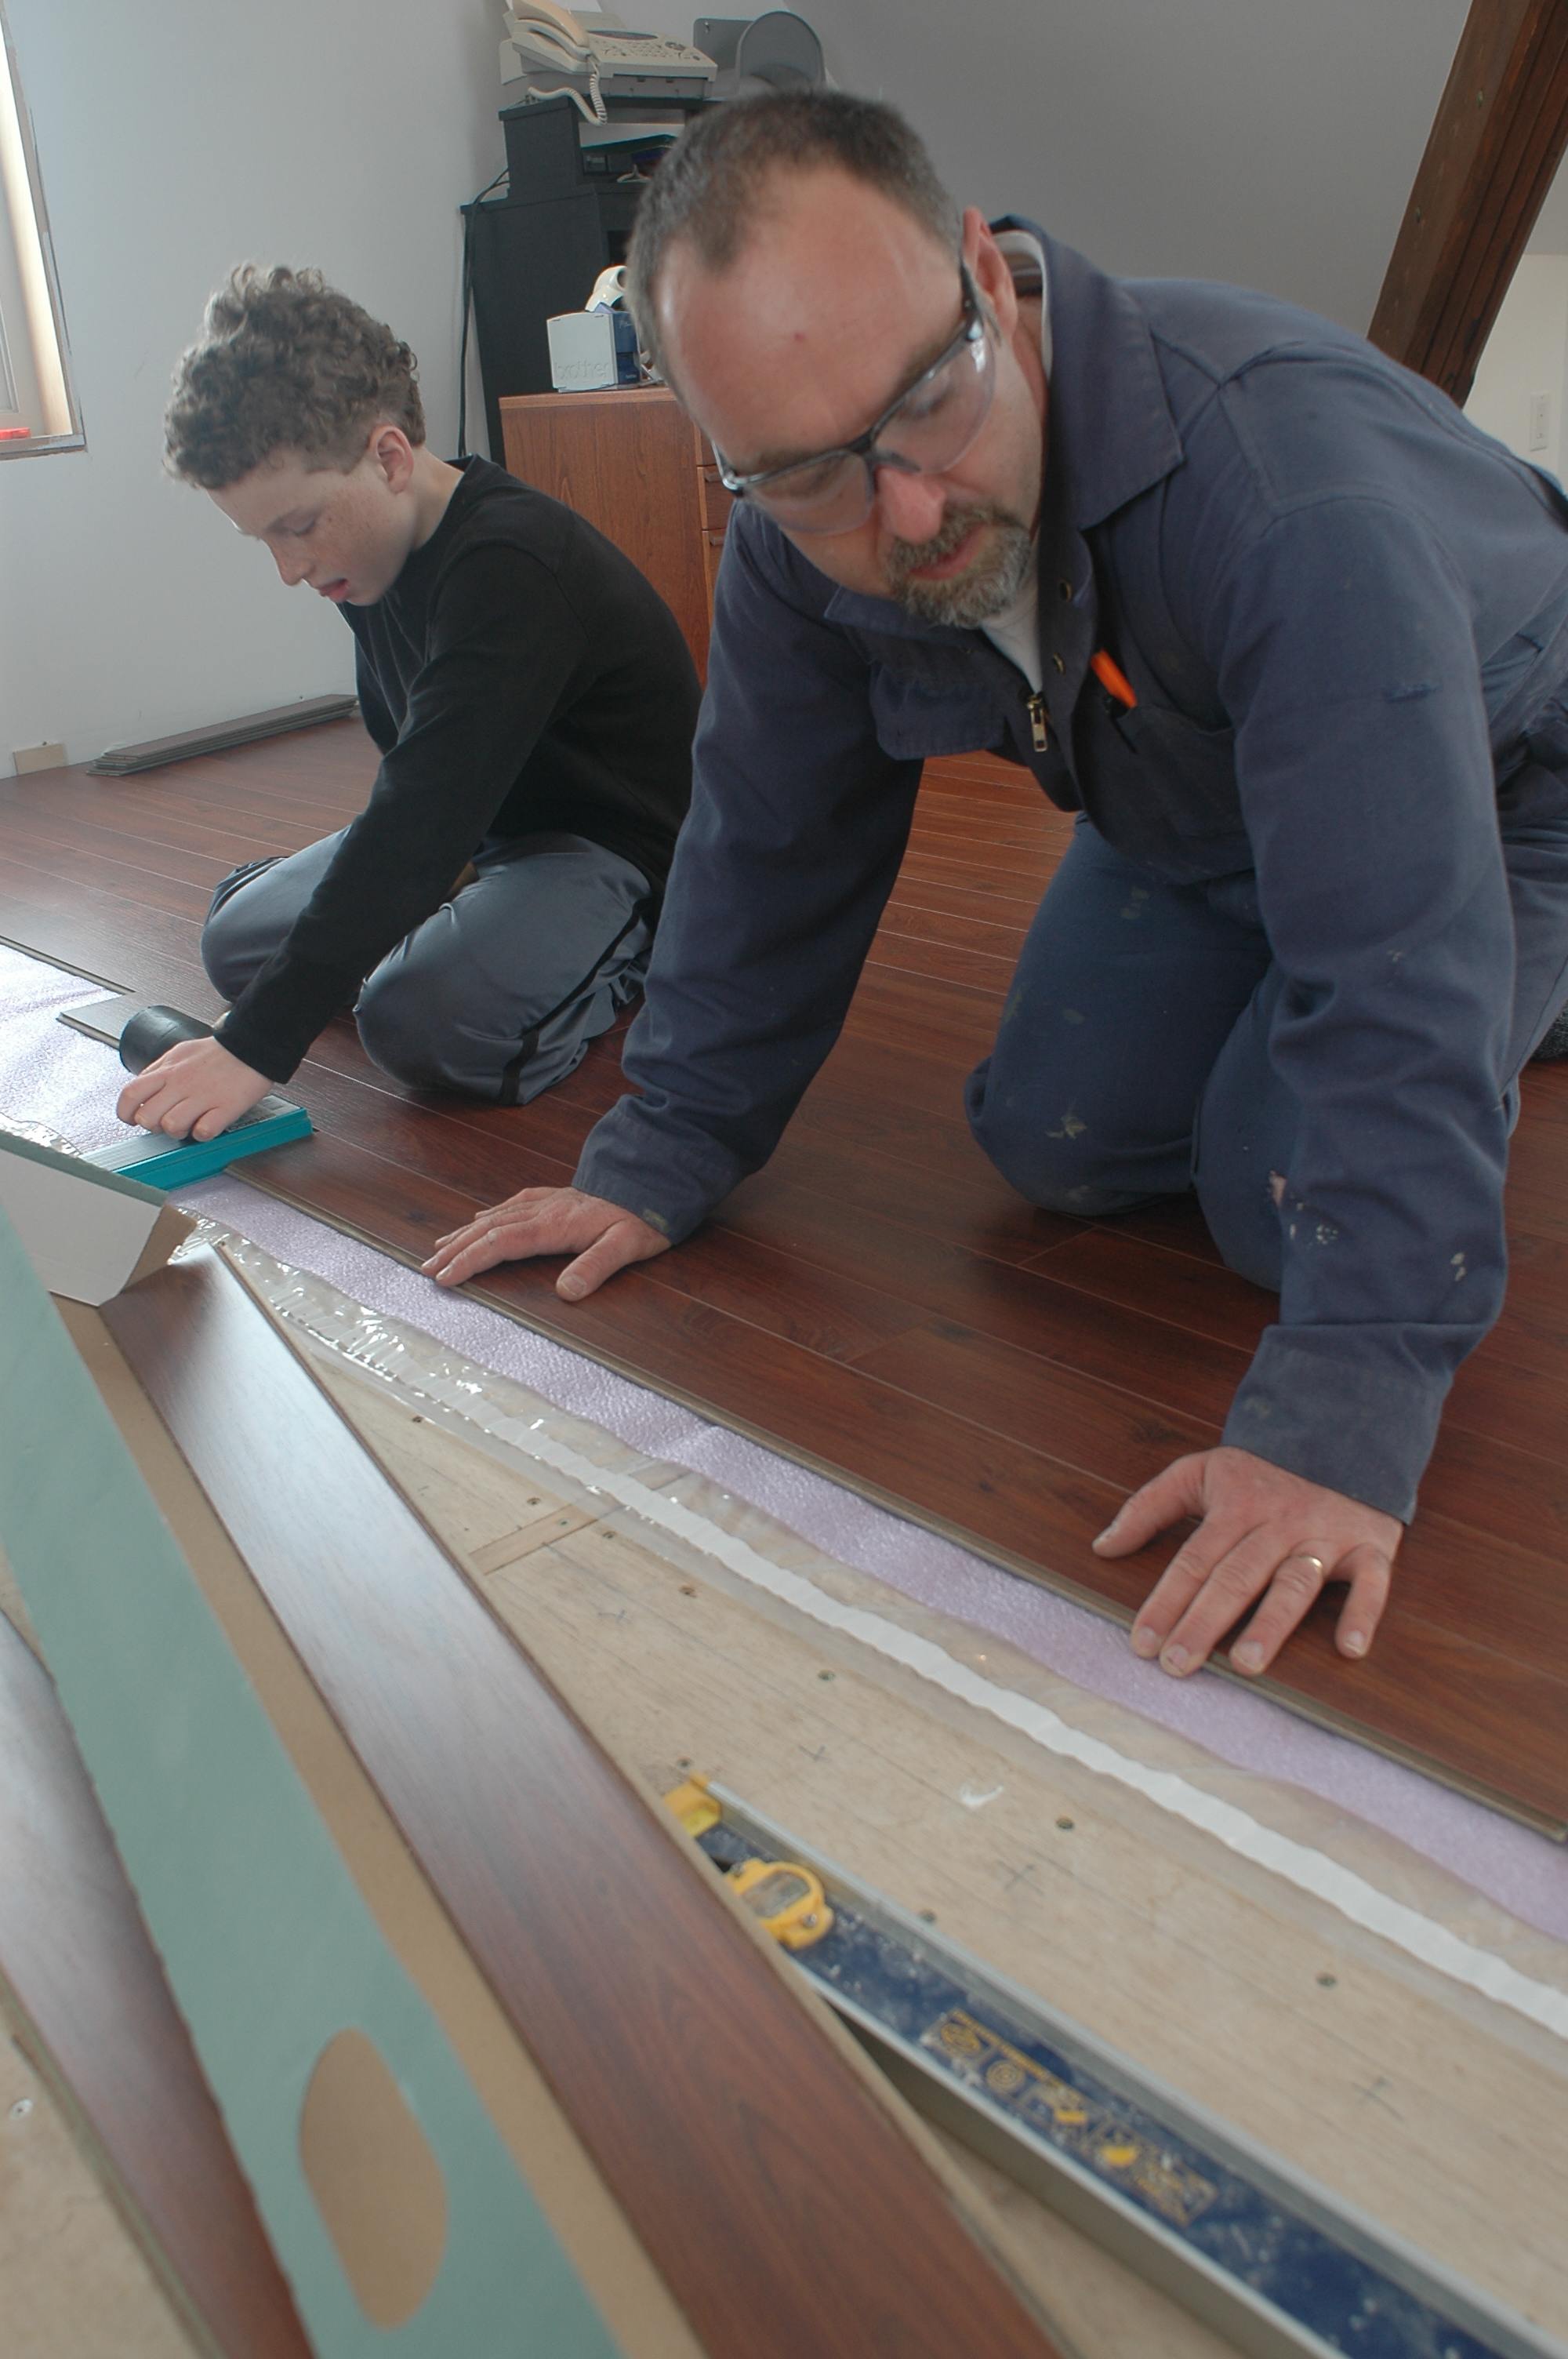 Laminate Pros:
- Relatively low cost and high durability. Choose a version of laminate that has an abrasion class (AC) rating of 3 or higher. Anything less is too easily damaged. AC ratings should be found on packaging or manufacturer’s literature.
- Good looks with authentic wood grain or tile appearance
- At least moderate resistance to water damage
Laminate Cons:
- Requires very flat subfloor surface – no more than 1/4” of undulation over a 10-foot length
- Organic composition supports mold growth if high moisture is present long-term
Note: Don’t under-estimate the need for a very flat floor, especially underneath laminate. Pieces of laminate are rigid, and if gaps exist under an area of laminate it can (and usually will) lead to annoying noise underfoot as you walk. Not good. Concrete floors can be levelled with free-flowing levelling compound, but this can be challenging to use well. As I’ve explained before, subfloor tile products come with plastic shims that allow the tiles to be raised small amounts over low areas.
TRUE STORY: How Tough is Laminate Flooring?
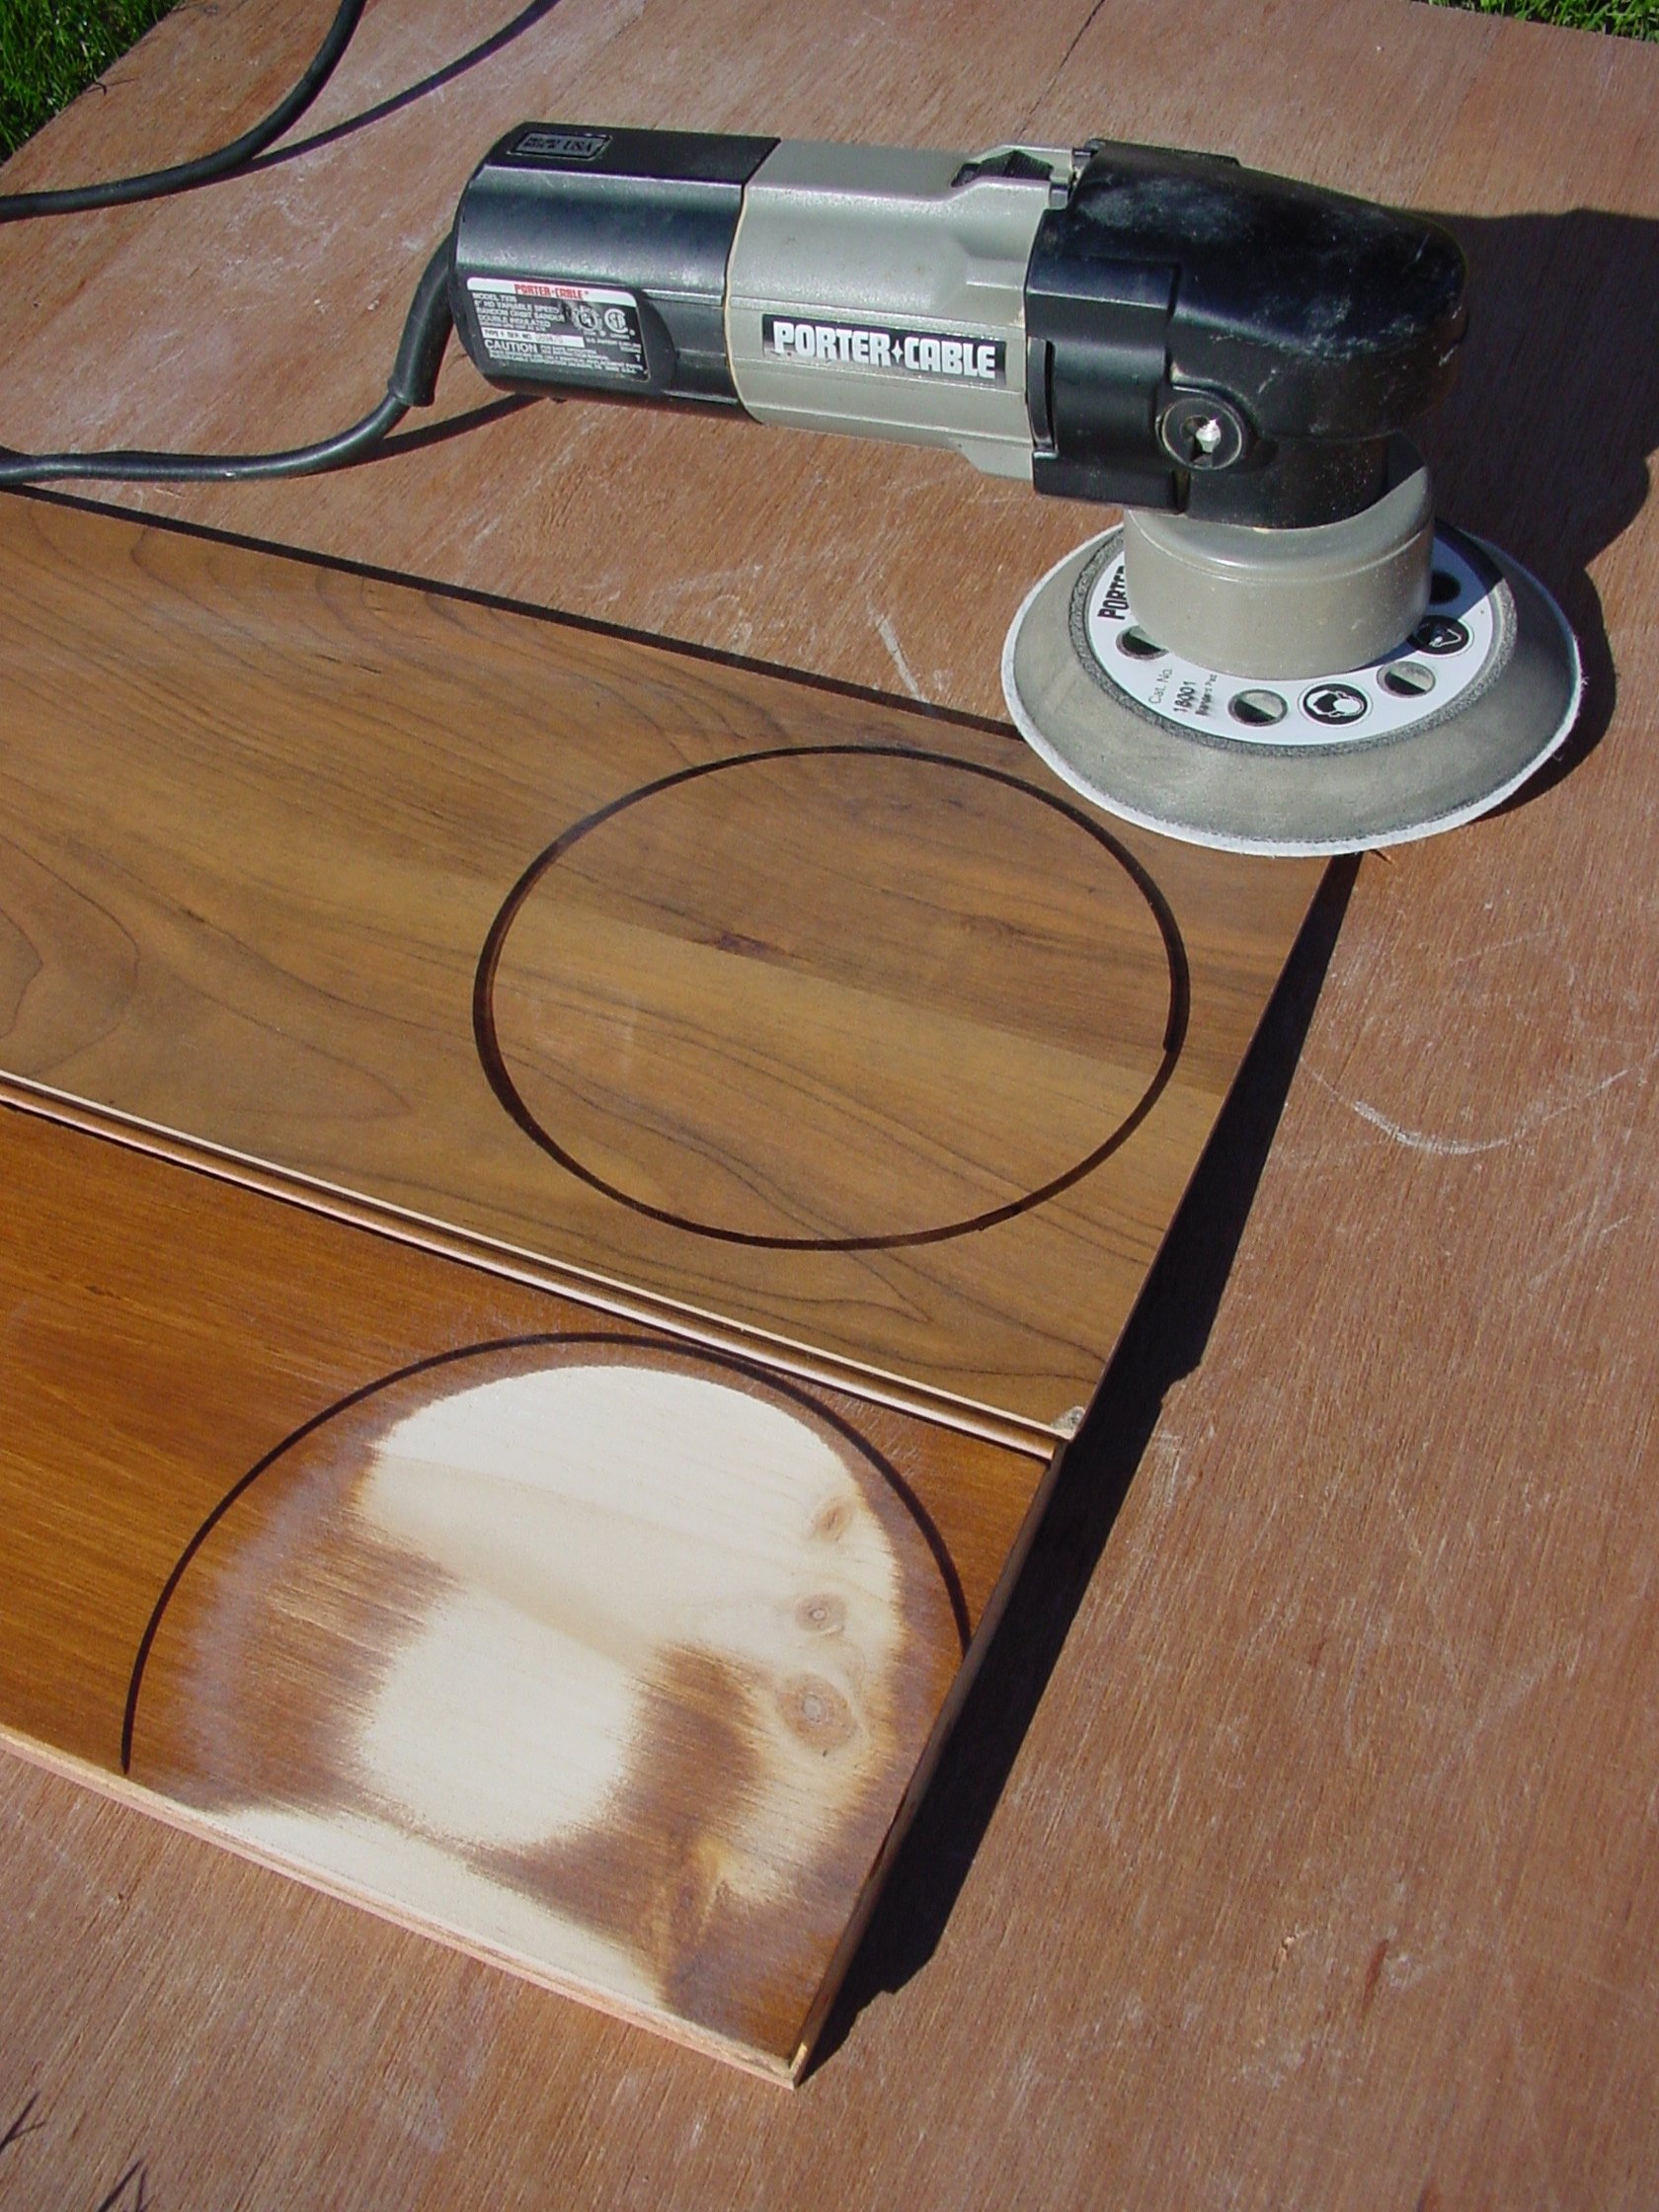 Back in 1993, a European company by the name of Pergo sent me samples of a new kind of flooring that was supposed to revolutionize the world of home improvements. They called this new stuff “laminate flooring”. I’d never heard the term before, but it was supposed to have a long track record across the Atlantic. To be honest, I thought the whole thing was a gimmick, but as laminate became mainstream, I conducted by own testing on how tough this flooring was. The photo here shows how site-finished wood flooring (one coat of stain followed by three coats of oil-based urethane) compares with a piece of standard, residential laminate flooring for abrasion resistance. Within both black circles I ran a 6” random orbit sander under hand pressure for 60 seconds. The site-finished wood lost most of its finish during this time, but the laminate suffered no damage at all. A very close inspection from 6” away does show a bit of scuffing in the sanding zone of the laminate, but nothing you could detect from eye level.
Many brands of laminate flooring are surprisingly tough and surprisingly impervious to water. I’ve submerged samples for several days to see how they perform and most don’t show any harm at all. I even know of a house that had 2” of water laying on a newly-laid laminate floor for two days before the trouble was discovered. The laminate was removed piece by piece, allowed to dry outdoors, then reinstalled. About 90% of the laminate pieces were completely reusable and still in use 10 years later. [/insert_item]
Vinyl plank/tile – Fully Recommended for Basements
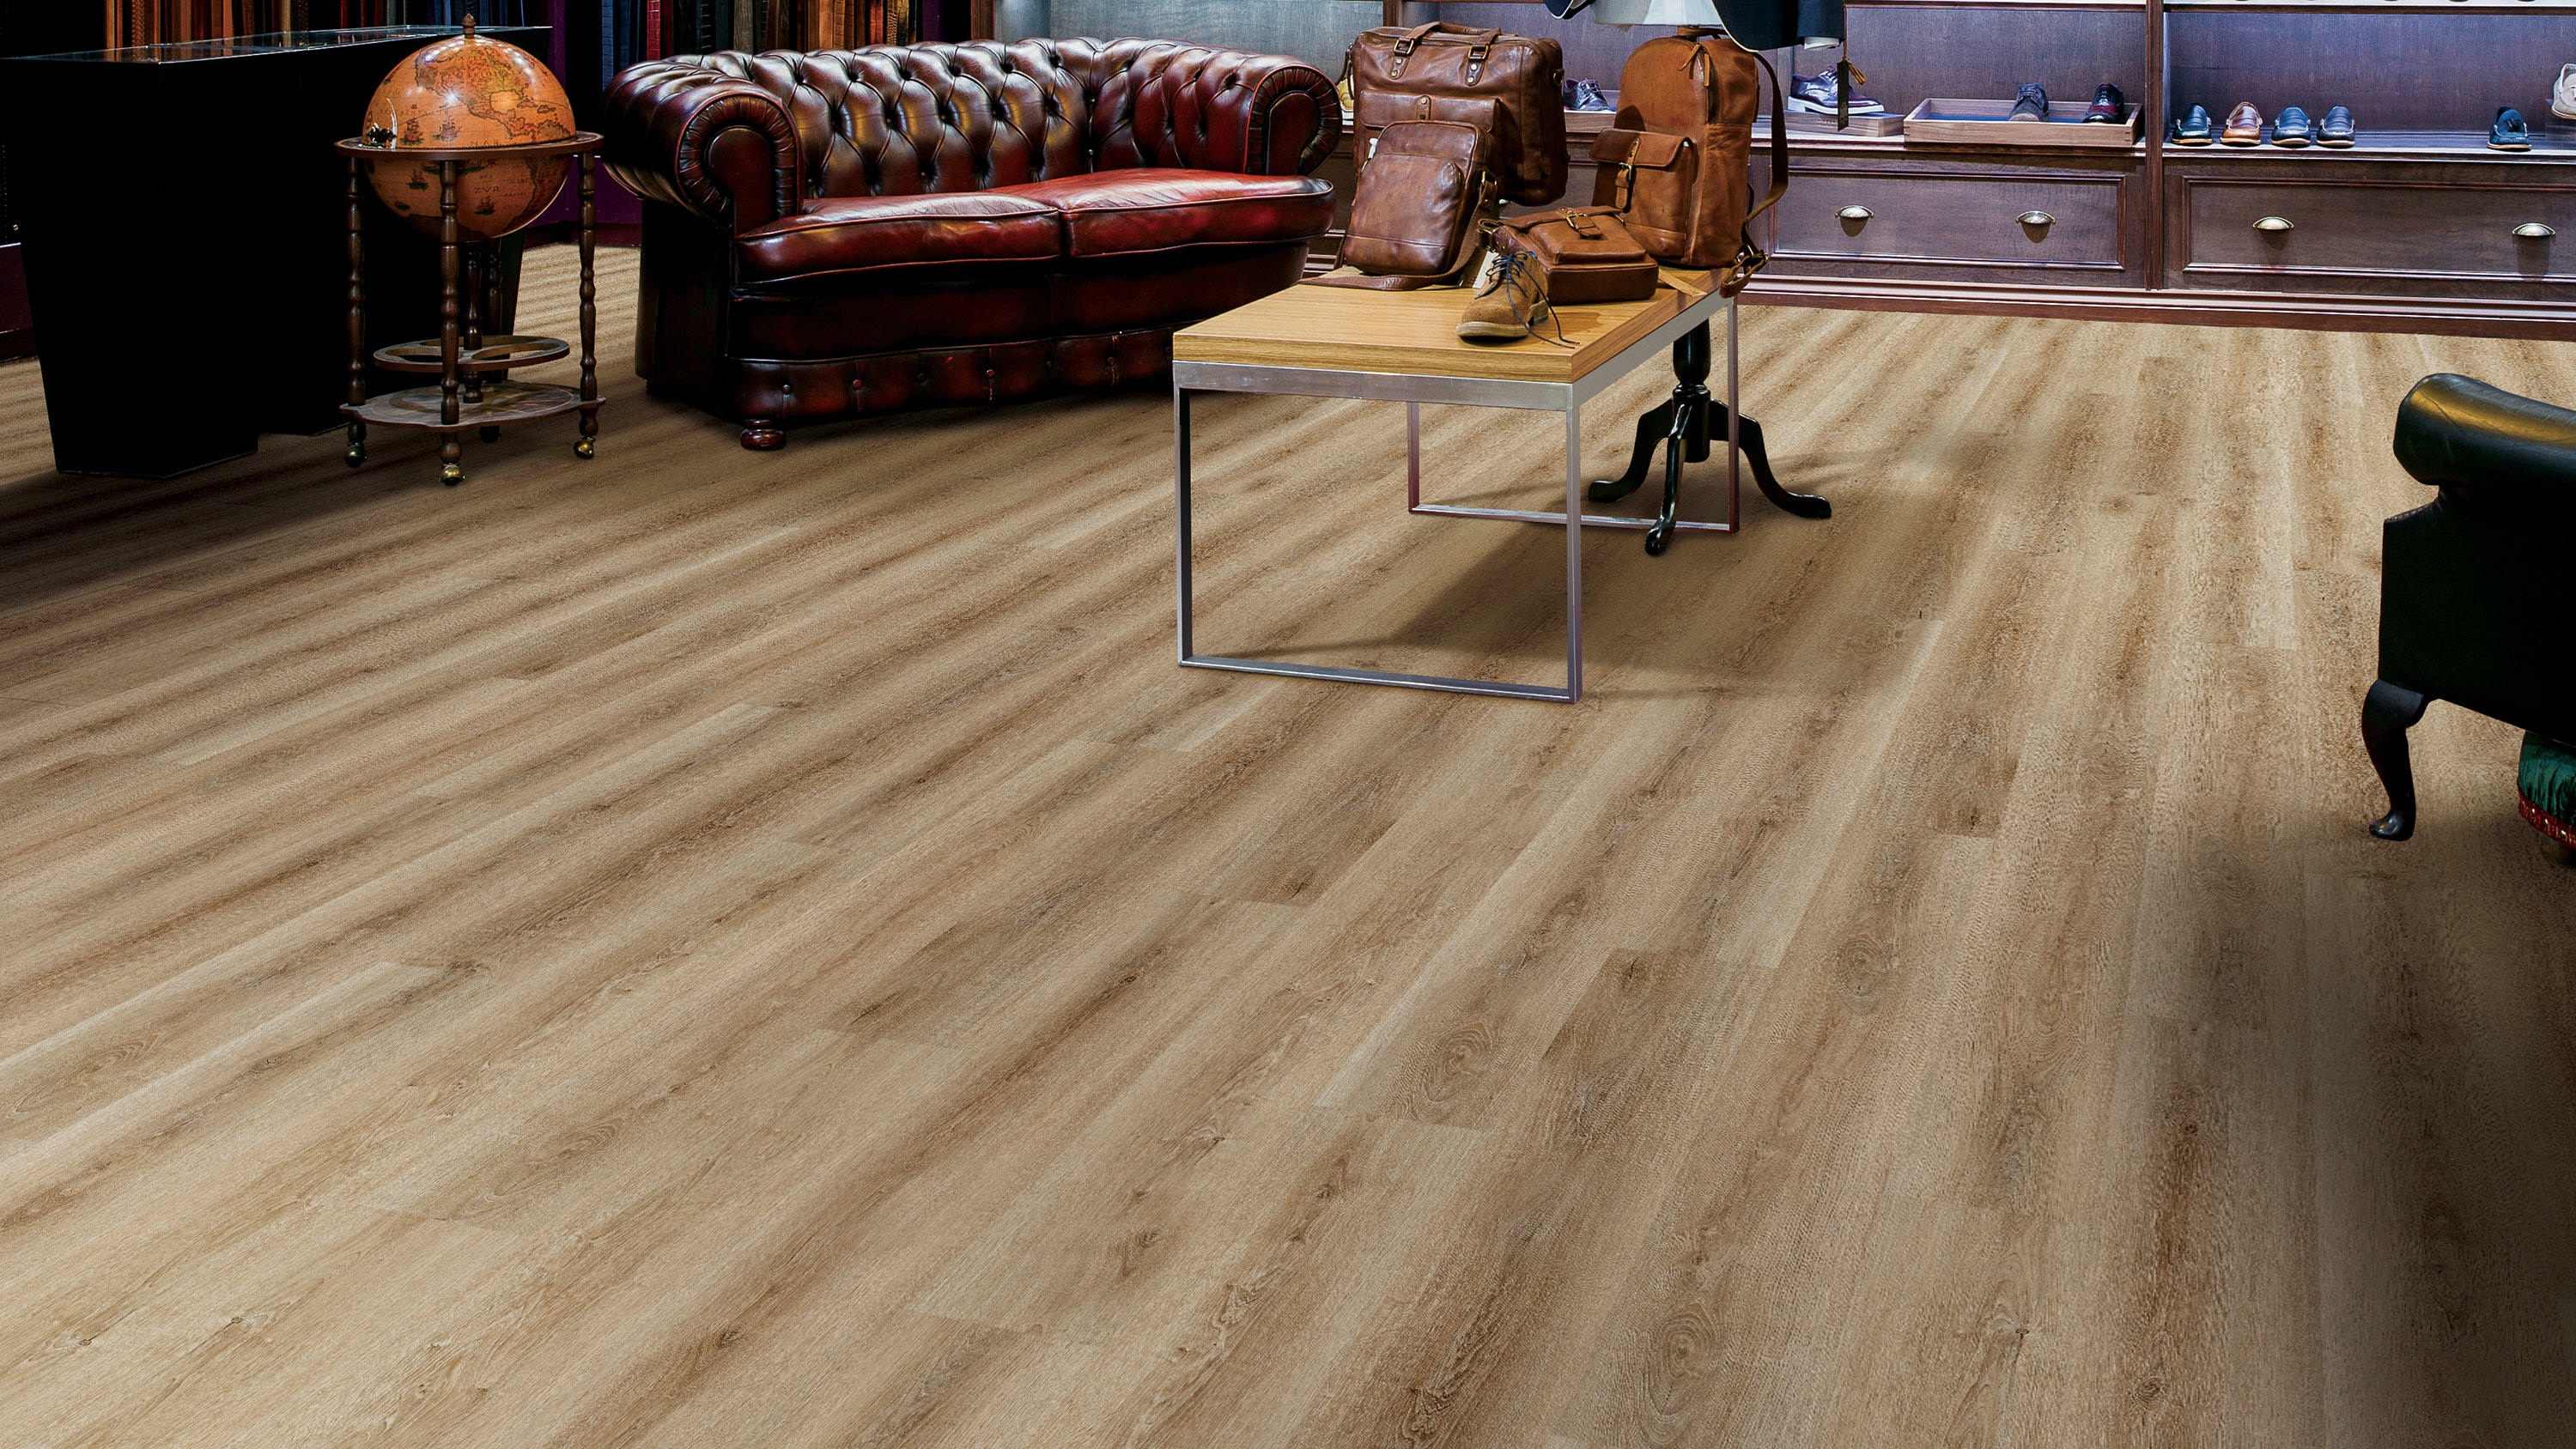
Imagine thin, semi-flexible, short planks or square tiles that look like wood or other materials, but click together like laminate. This is what luxury vinyl plank and luxury vinyl tile is all about. Sometimes abbreviated LVP (luxury vinyl plank) or LVT (luxury vinyl tile) depending on the shape of the pieces, this option requires a moisture barrier underlay installed directly above the concrete. Even still, a moisture-impervious subfloor makes things more comfortable and moisture tolerant. Either way, the subfloor also has to be fairly flat and free of bumps. Vinyl plank doesn’t need as flat a subfloor as laminate because it’s a bit flexible, but pretty flat is still good. Vinyl plank is easy to cut by scoring with a knife, bending and snapping. No saw necessary. It’s also surprisingly tough, authentic looking and contains no organic matter to feed mold. LVP and LVT floors can be lifted and removed after installation if needed. In the event of a flood, it can be dried and replaced.
LVP/LVT Pros:
- Relatively low cost, easy installation and very high durability.
- Better able than laminate to accommodate slight subfloor undulations
- Good looks with authentic appearance
- Tolerates moisture better than most other options
- Non-organic composition doesn’t feed mold
- Resilient texture resists damage and dropped items don’t break so easily
- Individual tiles or planks can be replaced in the case of damage
- No need to glue LVP/LVT to the subfloor; free floating works fine
LVP/LVT Cons:
- Some brands not suitable above infloor heating
- Some people are concerned about off-gassing from all vinyl flooring
- Requires smooth surface – many LVP and LVT products will show defects and lumps in the subfloor
Vinyl Sheet – Fully Recommended for Basements
 Think of this as a modern, more durable, more flexible, better-looking version of the linoleum from yesteryear. Not as popular these days as vinyl plank or tile, vinyl sheet is still an economical choice for basements. Vinyl is also non-organic. Not as easy to install as LVP/LVT, but still relatively simple. Most vinyl sheet flooring requires glue, but at least one particular type of vinyl floor called Fiber Floor is meant to lay flat on the subfloor under its own weight. Fiber Floor can be picked up, dried and reinstalled in the event of a flood. It’s unique and ideal for basements so take a look.
Vinyl Sheet Pros:
- Low cost
- Tolerates small amounts of moisture
- Durable
- Non-organic so it doesn’t feed mold
Vinyl Sheet Cons:
- Requires smooth subfloor to avoid defects appearing on the surface.
- Damaged areas can’t be repaired as with LVP/LVT
Ceramic/Porcelain Tiles – Recommended for Basements with Precautions
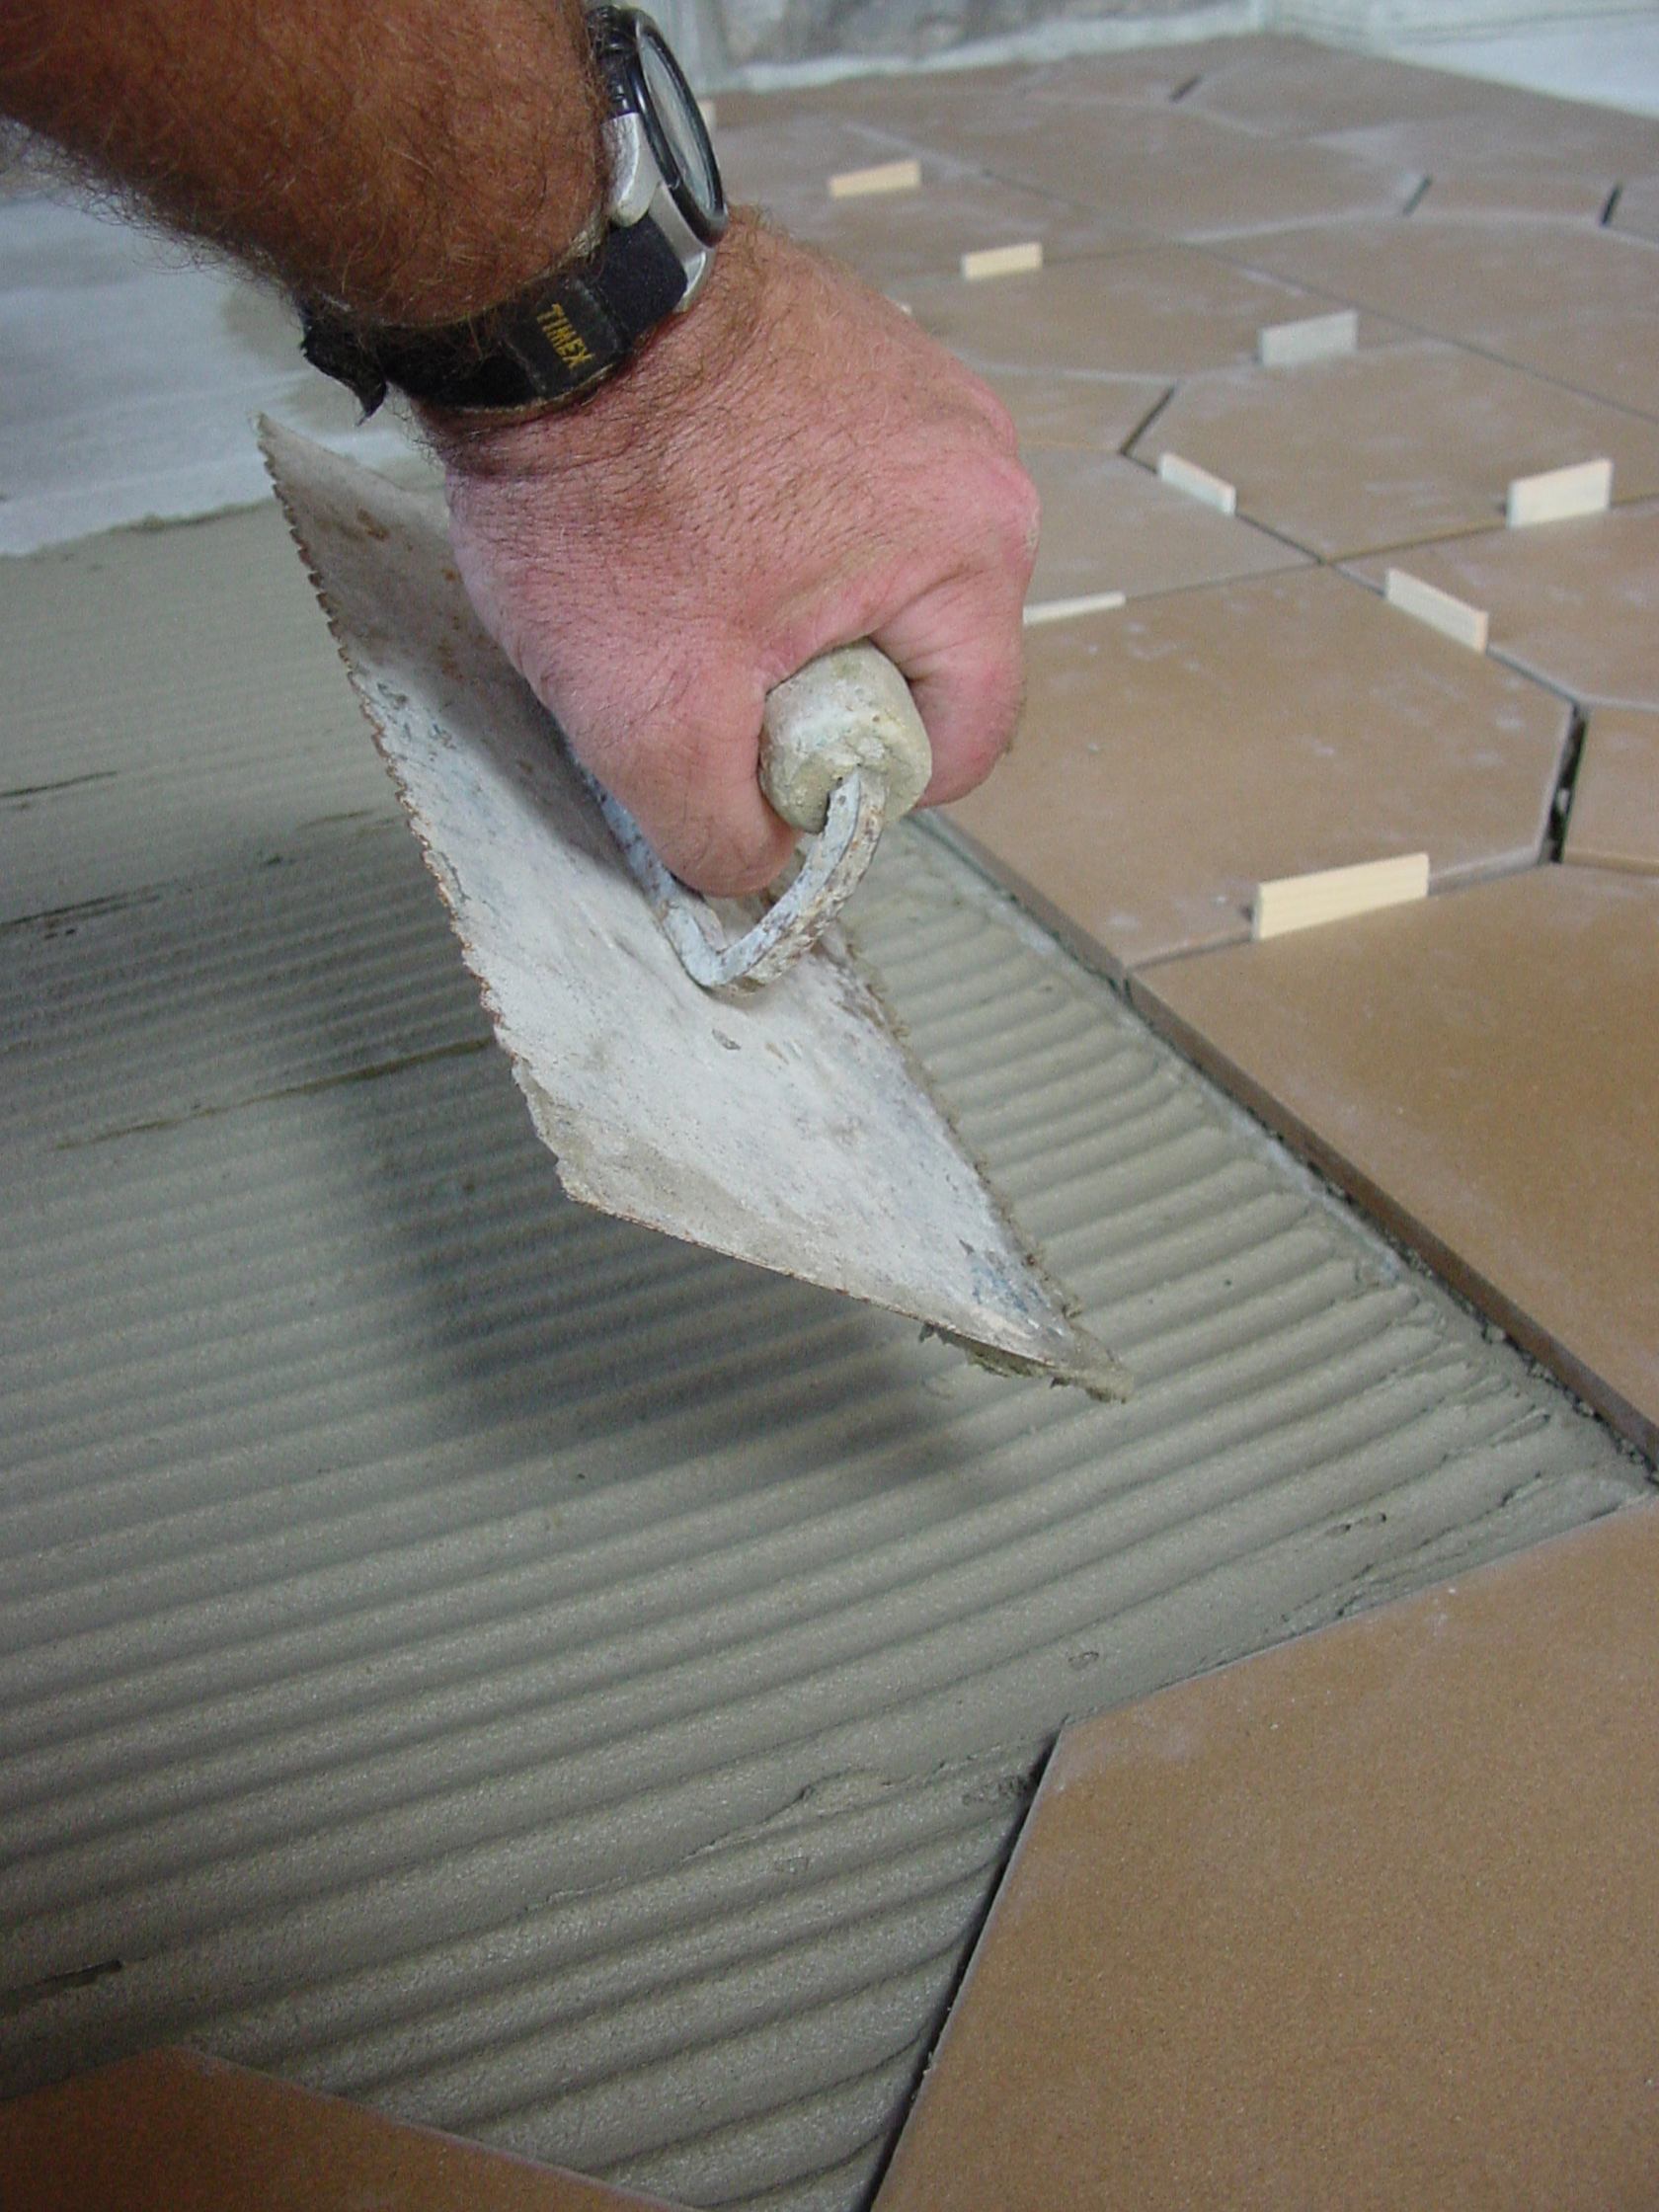 This classy, durable option works well in basements, but there are a few drawbacks you need to consider. If you’re applying ceramic or porcelain tiles directly on the concrete of your basement floor, be sure to use an uncoupling membrane underneath. This greatly improves the crack-resistance of the installation. See the video coming up next for a tour of uncoupling membranes and why they work so well for preventing cracks in hard-surface tile installations. Also, it gets tricky installing ceramic tiles on top of infloor heating. For best energy performance you’ll need to install at least 1” of rigid foam directly on the concrete, as I’ve explained earlier. The payoff is that ceramic tiles conduct heat very well, allowing you to feel all the warmth from your infloor heating installation. The insulation underneath the heating cables ensures that heat is directed upwards towards the floor, and not downwards into the earth. Never install infloor heating in a basement without some kind of insulation below the heating cables.
Something called “porcelain wood plank flooring” looks remarkably like wood but is actually a long, plank-like porcelain tile that’s installed on thinset mortar like any other kind of hard-surface tile. If you have your heart set on something that looks like wood in the basement, but you also want to get the most effective infloor heating, porcelain wood plank flooring is the way to go.
Ceramic/Porcelain Tile Pros:
- Durable, classic and easy to clean
- Excellent heat transmission for infloor heating applications
- Remarkably authentic wood-grain choices that needs no refinishing
Ceramic/Porcelain Tile Cons:
- Higher cost than other basement flooring options
- Requires more stable, flat and demanding subfloor support than other flooring
- Can encourage condensation on uninsulated floors in regions that get humid summers
- Hard surface encourages breakage of dropped items
Watch the video below. I made a while back for an audience of contractors on how uncoupling membranes work and the advantages they offer for all kinds of ceramic and porcelain tile installations, both in basements and above-ground installations.
VIDEO: Uncoupling Membranes Make Ceramics More Reliable
Epoxy Floor Coating – Limited Recommendation
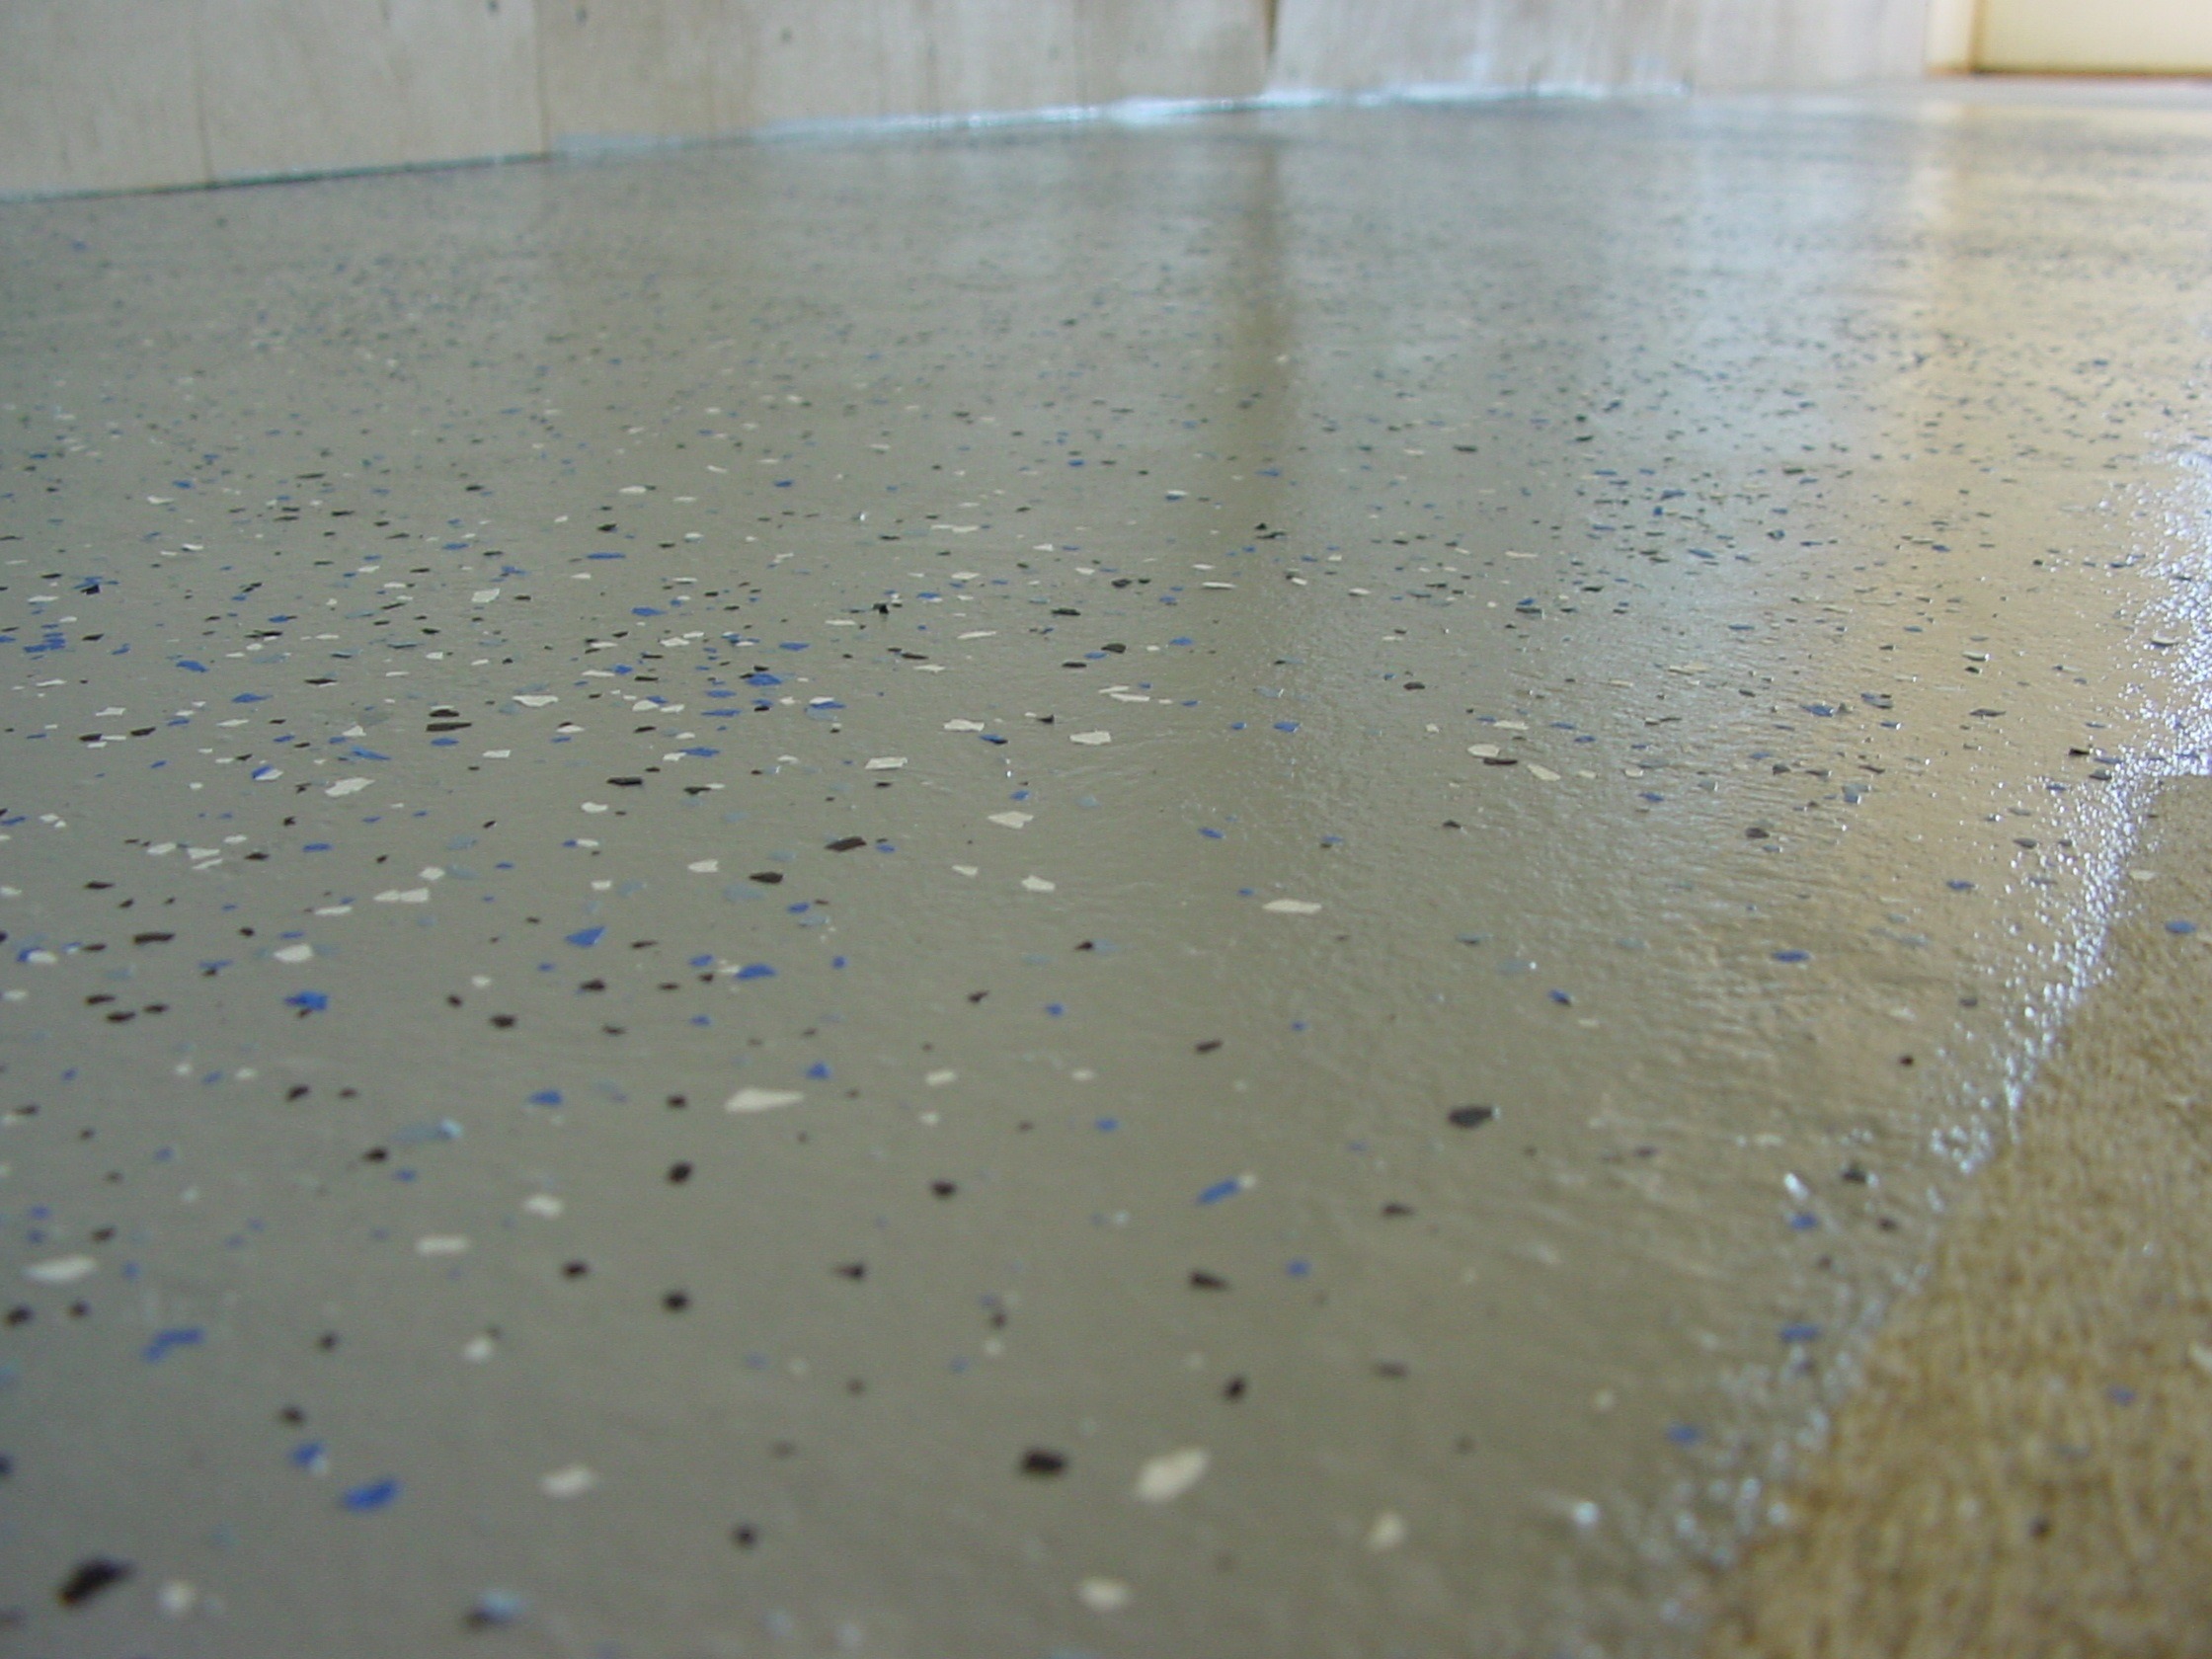 This is really a floor treatment rather than a floor covering, but epoxy is worth considering for some parts of your basement. Epoxy paint is a super-tough liquid that hardens by chemical reaction, not solvent evaporation. You mix a hardener into the epoxy paint and you have an hour or two to roll the paint on the floor before it starts to set up. Although you could use epoxy floor coatings anywhere in your basement, the industrial/commercial appearance makes it ideal for the floor of utility rooms or other informal work spaces. Epoxy floor coatings are also ideal if you’re opting for a “semi-finished” basement. by painting the floor, walls and underside of the open ceiling frame above, you can make an unfinished basement look pretty good at a fraction of the cost of a full-blown finishing job.
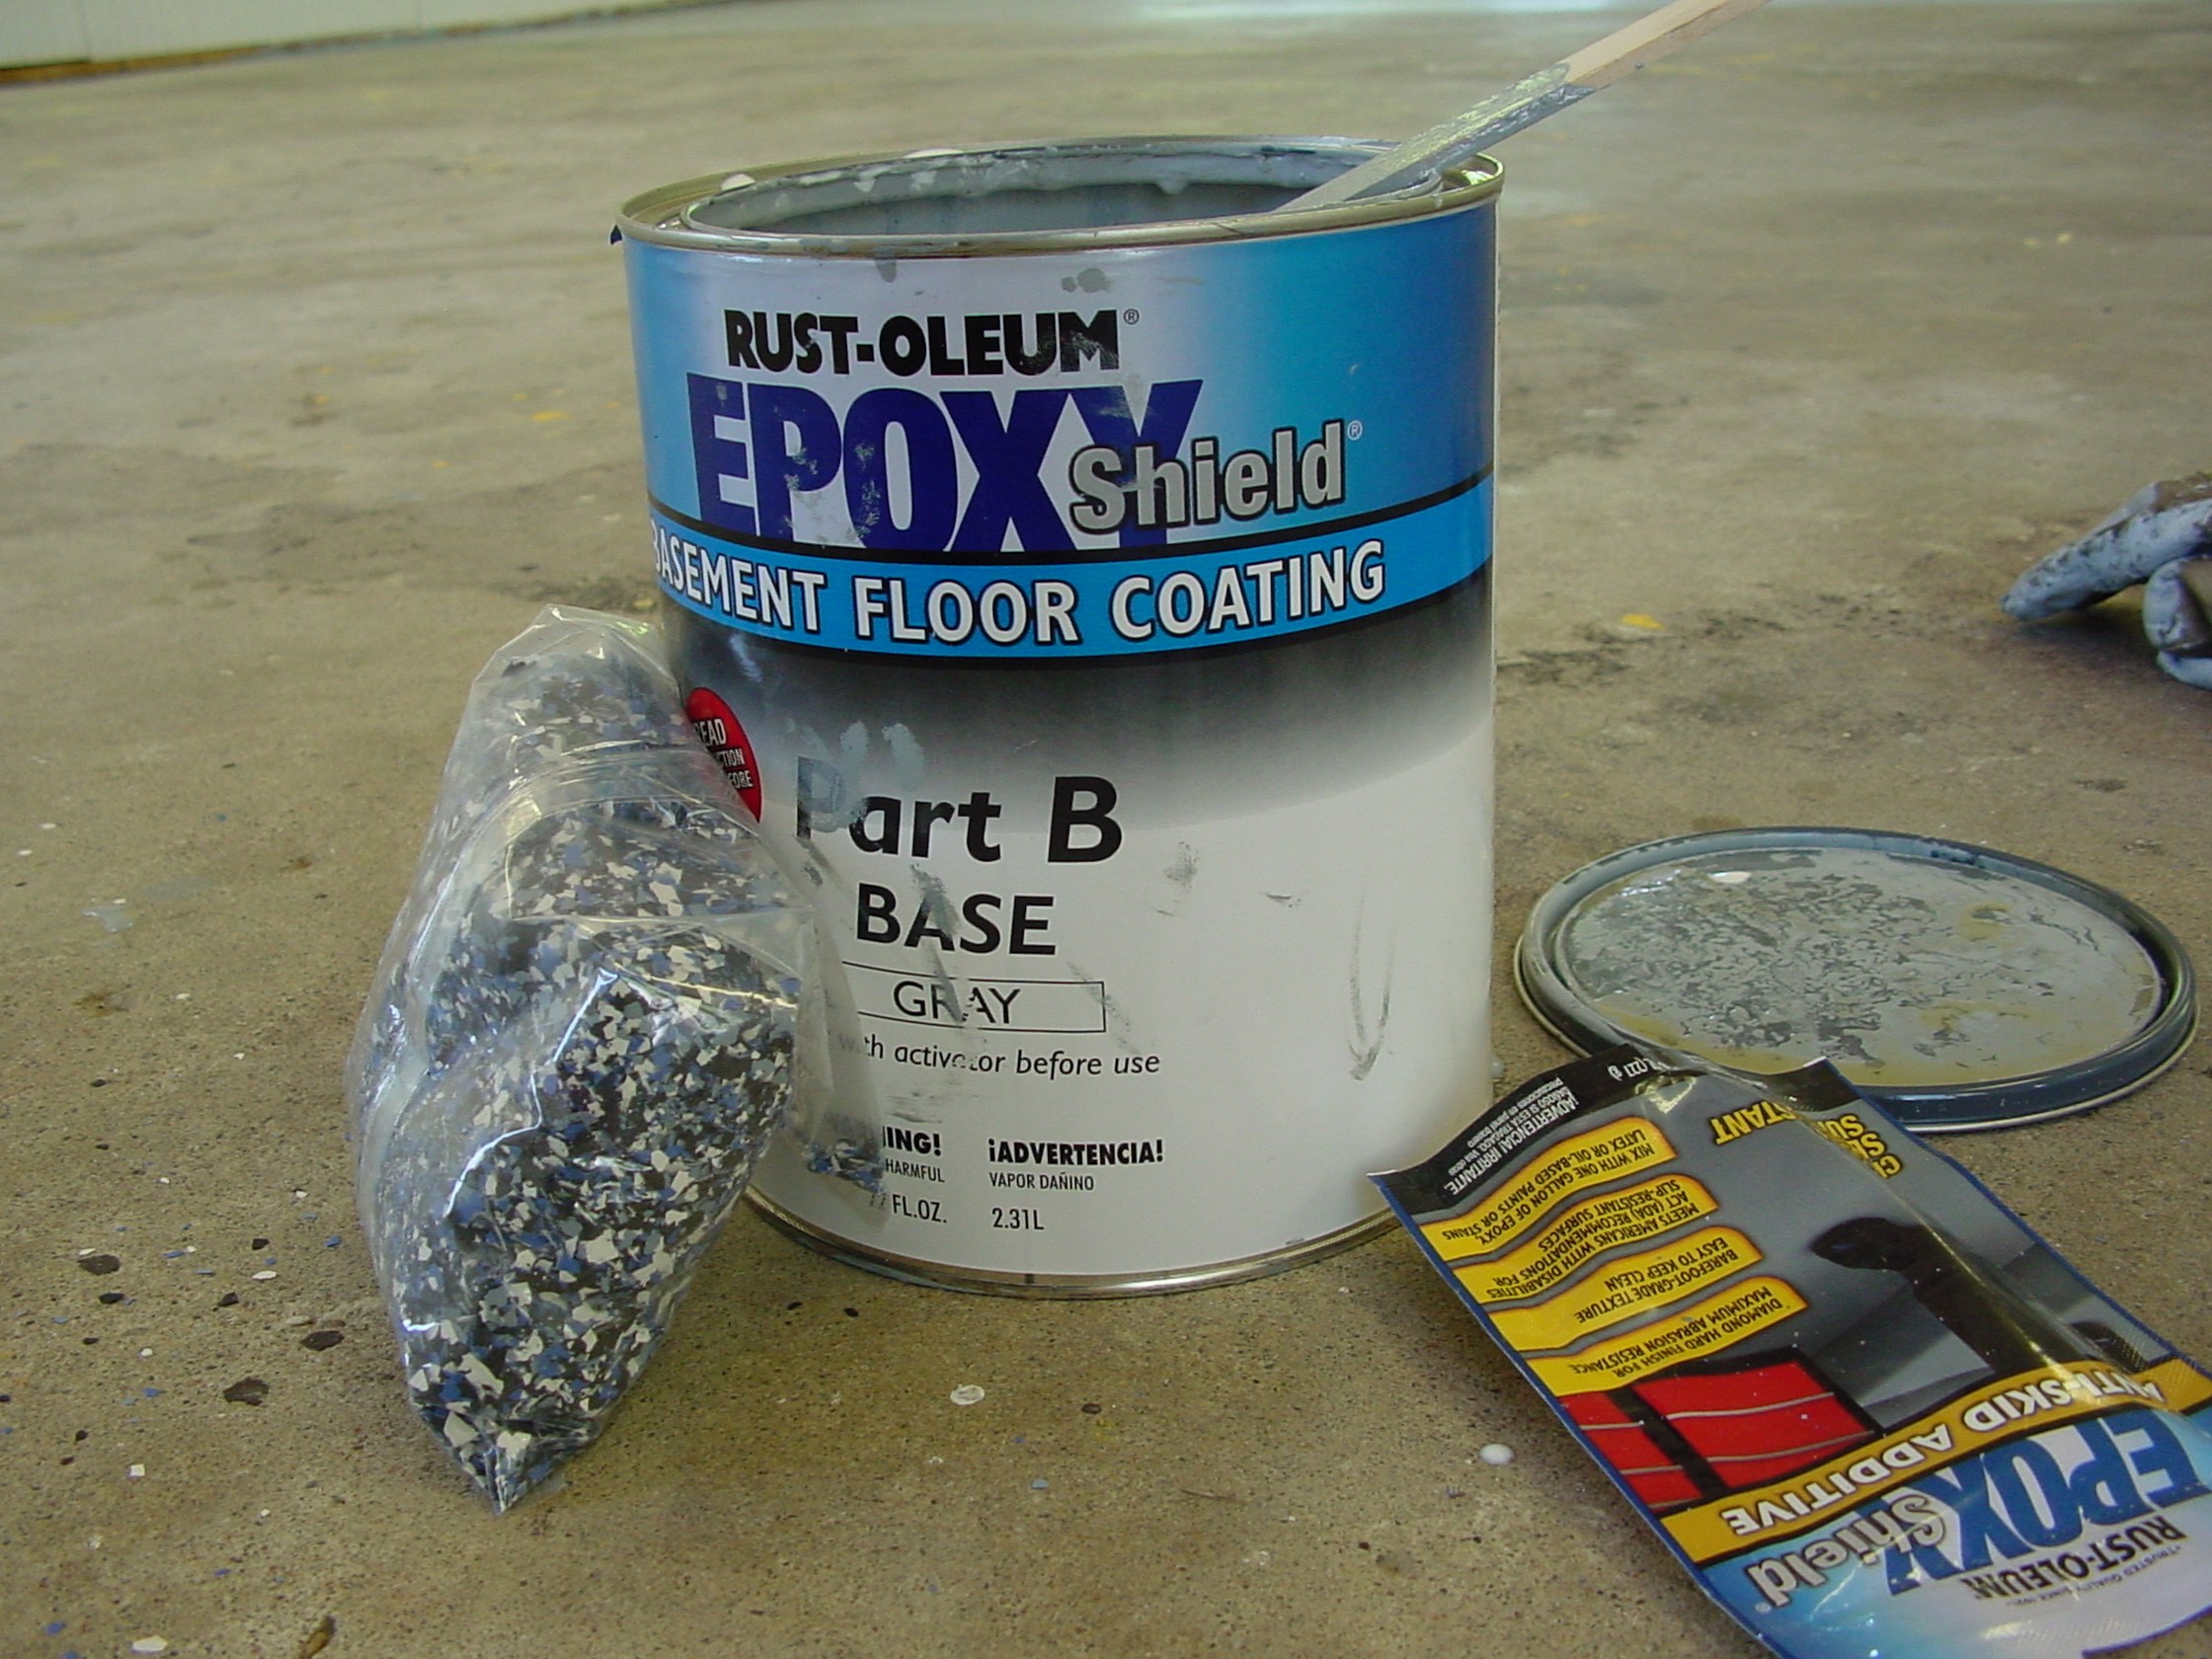 Most epoxy floor coatings are made to have small flecks of decorative plastic broadcast on the surface when wet to make it look more interesting. The flecks bond to the epoxy while it cures and they really do make things look so much better. After rolling on the paint, sprinkle the flecks evenly by hand. A pair of golf shoes with spikes allows you to walk on the wet epoxy paint while broadcasting. As long as you get off the floor within an hour, the epoxy will flow and cover the spike marks.
Epoxy Floor Coating Pros:
- Simple application and low cost
- Durable and good looking
Epoxy Floor Cons:
- Informal appearance
- Creates a hard surface with no insulating properties
- Requires clean, dry, bare floor for durable bonding
Acid-Stained Concrete – Limited Recommendation
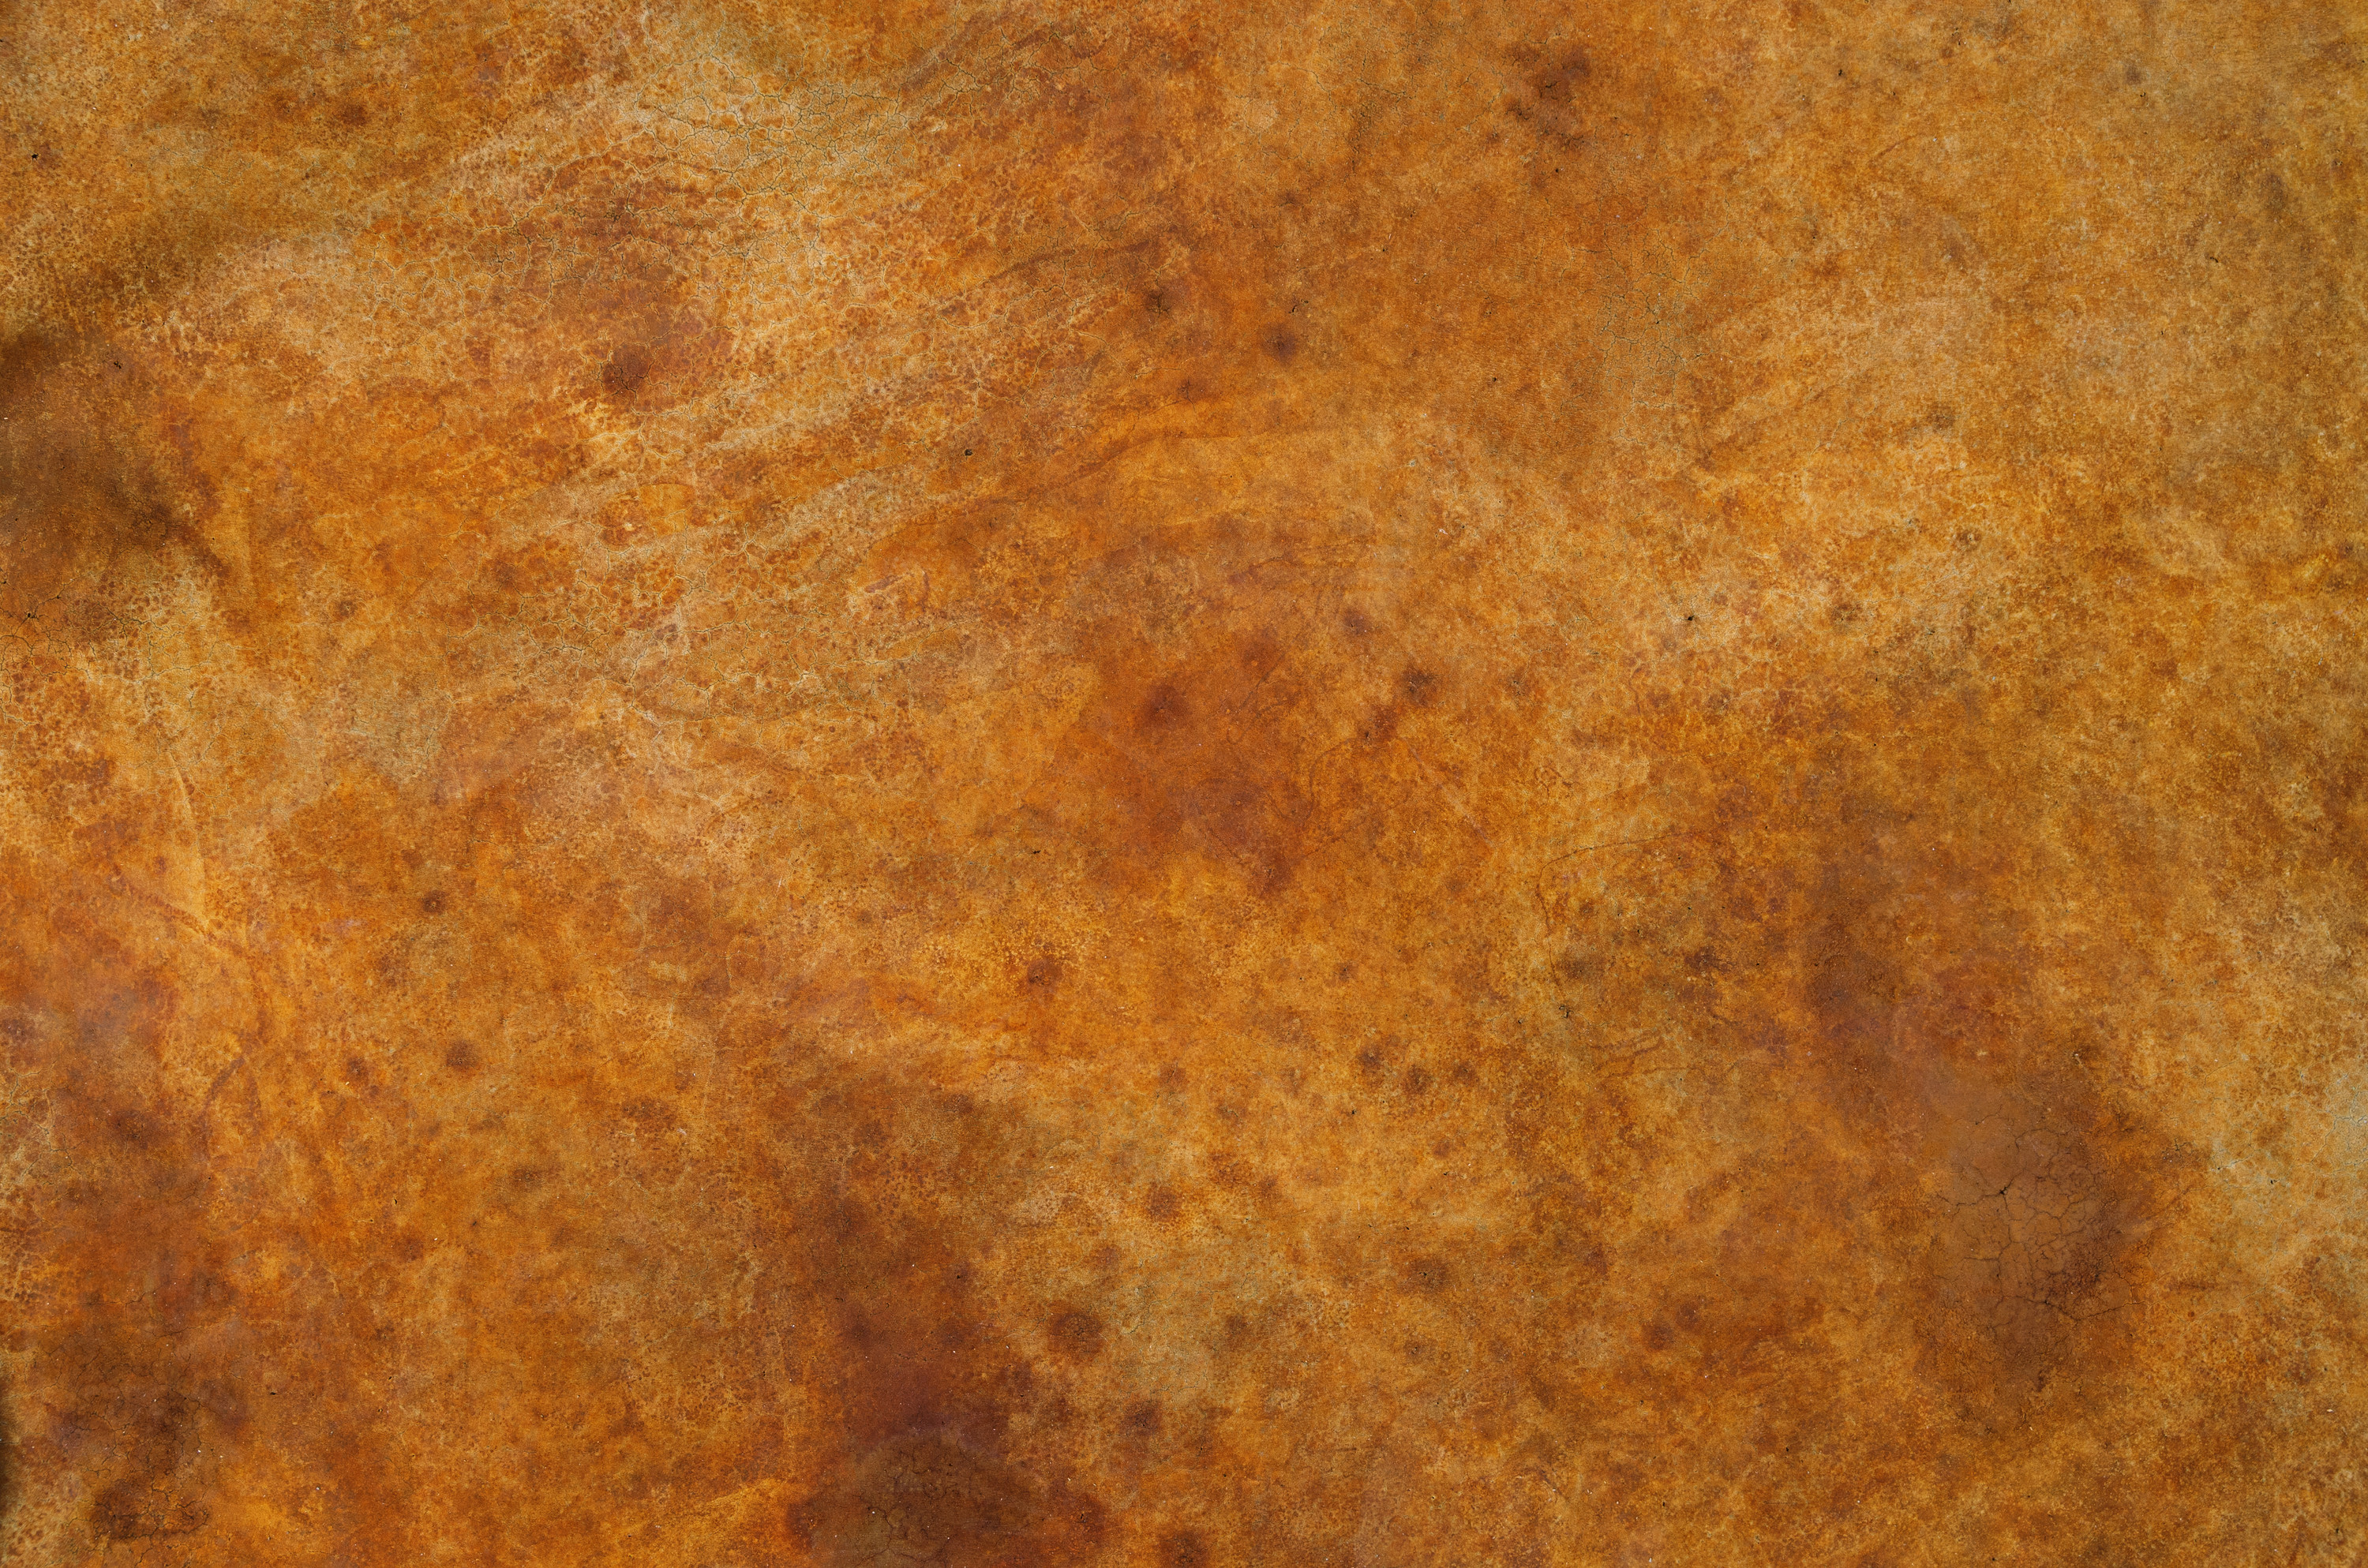 This is a floor treatment (not a covering as such), but staining can yield surprisingly beautiful results on sound concrete in good condition. Acid stains transform the colour of concrete by chemical reaction, making it richer and more beautiful than plain concrete. Stained concrete is then sealed to prevent accidental staining and to create a more formal look. You need bare concrete for the treatment to work (no paint or glue or residue of any kind), and some professional application contractors use a skim coat of something called micro topping. This is a thin, mortar-like coating that’s troweled over the floor to create a smooth surface that’s great for staining. Micro toppings are optional for concrete floors that have never been coated, but mandatory for floors where an old coating as been removed. Removal is never perfect, but the micro topping solves this problem by creating a new surface for acid staining.
Acid-Stained Concrete Pros:
- Simple, elegant results
- Fast and easy
- Maintains full basement ceiling height
Acid Stained Concrete Cons:
- Unpredictable colour pattern development – you never really know what stained concrete looks like until it’s done
- Does not add warmth or comfort to the floor
Wall-to-Wall Carpet – Limited Recommendation
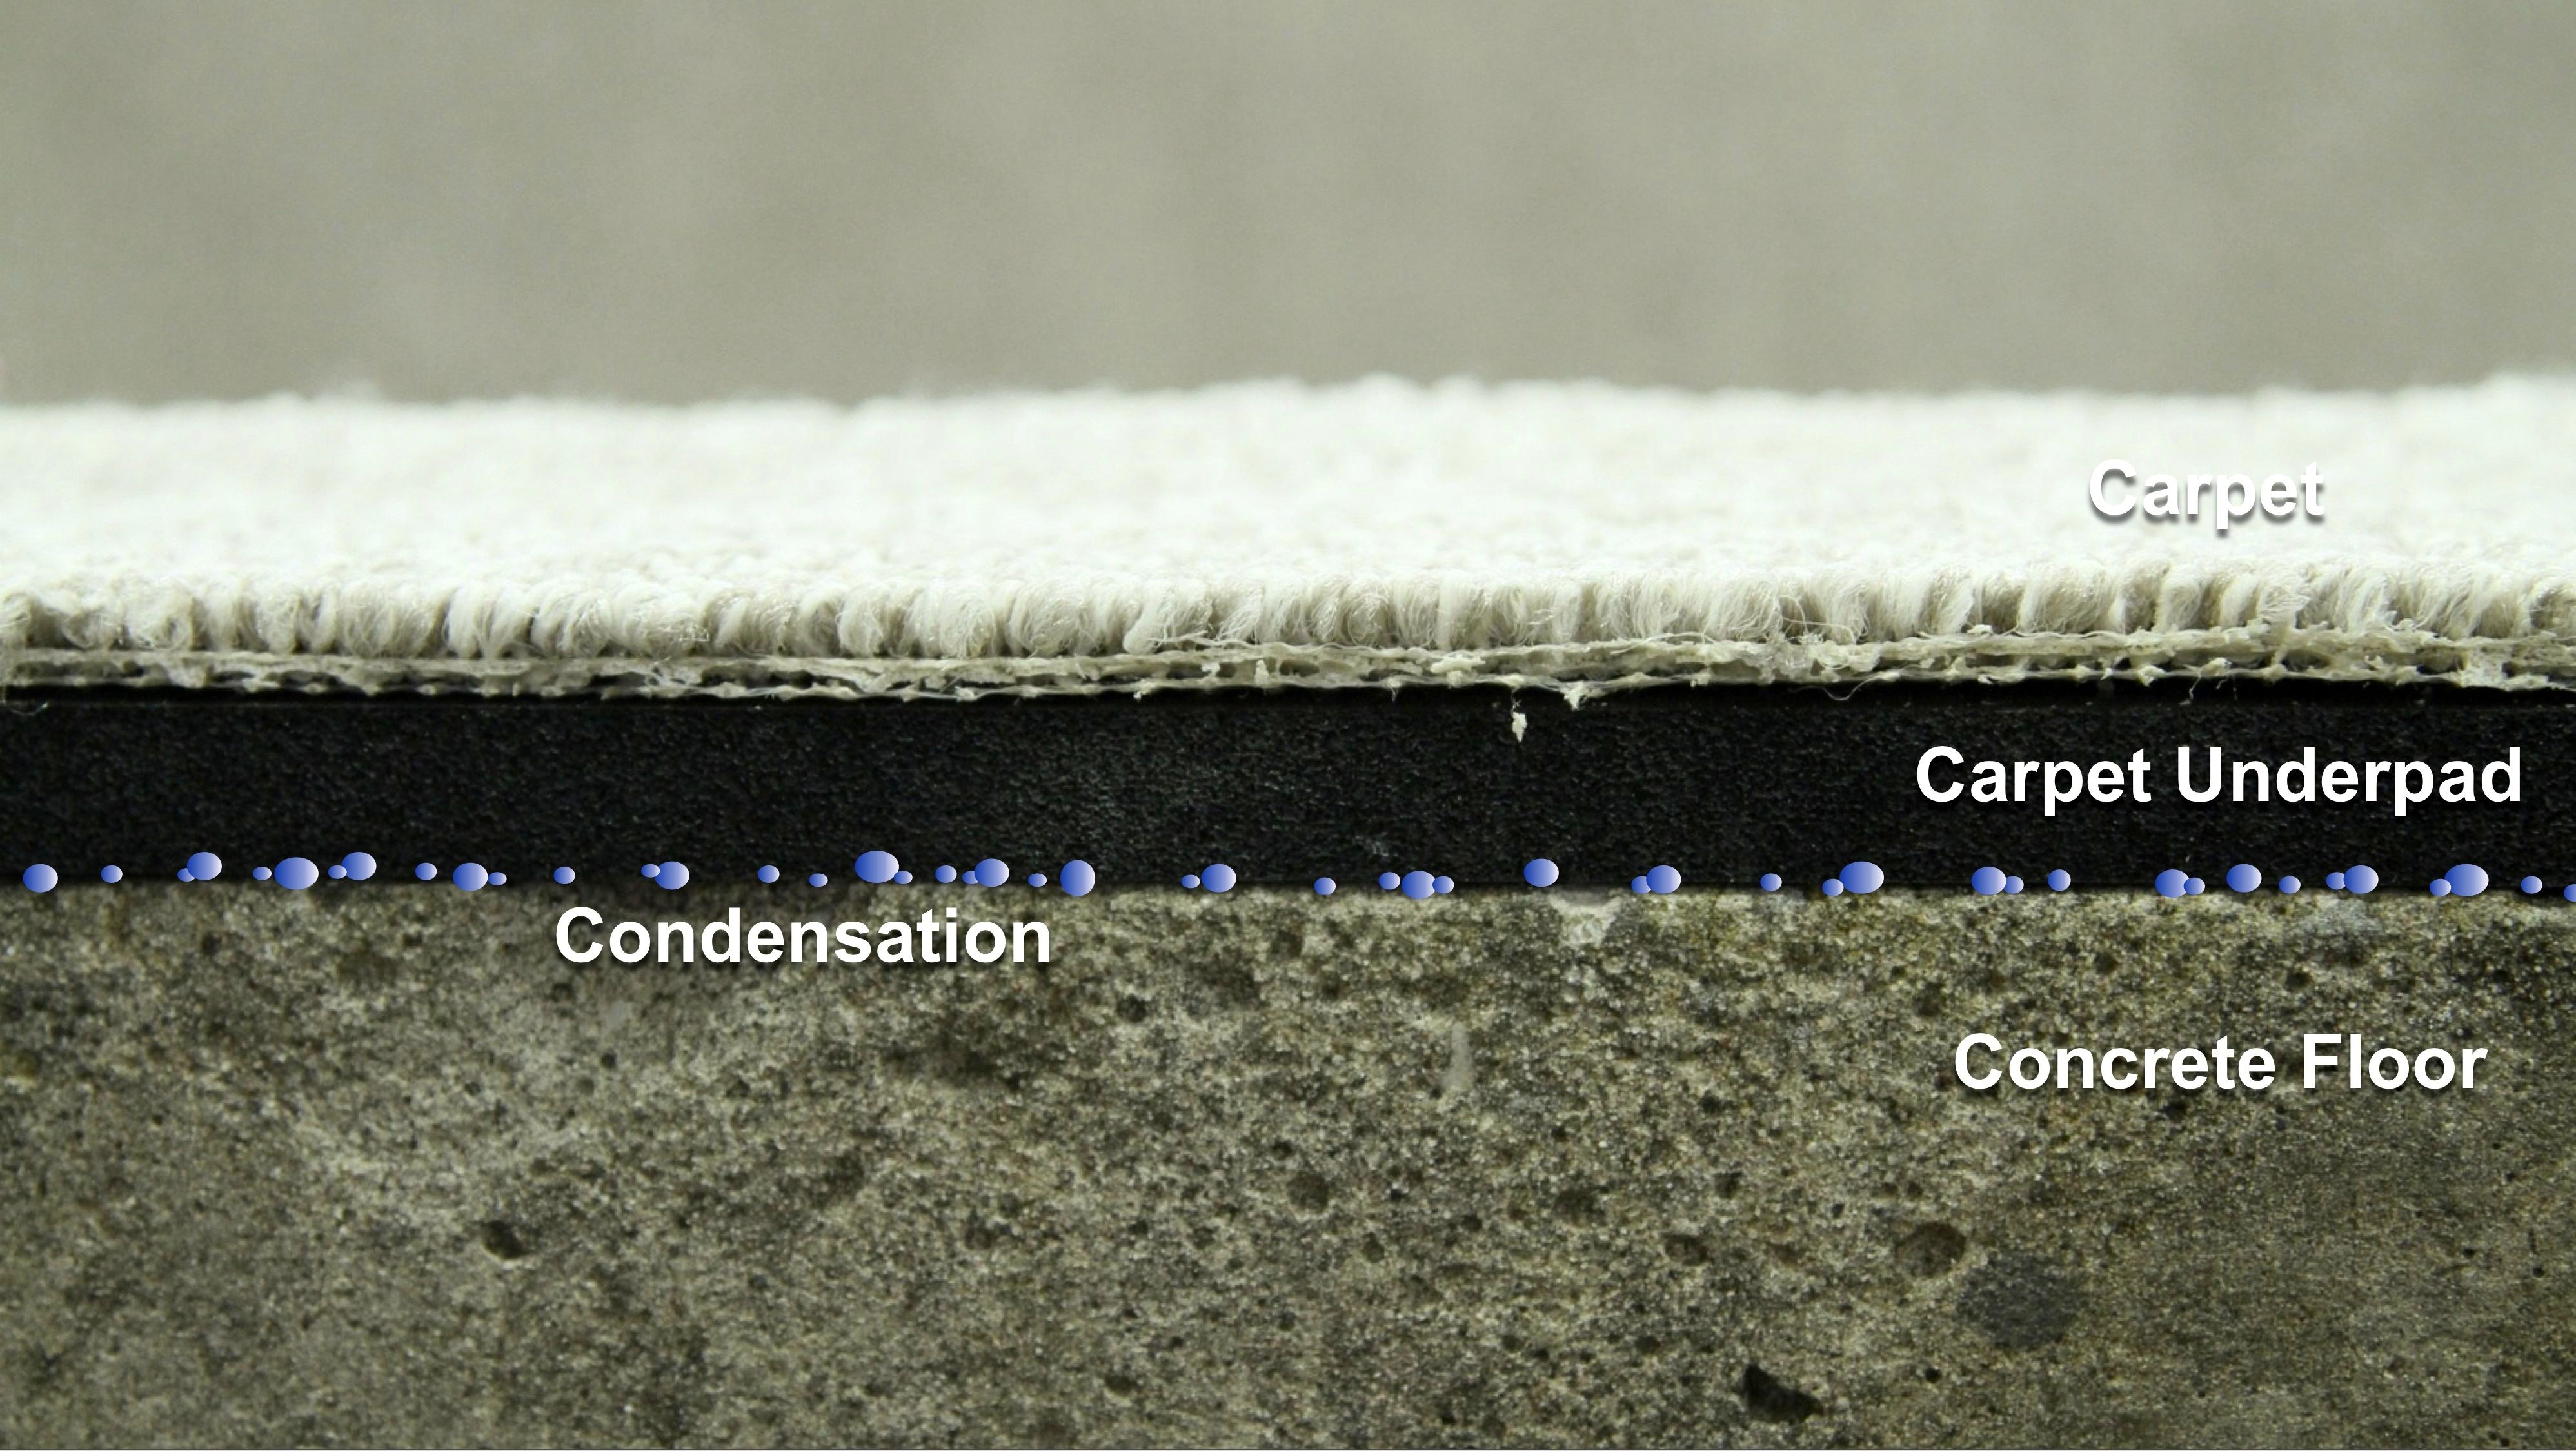 This is a very common basement flooring option because people want warm feet. Carpet feels warm, but in reality it’s too risky to install carpet and underlay directly on concrete. The risk of condensation occurring within the carpet pile during humid weather is too high, not to mention the damaged caused to carpet by even the smallest water leak. Wall-to-wall carpet can be used in basements if you really want to (I’m not a big fan of it anywhere in the house), but you do need to put it on some kind of insulated, moisture-proof subfloor. Ideally you want an installation that raises the carpet over the concrete with a small space underneath.
Carpet Pros:
- Soft and comfortable under foot
- Deadens sound and echoes
Carpet Cons:
- Holds dust and dirt
- Difficult to dry in the event of a spill or leak
- Some carpets off-gas undesirable compounds
Engineered Wood – Limited Recommendation
 This type of flooring is usually factory finished and comes in planks that fit together along their edges. Unlike laminate flooring, engineered flooring has a layer of real wood on the surface (about 1/8” to 3/16” thick) bonded to a plywood substrate underneath that clicks together with neighbouring pieces. Where solid wood flooring expands and contracts with seasonal changes in humidity, engineered wood flooring is more stable. It doesn’t move much. Although some people recommend this option for basements, it’s not great in my experience because it still gets damaged by moisture in the event of a flood. If you really have your heart set on seeing real wood in your basement, and if you commit to creating an appropriate subfloor in a perfectly dry basement, then engineered will probably work well for you.
Some engineered flooring is made to click together and act as a floating floor, while other types require nailing. The need for nailing can be challenging when you’re working above concrete and you need to lay down enough solid subfloor material to accept nails. Be sure to check on how a particular engineered floor comes together before you buy. Click options are best for basements.
Engineered Wood Pros:
- Beautiful appearance of authentic wood
- Relatively stable
- Most engineered floors come factory finished.
Engineered Wood Cons:
- Organic composition can feed mold growth in the presence of moisture
- Some non-click configurations require thick enough subfloor for nailing
TECH TIP: Try a Box of Flooring First
Over the last 20 years, ready-to-install vinyl, laminates and engineered flooring has taken over the market. This is good news for more than just the obvious advantages of quick installation without the need to fill your home with sanding dust and finishing fumes. The hidden advantage of ready-to-install flooring is that it’s sold one box at a time. Having trouble deciding on the colour, texture, style and durability of flooring for your basement? Buy one or two boxes of whatever you think might work, lay them down in your home and live with them for a while. There’s no better way to check on durability, colour in context, and to see how dirt shows up on a particular choice. Buying and trying several boxes of flooring is a cheap way to discover the finished floor you want.
Solid wood – Not Recommended
It’s hard to imagine a worse option for a basement floor than solid wood. Not only does it require a thick subfloor for nailing, but it’s also highly susceptible to moisture. Even without a flood, solid wood flooring curls and cups in high moisture situations. The wider the pieces of wood are, the more potential for cupping exists, too. Most solid wood flooring these days is factory finished, but this still doesn’t protect the wood from moisture in any meaningful way. The 5/8”-thick OSB of subfloor tiles is marginal for holding the nails that secure solid wood flooring.
Solid Wood Pros:
- Classic good looks
Solid Wood Cons:
- Challenging to create naileable subfloor base
- Susceptible to cupping and moisture damage
- Not particularly durable
