Tools & Techniques for Perimeter Walls
 Details of this work will vary depending on the perimeter wall system you’ve chosen. As I mentioned before, don’t build a wood frame stud wall and fill it with fibre insulation batts like is commonly done. This is asking for trouble with mold, mildew and harmful indoor air quality. Instead, follow one of these three strategies that I’ve mentioned before:
Option#1: Freestanding Insulating Basement Walls Panels
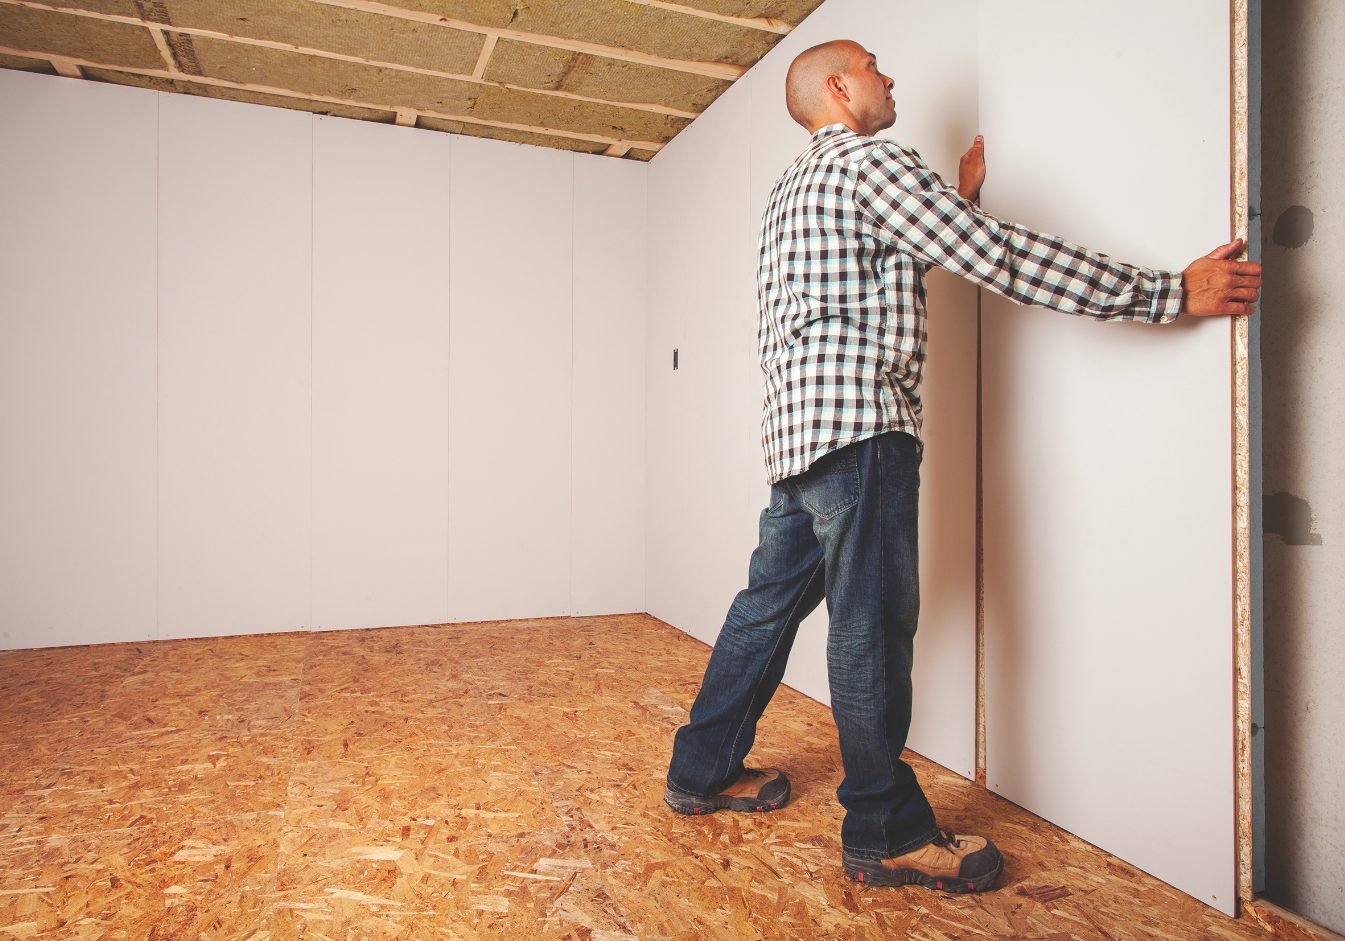
DRIcore’s SMARTWALL is the best I’ve seen so far. It combines a mold-resistant design with insulation and a finished drywall surface that needs no taping of joints. Panels come 21 3/4”” wide and 8’ long. Is your basement taller than 8’ from the floor to the bottom edge of the joists? That’s a problem if basement wall panels only come 8’ long, but there’s a solution. Watch the video up next for a strategy that works.
VIDEO: Tall Basement Wall Strategy
You cut panels with a hand saw. Tools required for SMARTWALL installation include:
Hand saw: This is the best tool for cutting panels to length. Since panels are so thick, a regular power saw can’t cut through them. A good hard point handsaw makes quick work of the job of cutting panels to length.
Cordless drill or impact driver: Drills and impact drivers are two different kinds of hand-held cordless tools and both can be used to drive screws for securing basement wall panels and many other basement finishing jobs. Never used an impact driver before? Not to be confused with a hammer drill, an impact driver is the ultimate screw driving power tool. Watch the video coming up next to see why. I made this video a few years ago, but it’s still an excellent introduction to how an impact driver differs from a drill and why this matters.
VIDEO: Impact Driver Tour
Plumb bob: A weight attached to a string that allows you to accurately transfer the location of the upper mounting strip of the SMARTWALL SYSTEM onto the floor. A chalk line with string extended and locked works well as a basic plumb bob.
Other tools: Tape measure, chalk line, 48” level, sawhorses and drywall trowel (to finish joints between panels
DRIcore offers a detailed installation video here. Click here. It’s really very good.
TECH TIP: Hard Point Handsaws
 Even in a world filled with power tools, handsaws are still a useful option for some situations. The thing is, there’s a big difference in the effectiveness of different handsaws. The most effective are called “hard point” handsaws because they have specially hardened teeth that stay sharp for a long time. The very best hard point handsaws I’ve used are made by Irwin. Watch the video up next to see an Irwin handsaw in action and to learn a trick for making square cuts faster and more reliably. What you’ll learn here is useful for all construction projects, not just basements.
VIDEO: Hard Point Handsaw in Action
Option#2: Foam On Walls
DOW offers a rigid extruded polystyrene foam product called Wallmate and it works very well on basement walls. These pieces of foam are held to the masonry perimeter wall with 1” x 3” wooden furring strips that fit into grooves in the edges of the foam. Drive a Tapcon screw through a predrilled hole in the 1” x 3” and into a predrilled hole in your masonry basement wall. Each piece of foam is 24” wide and 96” tall. You may find other brands of foam made to do a similar job. The only thing that really matters is that the foam be extruded polystyrene, not expanded polystyrene. Extruded poly is fine grained and usually blue or pink in colour. Expanded polystyrene is the white, beady foam and it’s completely in appropriate for perimeter basement wall insulation because it absorbs water and water vapour can pass through it. Tools required for Wallmate-style foam installation includes:
Hand saw: You can cut foam with a power saw, but a handsaw is safer, just as fast and quieter. The problem with foam is that it can close down on the sides of the blade during a cut and can cause a sudden kickback.
Cordless hammer drill with masonry bit: This is for boring holes in the basement wall to accept Tapcon screws. An ordinary drill won’t do here. You need a hammer drill with a masonry bit.
Sawhorses: Not essential, but very useful for supporting pieces of foam while you’re cutting them. You’re going to need something to work on.
Tape measure: Essential for measuring lengths of foam and 1×3 required
Utility knife: Useful for scoring and cutting foam in close quarters
48” level: Helps guide your placement of foam sheets while they’re going up. These sheets need to be straight up and down – “plumb” as they say in the trade.
Can of spray foam: This is to seal joints as the foam goes up. Although some people don’t use spray foam on joints as they come together, it’s worth the trouble for your basement.
DOW offers a detailed installation instruction sheet that can be downloaded here. The same procedure applies no matter what brand of foam you’re using. There’s nothing here that’s unique to the DOW product. Click here for the DOW instructions.
TECH TIP: Screws for Concrete
 Fastening foam to your basement perimeter walls involves drilling holes for special screws that bite directly into masonry, but an ordinary drill is too slow for the job. What you need is something called a “hammer drill”. Many cordless drills have a hammer function and it makes all the difference. Instead of just rotating the masonry drill bit, a hammer drill also imparts a pounding action that speeds progress through concrete, block, brick and stone. Tapcon screws have a hardened, two-part thread design that’s made to bite directly into masonry. Tapcons work pretty well as long as the pilot hole is exactly the right diameter. Every package of Tapcon includes information on the size of hole required, and some packaging even includes the correct drill bit. A 1/4” Tapcon, for instance, requires a 3/16” diameter hole. If you’re using 2”-thick foam, you’ll need Tapcons that are 3 1/2” or 4” long. Watch the video up next for a tour of a hammer drill and why this is the tool you need for drilling masonry.
VIDEO: Cordless Hammer Drill Tour
Option#3: Metal Studs & Spray Foam
This is a viable option for your basement, but get a firm quote on spray foam application before you commit to this approach. Spray foam is highly effective and useful, but prices vary depending on the level of local competition. It’s usually surprisingly expensive.
Regardless of the perimeter wall system you choose, spray foam is the best way to seal and insulate the rim joist area. As you price out the cost of spray foam as an option for perimeter walls, remember that you’ll need to have an applicator come in anyway to do the rim joists. Tools required for erecting a metal frame include:
Cordless drill or impact driver: This is for driving metal screws that hold together the steel wall plates and studs. Either a drill or impact driver will work fine in this application.
Tin snips: This is for cutting the metal studs and tracks involved. Nothing complicated here. Snips work just like scissors for metal.
Other tools: Tape measure, chalk line, a 48” level, sawhorses
Unlike with a wood stud frame wall, metal studs are erected one at a time. You install the bottom track on the floor, then the top track immediately above it. The studs are then cut to fit particular locations, set in place within the tracks, plumbed, then secured with screws that anchor into the top and bottom tracks.
Perimeter Wall Pros & Cons
Nothing’s perfect in this world, so choosing a perimeter wall system for your finished basement is mostly about deciding which drawback you most want to live with. Here’s a quick overview:
DRIcore SMARTWALL
Pros:
- Fast, simple installation
- High R value (R17.4)
- Highly resistant to mold and mildew growth
- Finished interior wall surface is already part of the system
- Ideal for foundation walls that are crooked or have pipes on them
Cons:
- Comparatively expensive
DOW Wallmate or Equivalent
Pros:
- Resistant to mold and mildew
- Most economical choice
Cons:
- Follows undulations of non-straight basement foundation walls
- Relatively low insulation value (R10)
Metal Studs with Spray Foam
Pros:
- High insulation value (typically R20 or higher)
Cons:
- Wall frame needs to be assembled on site
- Spray foam is expensive
