Tools & Techniques for Subfloor Installation
If you’re using some kind of subfloor tiles, that’s good. They’re great. There are three main installation steps. Details coming up later in the lesson:
Step#1: Measure your rooms and tally the number of subfloor tiles needed.
Step#2: Mark, cut and assemble your first row of tiles along one wall.
Step#3: Add remaining subfloor tiles in a staggered pattern.
Tools for Subfloor Tiles
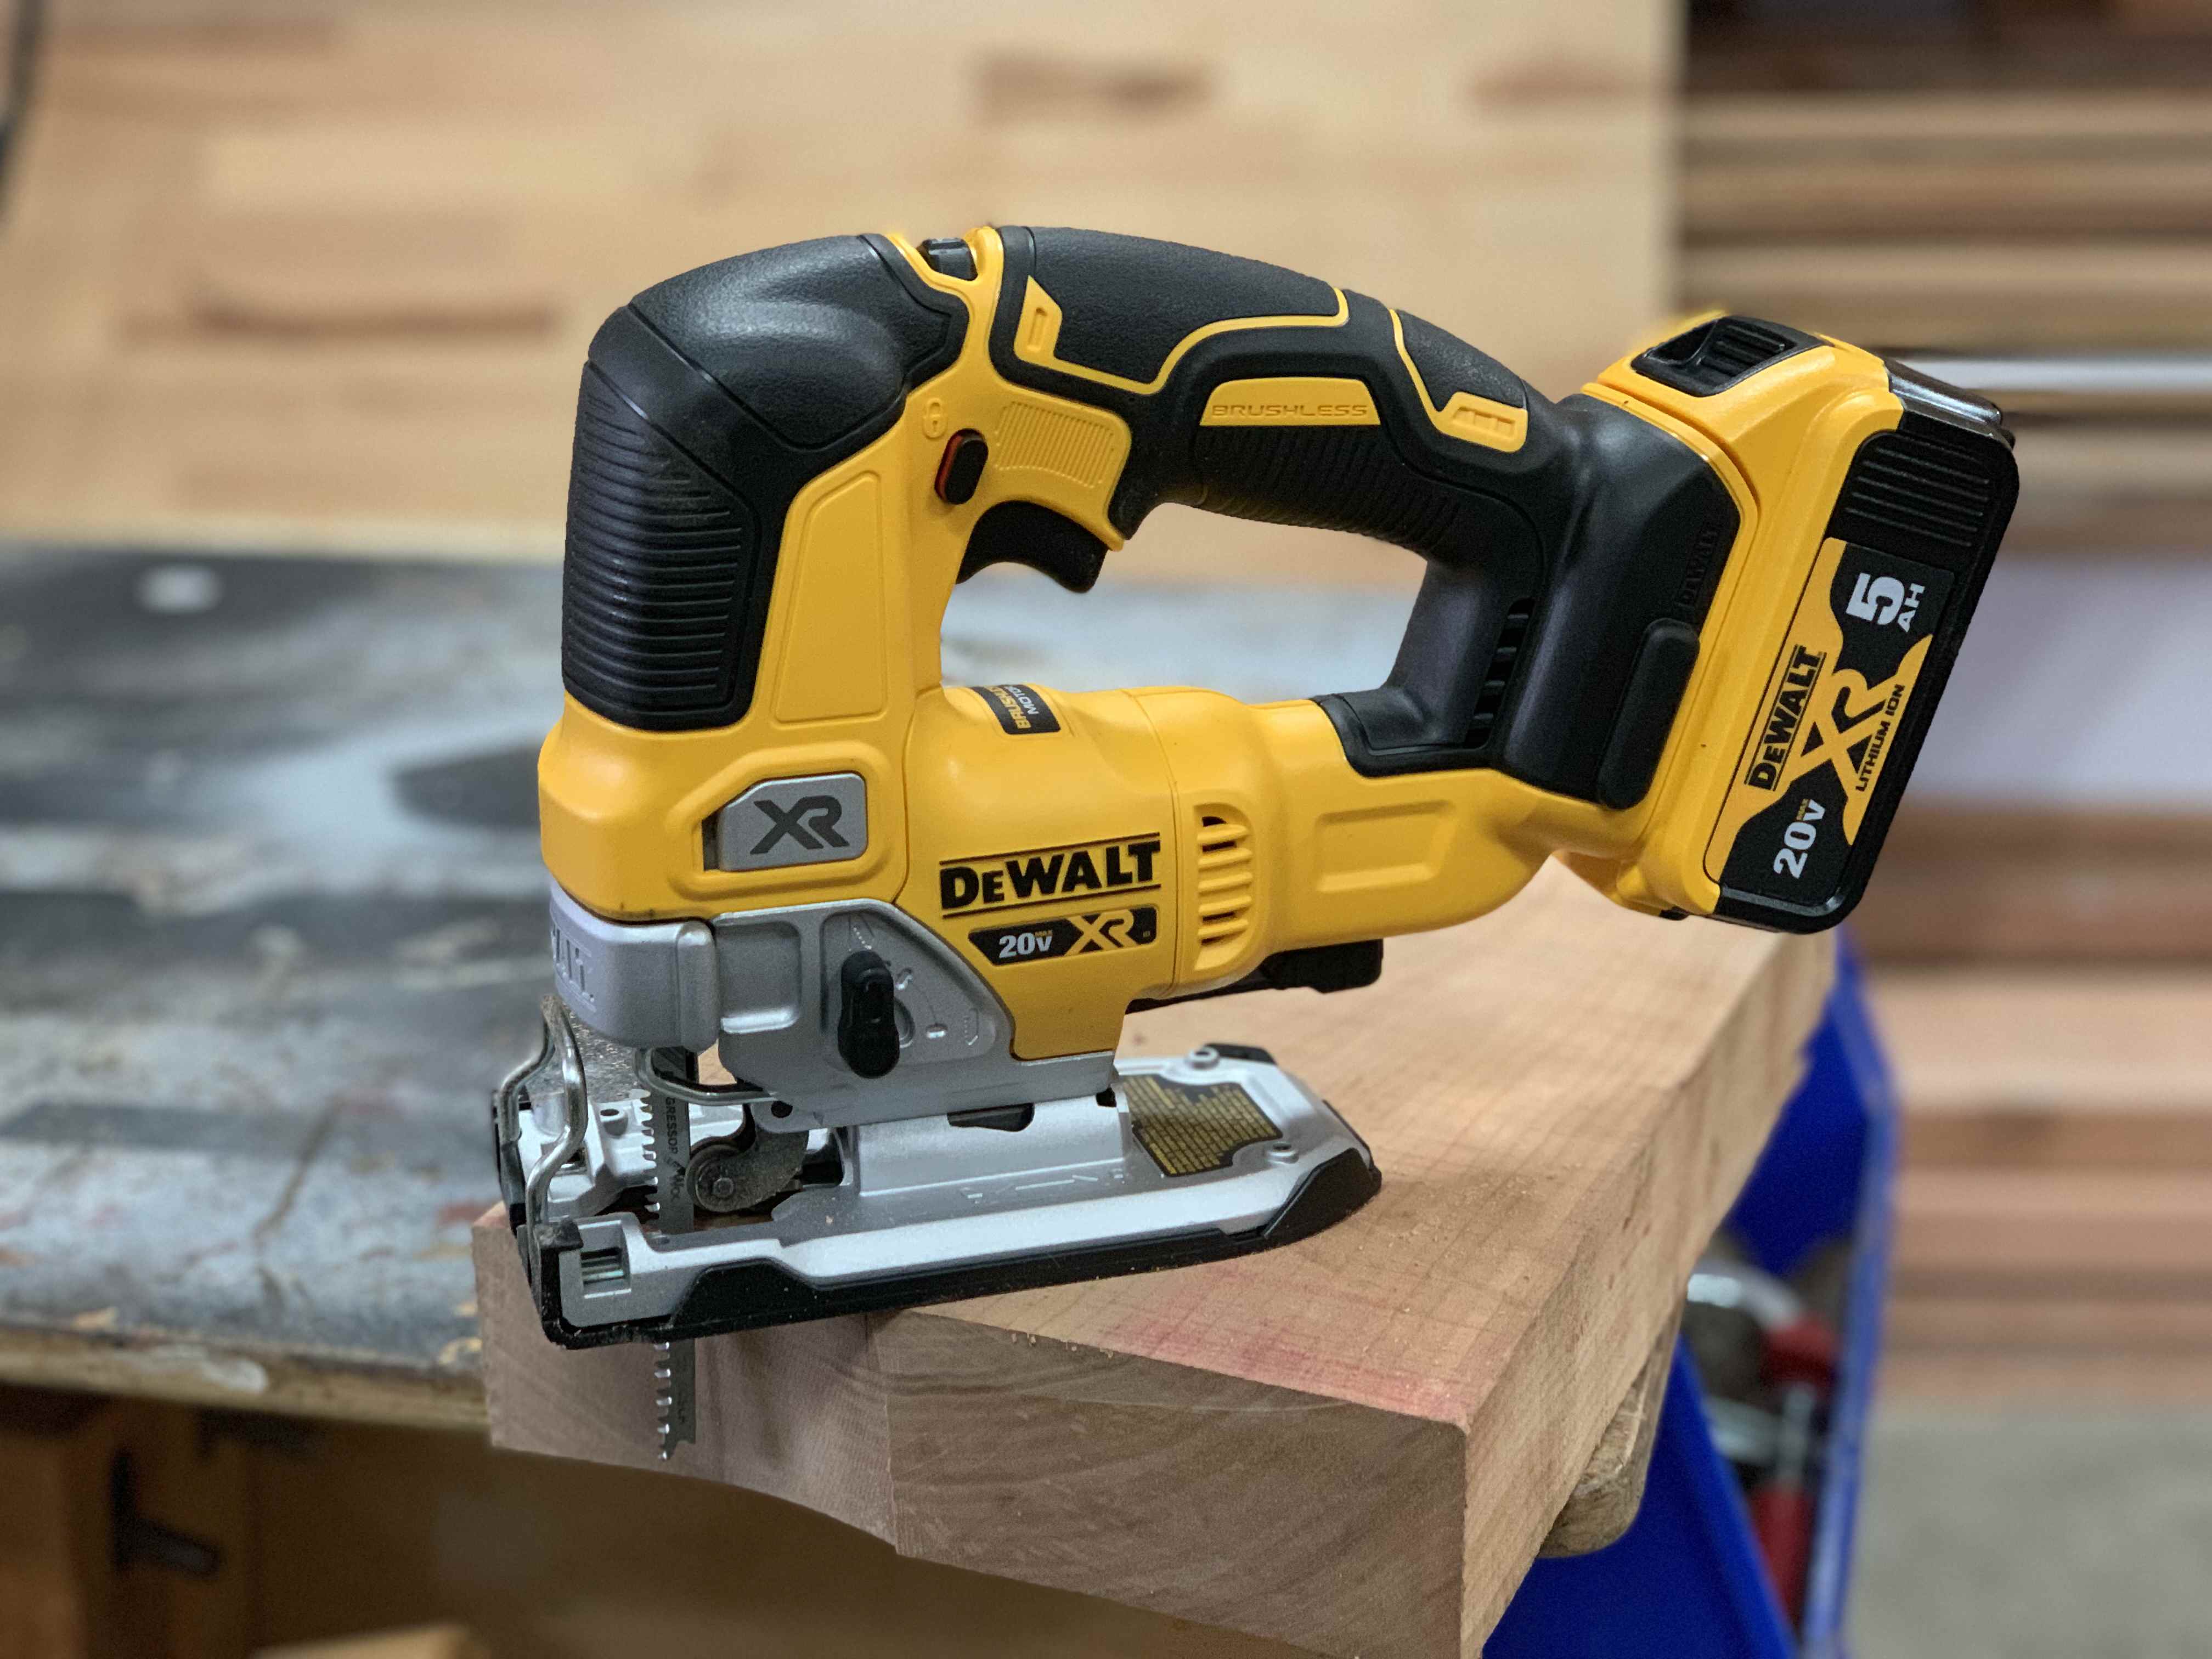
Saw: You can cut subfloor tiles with a hand-held circular saw, a table saw, a jigsaw or even a handsaw. Of all these options a cordless jigsaw offers the best combination of effectiveness and safety. Jigsaws cut wood, metal and plastic with a blade that goes up and down. Today’s cordless jigsaws work really well and deliver all the power you’ll need for this job. They’re ideal for cutting subfloor tiles (and laminate flooring if you’ll be installing it later). Watch the video coming up for a lesson on using a jigsaw properly.
VIDEO: Jigsaw Tour & Cutting Demo
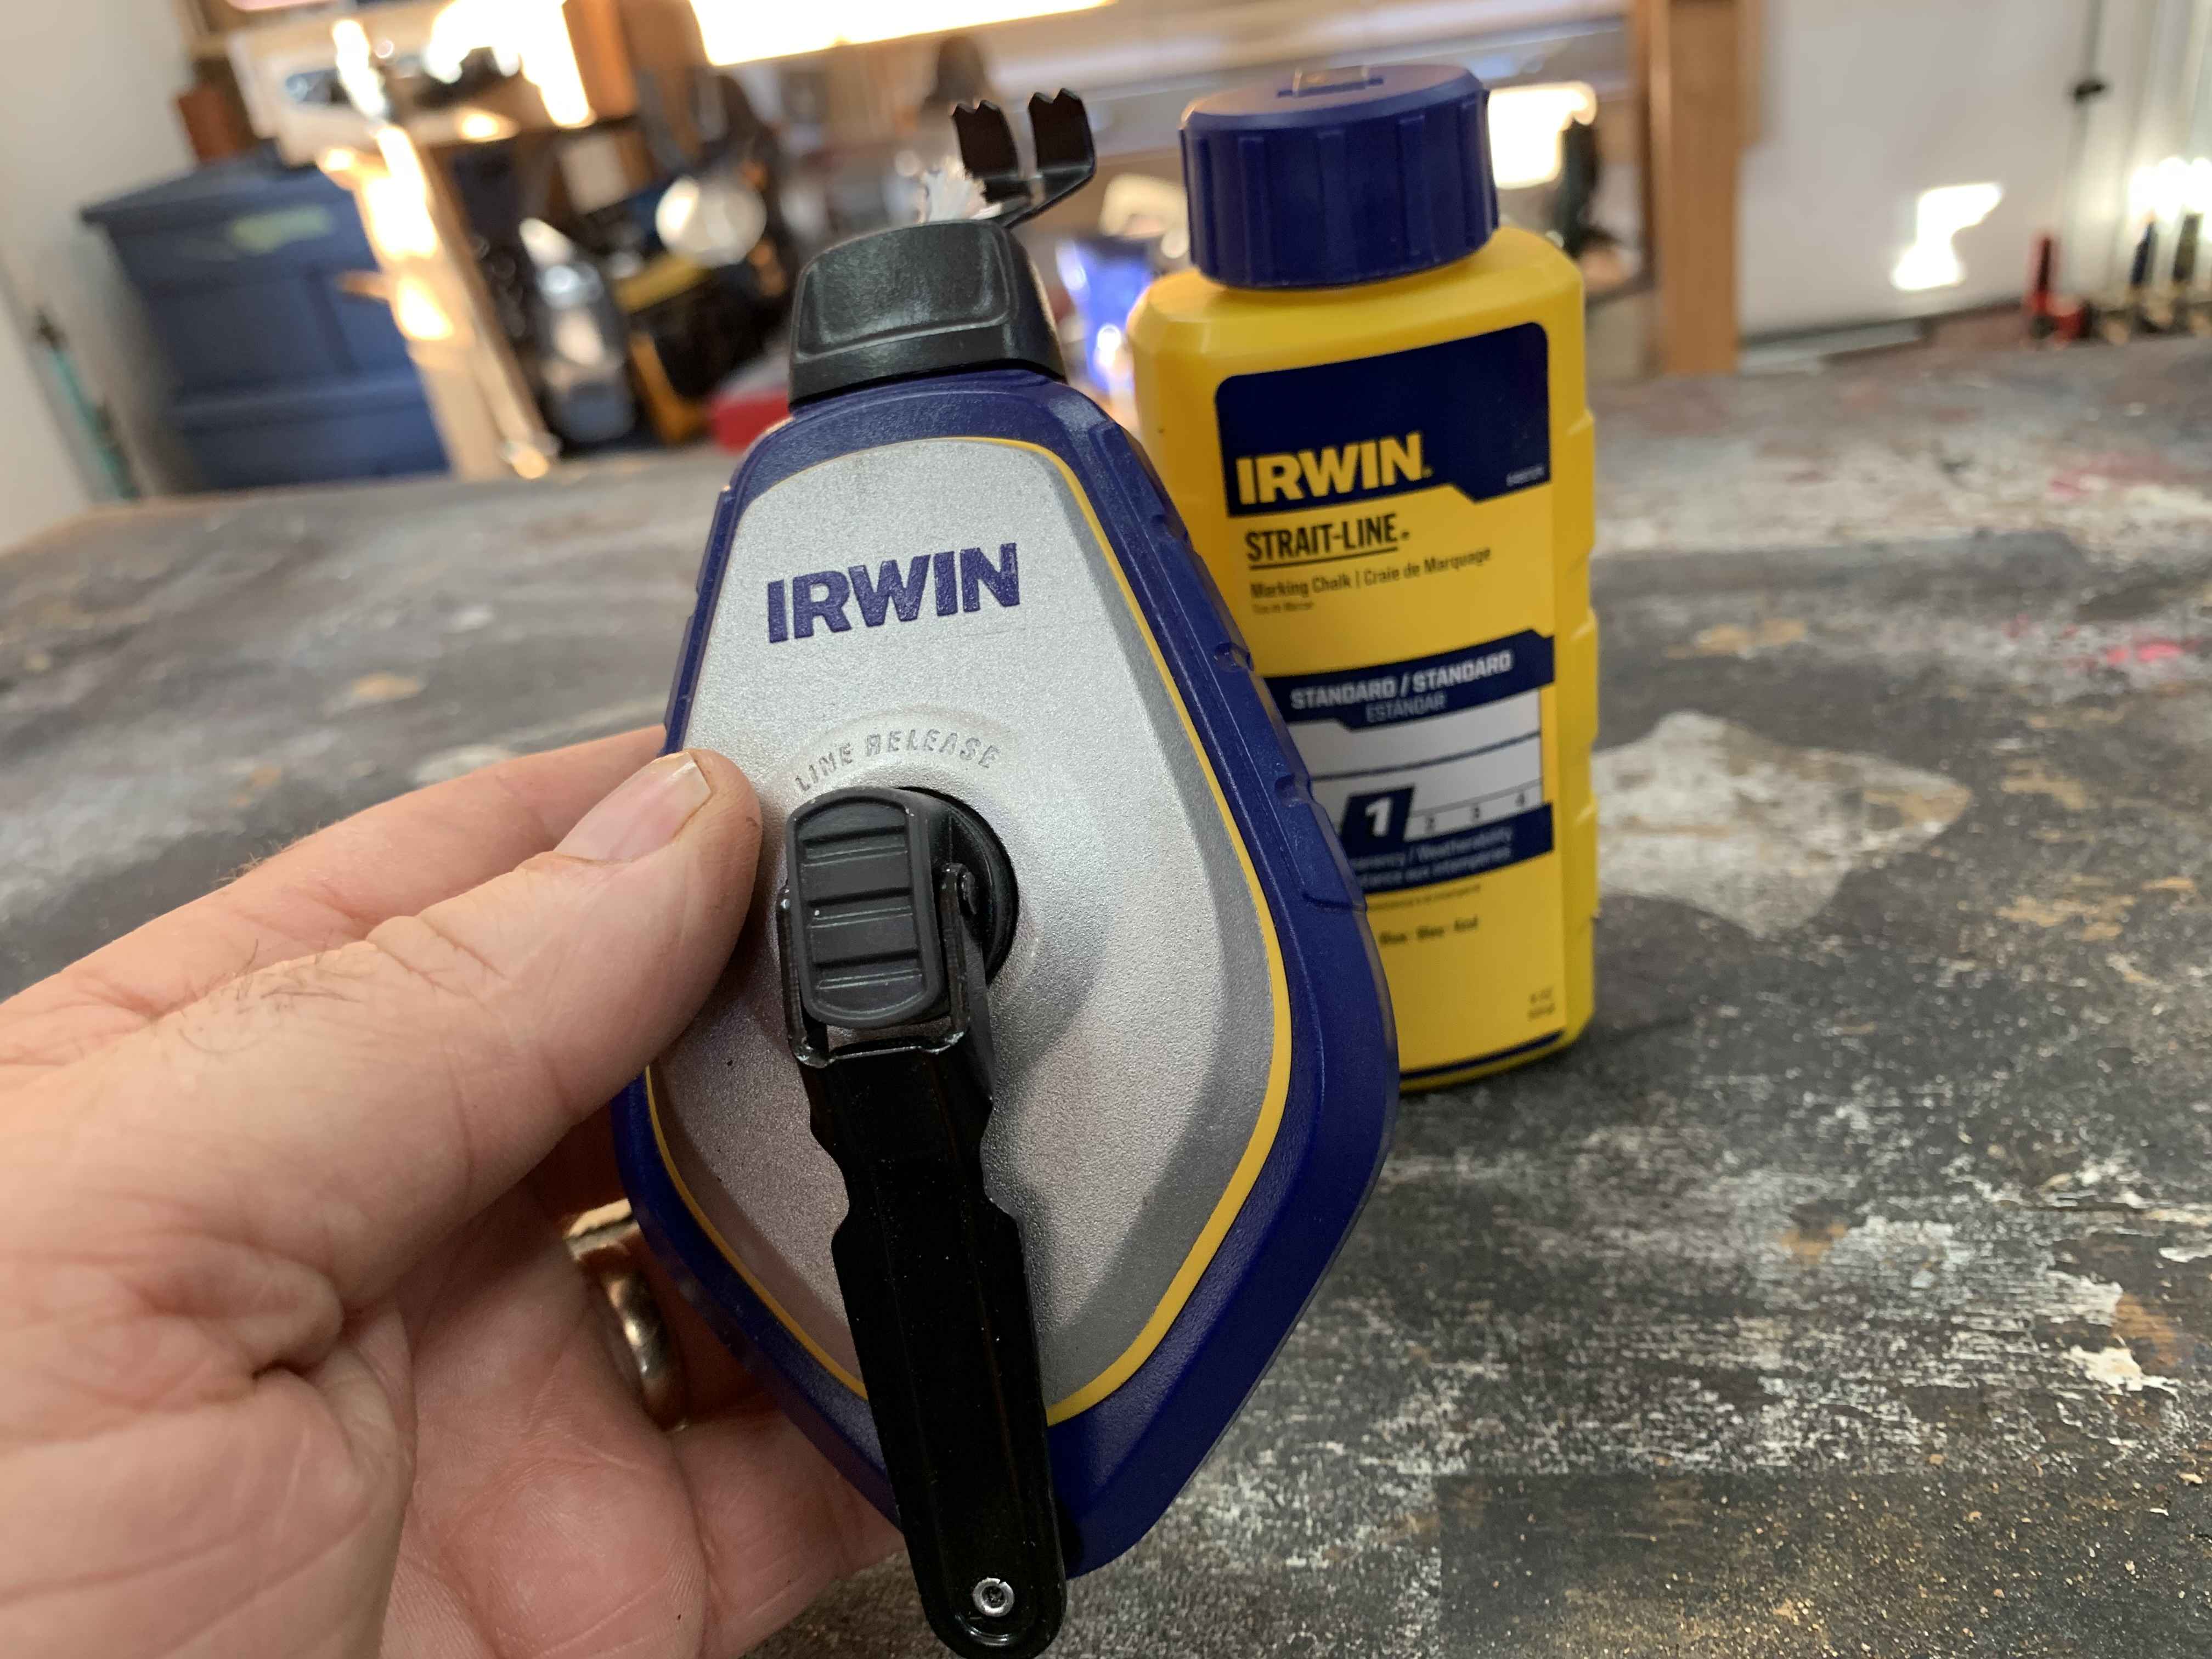
Chalk line: This is a tool for creating long, straight lines on floors and other flat surfaces. A chalk line is string that fits in a case that has a winding handle. The case is full of chalk powder that covers the string and allows it to act as a marking tool. Pull the string out of its case (the fibres of the string will be saturated with chalk dust), stretch it across a flat, clean surface, then pull the string upwards under tension with your fingers before letting the string snap down. A very straight line of chalk dust is left behind wherever the string touched the surface. If you already know how to use a chalk line, then the video up next will be old news to you. If chalk lines are something you’ve never used before, be sure to watch. They’re a simple, effective tool.
VIDEO: Chalkline Tour & Demonstration
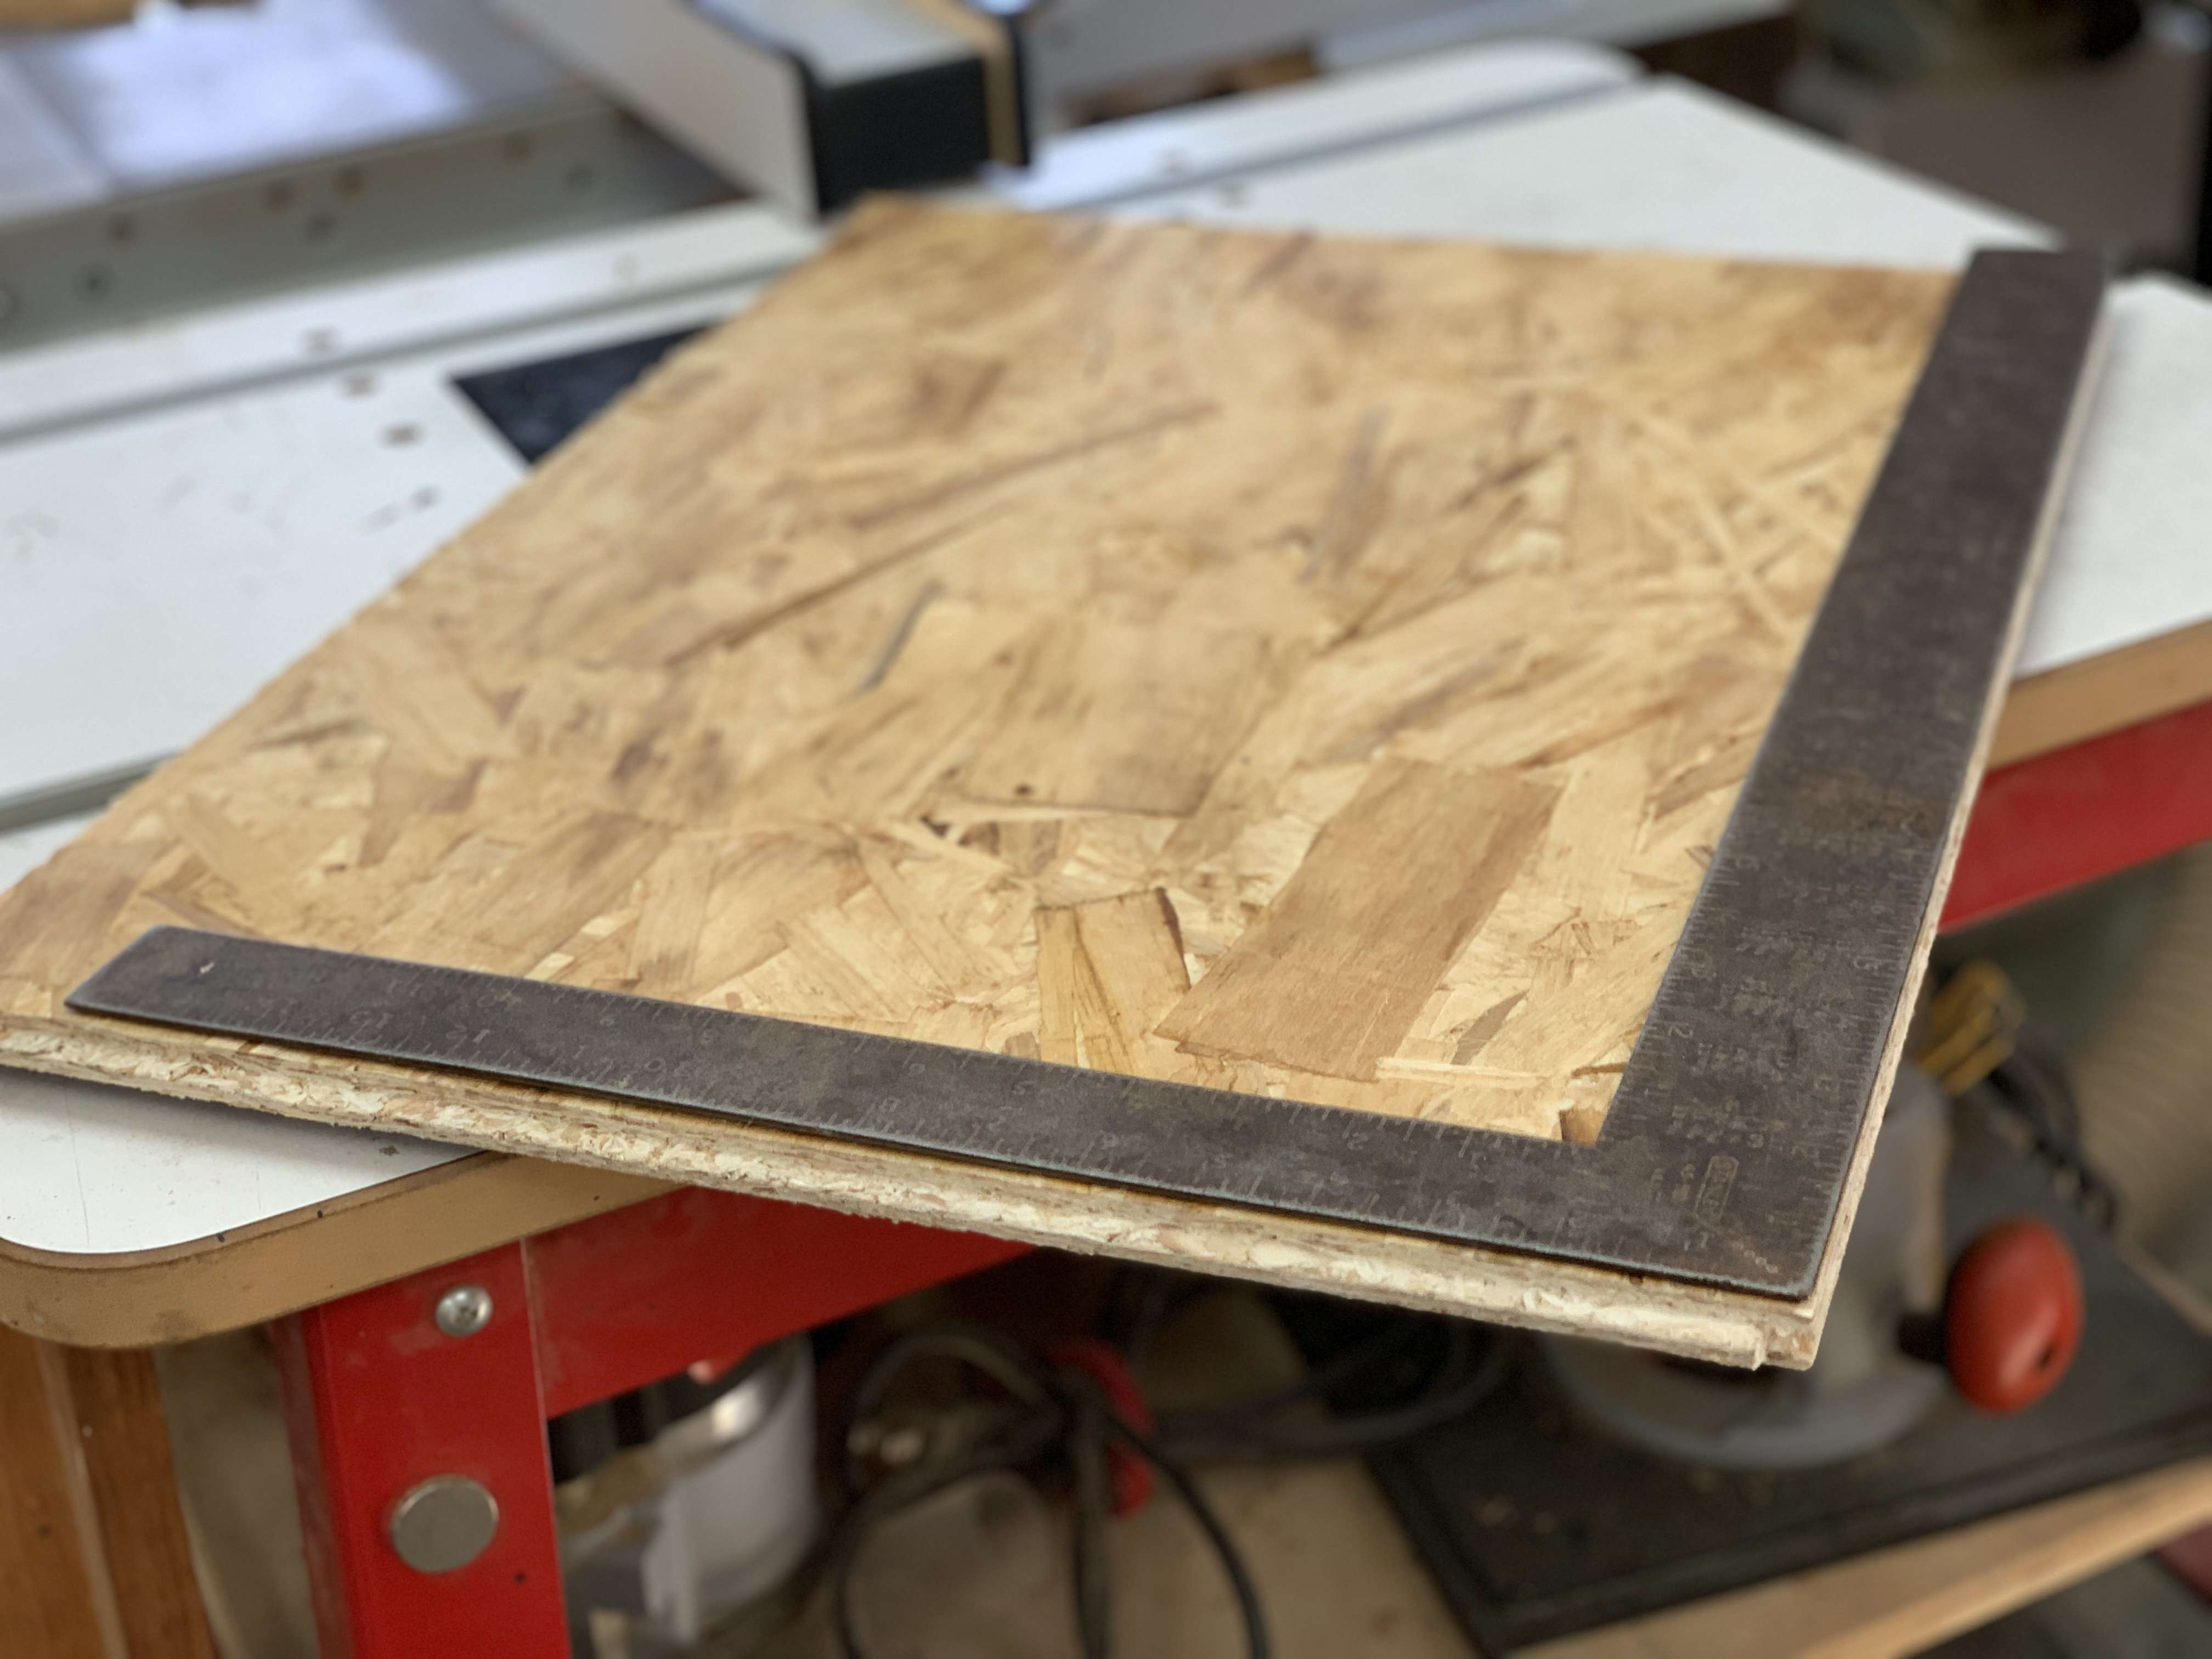
Carpenter’s square: This is another simple tool that can be used for many layout tasks. The main one for you right now is making square lines on subfloor tiles for cutting. If you’ve never used a carpenters square before, be sure to watch the video previously in this lesson on using a carpenter’s square to mark cut lines.
Hand tools: Hammer (to drive tiles together so edges interlock), scrap wood tapping block (to protect the edges of subfloor tiles as they get tapped together), tape measure, small pry bar, pencil.
There’s a video coming up later in this lesson on installing subfloor tiles, but before you watch it, read on to learn about the steps involved:
Step#1: Measure & Tally Tiles Needed
Measure length and width (in feet), multiply these numbers, then divide by 3.3. This is the number of 2-foot x 2-foot tiles you’ll need, including an allowance for waste. Lay down some tiles temporarily on your basement floor to see how they work out given the size of your room. You might have to cut the first row narrower so you don’t end up with too-narrow slivers of tiles at the other side of the room. You need pieces at least 4” wide for that last row.
Step#2: Mark, Cut & Assemble First Row
The main thing is to realize that you must never trust a basement wall to be truly straight. This is why you need a reliably straight line to follow as a guide for your first row of tiles. Snap a chalkline on the floor to create the all-important reference line, but make the line far enough from the wall for two things to happen. First, subfloor tiles should be 1/4” from the wall. Use 1/4”-thick scraps of wood to ensure that this happens. Also, position your reference line so it’s still just barely visible when the first row of tiles are in place. Orient tiles with the tongues pointed in towards the wall, then use a piece of scrap wood against the edge of the tile as you tap it with a hammer to interlock with neighbouring tiles. As you work, remember that all cut edges must go against a wall somewhere because cut edges have no tongue or grooved edge.
As I mentioned before, a jigsaw is a great choice for beginners cutting subfloor tiles because it’s easy to use and the somewhat rough edges created by a jigsaw won’t matter in this application. If you have a tablesaw or hand-held circular saw and know how to use either of these, go ahead and cut your subfloor tiles with either one. It’s important to use shims of some kind to maintain about 1/4” space between the edge of the tiles and the wall. Anything will work here as shims – chunks of wood, plastic or even several layers of corrugated cardboard.
Step#3: Add Subfloor Tiles
Continue work by adding your second row of tiles to the first, interlocking the tongue and groove edges and using that block of wood and hammer to ensure all joints are tight. Joints between tiles need to overlap from one row to the next, so cut the first tile of the second row in half to get you going with the right pattern. If you detect any low spots in the concrete where the subfloor tiles aren’t fully supported, slip some plastic leveling shims in to fill the gap. Plastic shims are sold alongside subfloor tiles for this purpose. Continue until the floor is completely covered. You’ll probably need to use your pry bar or a hooked tool to pull or tap the last row of panels so they interlock with the previous row. Work the pry bar against the wall and lever it in towards the edge of the tiles to apply sideways pressure. You can also use a hooked tool and a hammer to accomplish the same thing. Watch the video up next for a detailed tutorial on installing subfloor tiles.
VIDEO: Subfloor Tile Installation
TECH TIP: Cordless Tools or Corded?
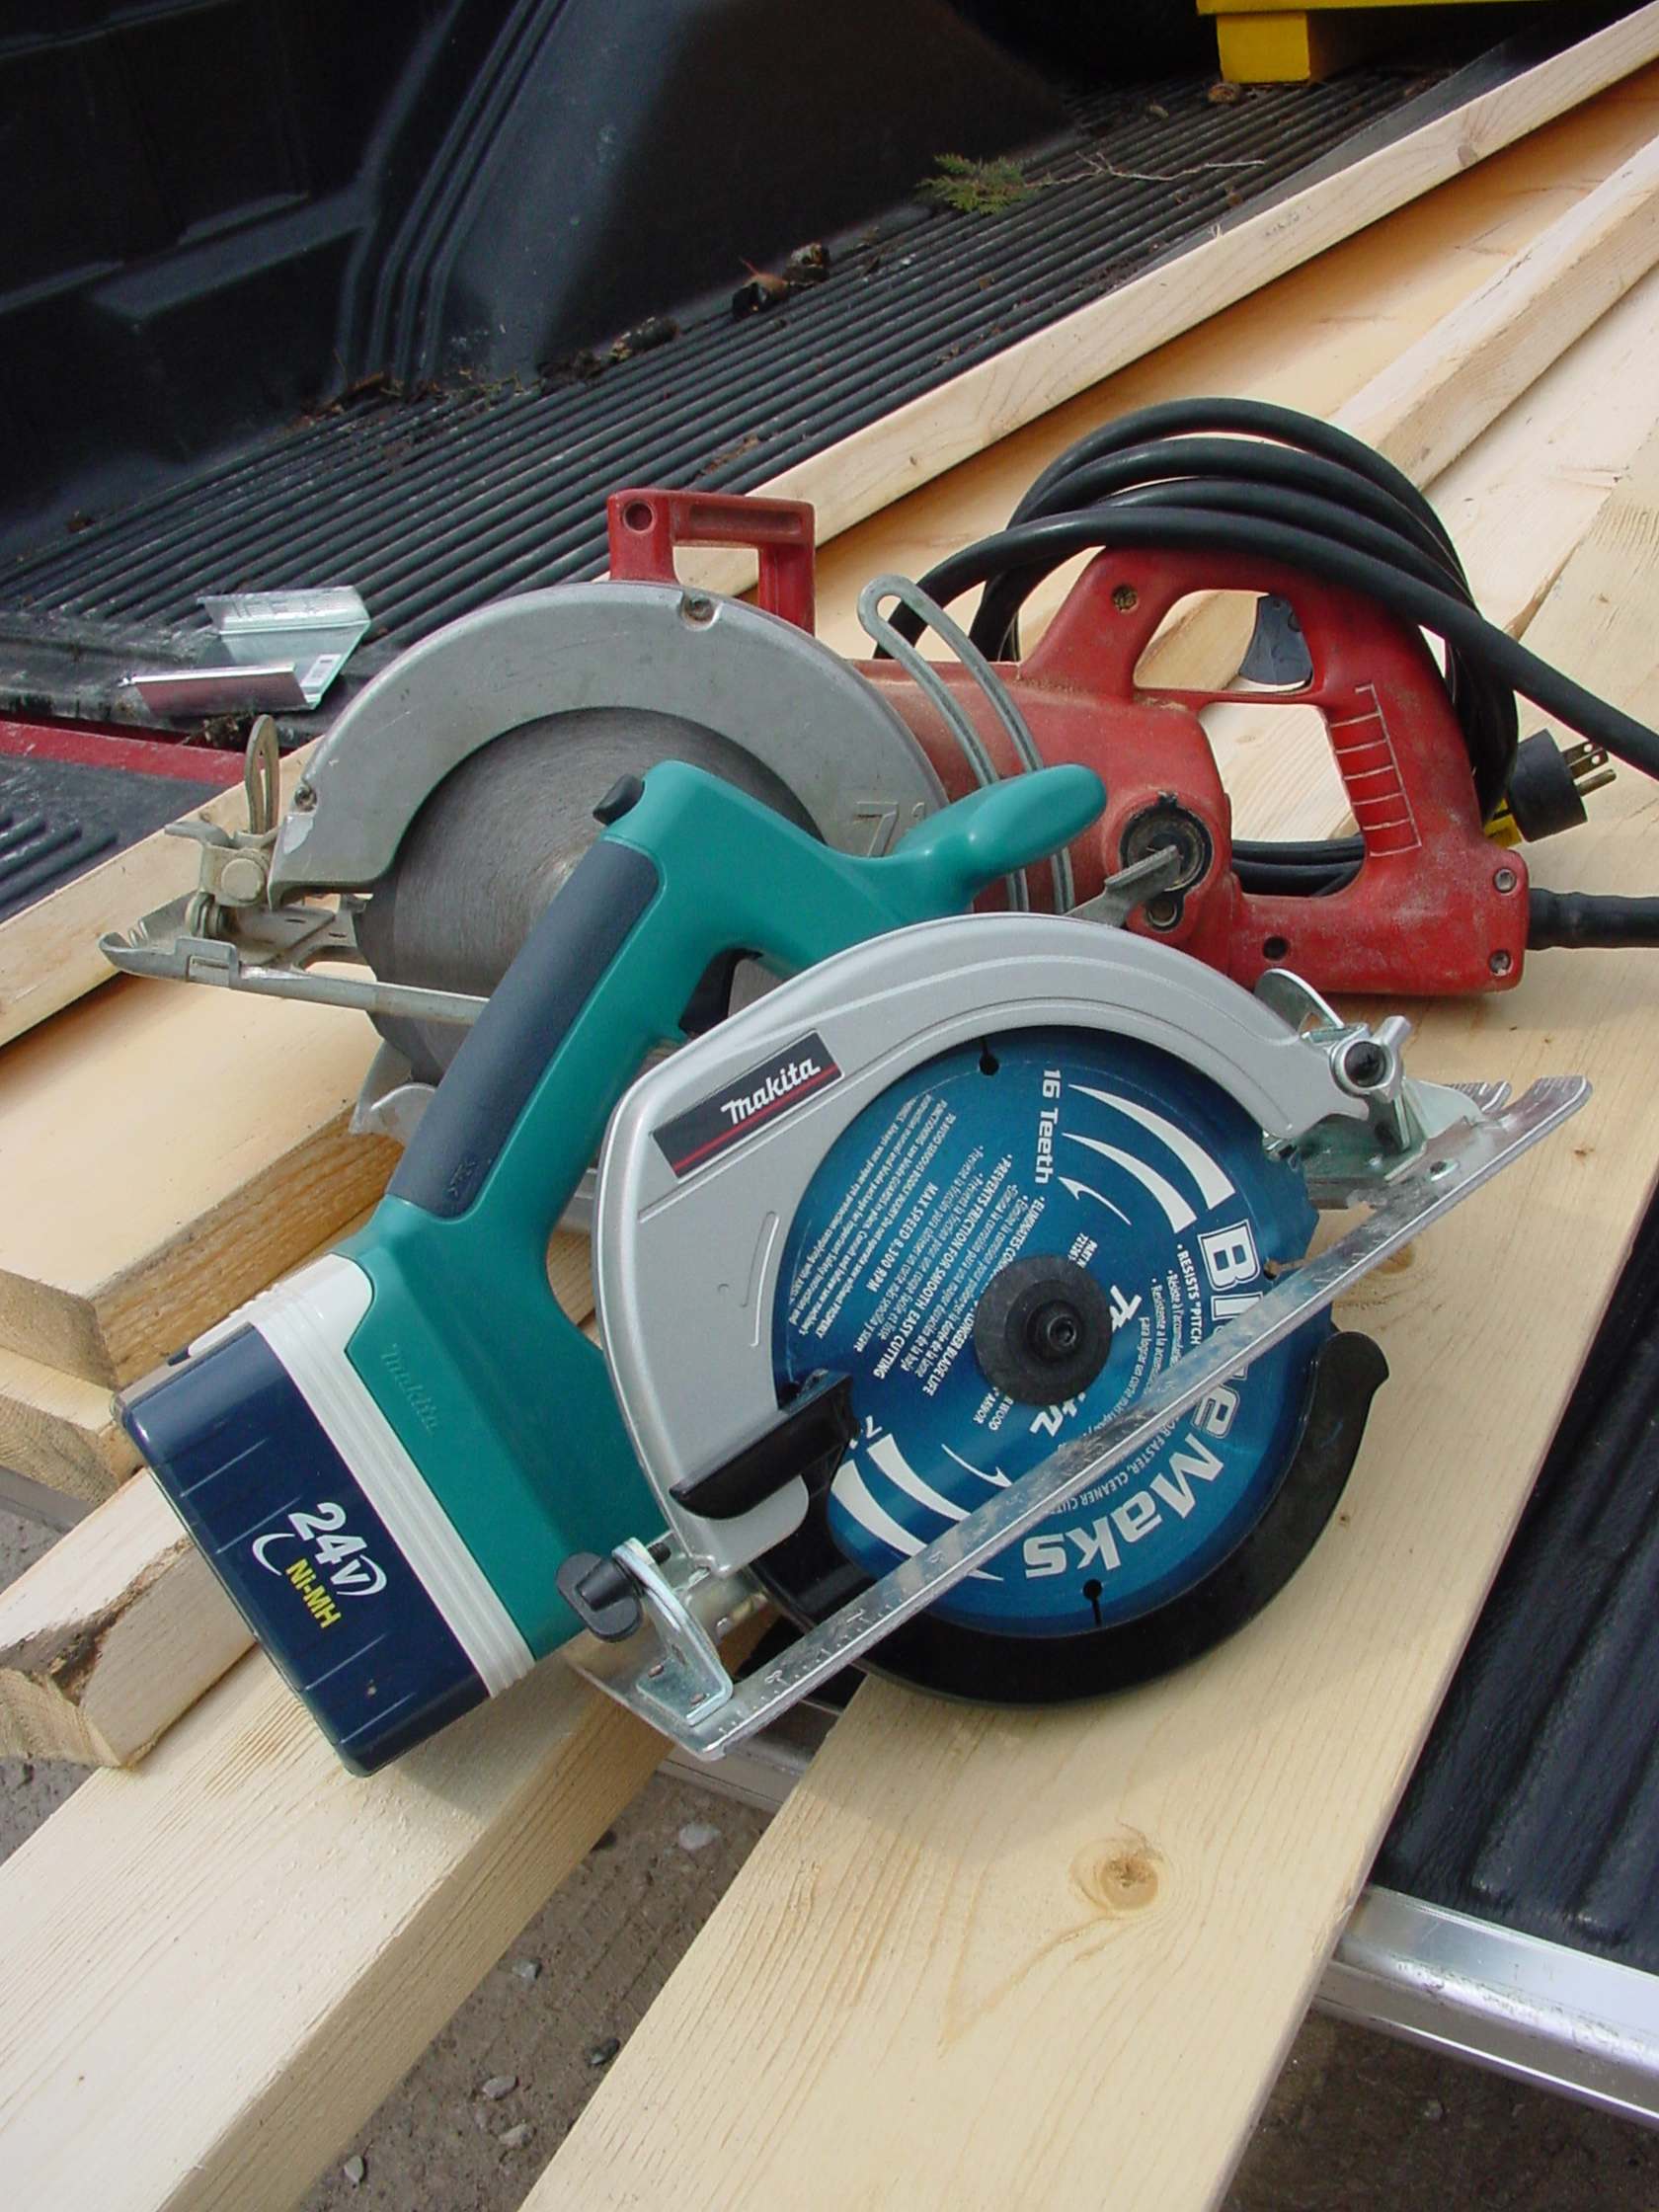
Once upon a time, not so long ago, cordless power tools were accessories only, not the kind of gear that could actually do the bulk of the work on any major project. These days things have changed. Cordless tools can handle almost everything you’ll run into finishing a basement. You could efficiently build an entire house from the ground up with nothing but today’s best cordless tools. They cost a bit more than corded models, but cordless boosts efficiency. With a basement project ahead of you, it makes sense to buy professional grade tools. Stick to popular brand names such as Bosch, DEWALT, Makita, Milwaukee, Ridgid, Ryobi and you won’t be disappointed.
Batteries are another thing you should know about. If you’ve had bad experiences with the short working lives of the nickel cadmium batteries that were used in power tools in years past, you’re in for a treat. Today, lithium-ion batteries are used in almost all cordless power tools and they’re worlds better than nicads. They hold a lot more power, they have much longer working lives, and they recharge faster. I often run into homeowners who don’t think highly of cordless tools because of poor performance in the past. Modern cordless is quite a bit different and a whole lot better.
